10 Dog Bandana Tie-On DIY Designs You Can Make in an Afternoon
There’s something about a bandana that instantly makes a dog look 10 times more adorable. It’s like the dog version of a little bow tie or a favorite t-shirt. But buying bandanas for every season, holiday, or just because? That adds up fast. Plus, store-bought ones never fit quite right on my long-legged pup.
So, I started making my own tie-on bandanas. I’m not a sewing expert—most of these don’t even require a needle and thread. All you need is fabric, scissors, and maybe some fabric glue or iron-on tape. The best part? You can match them to your dog’s personality, your own outfits, or make a matching set for you and your furry friend. Here are ten of my favorite DIY designs, all easy enough for a lazy Sunday.
1. The Classic Square Fold
This is the granddaddy of all bandana styles. It’s timeless, simple, and looks good on every dog, from a tiny Chihuahua to a giant Great Dane. You don’t even need to cut fabric for this one—just use a pre-made square scarf.
Fold the square in half diagonally to make a triangle. Roll the long edge of the triangle up about two inches to create a collar. Place it around your dog’s neck with the point of the triangle facing down. Tie the two rolled ends in a knot under their chin or to the side. That’s it!
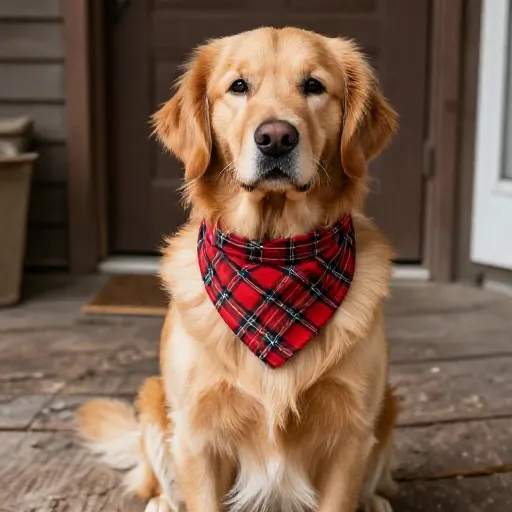
For a more polished look, choose a fabric with a fun pattern like gingham or plaid. The rolled edge keeps it neat and prevents it from slipping off during zoomies.
2. No-Sew Hem Tape Bandana
If you want a crisp, finished edge but hate sewing, this is your hack. Hem tape (also called fusible tape) is a lifesaver. You just iron it on, and it creates a professional-looking hem in seconds.
Cut a square of fabric (10×10 inches works for medium dogs). Fold over each edge about a quarter inch and place a strip of hem tape inside the fold. Iron it flat. Repeat on all four sides. Then, fold the square diagonally and tie it on your pup.
This method stops fraying, so the bandana will survive many washes. It also gives the fabric a nicer drape around the neck, making it look like you spent way more time on it than you did.
3. The Fabric Scrap Scrap-Bandana
Got a pile of leftover fabric from old t-shirts or quilting projects? Don’t throw them out. This design is perfect for using up those odd pieces. The key is to use the selvedge edge (the finished edge of the fabric) as your bandana’s bottom edge.
Cut a rectangle that’s about 8 inches wide and 12 inches long. The finished edge will be the bottom point of the triangle. Fold the rectangle in half, matching the short ends, and then fold it again to create a triangle. Tie the two top corners around your dog’s neck. The selvedge edge will hang down as a nice, clean point.
This is my go-to for mixing and matching. I’ll use a floral print on one side and a solid color on the other for a reversible look.
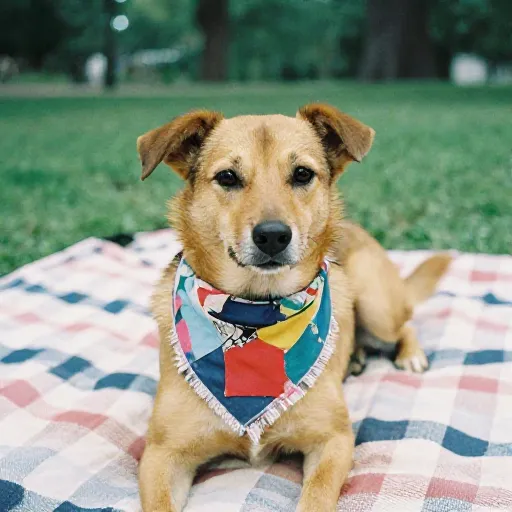
4. The Double-Layer Reversible Bandana
Two bandanas in one? Yes, please. This design is fantastic because you get double the fabric thickness, which helps it hold its shape, and you can flip it whenever you want a new look.
Cut two identical squares from different fabrics. Place them right sides together (the pretty sides facing each other). Sew around the edges, leaving a two-inch gap. Turn it right side out, press it flat, and sew the gap closed. Now fold it into a triangle and tie it on.
If you don’t sew, you can use fabric glue to bond the two squares together. Just be sure to use a heavy-duty glue and let it dry completely before folding.
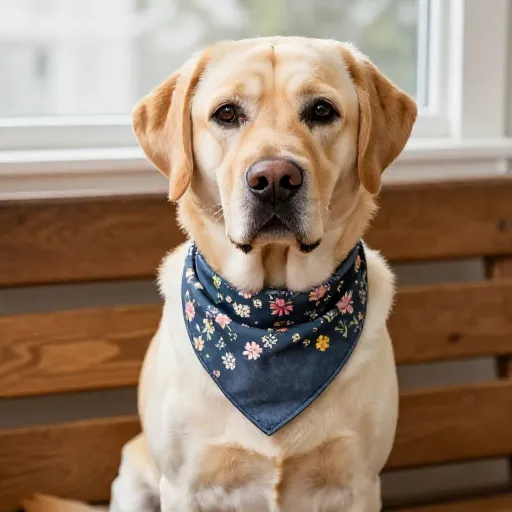
5. The Bandana with a Button Loop
This design is for dogs who hate things tied around their necks. Instead of knots, you use a button and a loop. It’s super secure and looks extra polished, almost like a collar accessory.
Cut a rectangle of fabric and fold it in half lengthwise to make a long strip. Sew or glue a loop of elastic at one end, big enough to fit over a button. Sew a button at the other end. Wrap the fabric around your dog’s collar, feed the button through the loop, and you’re done.
This works brilliantly with a martingale collar or a flat collar. It won’t slide around because it’s anchored to the collar itself. Plus, it’s easy to put on a wiggly dog.
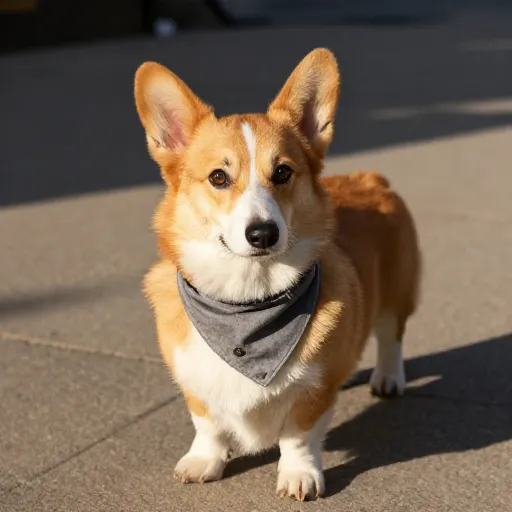
6. The T-Shirt Upcycle Bandana
Old t-shirts are the best fabric for dog bandanas because they’re soft, stretchy, and already have finished hems. The bottom hem of a t-shirt can serve as the top edge of the bandana, which means less cutting for you.
Lay the t-shirt flat. Cut off the sleeves and the neckline. You’ll have a big rectangle. From this rectangle, cut a triangle shape, using the bottom hem as the top of the triangle. The hem will be the part that goes around your dog’s neck—no rolling or hemming needed.
The stretchy fabric knots easily and stays put. I love using faded band tees for a grunge look or bright colored tees for a pop of color on a walk.
7. The Painted Denim Bandana
Denim is durable and looks rugged, but a plain triangle of denim can be a bit boring. Fix that with some fabric paint. This is a fun project if you want to get a little artsy.
Cut a triangle from an old pair of jeans—the leg gives you a nice flat piece. Use fabric paint to add your dog’s name, a paw print, or a fun design like a cactus or a star. Let it dry completely, then tie it on.
Denim frays easily, so you might want to do a quick zigzag stitch around the edges or use some fray check liquid. The texture of the denim gives it a cool, casual vibe that looks great on adventurous dogs.
8. The Knotted Center Bandana
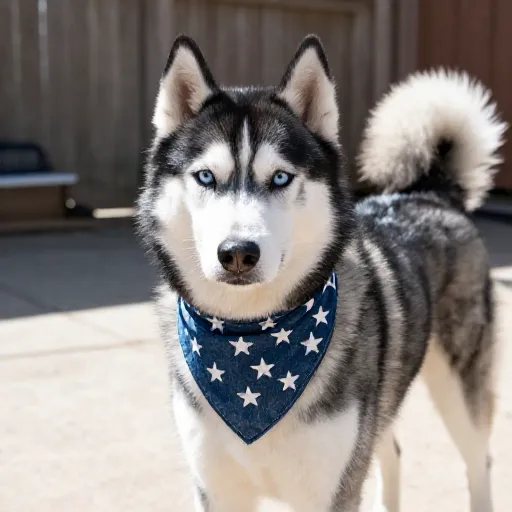
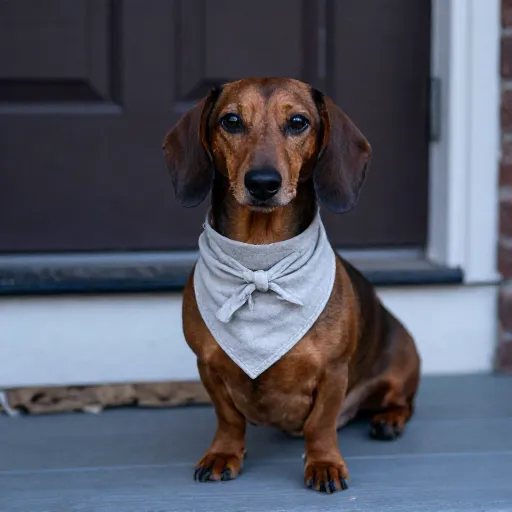
This is a clever little trick that gives your bandana a unique shape. Instead of a standard triangle, it features a little knot in the middle of the fabric, which sits nicely at the front of the chest.
Cut a square of fabric. Fold it in half diagonally. Then, tie a small knot in the middle of the folded edge (the long edge of the triangle). When you put the bandana on your dog, this knot sits right below their chin, adding a nice dimensional detail.
It’s a small touch, but it makes the bandana look more boutique-style. Use a silky fabric like a satin or a soft rayon for a pretty drape.
9. The Bandana with Rickrack Trim
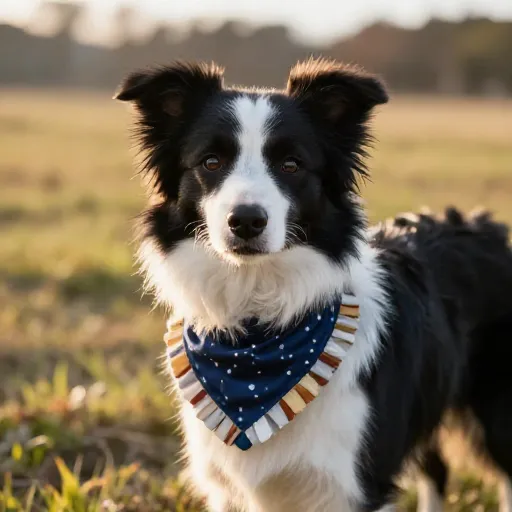
Add a bit of whimsy with some rickrack trim. This is an easy way to dress up a plain bandana, and it takes less than five minutes. Rickrack comes in all colors and sizes, so you can match it to your dog’s collar.
Cut your basic triangle bandana. Run a line of fabric glue along the bottom edge and press the rickrack onto it. Let it dry. You can also sew it on for extra security. For a more playful look, add a second row of rickrack about an inch above the first.
This is perfect for holidays. Use orange rickrack for Halloween, red for Christmas, or pastel colors for Easter.
10. The Extra-Long Trail Bandana
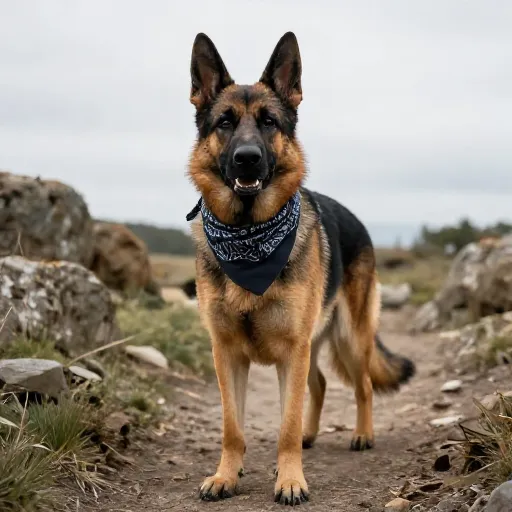
This one is less about fashion and more about function. It’s a longer, narrower bandana that sits lower on the chest and is great for keeping the sun off your dog’s neck or for adding a little warmth on a cool day.
Cut a rectangle of fabric that’s about 6 inches wide and 30 inches long. Fold it in half lengthwise and sew the long edge shut to make a tube. Turn it right side out. Tie one end around your dog’s neck and let the other end hang down.
It looks like a stylish ascot or a cowboy neckerchief. I like to use a lightweight linen or cotton for this so it breathes well.
Final Thoughts on DIY Dog Bandanas
Making your own bandanas is such a simple win. You’re saving money, reducing waste, and giving your dog a truly one-of-a-kind accessory. The best part is seeing your pup strut around the park knowing they’ve got a custom look that no other dog has.
Don’t stress about making them perfect. Dogs don’t care about perfect seams or straight lines. They just care that they get to go for a walk and that you’re happy to see them wearing your creation. So grab some fabric scraps and try one of these today. Your dog will thank you with extra tail wags.
Frequently Asked Questions
1. What is the best fabric for a tie-on dog bandana?
100% cotton is my top pick. It’s breathable, soft, easy to wash, and holds its shape well. Flannel is great for winter, and cotton poplin or quilting cotton works perfectly for year-round wear.
2. How do I measure my dog for a bandana?
The key measurement is the neck circumference. Measure snugly around the base of their neck where a collar would sit. Add a few inches to that number to allow for the knot. For a medium dog (15-20 inch neck), a 20×20 inch square is usually perfect.
3. How do I keep the bandana from sliding off?
You can tie it directly onto their collar instead of their neck. Or, you can sew a small button-loop closure that attaches to the collar ring. A simple, tight knot also helps, but it might loosen as they play.
4. Can I use fabric glue instead of sewing?
Absolutely. For absolutely no-sew projects, use a strong fabric glue. Just remember to let it dry completely (usually 24 hours) before handling. It’s not as durable as stitching, but it works great for lightweight fabrics.
5. How do I wash a homemade dog bandana?
Most cotton bandanas can be tossed in the washing machine on a gentle cycle with cold water. Air dry them to prevent shrinking. For painted or glued designs, hand wash them in cold water to preserve the artwork.