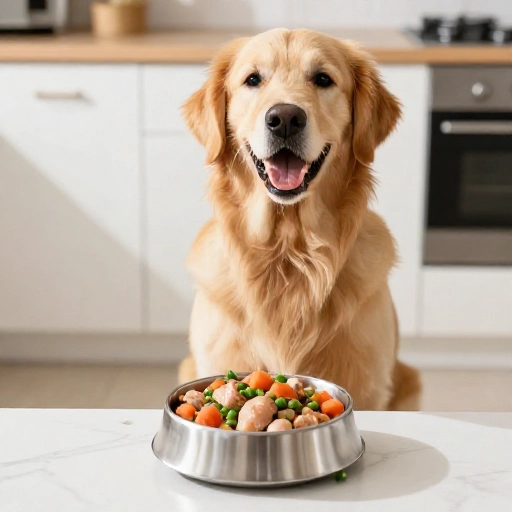
7 Anti-Yeast Dog Treats That Will Stop the Itching (Vet-Approved Ingredients)
If your furry best friend has been scratching, licking, or biting at their skin non-stop, you already know how heartbreaking it can be. I’ve been there with my own pup, watching him suffer through endless itch cycles that kept us both up at night. After countless vet visits and trying every medicated shampoo on the market, we finally discovered the root of the problem: a yeast overgrowth fueled by the wrong foods.
The good news? You can take control of your dog’s comfort right in your own kitchen. These anti-yeast dog treats are packed with low-sugar, yeast-fighting ingredients like coconut oil, apple cider vinegar, and fresh herbs that help balance your pup’s system from the inside out. Every recipe here is simple, budget-friendly, and uses whole foods that I feel good about serving to my own itchy dog—and I know your pup will love them just as much.
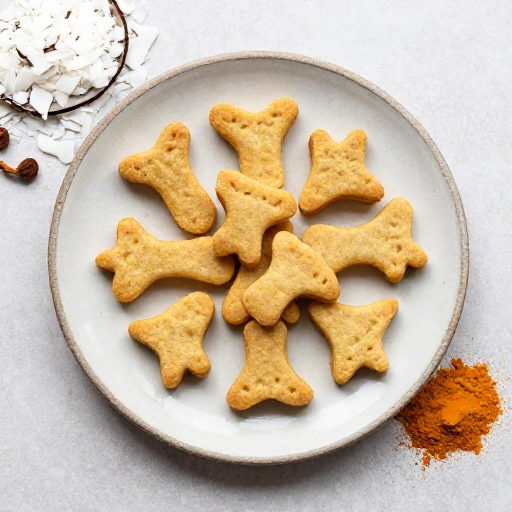
1. Coconut & Turmeric Healing Bites
These golden little bites are my absolute go-to for itchy pups. Coconut oil is a natural antifungal powerhouse while turmeric’s anti-inflammatory properties help soothe irritated skin from the inside. My dog does a happy dance every time I pull these out of the oven!
- 1 cup oat flour (or finely ground rolled oats)
- 1/4 cup melted coconut oil
- 1/2 teaspoon ground turmeric
- 1/4 cup unsweetened applesauce
- 1 egg
- Preheat oven to 350°F and line a baking sheet with parchment paper.
- Mix all ingredients in a bowl until a thick dough forms, then roll into small 1-inch balls.
- Bake for 15-18 minutes until golden and slightly firm. Let cool completely before serving.
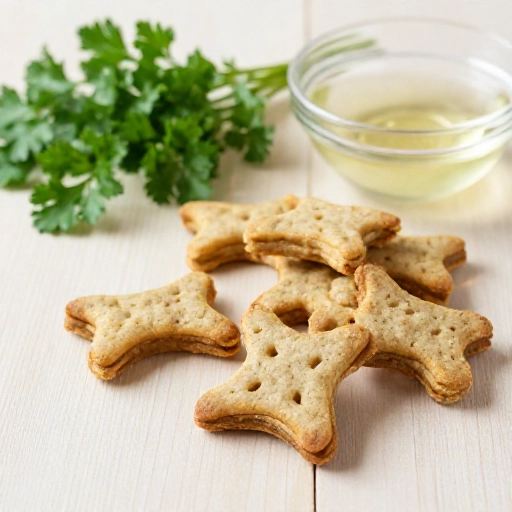
2. Apple Cider Vinegar & Parsley Fresheners
Don’t let the vinegar scare you—when baked, the sharpness mellows completely while keeping all the yeast-fighting benefits. Fresh parsley adds a natural breath freshener, and the crunchy texture helps clean teeth. These are perfect for dogs who need a little extra help in the skin-and-coat department.
- 1 1/2 cups whole wheat flour (or oat flour for sensitive tummies)
- 1 tablespoon raw apple cider vinegar (with the mother)
- 1/4 cup chopped fresh parsley
- 1/3 cup water or low-sodium chicken broth
- 1 tablespoon olive oil
- Combine all ingredients in a food processor until a crumbly dough forms.
- Roll out to 1/4-inch thickness and cut into bone shapes or small squares.
- Bake at 350°F for 20-25 minutes until crisp. These keep well for up to two weeks.
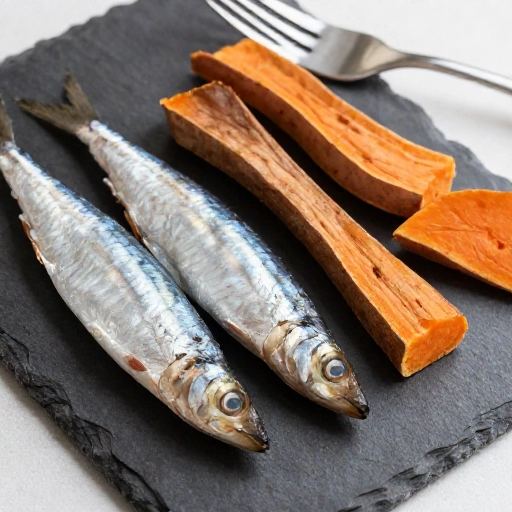
3. Sardine & Sweet Potato Skin Superstars
Omega-3 fatty acids are nature’s itch-fighters, and sardines are packed with them. Combined with fiber-rich sweet potato, these treats support healthy digestion while reducing the inflammation that makes yeast thrive. Warning: your dog might try to break into the treat jar—mine certainly does!
- 1 can sardines in water, drained
- 1/2 cup mashed sweet potato (cooked and cooled)
- 1 cup coconut flour
- 1 egg
- 1 tablespoon flaxseed meal
- Mash sardines and sweet potato together in a large bowl until well combined.
- Add remaining ingredients and mix into a soft, slightly sticky dough.
- Drop by teaspoonfuls onto a lined baking sheet and bake at 325°F for 20 minutes. Flip halfway through.
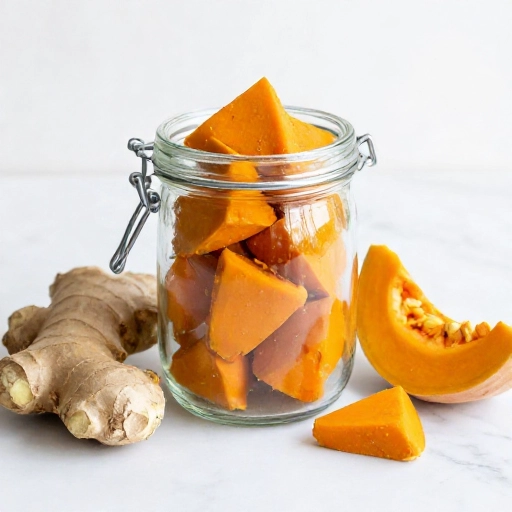
4. Pumpkin & Ginger Soothing Chews
Pumpkin is a prebiotic superstar that feeds the good bacteria in your dog’s gut, crowding out the yeast. Fresh ginger adds a warming, anti-inflammatory kick that many dogs actually love. These soft chews are perfect for senior dogs or pups with sensitive teeth who still need relief from itching.
- 1 cup canned pure pumpkin (not pumpkin pie filling)
- 2 1/2 cups brown rice flour
- 1 tablespoon freshly grated ginger
- 1/4 cup unsweetened coconut milk
- 1 tablespoon honey (optional)
- Whisk pumpkin, coconut milk, ginger, and honey together in a mixing bowl.
- Gradually add brown rice flour until a soft, rollable dough forms.
- Cut into small squares and bake at 350°F for 12-15 minutes for softer chews, or 20 minutes for crunchier treats.
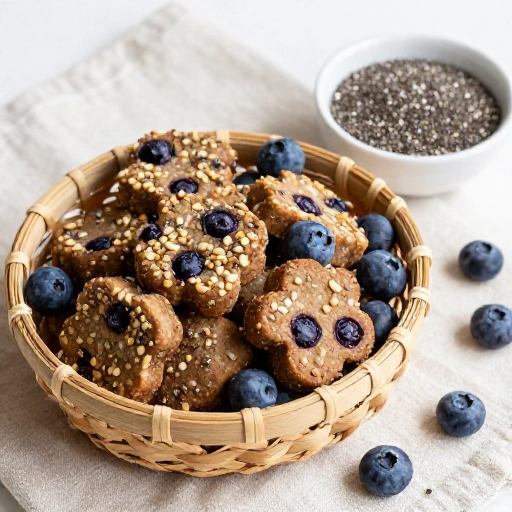
5. Blueberry & Chia Seed Antioxidant Crunch
Blueberries are low in sugar but high in antioxidants that support your dog’s immune system in fighting off yeast overgrowth. Chia seeds add omega-3s and fiber while helping these treats hold their shape beautifully. The result is a satisfying crunch that even picky eaters can’t resist.
- 1 cup fresh or frozen blueberries (thawed)
- 1 1/2 cups quinoa flour or all-purpose flour
- 2 tablespoons chia seeds
- 1/4 cup water
- 1 egg
- Mash blueberries in a bowl to release their juices, then stir in chia seeds and let sit for 5 minutes.
- Add flour, water, and egg, mixing until a firm dough forms.
- Roll thin, cut into small pieces, and bake at 350°F for 25-30 minutes until fully crisp.
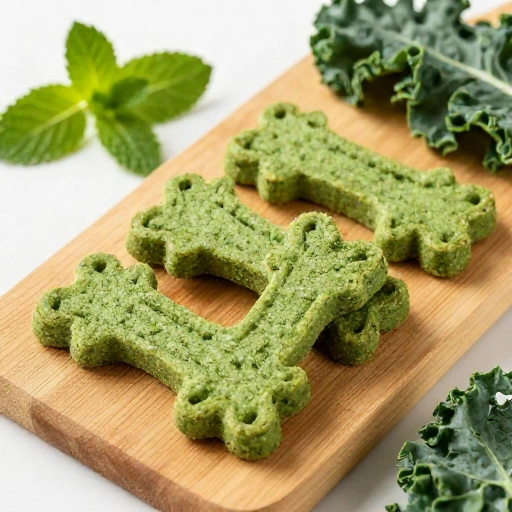
6. Mint & Kale Green Detox Biscuits
Leafy greens help alkalize your dog’s system, making it harder for yeast to survive and multiply. Fresh mint adds a cooling sensation that’s especially soothing for dogs with hot, itchy patches on their skin. These green biscuits look fancy but come together in minutes.
- 1 cup fresh kale leaves, finely chopped
- 2 tablespoons fresh mint leaves, chopped
- 1 3/4 cups oat flour
- 1/4 cup unsweetened applesauce
- 1 egg plus 1 tablespoon water
- Blend kale, mint, applesauce, egg, and water in a food processor until smooth.
- Pour mixture over oat flour and knead into a green-tinted dough.
- Cut into desired shapes and bake at 325°F for 18-22 minutes until edges are golden.
Tips & Safe Baking Guidelines
When I first started making homemade treats for my itchy dog, I made plenty of mistakes—and I want to help you skip those learning curves. Here are my most important safety tips for anti-yeast baking:
Storage: Most of these treats will stay fresh in an airtight container at room temperature for 5-7 days. For longer storage, pop them in the fridge for up to 2 weeks or freeze for up to 3 months. I like to freeze half the batch so I always have treats ready without worrying about spoilage.
Watch the sugar: Yeast feeds on sugar, so always choose unsweetened versions of ingredients like applesauce, coconut milk, and nut butters. Read labels carefully—you’d be surprised how many “natural” products have hidden added sugars.
Start slow: Introduce any new treat gradually, offering just one or two pieces the first day. Every dog’s system is different, and you want to make sure the ingredients agree with your pup before making a full batch.
Know your dog’s allergies: If your dog has known food sensitivities, swap out any questionable ingredients. For example, substitute oat flour for wheat flour, or use a different protein source if your dog is sensitive to fish.
Always consult your vet: While these treats support a yeast-reducing diet, they’re not a replacement for professional veterinary care. If your dog’s itching persists or worsens, get them checked for underlying conditions.
Final Thoughts on Anti-Yeast Dog Treats
Making your own anti-yeast treats is one of the most loving things you can do for an itchy dog. Not only are you controlling exactly what goes into their body, but you’re also giving them relief from the constant discomfort that comes with yeast overgrowth. I’ve watched my own pup go from miserable, bald-patched scratching to a happy, comfortable companion—and these recipes were a huge part of that transformation.
Start with one or two recipes that appeal to you, and don’t be afraid to experiment with ingredient swaps based on what your dog enjoys. The best part? Baking for your dog is quick, affordable, and fills your kitchen with the kind of wholesome, natural aroma that makes tails wag before the treats even hit the cooling rack. Your pup deserves to feel good, and these treats are a delicious step in the right direction.
Frequently Asked Questions
How long does it take to see improvement in my dog’s itching?
Most dogs show noticeable improvement within 2-4 weeks of switching to a yeast-reducing diet, including anti-yeast treats. However, every dog is different—some respond within days, while others need a full dietary overhaul plus time for their skin to heal. Be patient and consistent.
Can I feed these treats every day?
Yes, you can offer these treats daily, but remember that treats should make up no more than 10% of your dog’s daily caloric intake. I usually give my dog 2-3 small treats per day alongside their regular low-carb, anti-yeast meals.
Are grain-free treats better for yeast infections?
Not necessarily. The real issue is sugar and simple carbohydrates, not grains themselves. Oat flour and brown rice flour are actually great choices because they have a lower glycemic index than white flour or corn. Focus on low-sugar recipes rather than strictly grain-free options.
My dog won’t eat anything with vinegar. What should I do?
If your dog turns up their nose at apple cider vinegar treats, try reducing the amount by half, or mix the vinegar with a strongly flavored ingredient like peanut butter to mask it. Alternatively, skip vinegar-heavy recipes entirely and focus on coconut oil, turmeric, and omega-3-rich recipes instead.
Can puppies eat these anti-yeast treats?
Most of these recipes are safe for puppies over 8 weeks old, but start with very small pieces to avoid choking hazards. For puppies, I’d recommend the pumpkin and ginger recipe since it’s gentle on developing digestive systems. Always check with your vet before introducing new foods to puppies.