10 Dog Stairs DIY Fixes That Are Actually Safer Than Store-Bought
Let’s be real—most store-bought dog stairs are flimsy. They slide, wobble, or collapse the second your pup puts a paw on them. I’ve been there, watching my senior dog hesitate at the bottom of a wobbly step, and it broke my heart. That’s when I decided to build my own.
DIY dog stairs aren’t just cheaper—they’re safer, sturdier, and you can customize them to fit your dog’s size, your home’s decor, and your skill level. Whether your dog is tiny, heavy, or just clumsy, these 10 fixes will give you peace of mind and your dog a steady climb.
1. The No-Slip Carpet Ramp for Old Floors
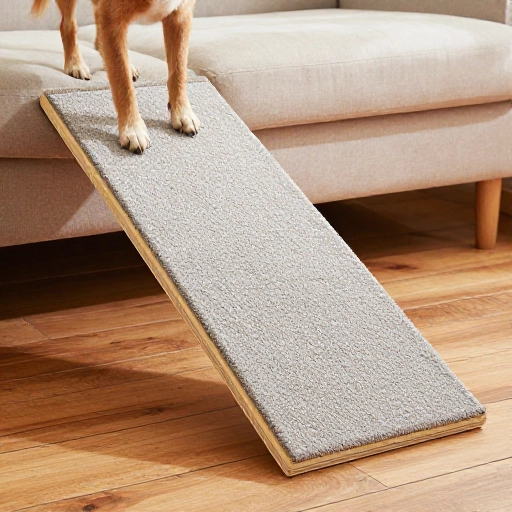
If your dog slides off plastic steps, this fix is a game-changer. Start with a piece of plywood cut at a gentle angle. Cover it with a high-pile carpet remnant that has a rubber backing.
To make it truly slip-proof, screw a thin wooden lip at the bottom edge. This catches paws and prevents the ramp from sliding forward. Your dog will feel confident even on hardwood or tile.
Pro tip: Use carpet glue on the edges to prevent fraying. No more tripping on loose threads.
2. Foam Block Steps for Tiny Breeds
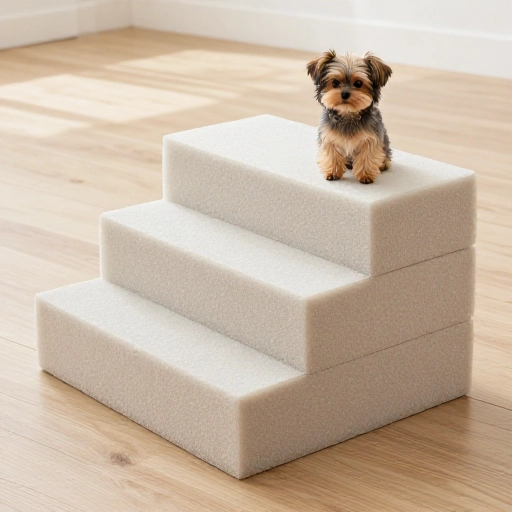
For Chihuahuas, Yorkies, or puppies, heavy wooden steps can be intimidating. Try using high-density foam blocks from a craft store. Stack two or three blocks and cover them with a soft, washable fabric.
Cut the foam to create shallow, wide steps. The foam absorbs shock and is super lightweight. Your tiny dog can hop up without fear of falling.
Bonus: You can remove a block as your dog ages or needs a lower step. It’s like a modular staircase for your fur baby.
3. Repurposed Nightstand or End Table
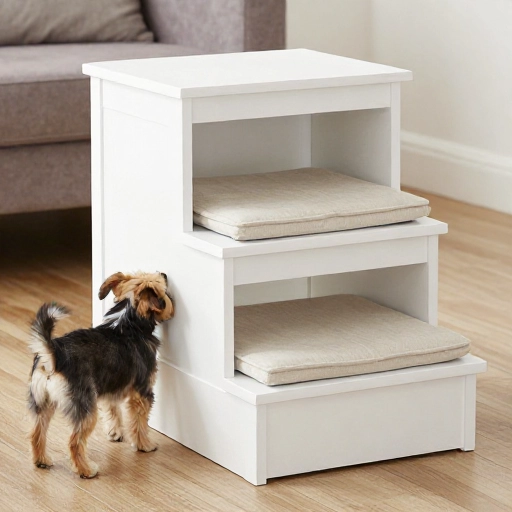
Look around your house. That old nightstand with two drawers? It’s perfect. Remove the drawers, sand down any sharp edges, and add a non-slip mat on top. Place it next to the bed or couch.
The sturdy wood frame won’t wobble like cheap plastic. Your dog can use the drawer openings as steps if you leave them partially open, or you can build a small platform on top.
This fix takes 20 minutes and costs nothing. Plus, it matches your furniture.
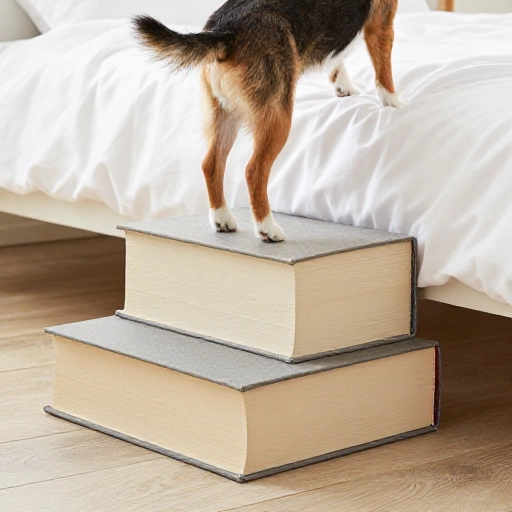
4. The Two-Book Method (Seriously Works)
This is the quickest fix for a temporary need. Grab two large, thick hardcover books—like dictionaries or cookbooks. Place one flat on the floor, then the other on top, offset slightly to create a step.
Wrap them in a towel or a non-slip shelf liner. The weight of the books keeps them stable, and the offset prevents your dog from slipping off the edge.
Perfect for travel or if you’re testing whether your dog will actually use stairs before building something permanent.
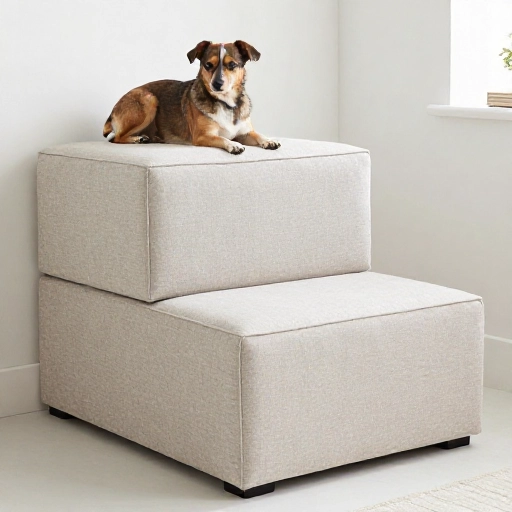
5. Storage Ottoman Staircase
Buy a rectangular storage ottoman with a flat, firm top. Add a smaller footstool or a sturdy box next to it. Place them side by side to create two wide, stable steps.
Fill the ottoman with blankets or toys to weigh it down. The soft top is gentle on joints, and the storage is a bonus. Your dog gets a safe climb, and you get extra space.
Use a rubber mat between the ottoman and the floor to stop any sliding. This is a favorite for small apartments.
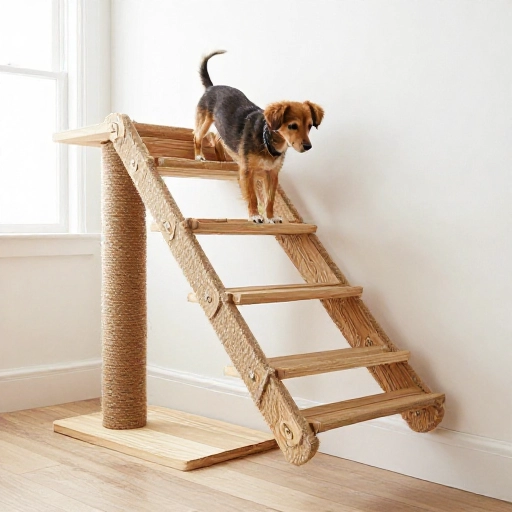
6. Repurposed Cat Tree Steps
If you have an old cat tree with perches or platforms, don’t toss it. Remove the carpeted shelves and attach them to a wooden frame or stack them on top of each other.
Cat tree steps are already covered in carpet, so they’re non-slip. Secure them with brackets or heavy-duty velcro. The height is usually perfect for low beds or couches.
This is an eco-friendly hack that reuses materials you already own.
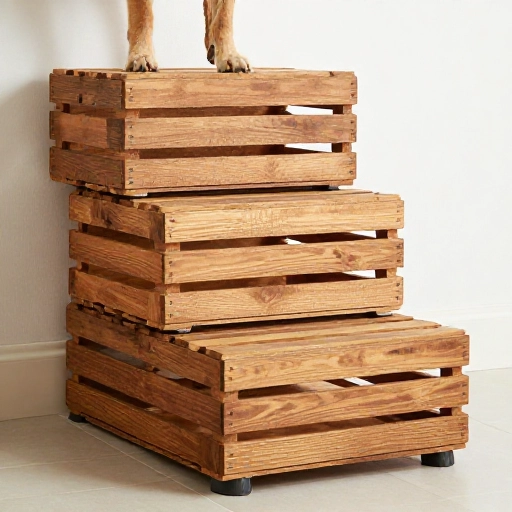
7. Wooden Crate Stack with Rubber Feet
Get two or three wooden crates from a craft store. Stack them in a staircase pattern—one flat, one slightly raised, one higher. Screw them together from the inside.
Attach rubber furniture feet to the bottom crate to prevent sliding. The open crates can be used for toy storage. Your dog will love the stable, wide steps.
Sand all edges and add a coat of pet-safe paint or stain. This looks like a rustic decor piece, not a dog accessory.
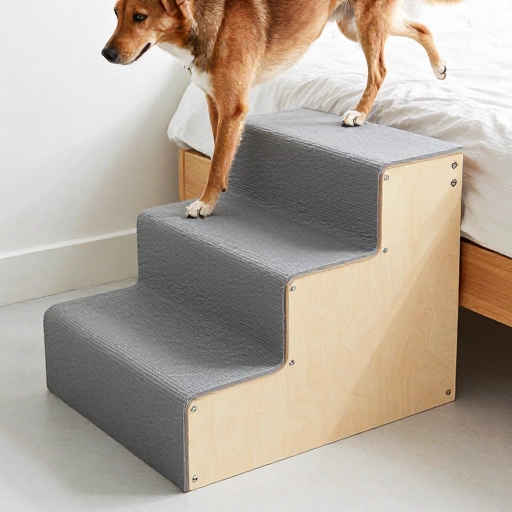
8. The Yoga Mat and Plywood Combo
Cut a piece of plywood into a gentle staircase shape—two or three wide, shallow steps. Cover each step with a sticky yoga mat cut to size. The mat provides grip even for wet paws.
Add a strip of non-slip tape on the edge of each step. This is a great option for dogs with arthritis because the surface is slightly cushioned.
You can paint the plywood edges to match your room. It’s lightweight enough to move but sturdy enough to hold a 50-pound dog.
9. Converted Laundry Basket Tower
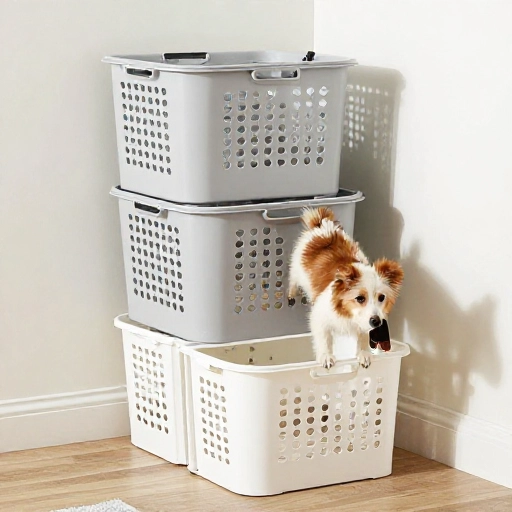
Stack two sturdy plastic laundry baskets upside down. Make sure they’re the same size. Use zip ties to secure them together. Place a third basket on its side as a ramp or step.
The grid pattern of the baskets provides natural traction. The plastic is easy to clean if your dog has muddy paws. This is a budget-friendly fix that takes five minutes.
Test the stack for wobbling before letting your dog use it. Add a heavy book inside the bottom basket for weight.
10. The Pallet Wood Custom Staircase
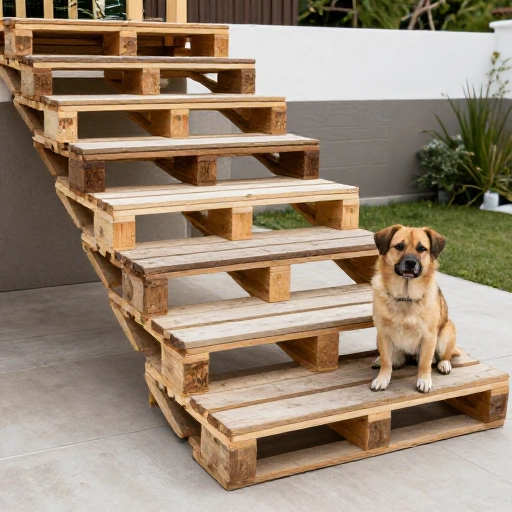
If you have basic DIY skills, this is the ultimate long-term fix. Disassemble a wooden pallet to get sturdy planks. Cut and assemble a small staircase with wide, low risers.
Sand everything smooth. Add a coat of polyurethane for durability, then stick on adhesive carpet squares. The result is a heavy, stable staircase that won’t tip over.
This takes an afternoon but will last for years. Your dog will feel like royalty climbing their custom throne.
Conclusion: Why DIY Wins Every Time
Store-bought dog stairs are often made with cheap foam or thin plastic that shifts under weight. DIY fixes let you control the materials, the size, and the stability. You also save money and reduce waste.
I’ve seen my anxious dog transform into a confident climber with just a few simple changes. Start with the easiest fix—like the book method—and see how your dog responds. You might be surprised how much they appreciate a safe, steady path to their favorite spot.
FAQ: Dog Stairs DIY Fixes
Q: Are DIY dog stairs really safer than store-bought?
Yes. Most store-bought stairs use lightweight foam or thin plastic that slides. DIY stairs can be built with solid wood, non-slip surfaces, and weighted bases for stability.
Q: What’s the best material for senior dogs?
Carpet-covered plywood or foam blocks with fabric covers. These provide cushion for sore joints and grip for unsteady paws.
Q: How do I make sure the stairs don’t slide on hardwood?
Attach rubber furniture pads or a non-slip rug pad to the bottom. You can also place a heavy object on the lowest step for extra weight.
Q: Can I use these fixes for large dogs?
Absolutely. For large dogs, use solid wood or heavy crates. Avoid lightweight foam or plastic. Test the stairs with your own weight first.
Q: How long does a typical DIY dog stair project take?
The simplest fixes take 10–20 minutes. Custom wooden stairs might take an afternoon. Always allow time for glue or paint to dry completely.