10 Easy DIY Pet Harness Tutorials That Look Store-Bought (Sew & No-Sew Options)
If your pup does the classic “stop-and-refuse-to-move” routine every time you clip on a leash, a better-fitting harness might be the fix. But let’s be real—good harnesses can cost a small fortune. I’ve been there, staring at the price tag and thinking, “I could totally make that.”
So I started experimenting at home with everything from old t-shirts to climbing rope. The results? Some seriously cute, functional, and custom-fit harnesses that cost me less than a coffee. Whether you have a tiny chihuahua or a sturdy lab, I’ve gathered my ten favorite DIY tutorials that are beginner-friendly and actually hold up on walks.
Grab your scissors, dig through that fabric stash, and let’s make something your furry best friend will actually love wearing.
1. The Upcycled T-Shirt Harness (No-Sew, 5 Minutes)
This is the absolute easiest project on my list, and it’s perfect for a puppy that’s still growing. You’re basically turning a worn-out cotton tee into a soft, breathable harness that won’t rub their skin. The best part? If it gets muddy, you just toss it in the wash.
You’ll need a t-shirt that’s slightly stretchy. Cut two thick strips from the bottom hem, then cut two smaller loops for the leg holes. The trick is to weave the strips through the loops so the pressure distributes evenly across the chest, not the neck.
I like to use shirts with fun patterns or band logos—it gives your dog a little personality. Just make sure the fabric is sturdy. Thin, worn-out fabric can tear easily if your dog pulls hard.
- Best for: Small to medium breeds, indoor training, and puppies.
- Skill level: Absolute beginner.
- Pro tip: Use a seam ripper to remove the sleeves for extra fabric.
2. The Classic Step-In Harness with Webbing
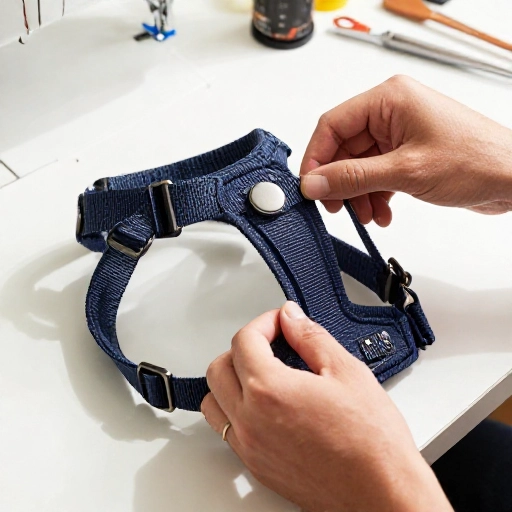
This one looks like something you’d buy at a boutique, but it’s just nylon webbing, a few plastic buckles, and basic sewing. The step-in style is amazing for dogs that hate things going over their heads. They just step into it, and you clip it up the back.
You’ll need about 2 yards of ¾-inch nylon webbing, two side-release buckles, and a D-ring for the leash. Measure your dog’s chest girth and the distance between their front legs. Cut two long pieces for the chest and belly straps, and two shorter cross pieces.
Sew the buckles on, making sure the male ends are on the belly side. The D-ring goes right at the top of the back, between the shoulder blades. I recommend using a heavy-duty needle on your machine or hand-sewing with dental floss for extra strength.
- Best for: Medium to large dogs that pull.
- Skill level: Intermediate (basic sewing required).
- Pro tip: Add reflective stitching for evening walks.
3. The Braided Paracord Harness (Rustic & Super Strong)
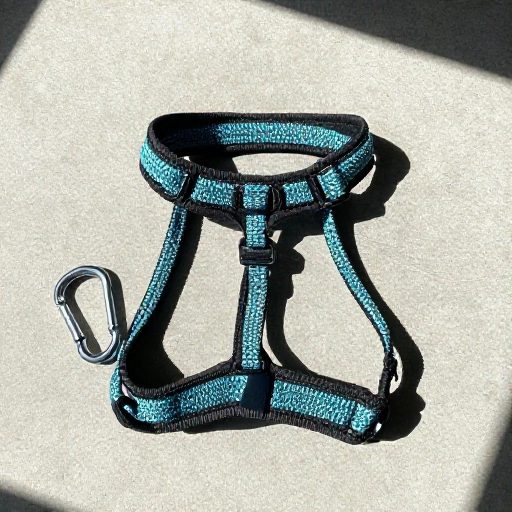
If you want something rugged that can handle the outdoors, paracord is your best friend. This harness is basically a series of braided loops that form a Y-shape over the chest. It looks complicated, but it’s just a lot of knotting and braiding.
Start by measuring the girth. Cut four long strands of paracord, about three times your dog’s girth. Fold them in half and braid them together to create a thick, padded chest strap. Then create two smaller loops for the legs.
The key here is to melt the cut ends with a lighter so they don’t fray. I also add a sliding knot so I can adjust the fit as my dog moves. It’s durable, water-resistant, and honestly looks super cool.
- Best for: Hiking, camping, and adventurous dogs.
- Skill level: Intermediate (lots of knot tying).
- Pro tip: Use bright neon paracord for high visibility.
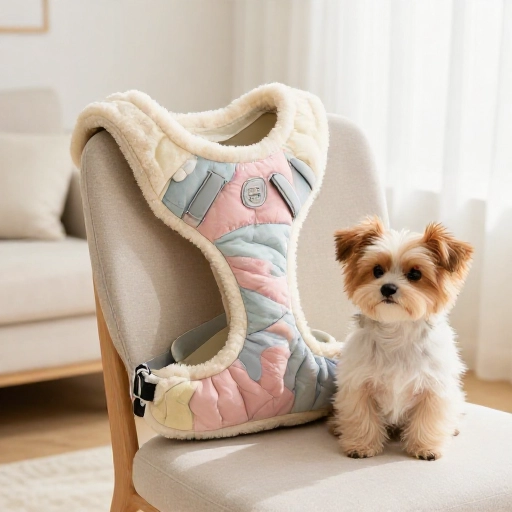
4. The Fleece-Lined Padded Harness (For Sensitive Skin)
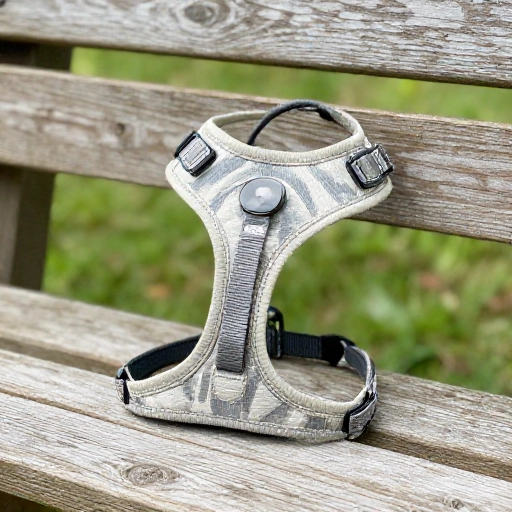
Some pups have delicate skin that gets chafed by rough nylon. My own dog has this issue, so I designed a harness with a soft fleece lining that cushions the chest and underarms. It’s like a cozy hug for your dog.
You’ll need outer fabric (like canvas or denim) and a fleece lining. Cut two identical shapes for the chest piece and two for the belly strap. Sandwich the fleece against the wrong side of the outer fabric and sew around the edges, leaving a gap to turn it right side out.
Once turned, topstitch around the edge to keep it flat. Add your buckles and D-ring. The fleece stays in place if you sew a few vertical lines through the middle to create a quilted effect.
- Best for: Dogs with allergies or short hair.
- Skill level: Intermediate (requires sewing and turning).
- Pro tip: Use old sweatshirt fleece to save money.
5. The Quick Climbing Rope Harness (No Hardware Needed)
This is my go-to emergency harness when I accidentally leave the real one at home. It uses a single length of soft climbing rope and a slip knot. No buckles, no clips, no sewing—just pure knot engineering.
Fold your rope in half to find the middle. Tie a simple overhand knot to create a loop for the leash. Then, create two chest loops by passing the rope around your dog’s chest and through the main loop. Secure with a square knot at the top of the back.
It’s not the most polished look, but it’s incredibly strong and impossible for your dog to back out of. I always keep a 6-foot piece in my car trunk just in case.
- Best for: Emergencies, travel, and camping trips.
- Skill level: Beginner (only two knots to learn).
- Pro tip: Use static rope, not dynamic rope, for less stretch.
6. The Retro Fabric Scrap Harness (Zero Waste)
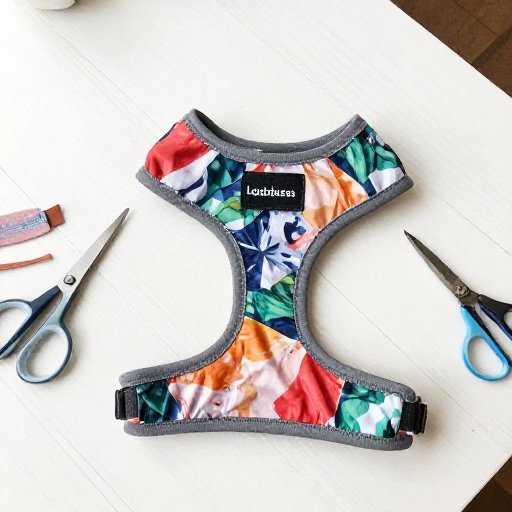
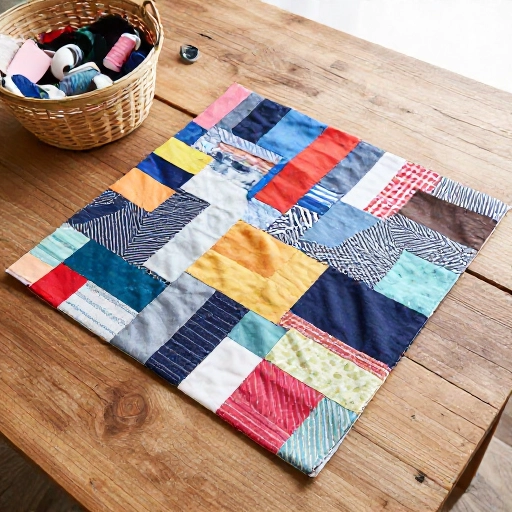
I love this project because it uses up all those leftover fabric scraps from other DIY projects. It’s a patchwork harness that’s vibrant, funky, and totally unique. Your dog will be the only one on the block wearing this print.
Cut your scraps into 2-inch wide strips. Sew them together end-to-end to make one long strap. Then, fold the long strap in half lengthwise and sew it shut to create a sturdy tube. This becomes your main body strap.
Create a second shorter tube for the belly strap. Attach them with a simple cross-stitch. For the buckle, you can use an old one from a broken harness, or sew on heavy-duty buttons and loops.
- Best for: Crafty people with scrap bins.
- Skill level: Easy to medium.
- Pro tip: Pre-wash your fabrics to prevent shrinking later.
7. The Velvet & Leather Luxe Harness
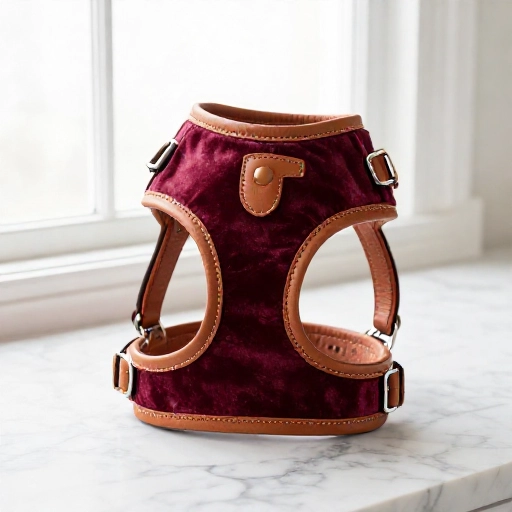
Who says DIY can’t look expensive? This harness uses a strip of faux leather for the main strap and a velvet ribbon for the inside padding. It feels luxurious and looks like it came from a high-end pet boutique.
You’ll need a 1-inch wide leather strap and a 1.5-inch velvet ribbon. Glue the velvet onto the inside of the leather using fabric glue or sew them together. Then, attach a gold or brass D-ring for a classy touch.
The trick is to punch holes in the leather for the buckle using a leather punch tool. This makes it fully adjustable. It’s dressy enough for holiday photos but sturdy enough for daily walks.
- Best for: Small dogs and photo shoots.
- Skill level: Intermediate (leather punching involved).
- Pro tip: Fray the velvet edges slightly for a bohemian look.
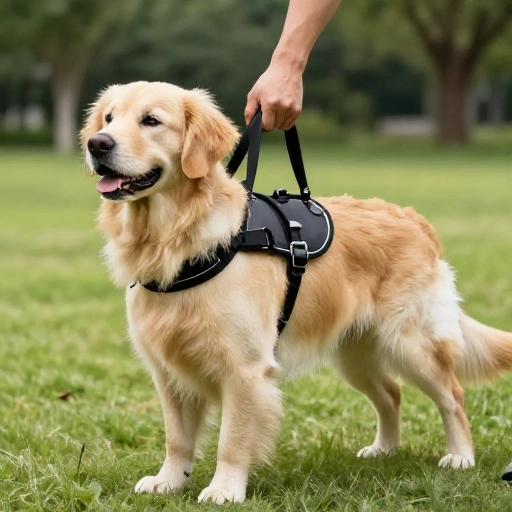
8. The Double-Handle Training Harness
If you have a reactive dog or you’re working on obedience, having a handle on the back is a lifesaver. This harness includes a sturdy webbing loop on the top that you can grab quickly to keep your dog close during training.
Build the base like the classic step-in harness from idea #2. But before you sew the top strap closed, fold a 6-inch piece of webbing in half and insert it into the seam. Sew it securely with a box-stitch pattern.
This handle is perfect for lifting your dog over puddles or pulling them away from distractions. Make sure you reinforce the stitching heavily—this handle takes a lot of stress.
- Best for: Training, agility, and big dogs.
- Skill level: Intermediate to advanced.
- Pro tip: Add a rubber grip to the handle for comfort.
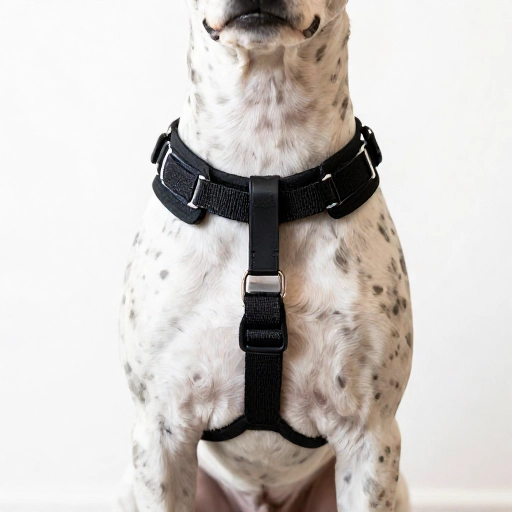
9. The Convertible No-Pull Front Clip Harness
This one is a game changer for pullers. Instead of clipping the leash on the back, this harness has a D-ring right at the chest. When your dog pulls, the harness gently turns them back toward you—it’s humane and effective.
You’ll create a wide chest panel that wraps around the front. The D-ring is sewn onto the center of this panel. The leash attaches here, giving you more control without choking.
The tricky part is getting the angles right so the panel sits flat. I recommend using a flexible pattern paper to trace your dog’s chest before cutting fabric. Once it fits, it’s the best tool you’ll own for sidewalk walks.
- Best for: Strong pullers and leash-reactive dogs.
- Skill level: Advanced (requires fitting).
- Pro tip: Attach the leash to the front ring for walks, back ring for car rides.
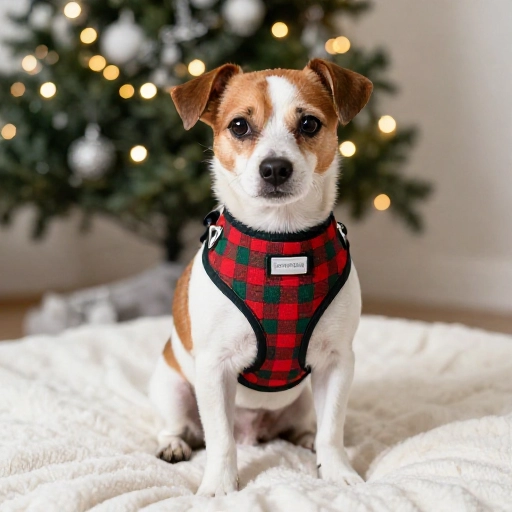
10. The Holiday Themed No-Sew Fabric Harness
This last one is all about fun. It’s a simple slip-over design that works over a comfy base harness. You’re basically making a decorative fabric sleeve that slides over your dog’s existing harness, turning it into a festive outfit in seconds.
Measure your base harness and cut a piece of festive fabric (think Halloween prints, Christmas plaids, or Valentine’s hearts) that covers the chest strap. Fold the edges over and use iron-on hem tape to seal them.
Add velcro strips to the back so it stays in place. It’s not a standalone harness, but it’s perfect for parties and family photos. You can make one for every holiday in under an hour.
- Best for: Holidays, birthdays, and fun outings.
- Skill level: Beginner (ironing required).
- Pro tip: Use waterproof fabric if it might rain.
Conclusion: Your Dog’s New Favorite Accessory
Making your own harness isn’t just about saving money—it’s about getting the perfect fit for your dog’s unique body shape. I’ve learned that store-bought harnesses never quite fit my dog’s barrel chest, but a DIY version lets me adjust every single strap.
Start with the easiest project (the t-shirt one) and work your way up. Before you know it, you’ll have a collection of harnesses for every mood, season, and adventure. Plus, there’s a special pride in seeing your dog strut down the street wearing something you made with your own two hands.
So, which tutorial are you trying first? I’d love to hear about your successes and funny fails in the comments below.
Frequently Asked Questions
1. Is it safe to make my own dog harness?
Absolutely, as long as you use sturdy materials and secure stitching. Always test the harness on a short walk inside your home before going outside. Check the buckles and seams regularly for wear and tear.
2. What’s the best material for a DIY harness?
Nylon webbing is the strongest and most durable. For comfort, look for cotton canvas or fleece lining. Avoid stretchy materials for the main structure, as they won’t hold your dog securely.
3. How do I measure my dog for a harness?
Measure the widest part of their chest, just behind the front legs. Also measure the distance between their legs. Always add a couple of inches for comfort and adjustability.
4. Can I make a harness without sewing?
Yes! The t-shirt harness and the climbing rope harness require no sewing at all. You can also use iron-on hem tape and velcro for other no-sew options.
5. How do I stop my dog from slipping out of a DIY harness?
The key is the “step-in” design or a Y-shape over the chest. Avoid designs that only wrap around the neck. Make sure the belly strap is snug but not tight—you should be able to fit two fingers underneath.