10 Handmade Leather Pet Harness Ideas That Are Stylish, Durable, and Oh-So-Personal
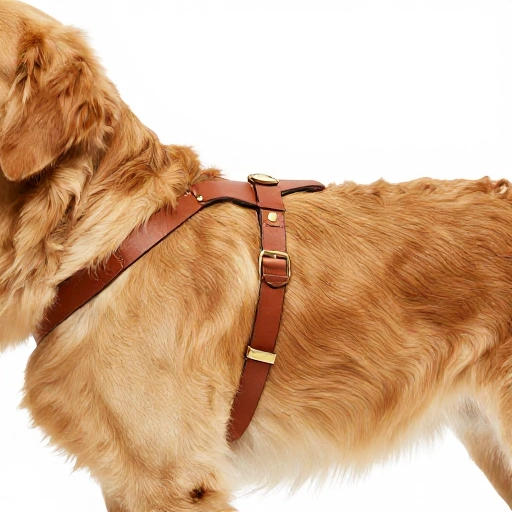
If you’ve ever scrolled through Pinterest looking for the perfect dog harness, you know the struggle—everything looks the same. It’s all nylon and plastic clips, and honestly, it just doesn’t have that warm, artisanal feel. That’s why I started making my own leather harnesses. There’s something so special about crafting a piece that fits your pup’s personality (and their exact measurements!).
Handmade leather harnesses aren’t just about looks. They’re about durability, comfort, and creating a bond with your gear. Plus, leather ages beautifully. It softens, develops a rich patina, and molds to your dog’s body over time. Whether you’re a seasoned crafter or just dipping your toes into leatherwork, these ten ideas will get your creative juices flowing. Grab your tools, pick a hide, and let’s make something your furry best friend will actually love wearing.
1. The Minimalist Bareback Harness
This is the perfect starting point for beginners. It’s just a single, wide strip of vegetable-tanned leather that goes across the chest and around the belly. No padding, no fuss—just pure, simple function. I love using a natural, unfinished leather for this so it develops a beautiful tan over time.
To make it, you’ll need a couple of brass D-rings and a sturdy buckle. Cut your strap to fit snugly around your dog’s torso, then burnish the edges for a smooth finish. It’s the kind of harness that looks deceptively simple but feels incredibly strong. It’s also super lightweight, which makes it great for everyday walks in warm weather.
My favorite part? You can stamp your dog’s name right into the leather with a letter stamp kit. It adds that personal touch that makes it truly one-of-a-kind.
2. The Padded Comfort Walker
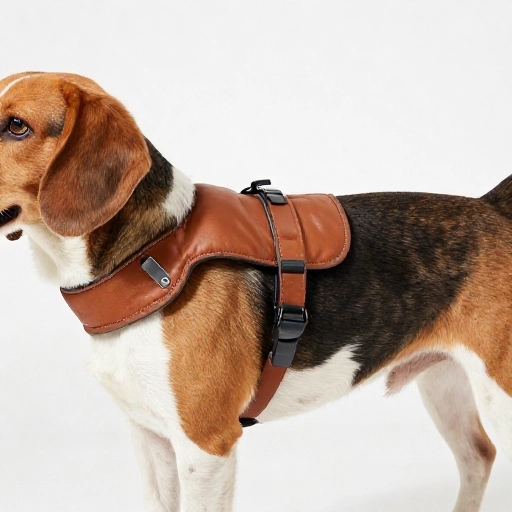
For dogs with sensitive skin or those who pull a bit, padding is a game-changer. You can make this by gluing a layer of soft lambskin or a thin piece of memory foam to the inside of your leather straps. It looks luxurious, but it’s actually really practical.
Start with a wider strap for the chest piece. Cut your padding to size, apply a strong contact cement, and press it onto the leather. Then, you can stitch around the edges to keep it secure and give it a decorative look. This is where you can get fancy with a saddle stitch—it’s strong and looks so professional.
I recommend using a front-clip design for this one. Bring the D-ring attachment point down to the chest to discourage pulling. It’s a kind harness that’s both gentle on your hands and on your dog’s throat.
3. The Boho Woven Leather Harness
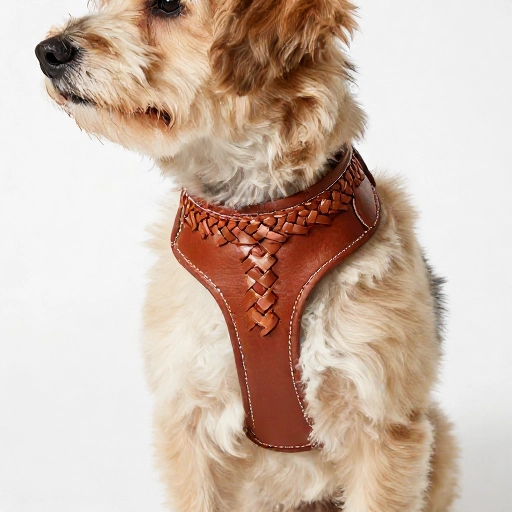
If you want to stand out at the dog park, this is the one. Instead of a solid strap, you’ll weave thin strips of leather together to create a textured, braided look. It’s a bit more time-consuming, but the result is stunning—it looks like a piece of jewelry for your dog.
Cut four or six long, thin strips of leather. You can mix colors, like a tan and a dark brown, for a more dynamic pattern. Braid them together, then attach your hardware at the ends. It’s flexible and moves with your dog, which they love.
I’ve found this harness works best for smaller, calmer dogs. The weaving is pretty, but it’s not the strongest for heavy pullers. Use it for light walks and style points!
4. The Vintage Tooled Leather Harness
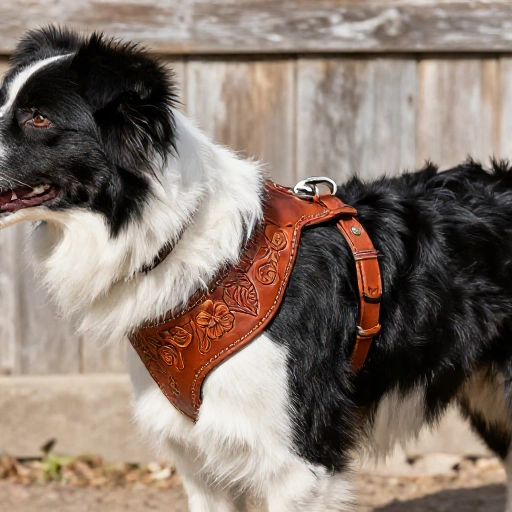
This one is for the Western lovers out there. Tooling leather is an art form, and you can create a harness that looks like it belongs on a ranch. You’ll want a firmer, thicker piece of leather (like 8-10 oz) for this project. It needs to hold the carved details.
You’ll need a swivel knife and some stamping tools. Sketch out a floral pattern or a geometric design on the leather. Then, use your swivel knife to cut the outline, and use the stamps to create depth and shadows. Wet the leather first to make it easier to work with.
This is a slow, meditative process. It’s not about speed; it’s about the craftsmanship. The finished piece looks like an heirloom—something you’ll pass down. It’s heavy and sturdy, perfect for a strong, outdoorsy dog.
5. The Upcycled Belt Harness
Before you toss that old leather belt from the thrift store, think of this! Upcycling is not only budget-friendly, but it also gives your harness a cool, lived-in vibe. Look for belts that are in good condition but have a cool buckle or interesting texture.
I love this hack. You basically just cut the belt to size, punch some holes, and add your D-rings. The belt’s original buckle can become the harness’s closure, or you can swap it out for a snap or a different style of buckle. It’s a zero-waste project that looks like you paid a fortune for it.
Since belts are usually a standard width, this is great for medium to large dogs. It’s a super fast project—you can probably finish it in an hour. It’s the perfect DIY for a rainy afternoon.
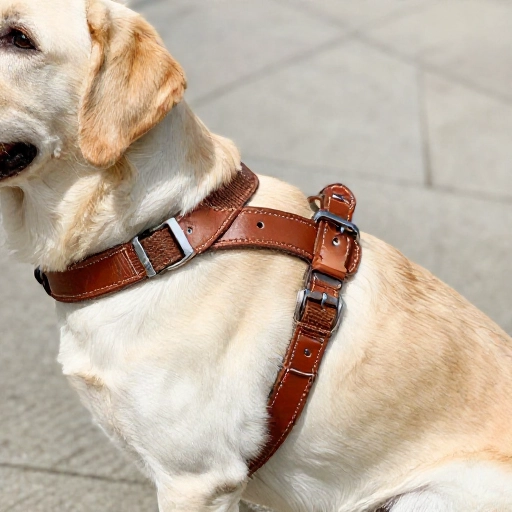
6. The Luxurious Suede-Lined Harness
Let’s talk about comfort. This harness feels like a soft sweater for your dog. You use a sturdy outer layer of leather for strength, and then you line the inside with a super soft suede. It prevents chafing and makes the harness feel plush against their skin.
You’ll need to cut two layers for each strap: one in regular leather, one in suede. Glue them together with the suede facing inward, then stitch around the perimeter. The stitching will hold everything together and give it a clean edge.
I made this for my own pup who has very thin fur, and she never complains about wearing it. It’s the perfect choice for short-haired breeds like Boxers or Greyhounds. Plus, suede comes in so many colors—you can match it to your dog’s collar or your own style.
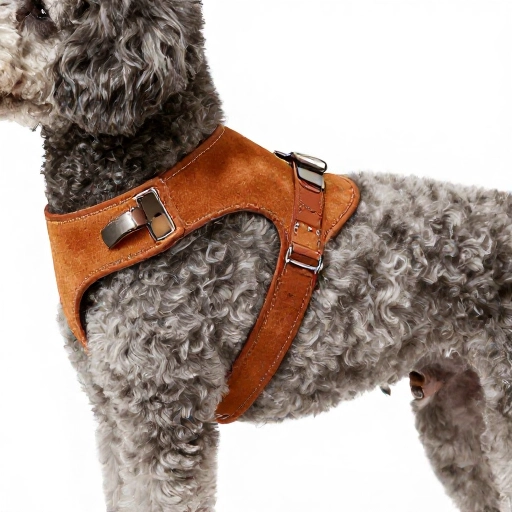
7. The No-Sew Riveted Harness
Not everyone has a sewing machine or the patience for hand-stitching. That’s where rivets come in! This harness is held together entirely by strong copper or brass rivets. It’s a rugged, industrial look that’s also incredibly easy to assemble.
Cut your straps to size, overlap the ends where you want to attach the hardware, and mark your rivet holes. Use a punch to create the holes, then set your rivets with a hammer and anvil. It’s a satisfying, tactile process that feels very “maker.”
This is a great project for a beginner. You don’t need a lot of specialized tools—just a rivet setter, which is pretty cheap. The rivets are incredibly strong, so you don’t have to worry about them popping open during a tug-of-war session.
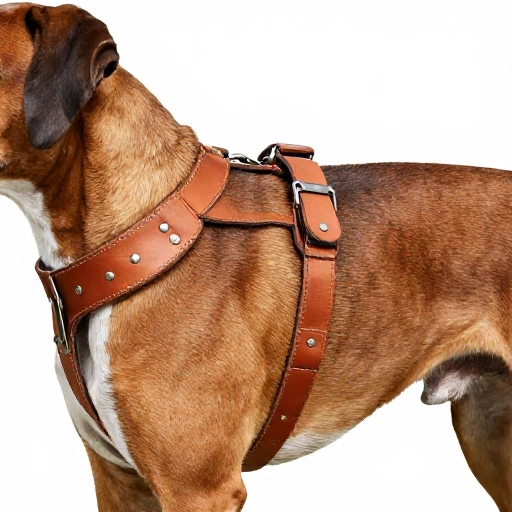
8. The Color-Blocked Harness
Who says leather has to be brown or black? You can dye leather any color of the rainbow. For this idea, I love to use two contrasting colors—like a deep forest green and a bright mustard yellow. It’s a modern, playful look that’s totally unique.
You’ll need to buy leather dye and a sealant. Cut your straps, then apply the dye in thin, even coats. Let it dry completely before you assemble. This is where you can really let your personality shine. Match it to your dog’s bandana or your own favorite jacket.
Pro tip: use a leather sealer after dyeing to prevent the color from bleeding onto your dog’s fur or your hands. It’s a simple step that makes a huge difference in the longevity of the color.
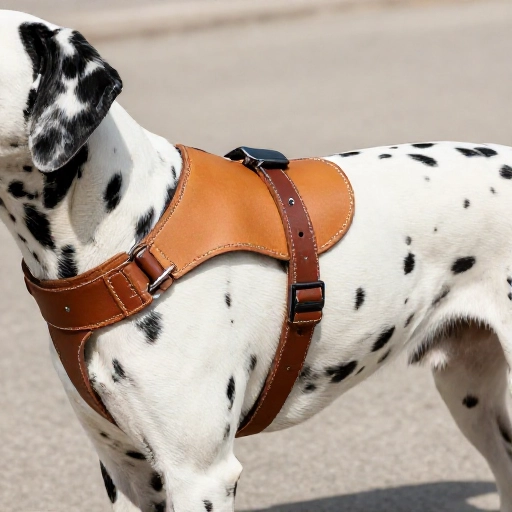
9. The Double Layered Geometric Harness
This is a modern, structured take on the classic harness. Instead of simple straps, you’ll cut out shapes—like a diamond or a hexagon—for the chest plate. It’s a bold, geometric aesthetic that looks super contemporary. It’s a bit of a puzzle to design, but so worth it.
Cut out a central shape for the chest, and then attach your straps to it. You’ll want to use a small rivet or a stitch at each connection point. The key is to use a thick leather for the center piece so it holds its shape.
I think this design looks amazing on breeds with a broad chest, like a French Bulldog or a Boston Terrier. It provides a very secure fit and looks like it came from a high-end boutique. It’s a real statement piece.
10. The Decorative Stitched Harness
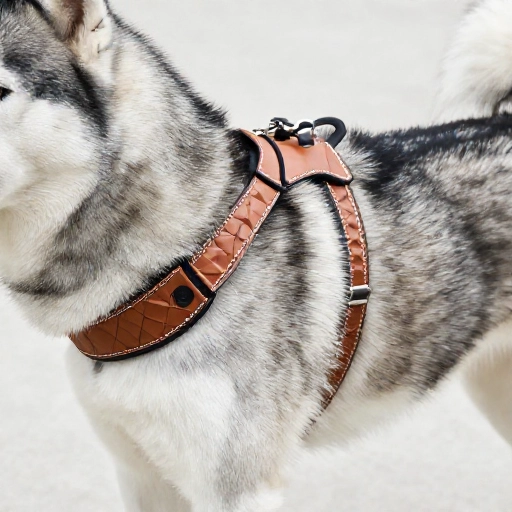
Sometimes, it’s the details that matter most. This harness uses a simple, single-layer design, but the magic happens with the stitching. Use a bright, contrasting thread—like a fiery orange or a sky blue—and do a decorative saddle stitch along the edges of the straps.
The saddle stitch is not only beautiful, but it’s also extremely durable. You can do a simple running stitch or get fancy with a baseball stitch. The thread adds a pop of color and visual interest that elevates the whole piece from “DIY” to “professional.”
It’s a great way to practice your stitching skills. You can even add a second line of stitching for a more complex look. This harness is a classic that will never go out of style.
Making your own leather harness is more than just a craft project—it’s a labor of love. You get to control the materials, the fit, and the style. And when you see your dog strutting down the street wearing something you made with your own two hands, it’s a feeling that’s hard to beat. So, which idea are you going to try first?
Frequently Asked Questions
What type of leather is best for a dog harness?
For most harnesses, you’ll want a full-grain or top-grain vegetable-tanned leather. It’s durable, strong, and safe for your dog to wear. Avoid chrome-tanned leather, which can contain chemicals that may irritate their skin.
How do I measure my dog for a custom harness?
You’ll need two measurements: the neck circumference (where their collar usually sits) and the widest part of their chest, just behind their front legs. Add a few inches to these measurements for comfort and adjustment room. Always measure with a soft tape measure.
How do I clean and care for the leather harness?
Wipe it down with a damp cloth to remove dirt. Occasionally, use a leather conditioner or a little bit of neatsfoot oil to keep it supple. Avoid soaking it in water, as that can weaken the leather and the stitching.
Is it safe for a dog to wear a leather harness every day?
Yes, as long as it’s properly fitted and you take breaks. Leather is breathable and softens over time. Just check the fit regularly, especially if your dog is still growing, and make sure there’s no chafing.
I’m a beginner. Which project should I start with?
Definitely start with the Minimalist Bareback Harness or the No-Sew Riveted Harness. They require the fewest tools and steps. You’ll get a feel for cutting and punching leather without the pressure of a complex design.