10 Quick DIY Dog Wheelchair Builds That Will Save You Thousands
Watching your pup struggle to get around breaks your heart. But before you empty your savings on a custom wheelchair, know this: you can build one at home. It’s not as hard as you think, and your dog will thank you for giving them their freedom back.
I’ve put together ten simple, practical designs. Some take just an hour. Most use stuff you already have lying around. Whether your dog has a temporary injury or a permanent condition, there’s a build here for you.
Let’s get building. Your best friend is waiting to run again.
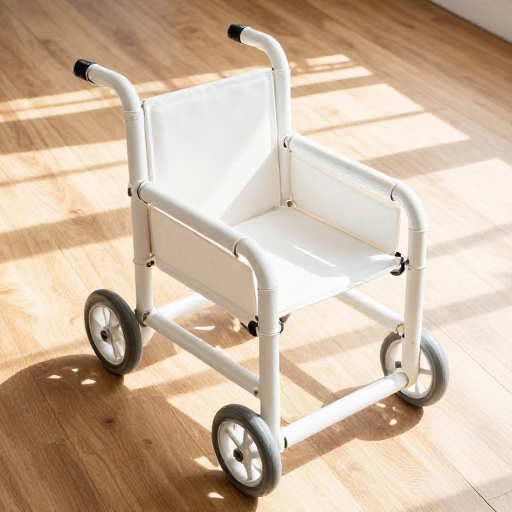
1. PVC Pipe Classic – The Beginner’s Best Friend
This is the build everyone starts with. It’s cheap, lightweight, and easy to adjust. You’ll need PVC pipes, connectors, and a little patience.
Cut two long pipes for the side rails. Add crossbars for stability. Attach wheels from an old stroller or skateboard. The frame should sit just above your dog’s elbows when they stand.
Wrap padding around the belly sling. Use an old belt or towel. This keeps them comfy on longer walks.
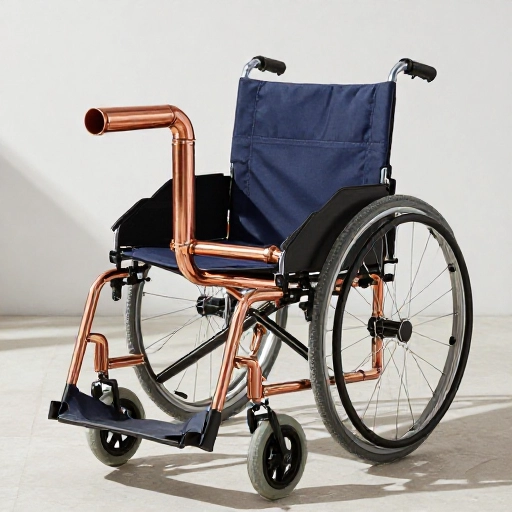
2. Copper Pipe Beauty – Strong and Stylish
Copper looks gorgeous and holds up better than PVC. It’s pricier, but it bends easily. You don’t need as many connectors.
Measure your dog from chest to tail. Cut copper tubing a few inches longer. Bend the ends into loops for wheel mounts. Solder or use epoxy for joints.
Add a fabric sling underneath. Copper’s weight means this works best for medium to large dogs.
3. Repurposed Baby Stroller Hack – Instant Wheels
Got an old baby stroller? You’re halfway done. The wheels are perfect, and the frame is already sturdy.
Remove the seat and canopy. Keep the axle and wheels. Attach a flat board where the seat was. Drill holes for the sling straps.
Your dog rides on the board with legs dangling. This works great for rear support. Adjust the height by moving the board up or down.
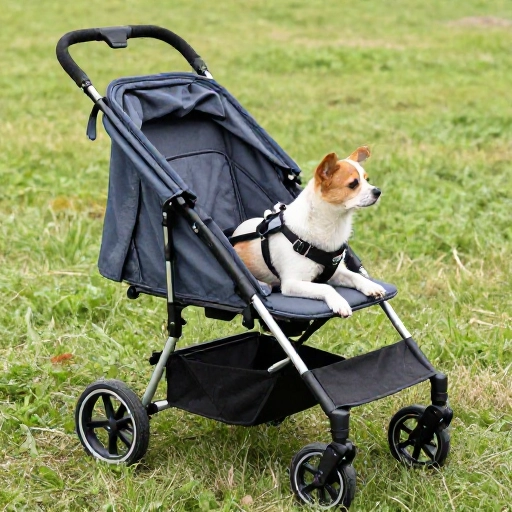
4. Skateboard Wheel Wonder – Smooth and Speedy
Skateboard wheels roll like a dream on pavement. They’re small, fast, and easy to find at thrift stores.
Build a basic PVC frame. Attach the skateboard trucks to the back crossbar. Add a second axle in front if your dog needs front support.
Test on carpet first. The wheels are sensitive to bumps. Add a brake strap for steep hills.
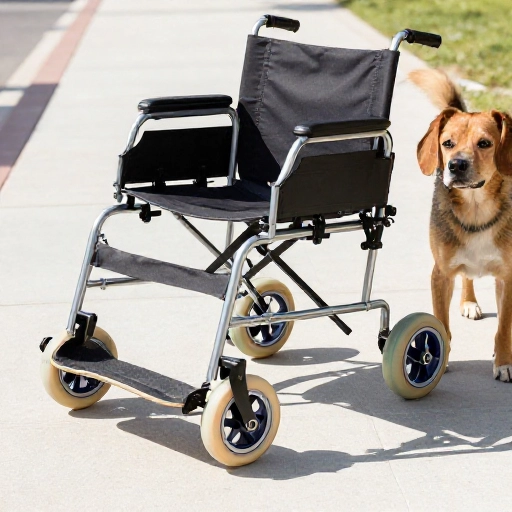
5. Wood Pallet Rescue – Zero Cost Solution
Pallets are free and surprisingly strong. This build takes a saw and some sandpaper. It’s rustic but rock-solid.
Cut two long side pieces from pallet wood. Sand every edge smooth. Connect them with crossbars. Attach caster wheels from an old office chair.
Line the sling with felt or fleece. Wood can splinter, so check it often. This is best for calm dogs who don’t zoom.
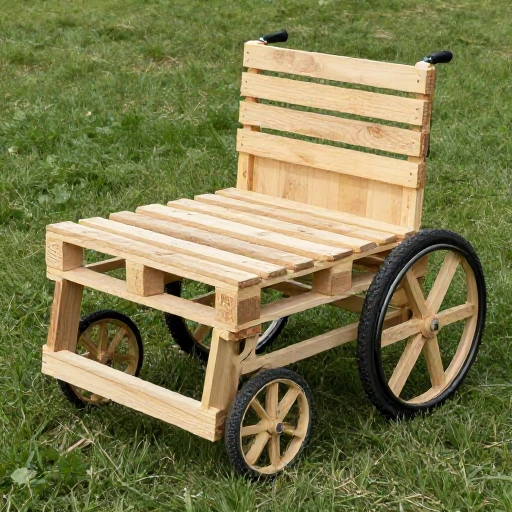
6. Aluminum Lightweight – For Tiny Tots
Small dogs need a light touch. Aluminum tubing from a hardware store is perfect. It’s strong but featherweight.
Cut four pieces for the frame. Use L-brackets to connect corners. Add tiny wheels from a toy car. Make the sling from a soft sock.
This build lets teacup pups walk without dragging. Keep it simple. Less weight means more freedom.
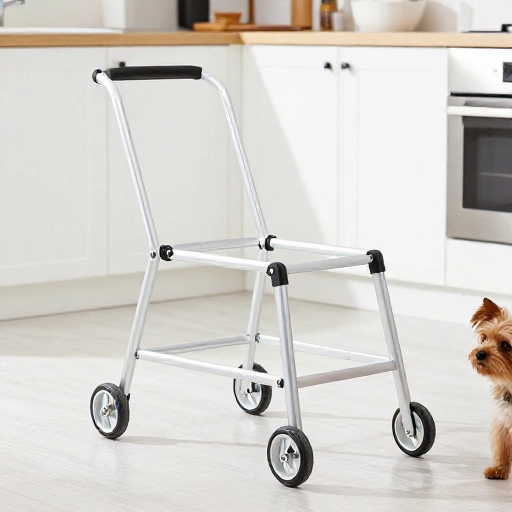
7. Rear Support Only – For Back Leg Weakness
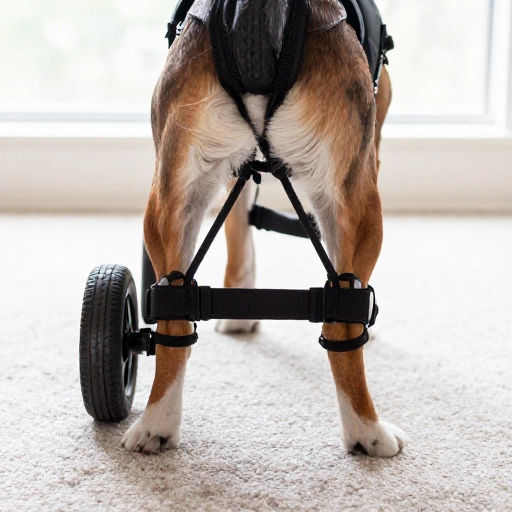
Some dogs only need help behind. This build skips the front entirely. It’s faster and less bulky.
Make a U-shaped frame from PVC. The open end goes toward your dog’s chest. Attach a single axle with wheels behind them.
Use a harness strap to lift the back end. Your dog steers with front legs. This works wonders for hip dysplasia.
8. Front Support Only – For Forelimb Issues
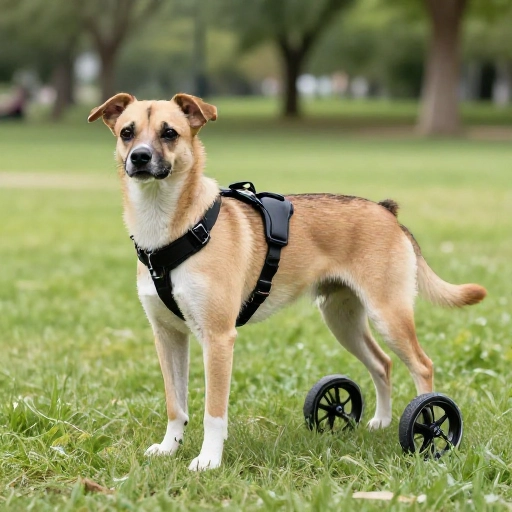
When the front legs give out, focus there. This design supports the chest while back legs do the work.
Build a small frame that sits under the chest. Wheels go in front. Your dog’s back legs stay free.
Pad the chest plate with foam. Adjust the height so they can still stand naturally. This is great for older dogs with arthritis.
9. Pool Noodle Quick Fix – Emergency Only
This isn’t a long-term solution, but it’s a lifesaver in a pinch. Use it while you build something better.
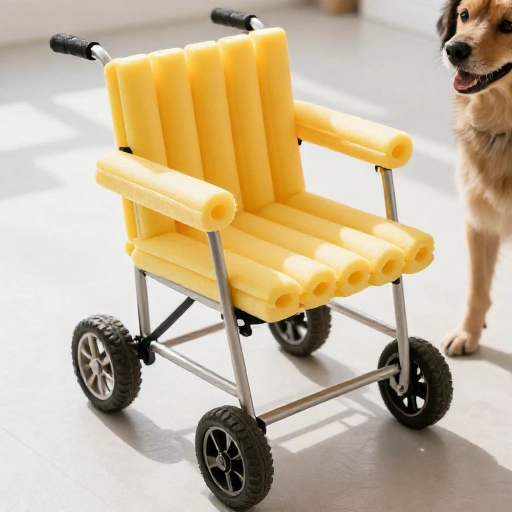
Cut two pool noodles to your dog’s length. Thread a rope through the holes. Tie the rope around your dog’s belly. Hold the ends like handles.
This lets you lift their back end manually. It’s zero cost and takes five minutes. Use it for potty breaks after surgery.
10. Adjustable Growth Frame – For Growing Pups
Puppies outgrow everything fast. Build a frame that grows with them. It saves money and time.
Use telescoping tubing from a curtain rod. Drill holes every two inches for adjustment. Add removable crossbars.
Change the sling length as they grow. This one design fits from puppyhood to adulthood. Perfect for dogs with degenerative conditions.
Conclusion
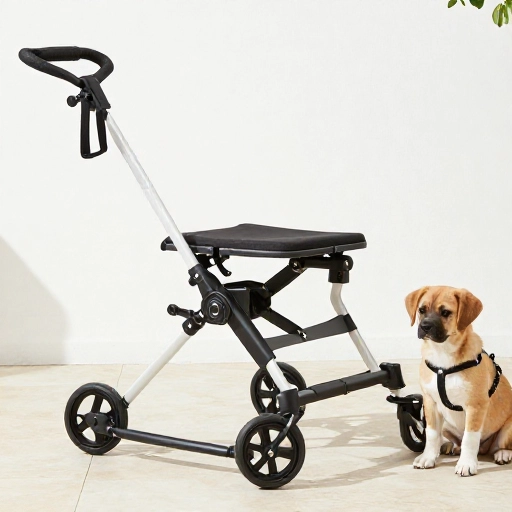
Building a dog wheelchair doesn’t require a workshop or a big budget. It just takes love and a little creativity. Start with the simplest design. Your dog will let you know if it works. Watch their tail. When it wags, you’ve done it right.
Frequently Asked Questions
What materials do I need for a basic DIY dog wheelchair?
Most builds need PVC or metal tubing, wheels (from strollers, skateboards, or carts), connectors, and soft padding for the sling. You’ll also need a saw, drill, and measuring tape.
How do I measure my dog for a wheelchair?
Measure from the chest to the tail for length. Measure the height from the ground to the elbow and to the hip. The frame should lift the weak legs slightly off the ground.
Can I use a DIY wheelchair for a dog with permanent paralysis?
Yes, but make sure the frame is sturdy and padded. Check pressure points daily. For long-term use, upgrade to metal components. PVC can crack over time.
How do I keep my dog comfortable in a homemade wheelchair?
Pad all contact points with fleece or foam. Adjust the sling so it supports the belly without rubbing. Take breaks every 15 minutes. Watch for redness or chafing.
Will a DIY wheelchair hurt my dog’s skin?
It shouldn’t if built right. Sand all rough edges. Use soft fabric for the sling. Check their skin after each use. If you see redness, adjust the padding or fit.