10 Quick DIY Pet Collar Customization Ideas That’ll Make Your Pup the Talk of the Park
Let’s be real—plain collars are boring. And buying a new one every time you want a fresh look? That adds up fast. I’ve been there, staring at my dog’s basic black strap and thinking, “You deserve better, buddy.”
The good news? You don’t need a sewing machine or fancy crafting skills to make something adorable. With a few supplies from your junk drawer (or a quick trip to the craft store), you can transform a plain collar into a one-of-a-kind accessory in under 15 minutes. Plus, it makes a super thoughtful handmade gift for your furry friends.
Here are 10 ridiculously easy DIY ideas that are perfect for any pet parent—even if you’re all thumbs.
1. The Boho Beaded Wrap
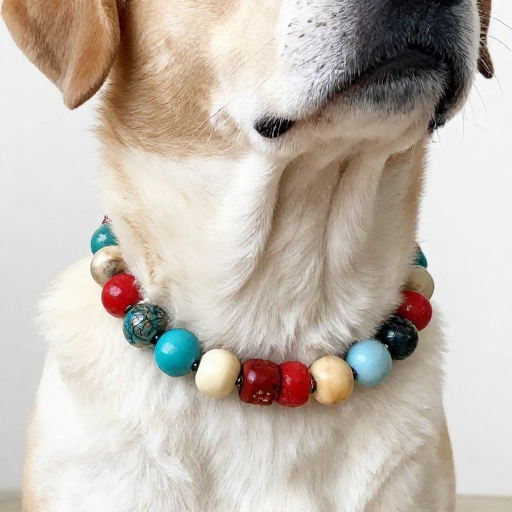
This one looks way harder than it is. Grab some pony beads, a roll of thin leather cord, and your pet’s plain collar. Simply wrap the cord tightly around the collar, threading beads on as you go. Secure the ends with a dab of hot glue.
Use earthy tones like turquoise and wood for a boho vibe, or go bright neon for a fun pop. It’s also super easy to swap out when you want a new color scheme.
Just make sure the beads are small enough that they don’t dangle or get chewed. Safety first!
2. Sharpie Tie-Dye Effect
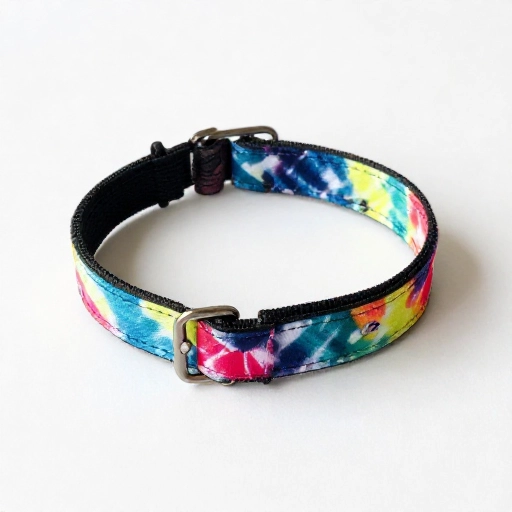
This is the easiest project on the list, and it’s perfect for a rainy afternoon. All you need is a white or light-colored collar and some permanent markers in different colors.
Color random dots all over the collar. Then, use a dropper or a damp paper towel to add rubbing alcohol to the dots. The alcohol will bleed the colors together, creating a awesome watercolor tie-dye effect. Let it dry completely.
It’s like magic watching the colors blend. Plus, every collar turns out totally unique.
3. Bandana Swirl
Why sew a bandana when you can just twist one on? Take a square bandana, fold it into a triangle, and roll it up tightly from the long edge. Wrap the rolled bandana around the collar and tie the ends in a knot underneath.
You can adjust the knot to make it look like a flower, a bow, or just a cute scrunchie. It’ll look like a brand new collar in seconds.
I love doing this for holidays—plaid for Christmas, pastels for Easter, and fun prints for summer.
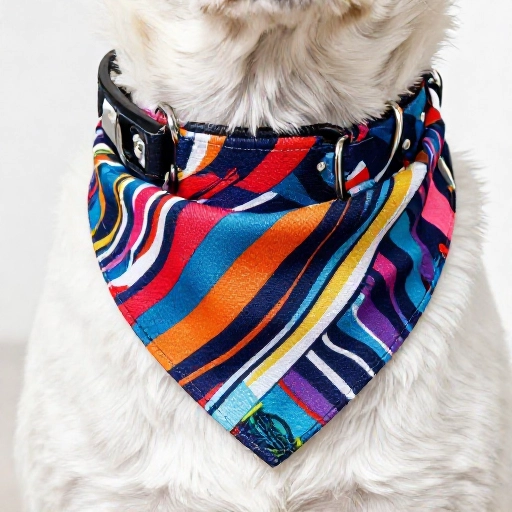
4. Leather Fringe Detail
If your pup has a wild side, this one’s for you. Cut several thin strips of suede or faux leather. Fold each strip in half and use a small key ring or jump ring to attach it to the collar’s D-ring.
You can mix different lengths for a more dramatic fringe look. It adds a bit of movement and a little bit of rock-and-roll attitude.
Keep the strips short enough that they don’t drag on the ground. We want style, not a mop!
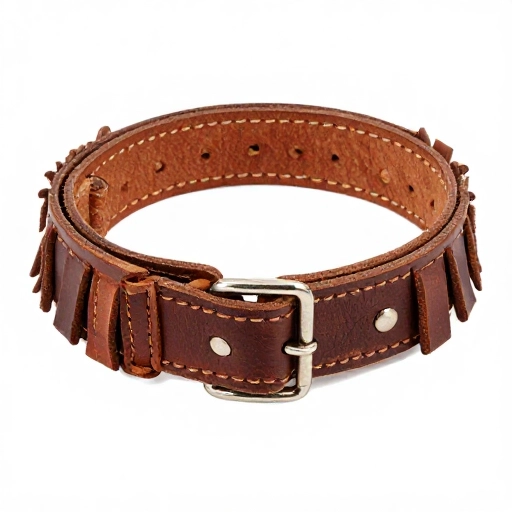
5. Stitched-On Patches
Got a patch from a favorite band, a fun food pun, or a cute heart? Instead of ironing it onto a jacket, stitch it right onto the collar. Use a needle and thread (or even fabric glue for a no-sew option).
Place it on the center of the collar for a statement look, or off to the side for something more subtle. You can even layer a few smaller patches together.
It’s a great way to show off your pet’s personality. If you have a dog named “Taco,” you know what patch you need to find.
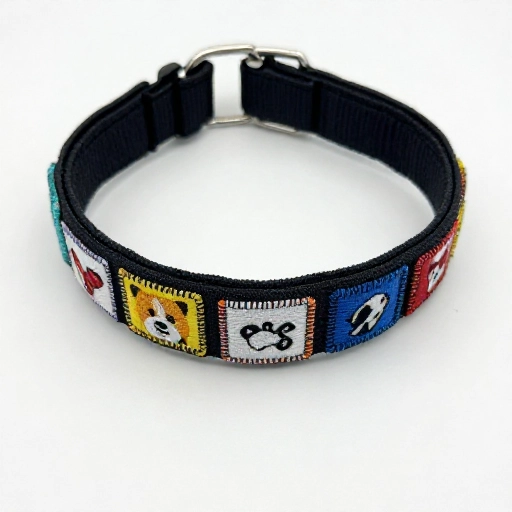
6. The Pom-Pom Party
This one is pure joy. Grab a bag of fluffy pom-poms in your favorite colors. You can find these in the kids’ craft section. Attach them to the collar using strong fabric glue or by stitching them on.
Cover the whole collar for a fuzzy statement, or just add a few around the buckle area for a playful touch. It’s impossible not to smile when you see a dog wearing these.
Just be sure to check that they’re securely attached, especially if you have a dog that loves to shake their head a lot.
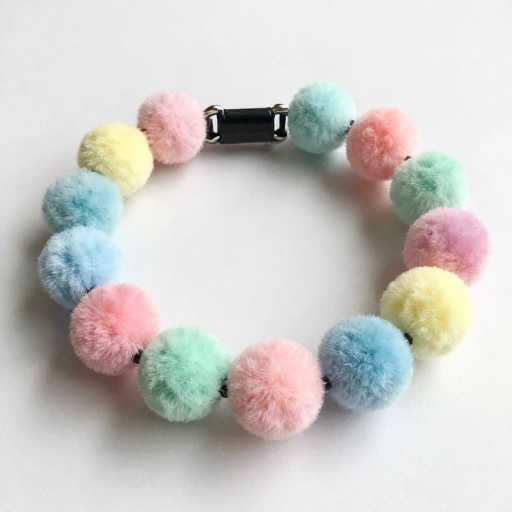
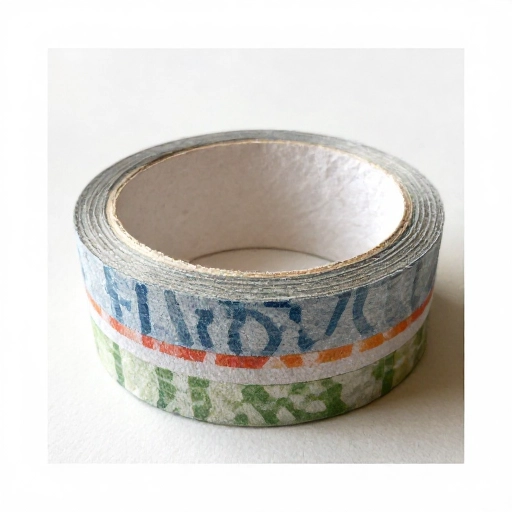
7. Washi Tape Wrap
This is the ultimate “I have 5 minutes” hack. Washi tape is a decorative paper tape that comes in a million patterns. Simply wrap the tape around the collar, overlapping slightly as you go.
Because it’s tape, it’s not permanent. You can change it out whenever you want. It’s perfect for a temporary look for a party or a photo shoot.
To make it last longer, add a clear coat of Mod Podge over the top. That seals it and makes it water-resistant.
8. Resin Flower Accents
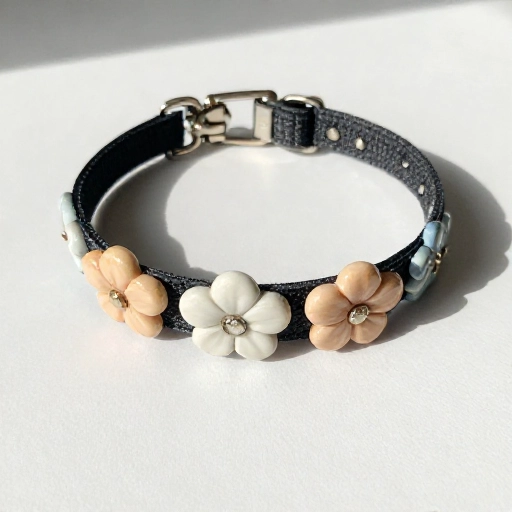
Have you seen those cute little resin flowers or stars in the craft store? They’re usually in the jewelry-making aisle. Pick a few that match your dog’s eyes or your own style.
Use a strong craft glue (like E6000) to attach them to the collar. Place them in a cluster near the D-ring or in a single file line. It adds an instant touch of elegance.
These are great for female dogs, but honestly, a gold or silver star looks cool on any pup.
9. Ribbon Weave
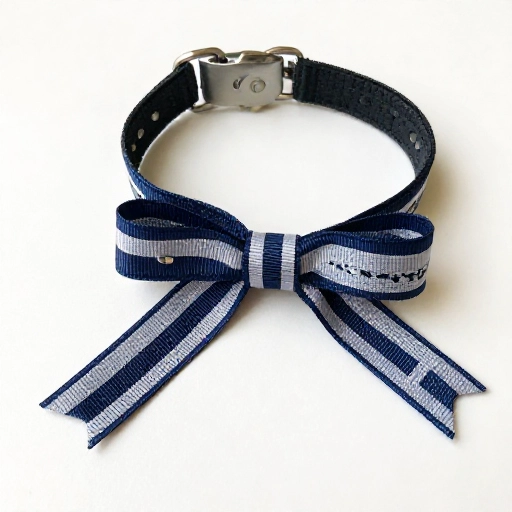
This one is a classic. You’ll need a roll of pretty ribbon and a collar with a bit of give. Weave the ribbon in and out of the collar’s holes, or if it’s a solid strap, just wrap it around and around in a spiral.
Tie a small bow at the end or tuck the ribbon end under the last wrap. It looks so polished and preppy.
Choose a grosgrain ribbon for durability, or a silky one for a fancy dinner date look.
10. Safety Reflector Bling
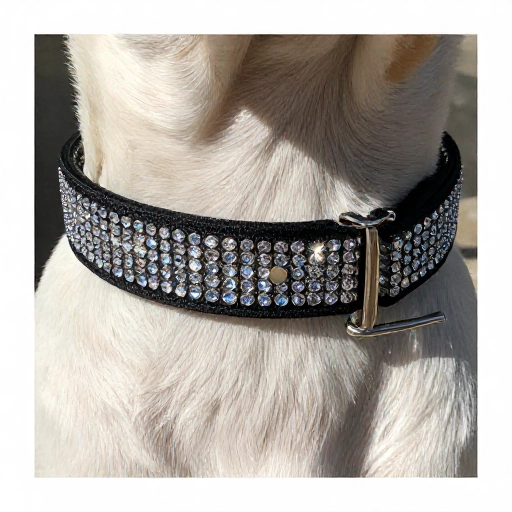
Make your dog safe and stylish at the same time. Grab a roll of reflective tape (the same kind you use for bikes) and cut out small shapes like hearts, stars, or diamonds. Stick them onto the collar.
You can also add a few small glow-in-the-dark stars for extra fun. When you’re out at night, they’ll shine bright like a diamond.
This is a practical DIY that also looks great. Perfect for evening walks in the neighborhood.
Final Thoughts: More DIY Fun Awaits
There you have it—ten simple ways to upgrade your pet’s collar without breaking the bank. The best part is that these ideas are just starting points. Once you get the hang of it, you’ll start seeing customization potential everywhere.
Don’t be afraid to mix and match these ideas. Maybe a bandana swirl on a patch collar, or some beads on a ribbon weave. The possibilities are endless. Your pet will love the extra attention, and you’ll love how cute they look.
Happy crafting, and give your furry friend a big belly rub from me!
Frequently Asked Questions
Q: How do I make sure the DIY decorations stay on?
Always use strong adhesive like E6000 for heavier items like resin or beads. For fabric items, a needle and thread is your best bet. Let everything dry completely before putting the collar on your pet.
Q: Are these customizations safe for all dogs?
For the most part, yes. But always supervise your dog the first time they wear a new decorated collar. If they are heavy chewers, skip small parts like beads or pom-poms that could be a choking hazard.
Q: Can I wash a collar with decorations on it?
It depends on the material. For tape or glue-on items, it’s best to spot clean with a damp cloth. For stitched-on patches, you can usually hand wash it in cold water. Avoid the washing machine to keep everything intact.
Q: What’s the best collar base to use for these projects?
A simple nylon or webbing collar works best because it gives the glue and tape something to grip onto. Avoid using a leather collar for projects that require a lot of wrapping, as it can get damaged.
Q: How do I remove the decorations if I want to change the look?
For tape and washi tape, simply peel it off. For glued items, try soaking the area in warm soapy water to loosen the bond, then gently peel it away. Any leftover residue can be cleaned with rubbing alcohol.