15 Collars DIY Ideas That Save You Money
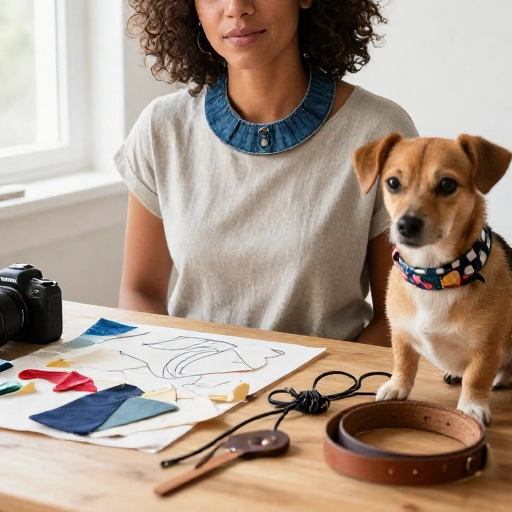
I used to think buying collars was just one of those small pet costs I couldn’t avoid. Then I added up a year of cute dog collars, holiday cat collars, and one sparkly collar necklace I wore twice. Yikes.
So I started making my own. Some ideas take 10 minutes, some use scraps I already had, and a few are so simple my kid helped. The best part? Most of these DIY collars cost less than $5 to make.
Below are 15 collar DIY ideas that save money, whether you need a sturdy dog collar, a safe cat collar, or a fun fashion collar. I’ve included beginner tips, cheap materials, and the little safety details that matter.
1. Upcycled Old Belt Dog Collar
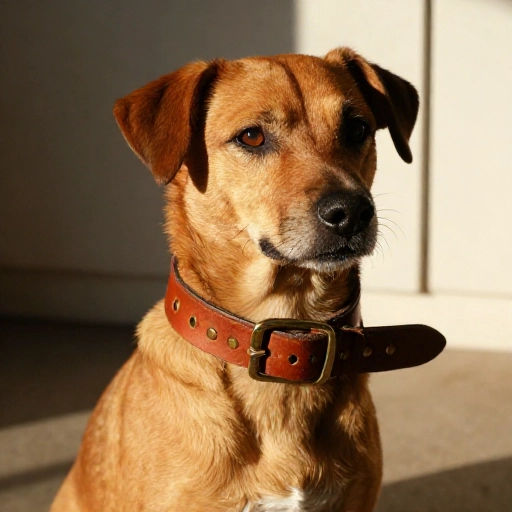
My favorite money-saving collar started as a belt from a thrift store. The leather was already soft, and the buckle was still strong. I just cut it to size and punched new holes.
You’ll need a leather belt, a D-ring, a leather punch, and scissors or a craft knife. Measure your dog’s neck, add a couple of inches for overlap, then punch holes for the buckle and the D-ring.
This saves $15 to $30 compared with a leather dog collar from a boutique. It also looks custom because no one else has your exact belt.
2. Paracord Dog Collar with Metal Buckle
Paracord is cheap, strong, and comes in every color. I made a cobra-weave collar for my neighbor’s Labrador, and it has held up through mud, rain, and lake days.
You need paracord, a metal buckle, a D-ring, and a lighter to melt the ends. The cobra weave sounds fancy, but once you learn the pattern, it moves fast.
A full paracord collar usually costs me under $5. Store-bought tactical collars can run $20 or more, so this is a big save.
3. No-Sew Fabric Scrap Dog Collar
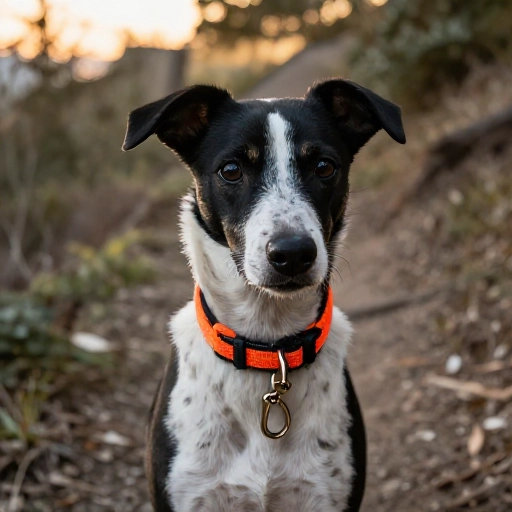
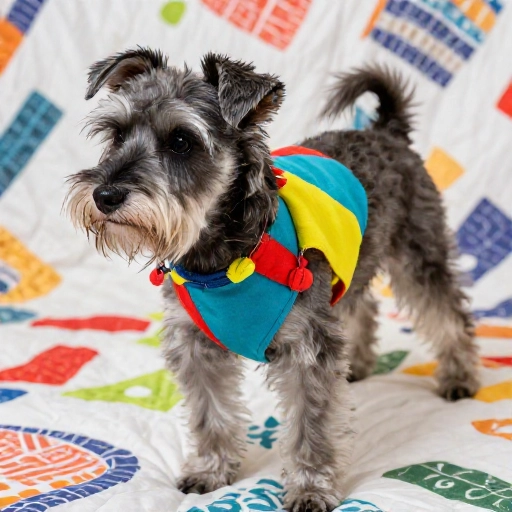
If you don’t want to touch a sewing machine, this one is for you. I used fabric scraps from an old pillowcase and fusible hem tape to make a lightweight collar for my small dog.
Cut two strips of fabric, iron the hem tape inside, and add a buckle and D-ring. You can also use a no-sew fabric glue made for washable fabrics.
This is perfect for matching a bandana or a seasonal outfit. I made a fall plaid version for about $2.
4. Breakaway Ribbon Cat Collar
Cats need safety collars that pop open if they get caught. I never skip the breakaway buckle, even when I’m DIY-ing to save money.
Buy a breakaway buckle, a small D-ring, and a length of ribbon. Fold the ribbon ends, add the buckle and D-ring, then sew or glue the folds securely.
My cat’s ribbon collar cost me $3. Pet store cat collars with the same safety feature are often $8 to $12.

5. Personalized Stamped ID Tag Collar
Custom ID tags can be pricey, especially if you want more than one. I bought blank metal tags and a small metal stamping set, and now I make tags for all our pets.
You can stamp a name and phone number on a blank tag, then attach it to any DIY collar. If you don’t want to stamp, use a fabric marker to write a name on a webbing collar.
The first tag costs a little more because of the tools, but after that, each tag is under $1. That adds up fast.
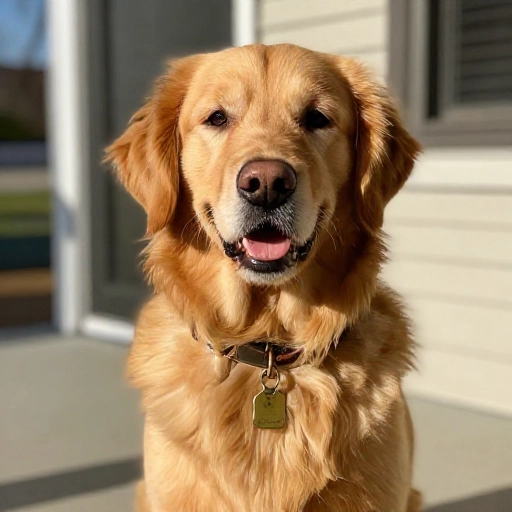
6. Reflective Safety Collar for Night Walks
I walk my dog early in the morning, so visibility is a must. Reflective collars in stores can be surprisingly expensive for what they are.
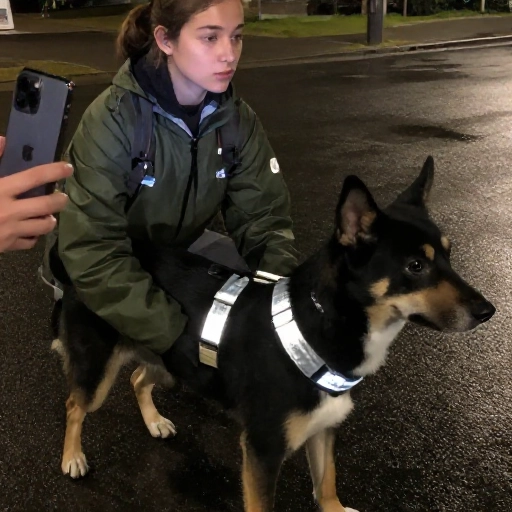
I bought a roll of reflective tape and sewed it onto a plain nylon collar. You can also use reflective ribbon and fabric glue for a no-sew version.
This DIY costs about $4 and makes a huge difference when headlights hit the collar. It’s a cheap safety upgrade I wish I’d made sooner.
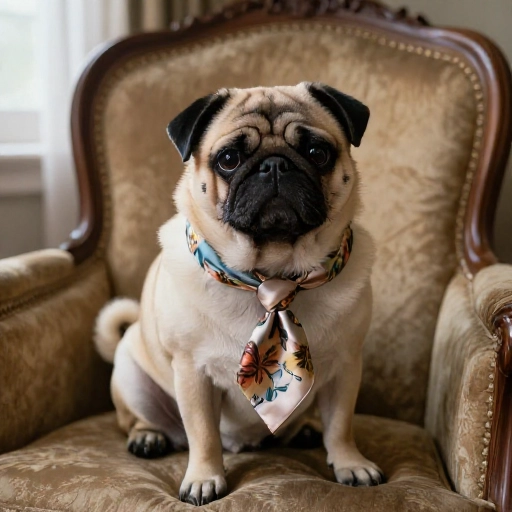
7. Upcycled Tie Dog Collar
This one makes me smile every time. I found a $1 necktie at a thrift store and turned it into a fancy collar for a friend’s dachshund.
Cut the tie to the right length, fold the edges, and add a buckle and D-ring. The tie’s pattern does all the work, so it looks boutique without the price.
It’s not as strong as webbing for a big puller, but it’s adorable for photos, holidays, and calm little dogs.
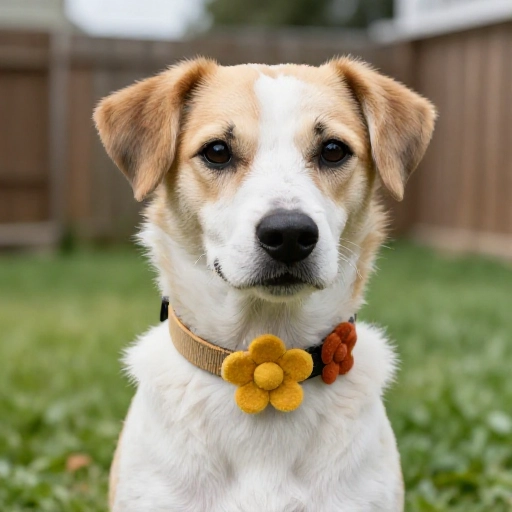
8. Felt Flower Collar Slider
Instead of buying a new collar for every season, I make felt flower sliders that slide onto the collar my pet already wears. It’s like a tiny outfit change.
Cut felt circles in different sizes, stack them, and stitch or glue a button in the center. Then attach the flower to a small elastic loop or a collar slider.
One pack of felt costs a few dollars and makes dozens of flowers. I swap them for spring, birthdays, and Halloween.
9. Rope Collar with Leather Ends
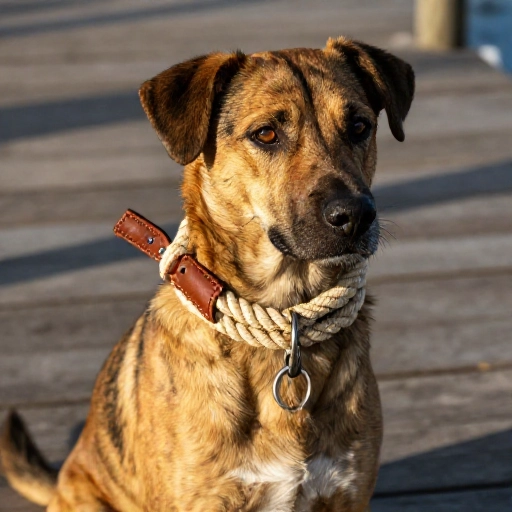
I love the nautical look of rope collars, but they can be expensive. Making one is simple if you have climbing rope and leather scraps.
Cut the rope to size, seal the ends with a flame, then wrap small leather pieces around the ends. Add a D-ring and a buckle or use a knot closure.
This collar is strong, washable, and costs me around $6. It’s great for water-loving dogs.
10. Denim Collar Necklace
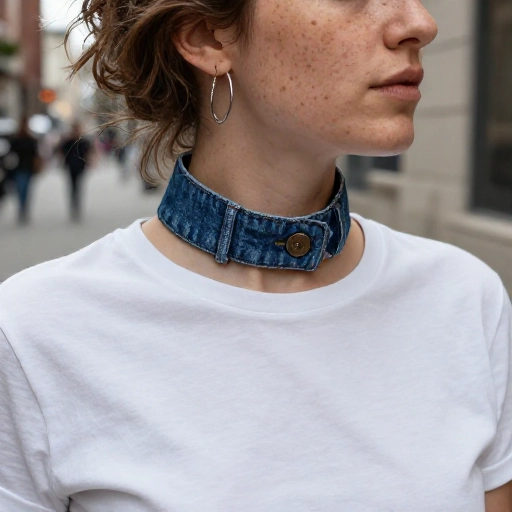
Now for a fashion collar idea. I turned the waistband of old jeans into a chunky collar necklace, and it became my most-worn accessory that month.
Cut a piece of denim waistband or thick denim, fray the edges, and add a chain or ribbon to tie it. You can also add studs or beads.
Boutique collar necklaces can cost $25 or more. This one cost me nothing because the jeans were already in my donate pile.
11. Detachable Lace Collar
A detachable lace collar makes a plain sweater look fancy. I made one from a strip of lace and a thin ribbon, and I wear it over tees and dresses.
Measure around your neck, cut the lace, and sew ribbon ties at the ends. For a cleaner look, add a small snap or hook closure in the back.
This saves money because you don’t need a new top. One $3 lace trim made three different collars for me.

12. Beaded Collar Necklace
Beaded collar necklaces are everywhere right now, but the prices can be wild. I made mine with a pack of seed beads, strong cord, and a few jump rings.
Start with a felt or leather base if you want a structured bib. Glue or sew beads in rows, then add a ribbon or chain closure.
My version cost under $10. Similar handmade collars sell for $40 or more, so this is a smart DIY if you love statement jewelry.

13. Embroidered Shirt Collar
I have a plain button-down shirt that needed a little personality. Instead of buying a new top, I embroidered tiny flowers along the collar points.
Use embroidery floss, a needle, and a simple stitch like a lazy daisy or French knot. You can also stitch a monogram for a preppy look.
This is a slow craft, but it’s cheap. A few dollars of floss turned a boring shirt into something I reach for all the time.

14. Pearl Collar Bib
For an elegant collar, I made a pearl bib using faux pearls and a felt base. It looks like a vintage collar but costs a fraction of the price.
Cut a felt shape that sits around your neck, then hot glue rows of faux pearls. Add ribbon ties or a clasp at the back.
I spent about $8 on pearls and felt. Department store pearl collars can be $30 to $60, so this is a huge save.

15. Upcycled Button-Down Collar Refashion
My last idea uses a collar from an old button-down shirt. Instead of tossing the shirt, I cut off the collar and turned it into a choker-style collar.
Trim the edges, add lace or beads if you like, and attach a ribbon or chain. You can also make a Peter Pan collar by tracing a rounded shape onto fabric.
This is the ultimate scrap-busting collar DIY. It saves money, keeps fabric out of the trash, and gives you a one-of-a-kind piece.

Final Thoughts
Making collars at home has saved me way more than I expected. I still buy a few things—buckles, D-rings, and strong thread—but I use scraps, thrift finds, and supplies I already have.
Start with one idea that matches your skills. If you’re making a pet collar, always check the fit and safety. For cats, use a breakaway buckle. For dogs, test the D-ring with a gentle pull before you trust it on a walk.
Once you see how cheap and cute DIY collars can be, you’ll never look at a $25 collar the same way again.
FAQ
Q: What tools do I need for DIY collars?
A: Basic tools include scissors, a measuring tape, a needle and thread or fabric glue, and hardware like buckles and D-rings. For leather or paracord, add a leather punch or a lighter.
Q: Are homemade collars safe for dogs and cats?
A: Yes, if you use strong materials and check them often. Cats should always have a breakaway buckle. Dogs need a secure D-ring and a fit that’s snug but not tight.
Q: How do I measure my pet for a DIY collar?
A: Wrap a soft measuring tape around the neck, then add two fingers of space. For dogs, add a little extra for comfort. For cats, keep it close but not choking.
Q: Can I make a DIY collar without sewing?
A: Absolutely. Use fusible hem tape, fabric glue, or hot glue for fabric collars. For paracord, you can melt the ends. Just make sure the closure and D-ring are secure.
Q: How much money can I save by making collars?
A: Most DIY collars cost $2 to $10. Store-bought collars can be $15 to $60, so you can easily save $10 to $50 per collar, especially if you use scraps and thrift finds.