14 DIY Pet Collar Ideas Perfect for Beginners That Look Store-Bought
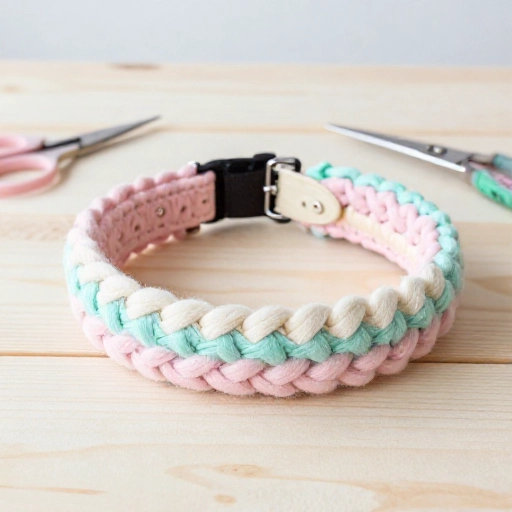
If you’ve ever stared at a sad, boring pet collar and thought, “I can do better,” you are absolutely right. Making your own pet collar is not only budget-friendly, but it also lets you match your furry friend’s personality perfectly without spending a fortune at a boutique.
I’ve rounded up 14 beginner-friendly DIY collar ideas that don’t require fancy tools or expert sewing skills. Some are no-sew, some use scraps you already have, and all of them are cute enough to earn a spot on your Pinterest board. Grab your measuring tape and a few supplies—your pet is about to get a serious style upgrade.
1. No-Sew Braided Fleece Collar
I love a no-sew project that still looks intentional. Grab three strips of fleece—each about 1 inch wide and 2 inches longer than your pet’s neck measurement. Tie a knot at one end, braid them tightly, and then knot the other end. Clip on a small D-ring and a buckle using split rings, and you’re done.
Fleece is soft, stretchy, and machine washable, so this is perfect for cats and smaller dogs. The braid gives a nice chunky look without adding weight. Pick two or three colors that match your pet’s fur for an extra polished vibe.
2. Upcycled Denim Collar with Contrast Stitching
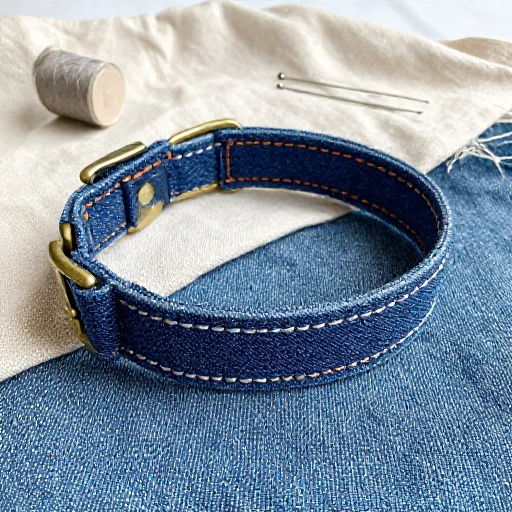
Cut a 2-inch wide strip from an old pair of jeans, keeping the hem edge if you like a rugged look. Fold the raw edges inward and topstitch along both long sides. Add a D-ring by folding one end over the ring and sewing a small square. On the other end, attach a buckle or just make a buttonhole for the tongue.
Denim gets softer with every wash, and the contrast stitching looks straight out of a boutique. I usually leave the pocket stitching on for a cute upcycled detail. This one is sturdy enough for medium dogs and holds up to daily wear.
3. Ribbon & D-Ring Quick Collar
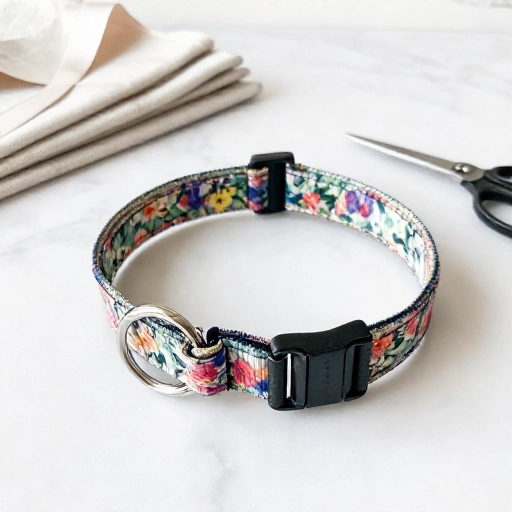
If you have zero sewing experience, this ribbon collar is your best friend. Use a 1-inch wide grosgrain ribbon that’s about 6 inches longer than your pet’s neck. Fold one end through a D-ring and sew or use fabric glue to secure it. On the other end, add a snap or a side-release buckle—you can even hand-stitch it in five minutes.
Ribbon comes in endless patterns, so you can switch these out for every season. I keep a stash of holiday ribbon from the craft store. It’s lightweight, perfect for cats, puppies, or photo shoots. Just check the edges with a lighter if they start to fray.
4. Hand-Painted Canvas Collar
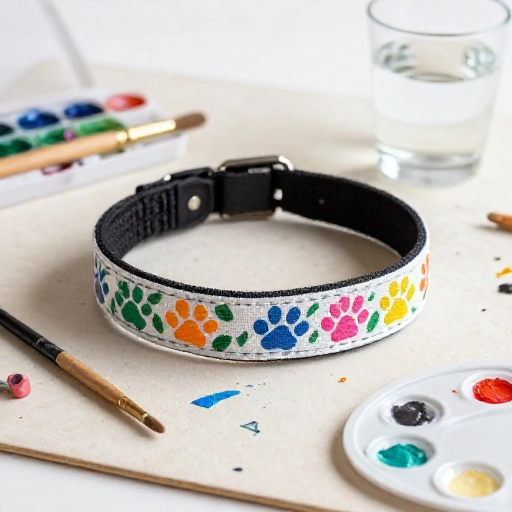
Buy a plain nylon or canvas collar blank, then paint it with fabric paint. Tape off stripes or dots with painter’s tape to keep lines crisp. I like to use a foam brush for a matte, even finish. Let it dry for 24 hours before your pet wears it.
This is a fun one to do with kids because it’s basically a tiny art project. Make sure you use non-toxic, flexible fabric paint so it won’t crack when the collar bends. A monogram or paw print stencil makes it look custom-made.
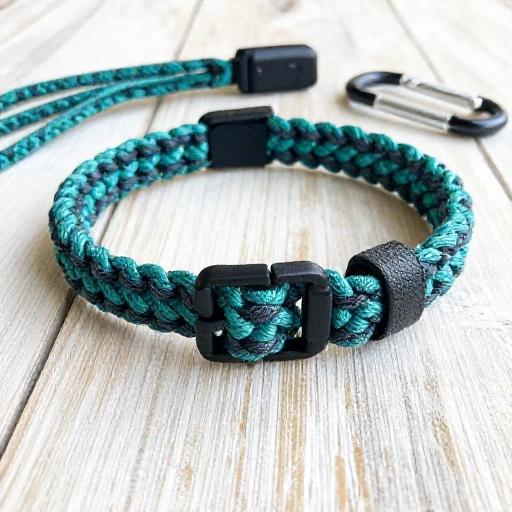
5. Paracord Cobra Weave Collar
Paracord collars look complicated, but the basic cobra weave is surprisingly beginner-friendly. Start with two long strands of paracord folded over a buckle. Follow a simple over-under pattern—there are tons of visual guides online. Keep your tension even, and you’ll have a tough, outdoorsy collar in an afternoon.
I use 550 paracord because it’s strong and comes in bright colors. It’s a great choice for large dogs who pull, but it can be a little stiff for very small necks. Add a D-ring in the middle of the weave before you finish so you can attach a leash.
6. Fabric Scrap Patchwork Collar
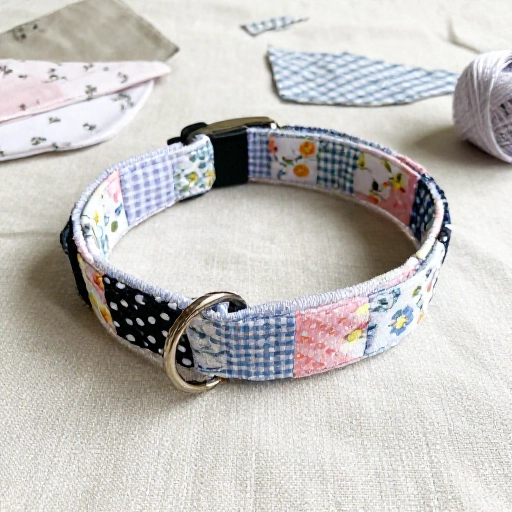
Gather fabric scraps from old projects, cut them into small strips or squares, and sew them onto a nylon webbing base. Layer them in a messy patchwork pattern with a zigzag stitch. The raw edges will fray a little over time, which I think adds charm.
This is a lovely way to use sentimental fabrics, like pieces from a favorite shirt or blanket. Keep the base width at least 1 inch so the stitching doesn’t make it too stiff. I pre-wash all scraps to avoid shrinking surprises later.
7. Crochet Basic Chain Collar
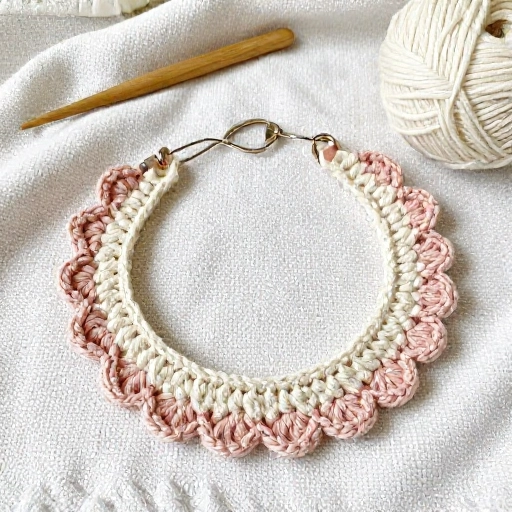
If you can chain stitch, you can make a basic crochet collar. Chain a length that’s a little longer than your pet’s neck, then work one or two rows of single crochet back. Fold the ends around two D-rings or a buckle and stitch them down with yarn.
Use cotton yarn—it’s soft, breathable, and easy to wash. I wouldn’t recommend this for heavy pullers since crochet has more stretch than nylon. For a photo prop or indoor accessory, it’s absolutely adorable.
8. Pom-Pom Trim Party Collar
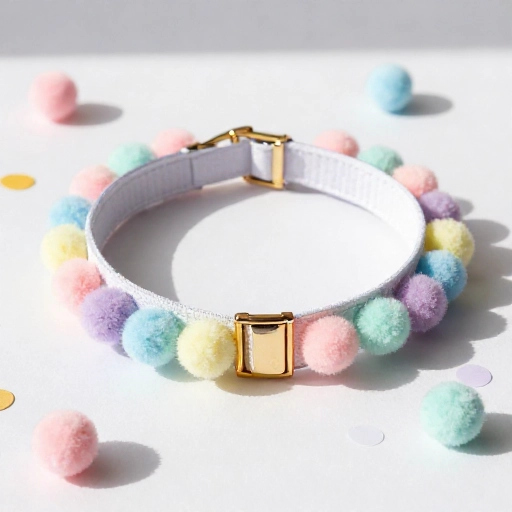
Take an existing flat collar and glue or hand-stitch a strip of pom-pom trim along both edges. I like to use a hot glue gun on low heat for a quick hold, but stitching is more durable. Space the pom-poms evenly so they don’t rub under the chin.
This turns a plain black collar into a party accessory in minutes. Go monochrome for a chic look, or mix rainbow poms for a birthday shoot. Just make sure the poms are securely attached—some pets think they’re toys.
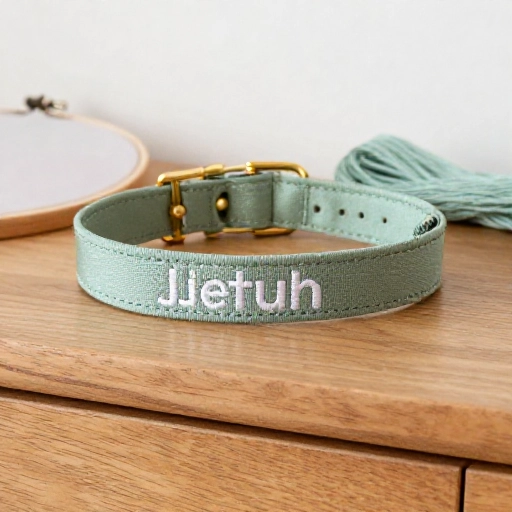
9. Personalized Embroidered Name Collar
Cut a strip of cotton canvas or twill tape to your pet’s neck size plus seam allowance. Use an embroidery hoop and a simple backstitch to add your pet’s name or a short phrase. Fold the ends around a D-ring and a side-release buckle, then sew them in place.
Hand embroidery is slow but very forgiving. I sketched the name with a disappearing ink pen first. Pick a thread color that contrasts with the fabric so the name really pops. This makes a fantastic gift for new puppy parents.
10. Leather-Look Faux Suede Collar
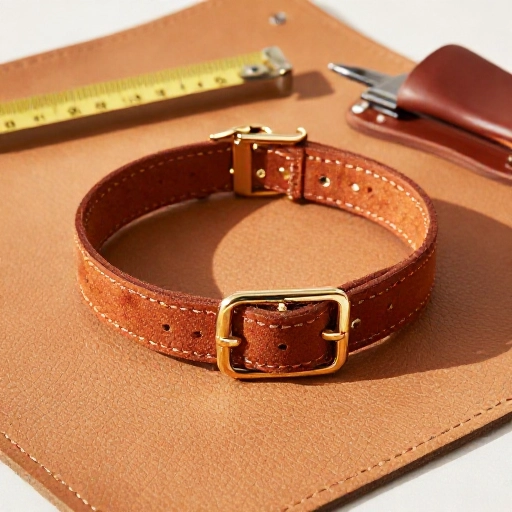
Leather-look faux suede cord is soft, inexpensive, and easy to work with. Cut two equal lengths and knot them onto a D-ring. Braid or twist them, then add a few wooden beads before knotting the other end onto a buckle. You can seal the cord ends with a dot of glue.
This one has a boho, earthy feel that photographs beautifully. I use 3mm cord for small dogs and 5mm for larger necks. Beads add personality but make sure the holes are large enough for the cord to pass through smoothly.
11. Button-On Bandana Collar
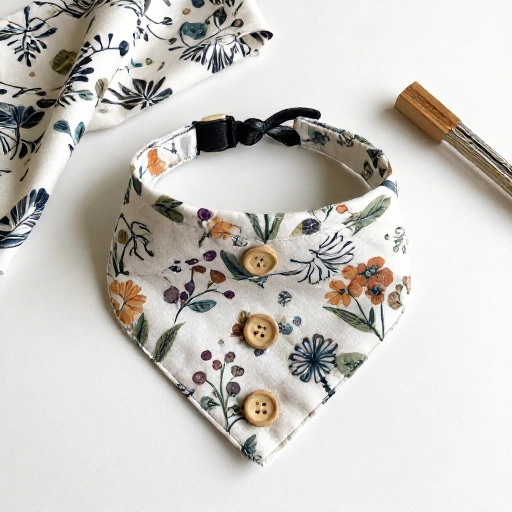
Make a bandana separate from the collar using a triangle of fabric with two buttonholes at the top corners. Thread the collar through the buttonholes so the bandana hangs below. You can swap out bandanas daily without changing the collar.
This is my go-to for holiday photos because I can make a stack of themed bandanas in one sitting. Use cotton quilting fabric for crisp folds. Add a small snap at the back point if your pet likes to flip it up.
12. Rope & Wood Bead Boho Collar
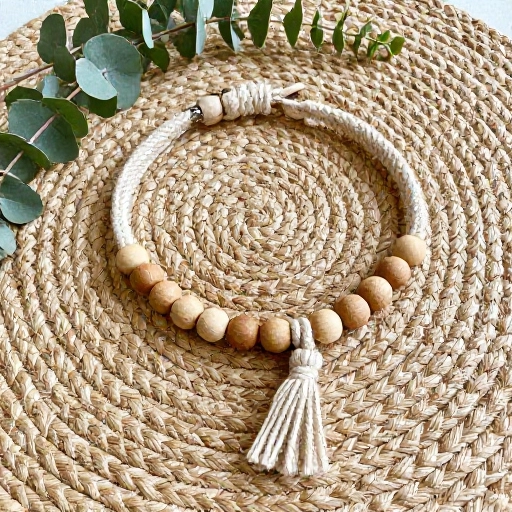
Take a length of soft cotton rope—about 1/4 inch thick—and tie a loop at one end for the D-ring. Thread on a mix of round wooden beads, then tie the other end around a buckle or a small carabiner. Double knot every few beads to keep them from sliding.
This collar looks like something from a beach boutique. The knots act as natural spacers, and the beads rattle gently. I choose beads with large holes and smooth finishes so they won’t catch fur. Hand wash only, since wood doesn’t love the machine.
13. Reflective Safety Stitch Collar
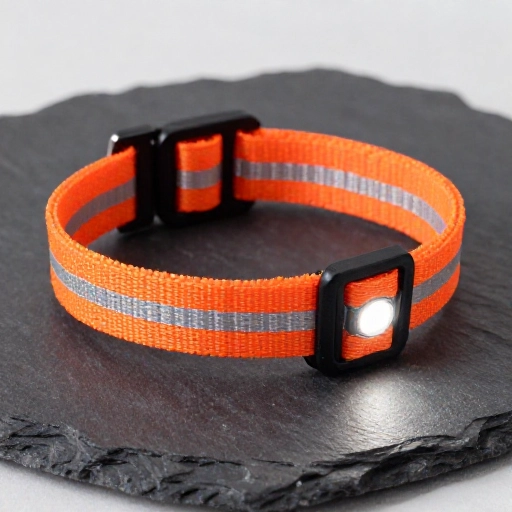
Safety meets style when you add reflective tape to a fabric collar. Cut thin strips of reflective tape and iron or stitch them onto a dark cotton band. Space them every 2 inches, then assemble the collar with your usual buckles and D-ring.
Reflective tape is a game changer for evening walks. I like to keep the base dark so the tape really stands out in headlights. You can buy iron-on reflective tape at most fabric stores—it’s inexpensive and takes minutes to apply.
14. Holiday-Themed Snap Collar
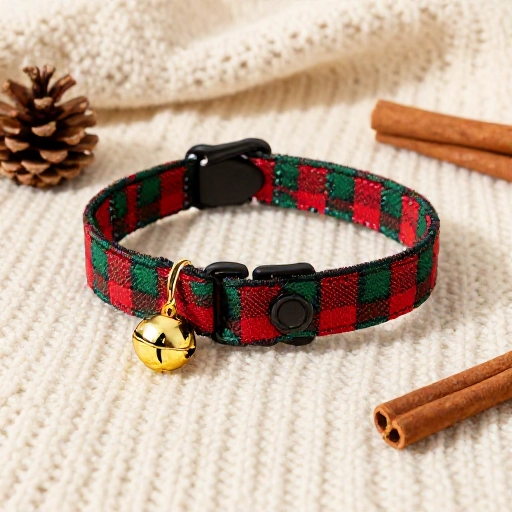
Pick a seasonal cotton print—think pumpkins, snowflakes, or hearts. Cut a 2-inch wide strip, fold both long edges toward the center, and press. Fold one end around a snap closure and the other around a D-ring, then topstitch everything down. Add a snap setter or use heavy-duty adhesive snaps.
These snap collars are great for pets who hate buckles clicking near their ears. The snap closure makes them easy to put on and take off. I usually make a few for each holiday and store them flat in a drawer. Just check the snap strength before first use.
Final Thoughts
DIY pet collars are one of the easiest ways to show your furry friend a little extra love without spending a ton of money. Whether you start with a no-sew fleece braid or jump straight into a paracord weave, the most important thing is that your pet is comfortable and safe in whatever you make.
I recommend measuring your pet’s neck twice and always leaving a little room for two fingers to slide underneath the finished collar. Once you make one, you’ll probably want to whip up a whole collection—and honestly, that’s the best part.
Frequently Asked Questions
What is the easiest DIY pet collar for a total beginner?
The ribbon and D-ring quick collar is the easiest. You only need a strip of grosgrain ribbon, a D-ring, and a snap or buckle. You can even use fabric glue instead of sewing if you’re short on time.
How do I measure my pet’s neck for a homemade collar?
Wrap a soft measuring tape around the middle of your pet’s neck, then add about 2 inches for comfort. You should be able to slide two fingers between the tape and your pet’s neck. For growing puppies, add an extra inch.
Can I use hot glue to attach hardware to a pet collar?
Hot glue works for lightweight, decorative collars that won’t be used for leash walking. For safety, I always recommend sewing or using heavy-duty fabric glue on any collar that will hold a leash or buckle. A popped glue joint can be dangerous.
Are DIY pet collars safe for everyday wear?
Yes, as long as you use sturdy materials, secure all hardware, and check the collar regularly for fraying or weak spots. Avoid dangling beads or small parts that could be chewed off. Always supervise your pet when introducing a new collar.
What fabric is best for a washable pet collar?
Cotton canvas, quilting cotton, and nylon webbing are all great washable choices. I pre-wash fabric before cutting to prevent shrinking later. For no-sew options, fleece and grosgrain ribbon hold up well in the washing machine too.