7 Proven DIY Feral Cat Houses for Winter Protection
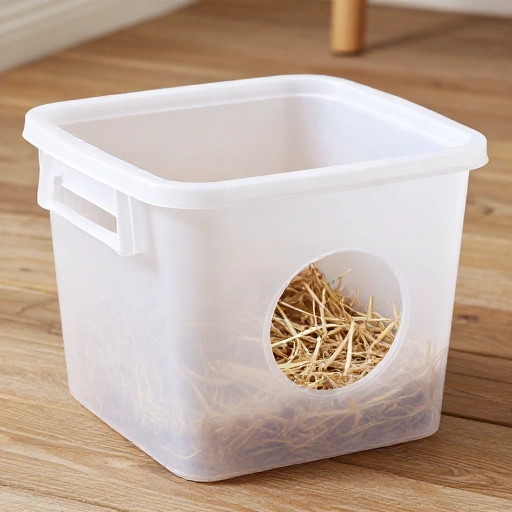
When the temperature drops, our outdoor feline friends need a warm, safe place to escape the bitter cold. Building a feral cat shelter isn’t just a kind gesture—it’s often a lifesaver. I’ve learned through trial and error that a good shelter needs to be small, insulated, and protected from moisture.
You don’t need to be a master carpenter to make a difference. Most of these projects use items you probably already have in your garage or recycling bin. Let’s get into seven DIY designs that are easy to assemble and actually work in harsh winter weather. Your neighborhood cats will thank you!
1. The Classic Storage Bin Shelter
This is the gold standard for quick, effective shelters. You’ll need two large plastic storage bins (one bigger than the other), straw, and a box cutter. The double-wall design creates a dead-air space that traps body heat beautifully.
Cut a 6-inch diameter entrance hole in both bins on one end. Place the smaller bin inside the larger one, and fill the gap between them with straw. Make sure you use straw, not hay—hay absorbs moisture and gets moldy, while straw repels it and stays fluffy.
Add a few inches of straw inside the inner bin for bedding. Place the lid on the outer bin, and you’re done. This shelter is waterproof, windproof, and incredibly easy to clean in the spring.
2. The Cooler Igloo
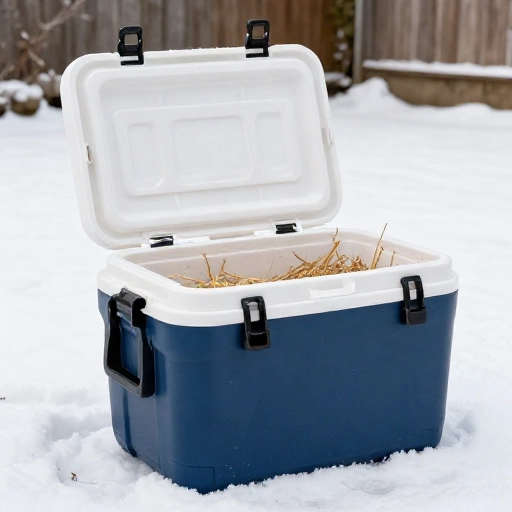
Old styrofoam coolers are fantastic insulators. If you have a large cooler with a lid, you’re halfway to a cozy winter home. The thick foam walls keep the cold out and the cat’s body heat in.
Cut a doorway in the side of the cooler, about 5 inches wide. Line the bottom with a thick layer of straw. Place the cooler inside a plastic tote or under a tarp to protect it from rain and snow, since styrofoam can crumble when wet.
One trick I love is to angle the entrance slightly upward. This prevents wind from blowing straight inside and keeps snow from drifting in.
3. The Upcycled Plastic Tote with PVC Tube Entry
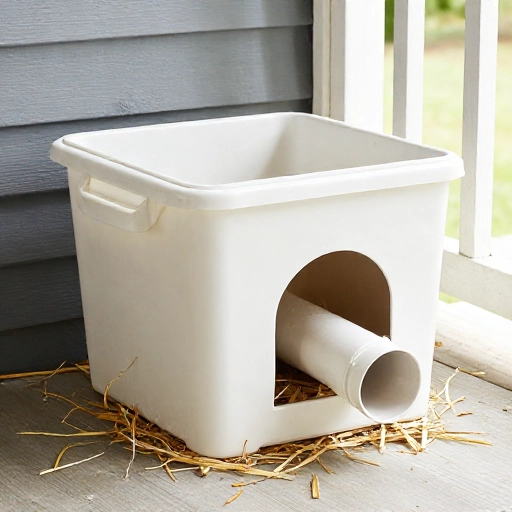
This design is perfect for windy areas. Instead of just a simple hole, you’ll add a PVC pipe entrance that acts as a windbreak. Get a plastic tote and a piece of 6-inch diameter PVC pipe about 12 inches long.
Trace the pipe’s end on the side of the tote and cut a hole. Slide the pipe in about 4 inches, leaving the rest sticking out. Seal the edges with silicone caulk to keep it watertight. Fill the tote with straw.
The extended tunnel keeps the interior completely dark and protected. It also prevents rain from dripping directly inside the shelter. Cats feel extra secure when they have to duck through a tunnel—it mimics a natural den.
4. The Insulated Wooden Crate House
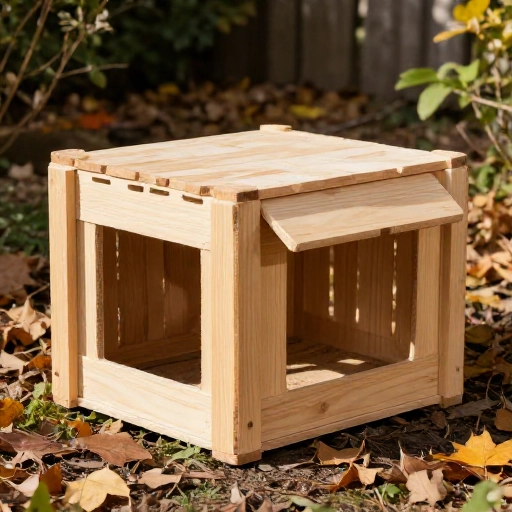
If you have an old wooden crate or some scrap plywood, this is a sturdier, more permanent option. The wood provides a solid structure, but it needs help with insulation. Line the inside walls with rigid foam board or even thick cardboard layers.
Cut a small entrance hole in the front. Make sure the roof is slanted or has an overhang so rain doesn’t pool on top. Add a hinged lid if you want easy access for cleaning—this is a game changer for maintenance.
Place the house on a couple of bricks or pallets to keep it off the frozen ground. This prevents cold from seeping up through the floor and keeps the wood from rotting.
5. The Simple Cardboard Box Fort
Don’t underestimate the power of cardboard! While not waterproof, it’s actually a brilliant insulator when used correctly. This is a great temporary solution if you need something fast.
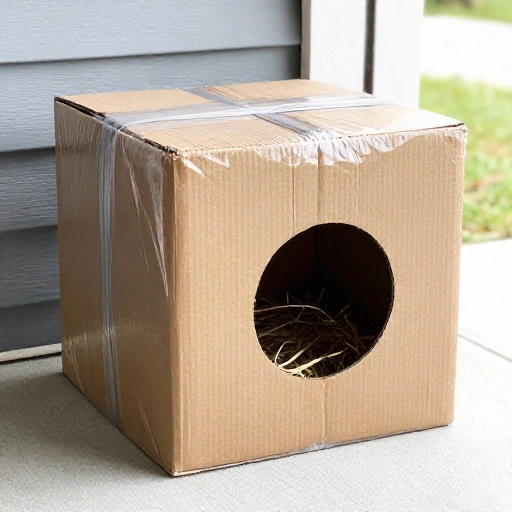
Take a large cardboard box and place it inside a slightly larger plastic trash bag. Cut a hole in the bag for the entrance. Fill the box with straw. Then, place another cardboard box over the top like a lid, and cover the whole thing with a thick tarp or a plastic tablecloth.
The key is to keep the cardboard completely dry. As long as it stays dry, it provides excellent dead-air insulation. Check the tarp regularly to make sure it hasn’t blown off.
6. The Two-Bucket Shelter
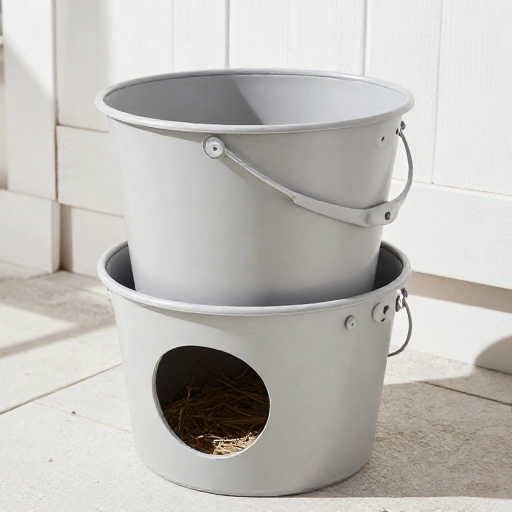
This is a clever idea for a compact, super-durable shelter. You’ll need two 5-gallon buckets. Place one bucket upside down, then place the second bucket right-side up on top of it, creating a stacked shape. Secure them together with zip ties or duct tape.
Cut an entrance hole in the side of the bottom bucket. This creates a small, cave-like space that is incredibly easy for a cat to heat up with its body. Fill the bottom with straw.
Because the buckets are round, they shed wind well. The plastic is also very easy to wipe down. This is my go-to for a quick emergency shelter when a cold snap hits unexpectedly.
7. The Deck Box Condo
If you have a plastic deck storage box, you can turn it into a luxury condo for multiple cats. These boxes are spacious and fully waterproof. The challenge is keeping the heat in, as they can be drafty.
Fill the bottom with a thick layer of straw, at least 6-8 inches deep. Cut one or two entrance holes in the sides. Add a second interior wall made of cardboard or foam board that’s lower than the box’s height, so cats can climb over it but the wind can’t blow straight in.
This space is large enough for a couple of cats to snuggle together, which is the best way for them to share body heat. Weigh the lid down with a brick so predators can’t lift it.
Conclusion
Building a winter shelter for feral cats is one of the most rewarding DIY projects you can do. You don’t need fancy materials—just warmth, dryness, and a little bit of creativity. The key is always to use straw for bedding and to make sure the shelter is off the cold ground.
Remember to place shelters in quiet, low-traffic areas and check them regularly for snow buildup or water leaks. Your efforts truly make a difference in the lives of these resilient animals. Happy building, and stay warm out there!
Frequently Asked Questions
1. Why can’t I use blankets or towels in a feral cat shelter?
Blankets and towels absorb moisture and freeze solid, turning into blocks of ice. Straw is the best choice because it doesn’t absorb water and allows cats to burrow into it for warmth.
2. How big should the entrance hole be?
The hole should be about 6 inches in diameter. That’s big enough for a cat to squeeze through easily but too small for raccoons or dogs to get in.
3. Should I put food and water inside the shelter?
No, never put food inside the shelter. It attracts other animals and can cause fights. Keep food and water outside, away from the shelter’s entrance.
4. Where is the best place to put the shelter?
Place it in a quiet, sheltered spot away from strong winds. Near a fence or a wall is great. Make sure the entrance faces away from the prevailing wind direction.
5. How often should I check on the shelter?
Check it every few days during winter storms. Make sure the entrance isn’t blocked by snow and that the bedding is still dry. Replace wet straw immediately.