10 Safe & Natural Ways to Heal Your Dog’s Yeast Paws (Easy Home Remedies)
If you’ve ever caught your pup licking their paws obsessively, you know the struggle. That constant chewing, the slightly musty “Fritos” smell, and those red, irritated toes are classic signs of a yeast overgrowth. It’s itchy, frustrating, and honestly, pretty gross for both of you. I’ve been there with my own golden retriever, and I know the panic of wanting to fix it fast.
The good news? You don’t need a cabinet full of harsh chemicals to tackle this. Most yeast issues on paws can be managed right at home with simple, natural ingredients you probably already have in your kitchen. These remedies are gentle, effective, and focus on drying out the yeast while soothing your dog’s sore skin. Let’s dive into the best natural ways to get your best friend back on their feet, itch-free.
1. Cleanse Daily with Diluted Apple Cider Vinegar
Apple cider vinegar (ACV) is the holy grail for yeast. Yeast thrives in a slightly alkaline environment, and ACV’s mild acidity helps balance the pH of your dog’s skin, making it a hostile place for fungi to live. It’s also naturally antibacterial, which helps with any secondary infections from scratching.
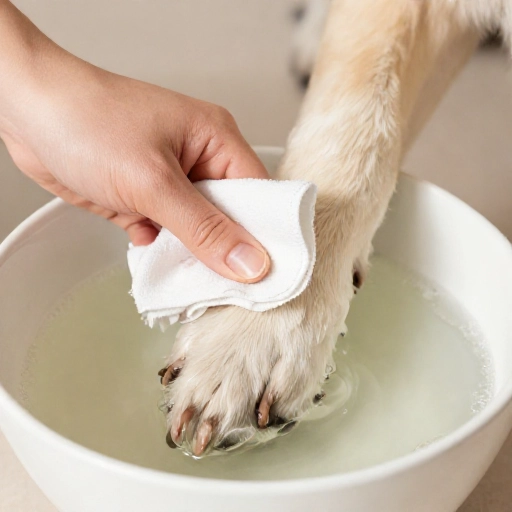
To use it safely, you absolutely must dilute it. Pure vinegar will sting on broken skin. Mix one part ACV with two parts warm water (or even three parts water if the skin looks raw). Use a washcloth or a spray bottle to thoroughly soak the paw pads and between the toes.
Let the paws air dry completely afterwards. I like to do this right before a walk so the grass can help dry them, or I’ll hold a towel on them for a minute. Just make sure the vinegar isn’t left to sit in a damp environment—that defeats the purpose. Repeat this once daily until the licking stops.
2. Soak in an Epsom Salt Solution
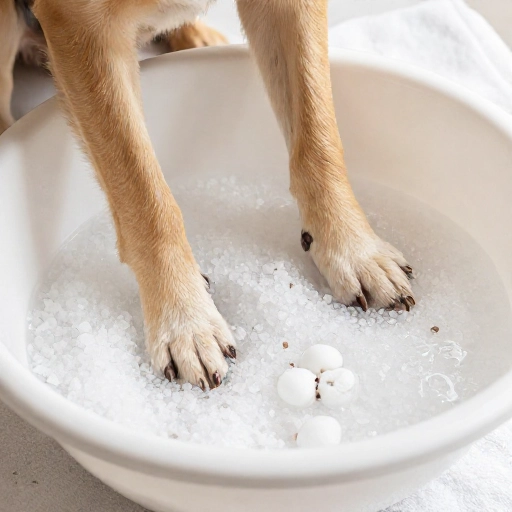
Epsom salt isn’t just for your own sore muscles—it’s a fantastic drawing agent for your dog’s paws. It helps pull out moisture, reduces inflammation, and relieves the itch instantly. This is my go-to when the paws are swollen and hot to the touch.
Fill a shallow basin or bathtub with a few inches of warm water and dissolve a generous handful of plain Epsom salt (make sure it’s unscented—no lavender or eucalyptus for dogs). Have your dog stand in the water for 5 to 10 minutes. It’s okay if they don’t love it at first; I usually distract mine with a lick mat smeared with peanut butter.
After the soak, pat the paws dry with a clean towel. Don’t rub—just press. Rubbing can further irritate the inflamed skin. You’ll want to do this every other day for a week to really see a difference in the swelling.
3. Apply Raw, Unfiltered Honey
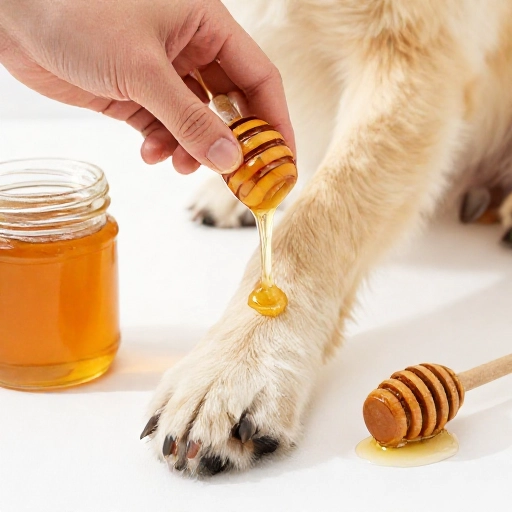
Honey is nature’s antibiotic. Raw honey contains natural enzymes that produce hydrogen peroxide, which helps kill off the yeast while promoting tissue healing. It’s sticky and messy, but the results are honestly incredible for raw, cracked paws.
You only need a tiny amount—about a pea-size drop per paw. Rub it gently into the affected areas, especially between the toes. The tricky part is keeping your dog from licking it off! I usually apply it right before bed and put a soft cotton sock over the paw for 30 minutes to let it absorb.
If you can’t do socks, just apply it and distract them with a toy for 15 minutes. It’s best to use this at night when they are calm and less likely to be running around. Always use raw, unpasteurized honey—the processed stuff in the bear bottle won’t have the same benefits.
4. Wipe Paws with Green Tea
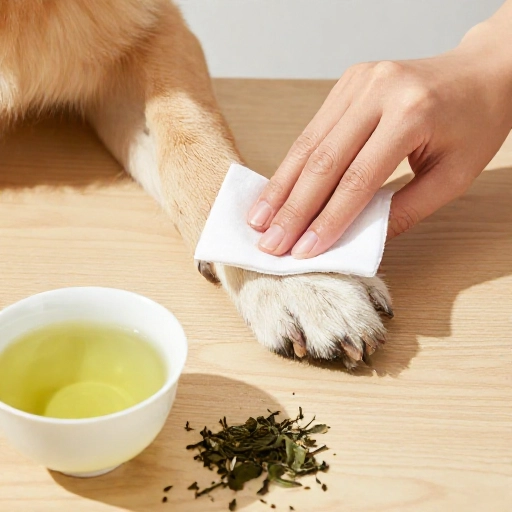
Brewed green tea is a gentle, anti-inflammatory rinse that’s perfect for sensitive dogs. It contains antioxidants called catechins that help fight off fungal growth without any burning sensation. This is a great option if your dog’s skin is so sore that even diluted vinegar makes them flinch.
Steep two green tea bags in a cup of hot water and let it cool completely to room temperature. Then, simply pour the tea into a spray bottle or use a cotton ball to apply it directly to the paws. You can also just let your dog stand in a shallow pan of the tea if they don’t mind it.
Make this a part of your “post-walk” routine. It’s a great way to rinse off any allergens or dirt they picked up outside while treating the yeast at the same time. No rinsing is needed—just let it air dry. I keep a batch in the fridge for up to two days and use it twice daily for maintenance.
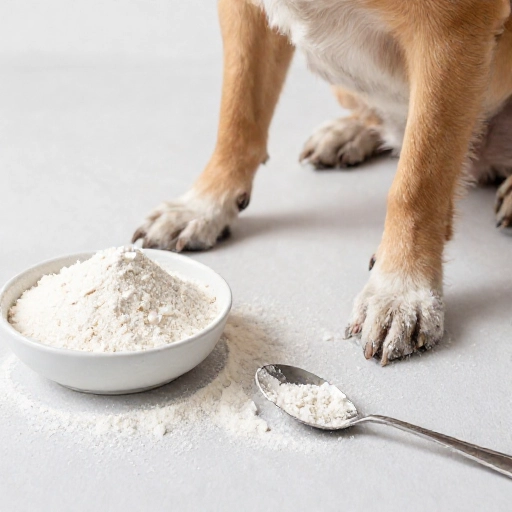
5. Dust with Organic Coconut Flour
Yeast loves moisture, so keeping the paws bone-dry is the ultimate goal. While cornstarch works, organic coconut flour is a better choice here. It’s highly absorbent, has natural antifungal properties, and won’t clump up like regular powders when it gets wet.
After cleaning the paws (with vinegar or tea), sprinkle a small pinch of coconut flour directly onto the paw pads and rub it in gently with your fingers. It helps wick away the dampness and creates a dry barrier that yeast can’t survive in.
This is a lifesaver during the rainy season or in the summer when grass is dewy. I always keep a little shaker jar of it by the back door. Just be careful not to use too much, as the powder can get messy on your floors. A light dusting is all you need.
6. Try a Calendula Compress
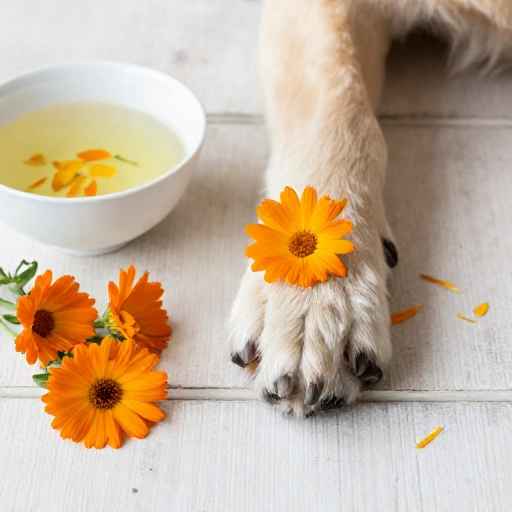
Calendula is a beautiful orange flower that works wonders for skin issues. It’s an astringent and an anti-inflammatory, which means it helps soothe the itch while also helping to dry out oozing, weepy sores. If your dog’s paws have that moist, red look, this is your best friend.
You can buy dried calendula flowers at a health food store. Steep one tablespoon in a cup of boiled water for 10 minutes, then strain it and let the liquid cool. Soak a clean washcloth in the tea and hold it against the paw for 5 minutes, making sure to get the cloth between the toes.
This is a very calming treatment. The warmth of the compress feels soothing to the dog, and it helps break up the crusty build-up that sometimes forms around the nails. You can do this twice a day—it’s a great excuse to sit on the floor and give your pup some extra love.
7. Rinse with Chamomile Tea
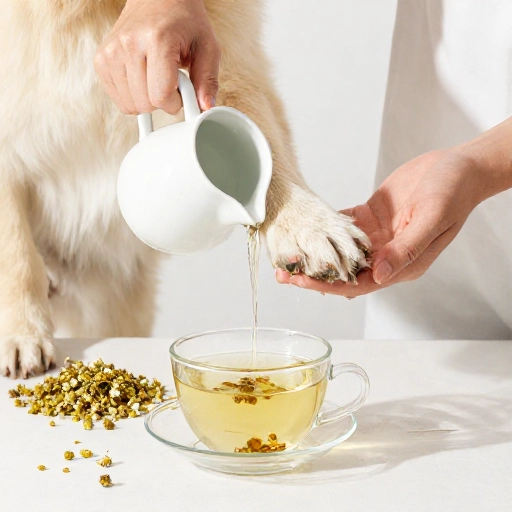
Chamomile isn’t just for bedtime. It has potent antifungal and anti-itch properties that are incredibly gentle. This is the remedy I suggest for dogs with allergies that trigger the yeast. It calms the skin instantly and helps reduce the redness that makes them chew.
Brew a strong pot of chamomile tea (use 3-4 tea bags). Cool it completely, then pour it over the paws in the tub. Let it sit for a few minutes before letting them shake it off. You don’t need to rinse with clean water.
The tannins in chamomile help soothe the skin and create a protective layer. It’s also safe if your dog manages to lick some of it up, which is a huge plus for the anxious pups who lick everything. I recommend doing this before bed to help them relax and sleep through the night without itching.
8. Implement a Kefir Foot Mask
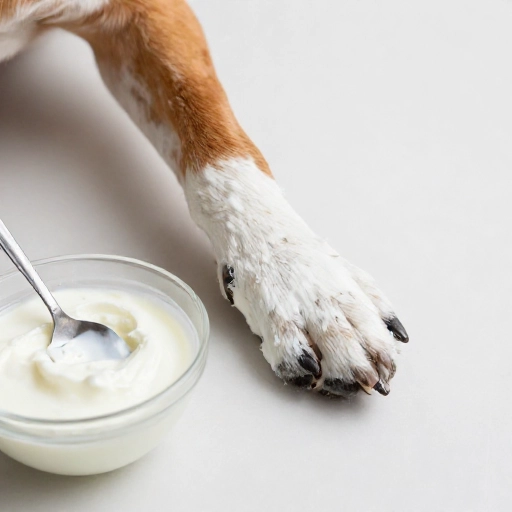
We usually think of kefir as a drink, but it’s a probiotic powerhouse. Yeast overgrowths often happen because the good bacteria on the skin are depleted. Applying plain, unsweetened kefir topically can help recolonize the skin with healthy flora to fight off the yeast.
This is a bit messier, so I save it for the weekend. Spread a thin layer of plain kefir (not flavored, not Greek—just plain milk kefir) over the paw pads. Wrap the paw gently in a sock or gauze and let it sit for 20 minutes.
Rinse it off with warm water and pat dry. The lactic acid in the kefir gently exfoliates the dead, flaky skin while the probiotics do the heavy lifting. It’s a fantastic way to rebuild the skin’s natural defense system. You’ll notice the paws look smoother after just one or two applications.
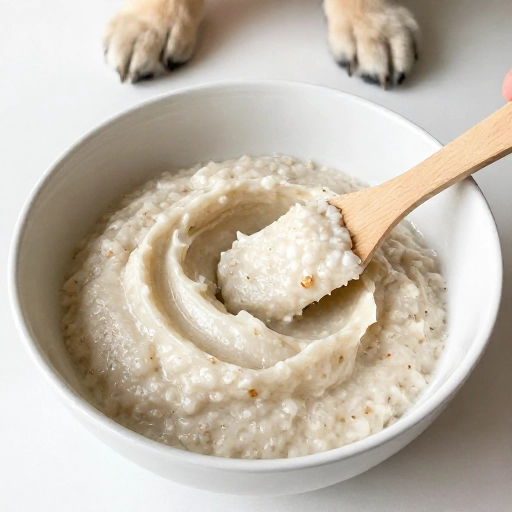
9. Use a Colloidal Oatmeal Paste
Colloidal oatmeal is a classic for a reason—it’s a miracle worker for itching. While it doesn’t kill yeast directly, it reduces the inflammation that causes the licking. Less licking means less moisture on the paws, which breaks the cycle of yeast growth.
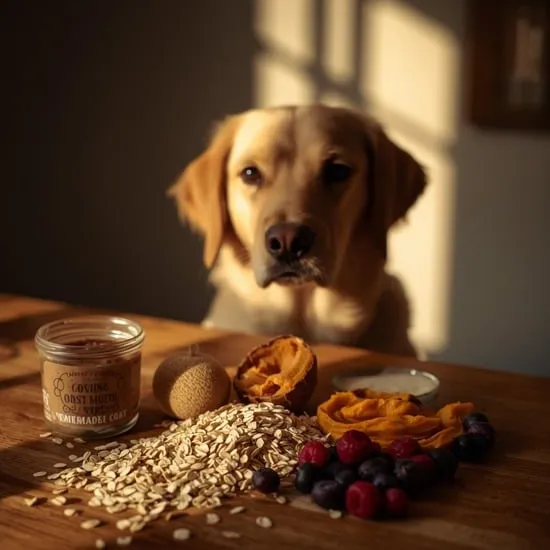
To make a paste, grind plain rolled oats in a blender until they are a fine powder. Mix the powder with a little warm water to form a thick paste. Slather it on the paws and let it dry for about 10 minutes. It forms a soothing film that traps moisture in the skin while calming the itch.
Rinse it off thoroughly. I find this works best when used in rotation with the vinegar rinse. Use vinegar in the morning to dry the yeast, and use the oatmeal paste at night to soothe the itch. This combo is a powerhouse against stubborn infections.
10. Boost with a Fish Oil Supplement
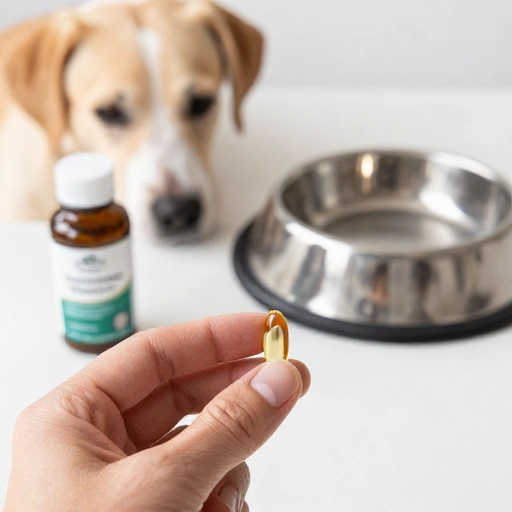
This one is more internal than external, but it’s crucial. Yeast infections are often a sign of a weakened skin barrier. Adding a high-quality fish oil (rich in Omega-3s) to your dog’s food helps strengthen that barrier from the inside out, making it harder for yeast to take hold.
It’s not an overnight fix, but within 2–3 weeks, you’ll notice the skin on their paws looks healthier and less greasy. The oil reduces systemic inflammation, which means your dog feels less itchy all over, not just on their feet.
You can also poke a hole in a fish oil capsule and squeeze the oil directly onto the paw and rub it in. This provides immediate moisture to cracked pads while the ingested portion works long-term. I add it to their dinner bowl every night—it’s the easiest habit to stick to.
The Bottom Line on Natural Yeast Remedies
Healing your dog’s yeast paws naturally takes a little patience and consistency. You won’t see a miracle overnight, but if you stick to a daily routine of drying the paws, applying a natural antifungal, and boosting their immune system, you’ll see a massive improvement within a week or two.
Remember to always check with your vet if the infection looks severe, has a strong odor, or if your dog is in visible pain. But for the common, mild case of the smelly paws, these remedies are safe, effective, and way cheaper than a vet bill. Your pup will be back to zooming around the yard in no time.
Frequently Asked Questions
1. Can I use regular white vinegar instead of apple cider vinegar?
Yes, you can. White vinegar has the same acidity level and will also kill yeast. However, apple cider vinegar has additional enzymes and minerals that are beneficial for skin health. If you only have white vinegar, it’s perfectly fine to use.
2. How do I know if it’s yeast and not just dirt?
Yeast has a distinct, musty odor (often compared to corn chips or bread dough). The skin will usually look red, greasy, or have dark brown discharge in the nail beds. If your dog is licking more than usual and you see a dark brown residue on their fur, it’s likely yeast.
3. How long will it take for natural remedies to work?
With daily application, you should see a reduction in licking and redness within 3 to 4 days. Full resolution of the infection, where the skin looks completely normal, typically takes 1 to 2 weeks. If there’s no improvement after 10 days, see your vet.
4. Can I put socks on my dog to stop them from licking?
Absolutely. Plain cotton socks are a great physical barrier. Just make sure they are dry and not too tight. Change them frequently if they get damp from saliva. Just remember to take them off when you go outside so they don’t slip.
5. Is a yeast infection on the paws a sign of something else?
Often, yes. Chronic yeast issues are frequently linked to food allergies (especially to chicken or grains) or environmental allergies (like pollen). If the yeast keeps coming back, look into changing their diet to a limited-ingredient kibble or a raw diet, and consider speaking to your vet about allergy testing.