10 Wooden Dog Bed Plans Anyone Can Build (Even If You’ve Never Touched a Saw)
Let’s be honest—dog beds from the store are either ugly, flimsy, or ridiculously expensive. And somehow, they always end up smelling like last week’s walk. The solution? Build one yourself. You don’t need a fancy workshop or a decade of carpentry experience. You just need a few boards, some basic tools, and a dog who will inevitably supervise (and occasionally “help” by lying on the wood).
These ten wooden dog bed plans range from “I can do this in an afternoon” to “okay, this will take a weekend.” Every single one is doable for a beginner, and I’ve included the little tricks I wish someone had told me before my first build. Plus, your pup gets a custom, elevated, and honestly gorgeous bed that fits your home’s style—not the other way around.
Let’s get building. Your furry friend is going to love you even more.
1. The Classic Platform Bed (Simplest Build Ever)
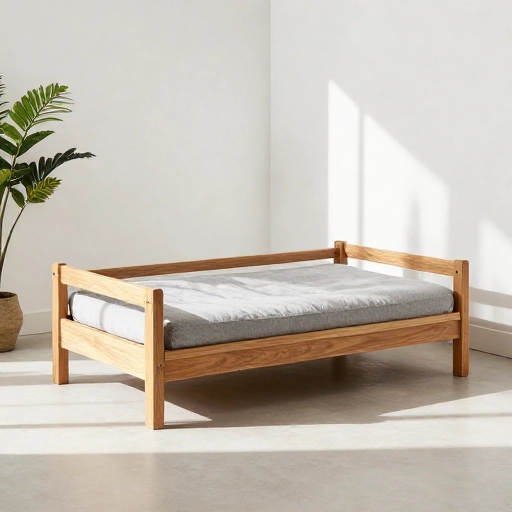
This is the perfect starting point. It’s just a rectangular frame with a plywood base and four short legs. You can make it any size—measure your dog from nose to tail while they’re sleeping in a weird position, then add a few inches for comfort.
Use 2x4s for the frame, a piece of ¾-inch plywood for the base, and 4×4 posts cut down to 6 inches for legs. Screw everything together, sand the edges so there are no splinters, and you’re done. No fancy joinery required.
For the cushion, just buy a cheap outdoor floor cushion or sew a simple cover over a foam pad. The best part? The raised design keeps your dog cool in summer and away from cold drafts in winter.
2. The Crate-Style Hideaway (For Dogs Who Love Caves)
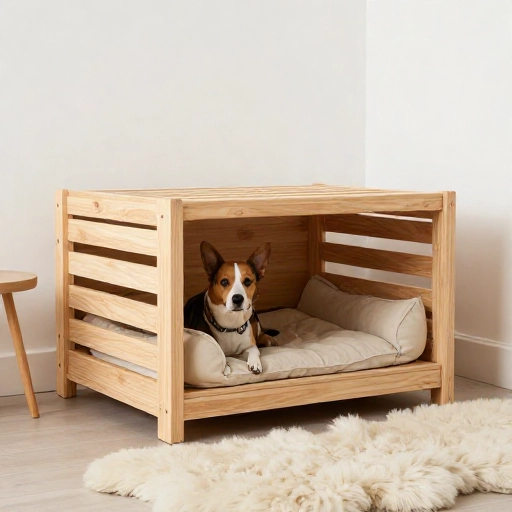
Some dogs feel safest when they’re tucked into a cozy den. This plan uses wooden slats on three sides and a solid roof, but leaves the front completely open. It’s like a mini cabin for your pup.
Build a simple box frame first, then attach 1×2 or 1×3 slats vertically around the outside. Space them about an inch apart so your dog can see out but still feels sheltered. The roof is just a flat piece of plywood—make it removable if you want to wash the inside easily.
I used cedar for this one because it smells great and naturally repels bugs. Just make sure to sand every slat edge—dogs love to chew on corners when they’re bored.
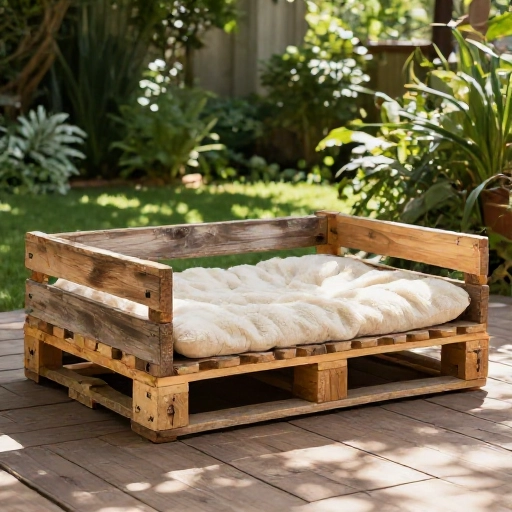
3. The Pallet Wood Rustic Bed (Practically Free)
If you’ve got access to a few shipping pallets, this is your cheapest option. Pallets are made of real, sturdy wood that looks amazing when cleaned up. You can often grab them for free behind hardware stores or supermarkets.
Break the pallets down carefully, remove all nails, and sand everything until it’s smooth. Then, build a simple rectangular frame and attach the pallet wood as a flat deck. Add four furniture legs from the hardware store, and you have a rustic, farmhouse-style bed.
This one takes a bit longer because of the prep work, but it’s so satisfying to turn garbage into something beautiful. Just don’t skip the sanding—pallet wood can be rough and splintery.
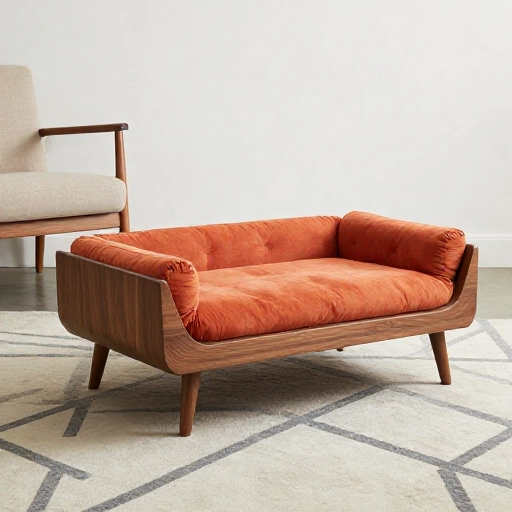
4. The Mid-Century Modern Legs (Look-At-Me-Cute)
Want your dog’s bed to double as a piece of decor? This one uses angled, tapered legs that make the whole thing look like it came from a designer furniture store. It’s easier than it looks.
Build the same platform base as #1, but instead of straight 4×4 legs, buy pre-made tapered furniture legs (they’re cheap online or at any hardware store) and attach them with a slight outward angle. To do this, just drill the leg bracket at a 10-degree angle, or use a washer to shim it.
Paint the frame in a bold color like mustard yellow or deep forest green. This bed will look so good, you might be tempted to nap in it yourself.
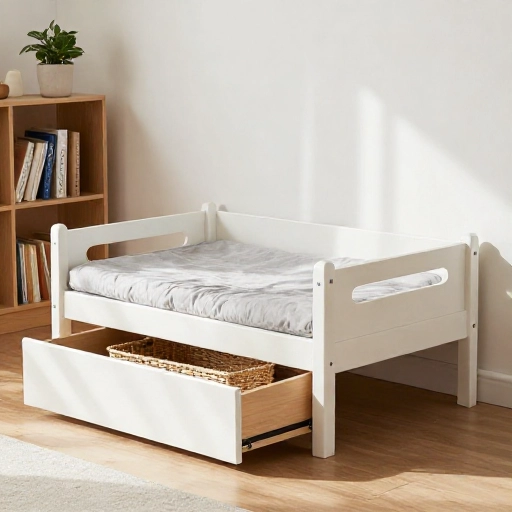
5. The Storage Drawer Bed (Genius for Small Spaces)
Why waste valuable floor space when you can combine a dog bed with a toy box? This plan has a platform bed on top and a sliding drawer underneath for all those squeaky toys, leashes, and chew bones.
Build a sturdy base box with a plywood bottom. Use store-bought drawer slides to make the drawer glide smoothly. The top is just a flat platform with a cushion. Make sure the drawer is deep enough for your dog to shove their whole head in—trust me, they will.
I added a simple rope handle to the drawer so it’s easy to pull with your toe. This is a game-changer for keeping the living room tidy.
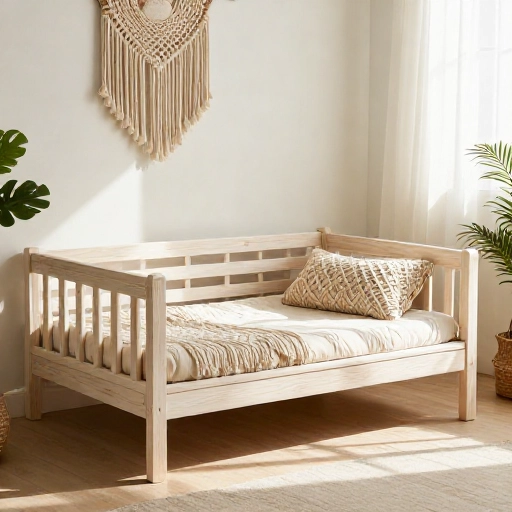
6. The Boho Ladder Bed (Slatted Sides, Airy Vibe)
This design uses horizontal slats on all four sides, creating a beautiful, light, and airy look that fits perfectly in any boho or coastal-style home. It also makes the bed feel more like a lounge chair than a kennel.
Start with four corner posts, then attach 1×3 boards horizontally between them, leaving a 2-inch gap between each. The base is a solid piece of plywood. You can leave the wood natural and just use a clear sealant, or whitewash it for that beachy feel.
Because the slats are open, this bed dries super fast if your dog ever comes in from the rain. And it’s very easy to wipe down.
7. The Farmhouse Barn Door Bed (Chunky and Strong)
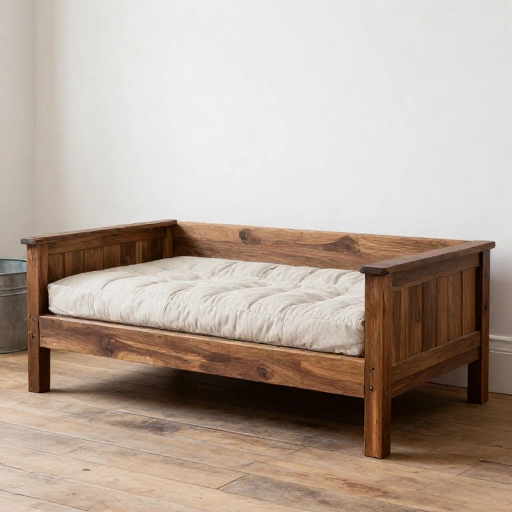
If you have a large or heavy breed, you need something that can handle some serious weight. This plan uses thick, chunky wood and a Z-frame support underneath, so it’s basically built like a piece of barn furniture.
Use 1×6 tongue-and-groove boards for the top deck. Build a simple Z-frame using 2x4s for the base. Add short, thick legs. The key here is to pre-drill all your holes and use construction screws so it’s rock solid.
For a truly farmhouse look, use a dark walnut stain or a barn-red paint. This bed will outlast your dog’s puppy phase, their teenage phase, and probably your next three sofas.
8. The Foldable Travel Bed (Take It Anywhere)
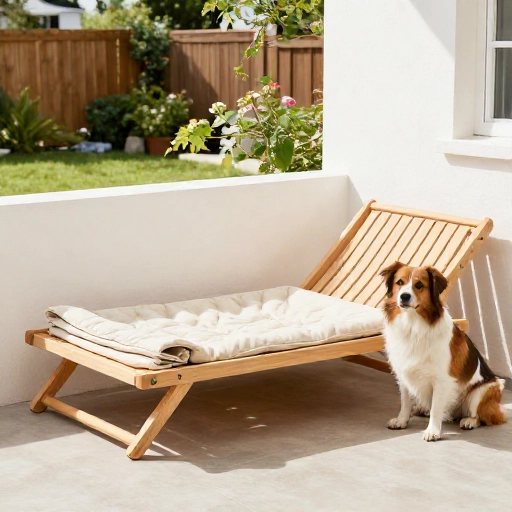
This one requires a bit more precision, but it’s so worth it. It’s a wooden bed that folds flat in the middle, making it easy to throw in the car for camping trips or visits to grandma’s house.
Build two identical rectangular frames, then connect them with a pair of heavy-duty hinges along the long edge. Add a plywood base to each half. To keep it from folding while your dog is on it, add a couple of strong barrel bolts or hasps on the ends.
You can make the legs fold in too, using simple hinge-and-hook mechanisms. This is a great project if you’re a little more experienced, but totally doable for a motivated beginner.
9. The Minimalist Box Bed (Clean Lines, Zero Fuss)
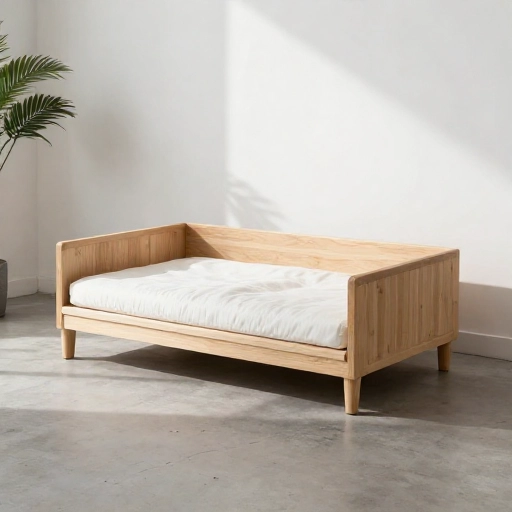
This is for people who love Scandinavian design. It’s just a simple, perfect rectangle with a slight lip around the edge to hold the cushion in place. No legs, no frills. Just a beautiful block of wood.
Cut four pieces of 1×12 pine to form a box, and attach them to a plywood base. Then, add a small 1×2 rim around the inside edge, about 2 inches high, so the mattress doesn’t slide off.
Use a matte, low-VOC paint in a neutral tone like sand or light gray. It looks so clean and modern. It’s also super low-profile, so it’s great for older dogs who can’t jump up on high beds anymore.
10. The Upcycled Headboard Bed (From Trash to Treasure)
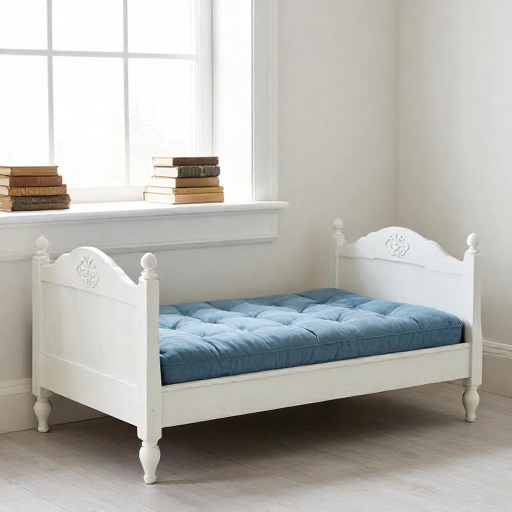
This is my absolute favorite for saving money. Find an old, beat-up wooden headboard at a thrift store or on the curb. It already has beautiful legs and a nice frame—you just need to transform it into a dog bed.
Turn it upside down. The top of the headboard becomes the back of the bed, and the legs become the feet. Cut a piece of plywood to fit inside the frame and attach it securely. Then, sand it down and paint or stain it to match your home.
This method is incredibly cheap and gives you a unique piece with tons of character. Plus, you’re saving furniture from a landfill. Just make sure the wood is solid and doesn’t have any hidden water damage before you start.
Final Thoughts
Building a wooden dog bed isn’t just about saving money—it’s about making something that’s built to last and totally unique to your home. Even if your cuts aren’t perfectly straight or your stain is a little uneven, your dog won’t care. They’ll just be thrilled to have a cool, comfy spot that smells like you.
Start with the simplest plan (#1) if you’re nervous, and work your way up. Before you know it, you’ll be eyeing other furniture to turn into dog beds. Happy building!
Frequently Asked Questions
What type of wood is best for a dog bed?
Pine is the most affordable and easiest to work with for beginners. Cedar is great for outdoor use or if you love the smell. Avoid pressure-treated wood, as the chemicals can be harmful if your dog chews on it.
What size should I make the bed?
Measure your dog from the tip of their nose to the base of their tail while they are lying down in their favorite stretched-out position. Add about 6 to 8 inches to that measurement for both length and width. When in doubt, go bigger.
Do I need to seal or paint the wood?
Yes, absolutely. A non-toxic, water-based polyurethane or a pet-safe paint will protect the wood from spills, drool, and muddy paws. It also makes the bed much easier to wipe clean.
What kind of cushion should I put inside?
You can use a store-bought outdoor cushion, a crib mattress (seriously, they fit perfectly), or a piece of high-density foam wrapped in a washable, custom-made cover. The key is to make sure the cover is removable for washing.
Will my dog actually use a wooden bed?
Most dogs love them! The elevated design keeps them cool in summer and off cold floors in winter. If your dog is hesitant at first, place their favorite blanket or an old t-shirt that smells like you on the bed to make it more inviting.