10 Veterinarian Clinic Design Layouts That Work for Pets, People & Productivity
Let’s be real for a second. If you’ve ever walked into a vet clinic that smells like fear and antiseptic, you know the vibe can make or break the entire visit. I’ve spent hours scrolling through animal hospital inspiration, and I think the biggest mistake we make is designing for the doctors first and the patients second. The best layouts are the ones that feel calm for a nervous Golden Retriever, manageable for a hissing cat, and efficient for a frazzled vet tech running on coffee.
Whether you’re building from scratch or just tweaking your current floor plan, I’ve rounded up ten clinic layouts that genuinely work. These aren’t just about looking pretty on Instagram—they’re about flow, safety, and making sure nobody trips over a leash while carrying a heavy crate. Let’s dig into the blueprints that just make sense.
1. The “Quiet Zone” Waiting Room Split
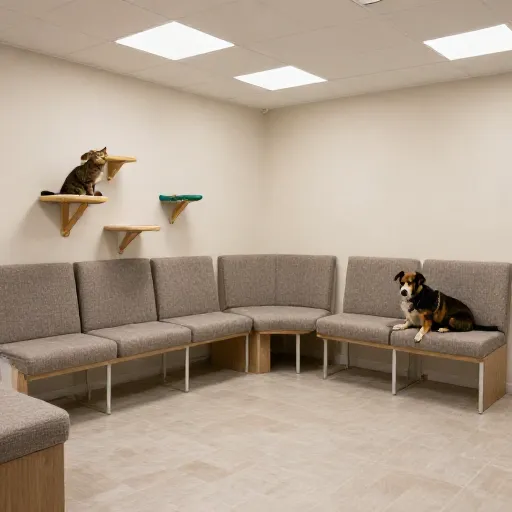
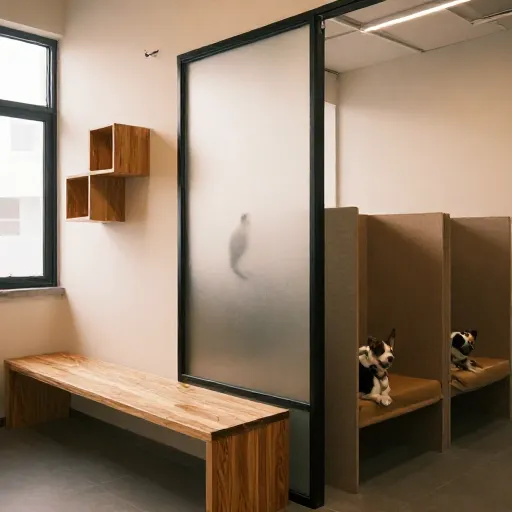
You know the drill. You walk in with a barking Lab and suddenly every cat in the room starts screaming. The fix? It’s not one big waiting area—it’s two. I love designing layouts that physically separate dog owners from cat carriers using a partial wall or even just a wide planter. It’s a simple visual barrier that cuts the stress hormones in half.
Make the cat side smaller and cozier, with high shelves for carriers. The dog side needs more floor space and easy-to-wipe vinyl. Add a second entry door directly to an exam room so anxious pups can bypass the lobby entirely. Trust me, your feline patients will thank you with fewer hisses.
- Use frosted glass dividers so sightlines are blocked but the space still feels open.
- Put the cat side away from the main foot traffic.
- Add a “skip the lobby” door for emergency drop-offs.
2. The Circular “Race Track” Corridor
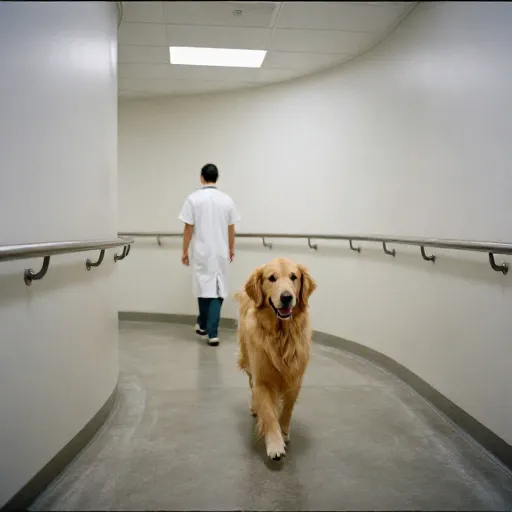
Here’s a layout that makes staff secretly high-five you. Instead of one long hallway where everyone is playing bumper cars with gurneys, create a loop. The treatment area sits in the middle, and exam rooms line the outer circle. This way, a vet can exit Room 1 and head straight to Radiology without walking back past the front desk.
It’s a game-changer for busy clinics. You get fewer bottlenecks, and the staff isn’t constantly doing the awkward “which way are you going” dance. Plus, it keeps the dirty laundry and dirty paws moving away from the clean zones. Honestly, once you go circular, you never go back to a dead-end hallway.
3. The “Dual-Purpose” Exam Room
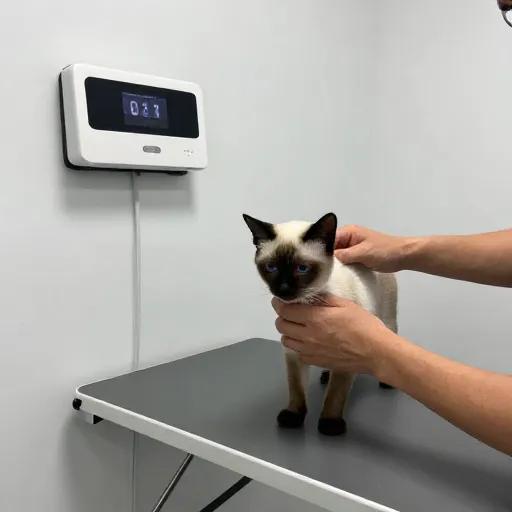
Space is always at a premium, right? So why build a separate pharmacy and a separate exam room when you can combine them smartly? I’m talking about an exam room that has a dedicated “meds drawer” wall behind the doctor’s stool. The vet can grab the antibiotics without leaving the room, which saves about ten minutes per appointment.
Another trick is to make the exam table retractable or wall-mounted. When you need floor space for a large dog, flip the table up. When you need a sturdy surface for a rabbit, pull it down. This flexible layout keeps the room from feeling cramped and allows for a quick turnover between patients.
4. The “Bark-Free” Acoustic Ceiling
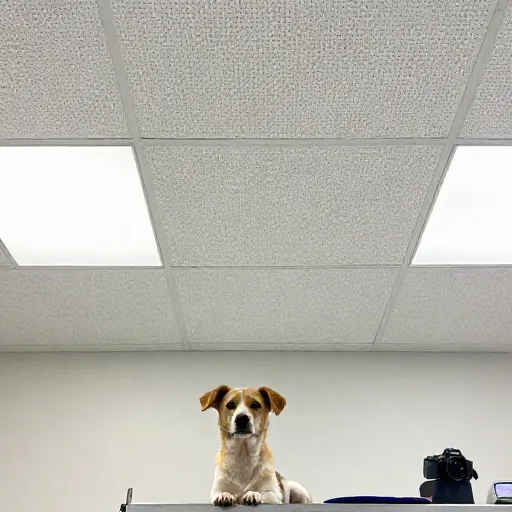
Let’s talk about sound—specifically, the echo of a high-pitched bark bouncing off concrete walls. A layout that works isn’t just about walls and doors; it’s about the ceiling. Installing acoustic panels or baffles in the treatment and kennel areas absorbs that sharp noise. It calms the animals down because they don’t hear themselves bouncing off the walls.
You can use fun, colorful tiles that look like a modern coffee shop. Nobody wants to stare at a gray drop ceiling while they wait. This design choice is all about creating a hushed, serene environment that masks the scary sounds of clippers and suction machines.
- Opt for PET felt acoustic panels—they’re stylish and washable.
- Place the loudest areas (grooming, bathing) furthest from the waiting room.
- Use solid-core doors to block noise between exam rooms.
5. The “No-Lift” Surgery Prep Lane
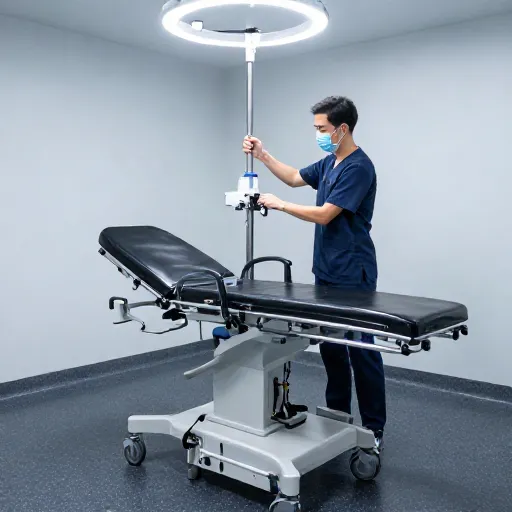
Your back will love this layout. Instead of lifting a heavy Great Dane from a low prep table to a surgery table, design a “lane” where the prep station and surgery table are at the same height. You slide the patient across on a transfer board rather than picking them up. It’s safer for the animal and saves your staff from chronic back injuries.
This works best in a long, narrow room. You have the prep sink at one end, the x-ray viewer in the middle, and the surgery table at the other end. Everything flows in a straight line. No turning corners with a sedated animal, no heavy lifting. Just smooth sliding.
6. The “Catio” or Indoor-Outdoor Run
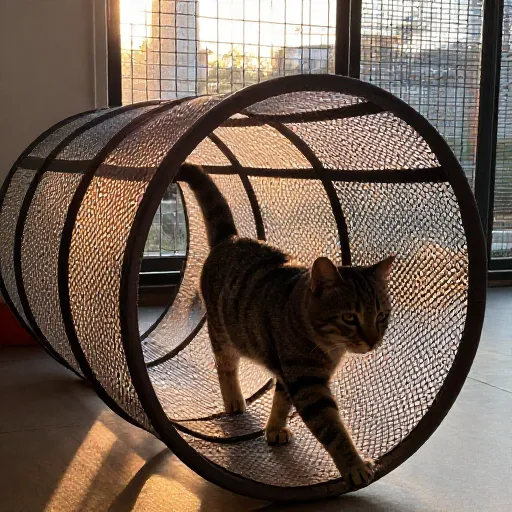
Dogs need to pee, and they don’t always want to do it on a pee pad. A layout that works wonders is a “Catio” (cat patio) or an indoor-outdoor dog run attached to the boarding area. It’s a secure, fenced outdoor strip that the dogs can access via a doggie door from their indoor kennel.
This is huge for clinics that offer boarding. It gives the dogs a sense of normalcy and prevents them from holding it in. For the cats, it’s a window perch with a screened-in view of a birdfeeder. It’s a small footprint that adds a massive amount of value to the patient experience.
7. The “Watchtower” Central Station
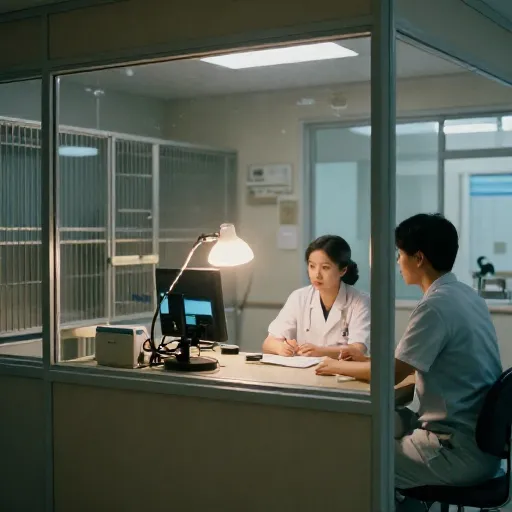
I love a layout where the front desk isn’t a walled-off fortress. Instead, put the central nurse station on a slightly raised platform in the middle of the treatment area. It’s like an air traffic control tower. From this spot, staff can see into the kennels, down the main corridor, and into the treatment bays.
This visibility reduces accidents and helps staff respond faster. You can see if a post-op patient is waking up or if a client is getting frustrated at the front desk. It’s a design that encourages teamwork and keeps everyone on the same page without relying on walkie-talkies.
8. The “Scent-Free” Entry Vestibule
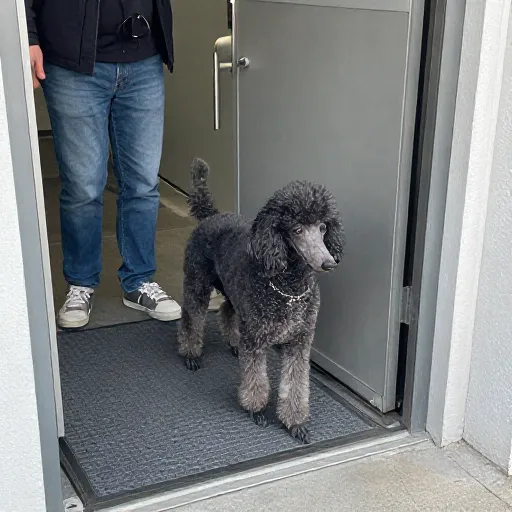
Here’s a subtle one that makes a huge difference. The layout starts before the front door. I’m talking about a double-door vestibule that acts as an airlock. This prevents the smell of the kennels from wafting out into the lobby every time the door opens. It also stops the heat or cold from blasting in.
Inside this vestibule, put a washable mat and a “pet freshening” station. Staff can do a quick spritz of a calming spray or wipe down muddy paws before entering the main reception. It’s a tiny detail that keeps the clinic smelling fresh and clean, which is half the battle in this industry.
9. The “Gravity-Feed” Kennel Drainage
Cleaning is the worst part of the job, but the layout can make it easier. Instead of flat floors in the kennel area, design a slight slope towards a central floor drain. Sounds simple, but you’d be surprised how many clinics forget this. Water should run away from you, not pool at your feet.
Combine that with a drain in every run and a pressure washer hookup. This layout ensures that hosing down a kennel takes five minutes, not twenty. It’s all about working smarter, not harder, and it keeps the space hygienic and odor-free.
- Use trench drains that are flush with the floor to avoid trip hazards.
- Install textured flooring to prevent slips when wet.
- Make sure the slope is subtle—you don’t want the dogs sleeping on an incline.
10. The “Human Corner” Staff Respite
We talk so much about the animals, but what about the humans? A layout that works is one that includes a tiny, dedicated staff room that is completely separated from the medical area. It sounds like a no-brainer, but many clinics cram a table into the breakroom and call it a day. I mean a room with a door that locks and no barking allowed.
This space needs a sink, a microwave, and maybe a couch that faces a window. It’s a psychological escape. When a euthanasia is rough or a client is yelling, the staff needs a place to decompress that doesn’t smell like wet dog. A good layout recognizes that you can’t pour from an empty cup.

Let’s Wrap This Up
Designing a vet clinic is a balancing act between compassion and cold hard efficiency. You want the space to feel warm, but you also need it to be a sterile place for surgery. The best layouts are the ones that are invisible—they just make the day flow easier. Whether it’s the circular hallway or the acoustic ceiling, every little choice chips away at the chaos.
So, grab a notepad and sketch out your dream floor plan. Think about the journey of a scared puppy from the parking lot to the exam table. Think about the tired vet tech carrying a bag of IV fluids. If you design for those two, you’re on the right track.
Frequently Asked Questions
What is the most common mistake in vet clinic layouts?
The biggest mistake is having a single narrow hallway where exam rooms, treatment, and kennels all open onto. It creates bottlenecks and makes it hard to control animal interactions. Separating the public flow from the staff flow is key.
What flooring is best for a veterinary clinic?
You want something seamless and waterproof. Luxury vinyl tile (LVT) or epoxy-coated concrete is great because they’re easy to sanitize and have some slip resistance. Avoid porous materials like wood or grout-heavy tile.
How can I make a small clinic feel bigger?
Use light paint colors and lots of natural light. Install upper cabinets instead of lower ones to keep the floor clear. Also, using pocket doors instead of swinging doors saves a ton of square footage.
Should the kennel area be visible to the public?
Generally, no. You want to keep the kennel area separate and soundproofed. However, having a glass window into the treatment area from the lobby can build trust with clients, as long as it’s not near the noisy kennels.
Is it better to have one large waiting room or several small ones?
Several small ones are better. It reduces stress to keep species separate and to have a quiet room for sick visits. If you only have space for one, use dividers or different zones within the room.