11 Adjustable Paracord Dog Collar Techniques
I love making things for my dog that are both useful and fun to create. Paracord collars are one of my favorite projects because they’re strong, look great, and you can adjust them to fit perfectly. Over the years, I’ve tried all kinds of techniques, and I want to share 11 of my favorites with you.
Whether you’re new to knotting or have made a few collars before, there’s something here for everyone. These techniques help you create collars that are not just safe but also stylish. Grab your cord and let’s get started!
Each method uses 550 paracord and a side-release buckle for easy on and off. Ready to learn some new tricks?
1. The Basic Adjustable Knot
This is the foundation for almost every adjustable collar. Start by cutting one long piece of paracord (about 10 feet for a medium dog). Melt the ends with a lighter to prevent fraying.
Fold your cord in half and push the loop through the male end of your buckle. Then, pass the two loose ends through that loop and pull tight. Now you have a secure attachment point.
From here, you simply tie a series of half hitches or cobra knots down the length. The adjustable part comes from leaving a tail that can slide through the buckle. This is the simplest technique and perfect for beginners.
2. Sliding Knot Adjustment
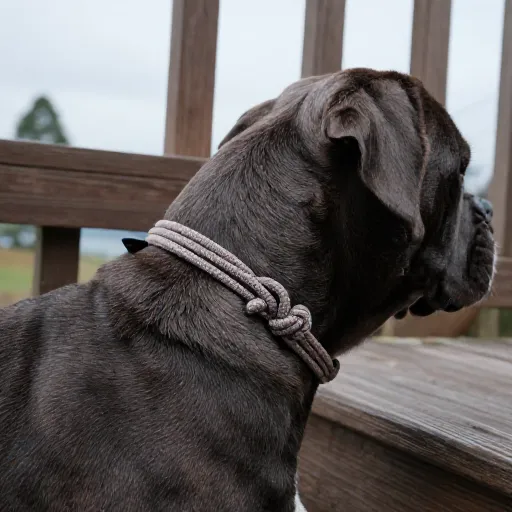
For a collar that adjusts quickly, I love using a sliding knot. Cut two equal lengths of paracord, each about 5 feet. Attach one end of each cord to the buckle using a lark’s head knot.
Now, tie a simple sliding knot using both cords. This is basically a square knot that can slide up and down. Leave about 6 inches of extra cord on the tail end for adjustment.
The best part is that you can easily loosen or tighten the collar without unbuckling it. Just slide the knot up for a tighter fit or down for more room. It’s perfect for growing puppies or dogs with thick winter coats.
3. Double Cobra Weave with Adjustment
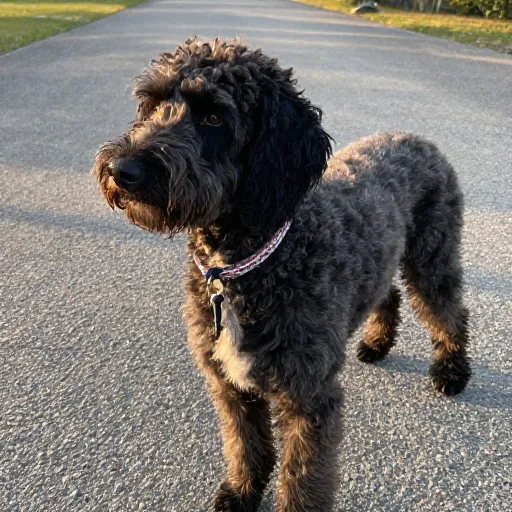
The cobra knot is a classic for good reason. For an adjustable version, start with a longer piece of cord, about 12 feet. Attach it to your buckle with a lark’s head knot.
Instead of tying the cobra knots all the way to the end, stop about 4 inches from the buckle. Leave these last 4 inches as a plain cord tail. This tail will slide through the buckle for adjustment.
You can also add a small stopper knot at the end of the tail to prevent the collar from slipping off. This gives you a thick, comfortable collar that still adjusts easily. It looks professional and feels sturdy.
4. The Figure Eight Adjustment
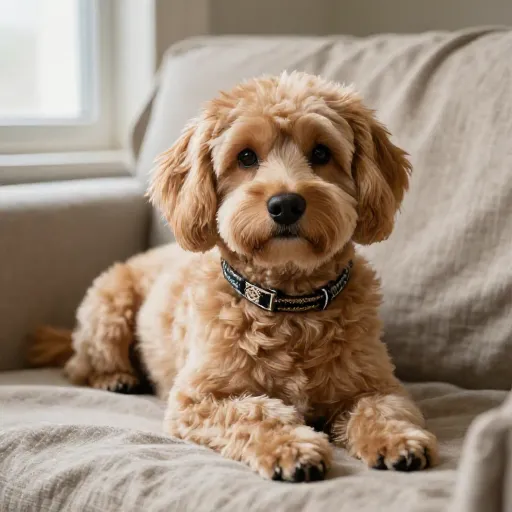
Figure eight knots are strong and easy to undo. For this technique, you’ll need a buckle and about 8 feet of cord. Attach one end to the buckle with a simple knot.
Now, tie a series of figure eight knots along the length of the cord, spacing them about an inch apart. Leave a tail of about 5 inches at the end. The last figure eight should be tied around the tail itself.
To adjust, you simply slide the last knot up or down the tail. This creates a very secure fit that won’t slip. It’s also a great way to use up leftover cord from other projects.
5. The Loop and Slide Method
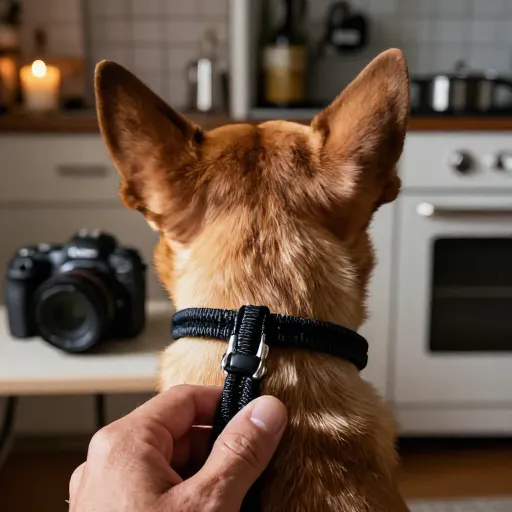
This one is super simple and looks neat. Cut a piece of cord about 6 feet long. Attach it to the buckle with a lark’s head knot. Then, create a loop at the other end and slide the buckle through it.
You’ll have a loop that can be tightened or loosened by pulling on the tail. This is essentially a slip knot but made with paracord. It’s great for a quick collar that you can take on and off easily.
For extra security, add a small knot at the end of the tail to prevent it from pulling through completely. This method works best for dogs that don’t pull too hard on the leash.
6. Braided Adjustment with Three Cords
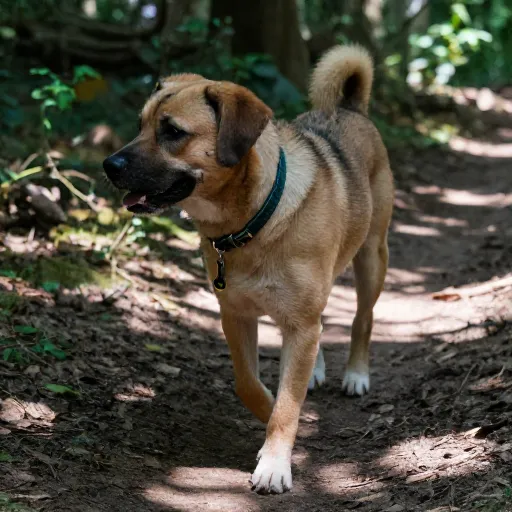
Using three cords gives you a thicker, more colorful collar. Cut three pieces of cord, each about 4 feet long. Attach all three to the buckle using a single knot.
Braid the three cords together in a standard three-strand braid. Leave about 5 inches of unbraided cord at the end. The braid will be the main part of the collar.
To make it adjustable, tie a simple overhand knot at the end of the braid. The tail can then slide through the buckle. This creates a beautiful, textured collar that’s very comfortable for your dog.
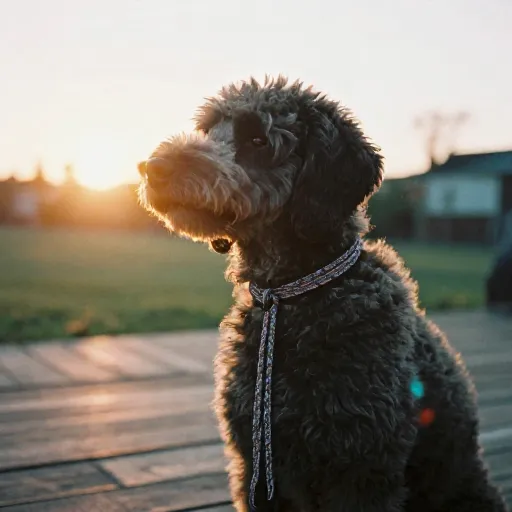
7. The Barrel Knot Adjustment
Barrel knots are small and look like little beads. Start with an 8-foot piece of cord attached to your buckle. Tie a series of barrel knots along the length, spacing them evenly.
Leave a tail of about 4 inches. The last barrel knot should be tied around the tail itself, creating a loop that can slide. This gives you a very precise adjustment, almost like a notched belt.
This technique works well for dogs with narrow necks or for those who need a very secure fit. The barrel knots also add a nice decorative touch. You can mix different colors for a fun look.
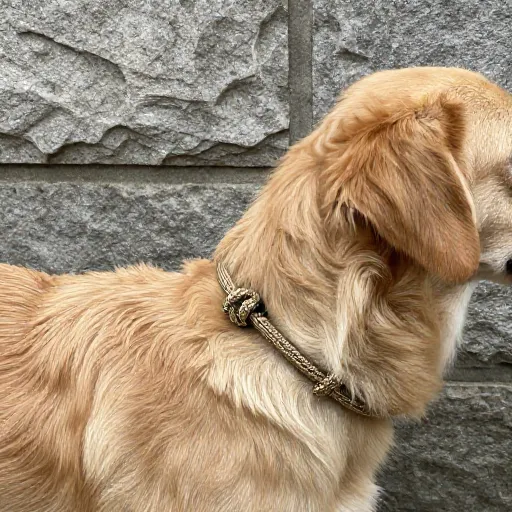
8. The Twist and Lock Method
This is a clever way to make a collar that stays put. Cut a 10-foot piece of cord. Attach it to the buckle with a lark’s head knot. Then, twist the cord several times to create a spiral.
Slide the twisted cord through the buckle, and the twists will lock together. You can adjust the tightness by adding or removing twists. This creates a very strong, no-slip collar.
It takes a little practice to get the twists even, but once you do, it looks amazing. The twists also create a padded feel that’s gentle on your dog’s fur.
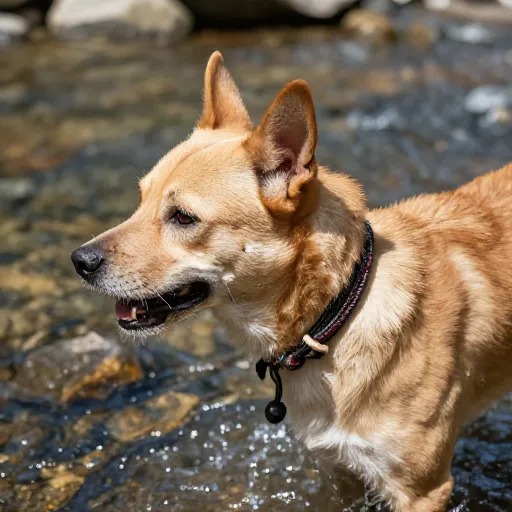
9. The D-Ring Adjustment
Add a D-ring to your collar for even more adjustment options. Attach your paracord to the buckle as usual. Then, slide a D-ring onto the cord before you start tying knots.
As you tie your knots (cobra, figure eight, etc.), make sure the D-ring sits in the middle of the collar. Leave a tail that can slide through the D-ring. The D-ring acts as a second adjustment point.
This gives you two ways to adjust: by the buckle and by the D-ring. It’s perfect for dogs that need a very customized fit. It also gives you a place to attach tags or a leash.
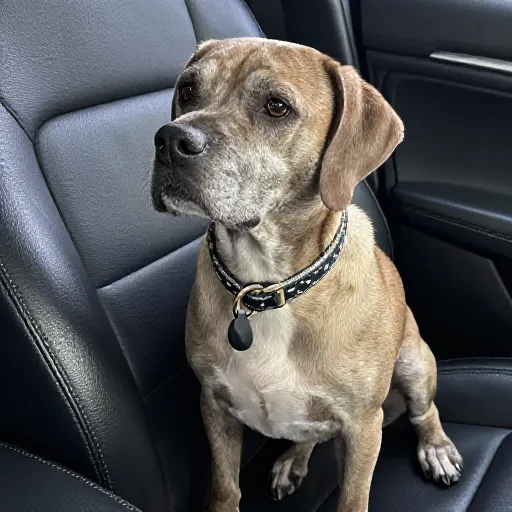
10. The Ladder Knot Adjustment
Ladder knots create a flat, sturdy collar. Start with a 10-foot piece of cord attached to your buckle. Tie a series of ladder knots by looping the cord over itself and pulling tight.
Leave a tail of about 5 inches. The last ladder knot should be tied around the tail, creating a loop that can slide. This makes the collar adjustable while keeping the flat profile.
Ladder knots are very strong and don’t dig into your dog’s neck. They’re also easy to clean. This is a great technique for active dogs who love to swim or play in the mud.
11. The Button and Loop Finish
For a unique finish, try using a button. Tie your paracord collar using any of the techniques above, but leave a longer tail at the end. Sew a button onto the collar near the buckle.
The tail can then be looped around the button to adjust the fit. This is a very secure method because the button won’t slip. It also adds a touch of personality to your collar.
You can use a wooden, metal, or plastic button. Just make sure it’s large enough that the cord can’t slip off. This is one of my favorite techniques for a truly custom look.
Conclusion
I hope these 11 techniques inspire you to create something special for your dog. Each one is adjustable, practical, and a joy to make. Remember, the best collar is one that fits well and keeps your dog safe.
Don’t be afraid to mix techniques or try different colors of paracord. The more you practice, the better you’ll get. And your dog will love wearing a collar that you made with your own hands.
Happy knotting, and enjoy those walks!
Frequently Asked Questions
Q: How much paracord do I need for a dog collar?
A: For a medium dog collar, you’ll need about 8 to 12 feet of paracord. This depends on the technique you choose and the thickness of the cord. It’s always better to have a little extra than not enough.
Q: Can I use any type of paracord?
A: Yes, but 550 paracord is the most common and strongest. It’s made for heavy-duty use and is safe for dogs. Avoid using craft cord that might break easily.
Q: How do I clean a paracord dog collar?
A: You can hand wash it with mild soap and warm water. Let it air dry completely before putting it back on your dog. Avoid using bleach or harsh chemicals.
Q: Is an adjustable collar safe for my dog?
A: Yes, as long as it’s made correctly. Make sure the adjustment mechanism is secure and can’t slip. Always check the fit regularly, especially for growing puppies.
Q: Can I add a leash to these collars?
A: Absolutely. Most of these techniques allow you to attach a leash directly to the buckle or D-ring. Just make sure the connection is strong and won’t come undone during walks.