12 Must-Have Essentials for a DIY Dog Grooming Station That Actually Works
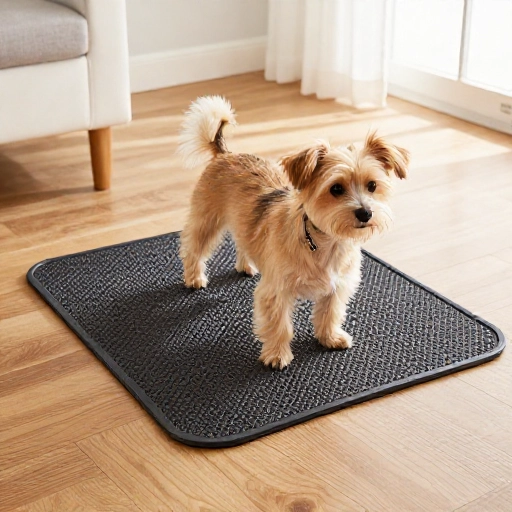
Let’s be real—grooming your dog at home can feel like a wrestling match with a fur-covered tornado. I’ve been there, chasing my Goldendoodle around the kitchen with a pair of scissors and a prayer. But once I set up a dedicated grooming station, everything changed. It went from chaotic to calm, and my dog actually started to enjoy our little spa days.
You don’t need a fancy salon in your garage to get professional results. You just need the right tools, a smart setup, and a little patience. Whether you have a shedding machine or a low-maintenance lapdog, these 12 essentials will save your back, your sanity, and your floors. Let’s build your perfect grooming corner.
1. A Non-Slip Grooming Mat or Table
The absolute foundation of any good station is a stable surface. I learned this the hard way when my dog slipped on a wet tile floor and bolted mid-bath. A non-slip mat or a dedicated grooming table with a rubber top gives your pup confidence and keeps them from sliding around.
If you’re short on space, a simple yoga mat with a textured surface works wonders on a countertop. For bigger dogs, a foldable grooming table with an adjustable arm is a game-changer. It raises them to your level, so you’re not hunched over like a shrimp.
- Look for mats with suction cups for bathtub use.
- Tables with a grooming loop help secure wiggly pups.
- Make sure the surface is easy to wipe down.
Your dog will feel secure, and you’ll avoid the dreaded “bath time escape artist” routine.
2. A High-Velocity Dryer (Not Just a Hairdryer)
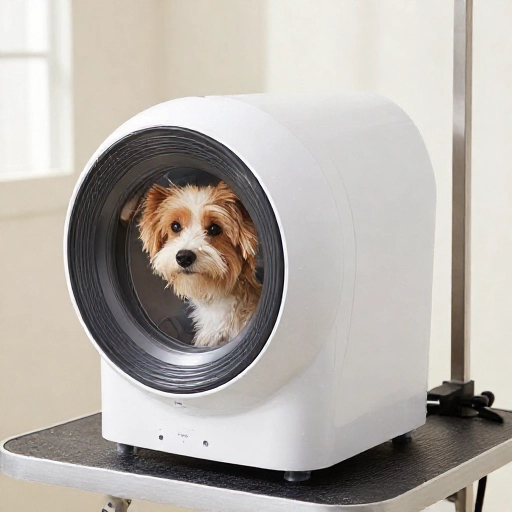
I used to think my human hairdryer was fine. It took an hour, my arm cramped, and my dog looked like a damp hedgehog. Then I invested in a high-velocity dryer, and wow—what a difference. These dryers blast water out of the coat, cutting drying time by more than half.
They’re also brilliant for blowing out loose undercoat before you even pick up a brush. Your dog will look fluffier and cleaner instantly. Just start on a low setting and introduce the noise slowly with treats.
If you’re on a budget, look for a quieter model with variable speed. Your ears and your dog’s nerves will thank you.
3. A Quality Slicker Brush
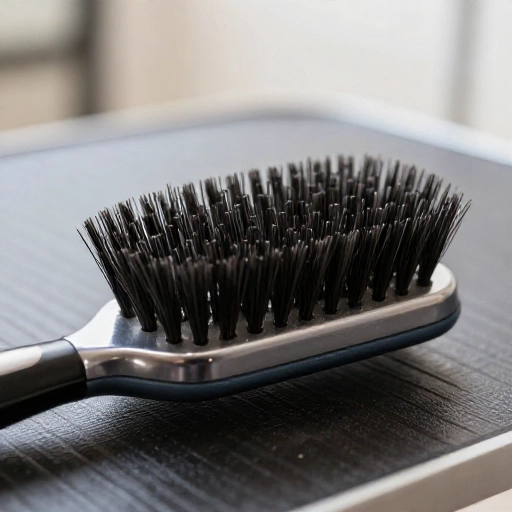
If you own a double-coated breed, this is your best friend. A good slicker brush reaches through the topcoat to remove loose fur and tangles from the undercoat. I have one with bent pins that flexes with my dog’s curves, making it way more comfortable.
You don’t need the most expensive one, but avoid the flimsy dollar-store versions. They scratch the skin and break easily. Pair it with a metal comb to finish the job and catch any missed mats.
Brush in sections, and always follow up with a comb to check your work. It’s the secret to a professional-looking finish.
4. A Dematting Tool or Undercoat Rake
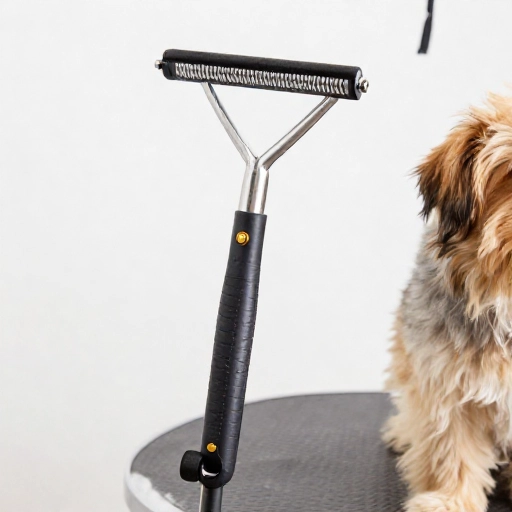
For heavy shedders, a regular brush just doesn’t cut it. That’s where an undercoat rake comes in. It has longer, wider-spaced teeth that pull out the dead undercoat without cutting the topcoat. I use this on my husky mix before every bath, and it reduces shedding by like 80%.
If you have a matted dog, a dematting tool with a blade can carefully slice through stubborn tangles. Just be super gentle—it’s sharp. Work on dry fur, and always brush in the direction of hair growth.
This tool alone will save you hours of vacuuming fur off your couch.
5. A Detachable Shower Head or Rinse Hose
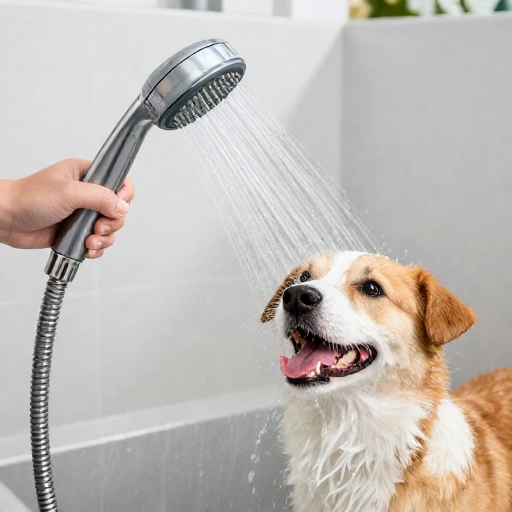
You can’t rinse shampoo out of a thick coat with a cup. Trust me, I tried. A detachable shower head with a long hose gives you control and gets right down to the skin. If you don’t have one in your bathroom, you can buy a cheap handheld sprayer that attaches to your tub faucet.
Warm water is key—think lukewarm, not hot. Use a gentle spray setting first to avoid startling your dog. Then, switch to a stronger stream for the final rinse.
Being able to angle the water means you won’t miss soapy patches, which cause itchy skin later.
6. A Wash Tub or Large Plastic Storage Bin
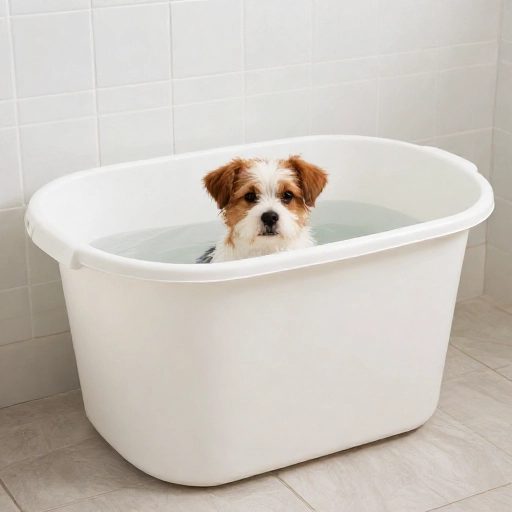
Not everyone has a dedicated dog bathtub, and that’s okay. I use a large, sturdy plastic storage bin from the hardware store. It’s tall enough to contain splashes and fits perfectly in my shower. For small dogs, a baby bathtub works great.
Elevate the bin on a stool or an old table if you can. This saves your knees and makes the whole process way more comfortable. Just make sure the bin is heavy-duty and won’t tip over when your dog shifts their weight.
It’s a cheap alternative to a fancy washing station, and you can store it under the bed when you’re done.
7. Grooming Wipes and Spray Conditioner
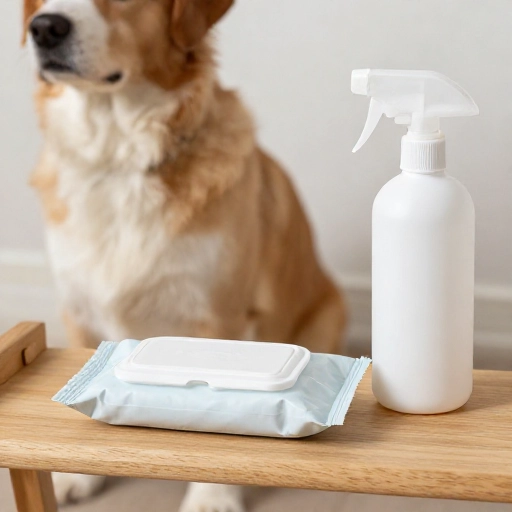
Between full baths, your dog will get into something. It’s inevitable. Keep a stack of grooming wipes in your station for quick paw cleans and face touch-ups. They’re also perfect for wiping down ears and wrinkles on breeds like Bulldogs.
A good leave-in conditioner spray is a lifesaver for detangling. I spray it on before brushing, and the slicker brush glides right through. It also adds a nice shine to the coat and helps prevent static electricity in the winter.
These two items make your station feel more like a spa and less like a chore.
8. A Pair of Straight and Curved Shears
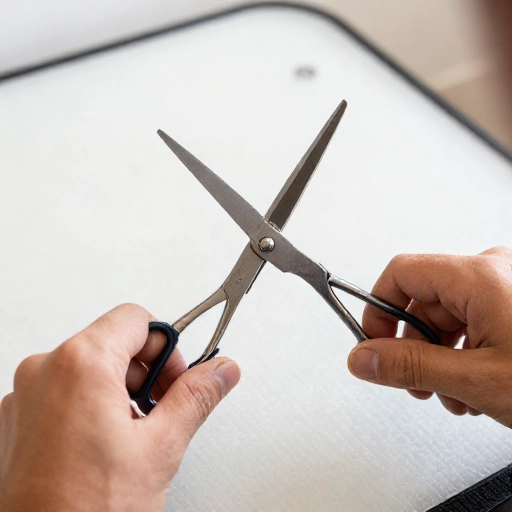
You don’t need a whole barber kit, but a solid pair of straight scissors and a pair of curved shears are essential for trimming around the paws, face, and sanitary areas. I bought a basic set online, and they’ve lasted years.
Straight shears are for making clean lines, while curved ones are perfect for rounding off feet (giving that cute “pawdicure” look). Always use blunt-tipped scissors near the face and eyes for safety.
Keep them sharp and stored in a protective case when not in use.
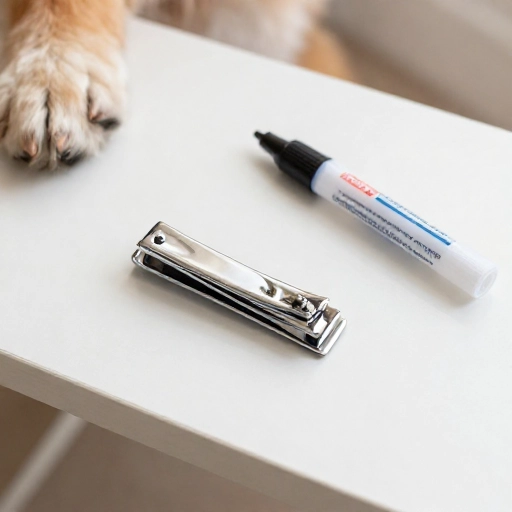
9. Nail Clippers and a Styptic Pen
Nobody loves nail trims, but they’re non-negotiable. A good pair of guillotine-style clippers or a grinder are your choices. I personally prefer a grinder for my dog because it’s easier to avoid the quick, and it files the nail smooth.
Accidents happen, so keep a styptic pen or some cornstarch on hand to stop bleeding fast. It looks scary, but a little pressure and powder fix it in seconds.
Do one paw at a time, offer lots of treats, and never rush. Slow and steady wins this race.
10. Ear Cleaner and Cotton Balls
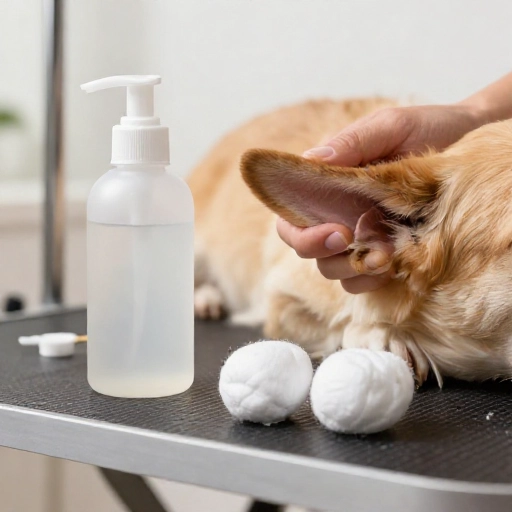
Ears are a hotspot for infections, especially for floppy-eared dogs. A gentle, vet-approved ear cleaner is a must. I squeeze a little onto a cotton ball and wipe out the visible part of the ear. No deep digging ever.
After a bath, always dry the ears thoroughly to prevent moisture buildup. If you notice a yeasty smell or excessive head shaking, call your vet.
Make this a weekly habit, and you’ll catch problems early.
11. A Dog-Safe Shampoo and Conditioner
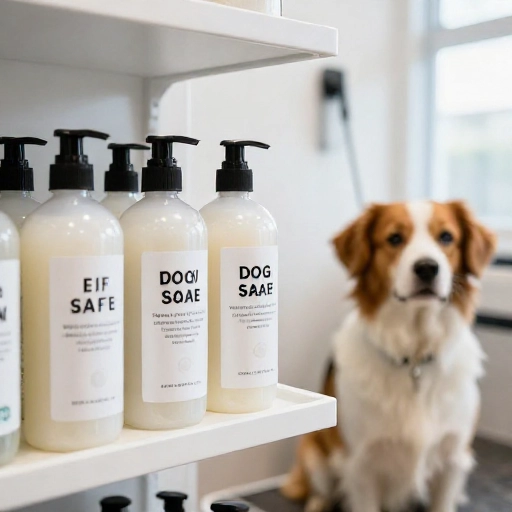
This sounds obvious, but you’d be surprised how many people use dish soap. Your dog’s skin has a different pH than yours. Always use a shampoo formulated for canines. Choose one based on your dog’s needs—oatmeal for sensitive skin, medicated for itchiness, or whitening for bright coats.
Dilute the shampoo in a bottle with water before applying. It spreads more easily and rinses out quicker. Follow with a conditioner to keep the coat soft and tangle-free.
Read the labels and avoid anything with harsh artificial fragrances.
12. A Tether or Grooming Loop (For Safety)
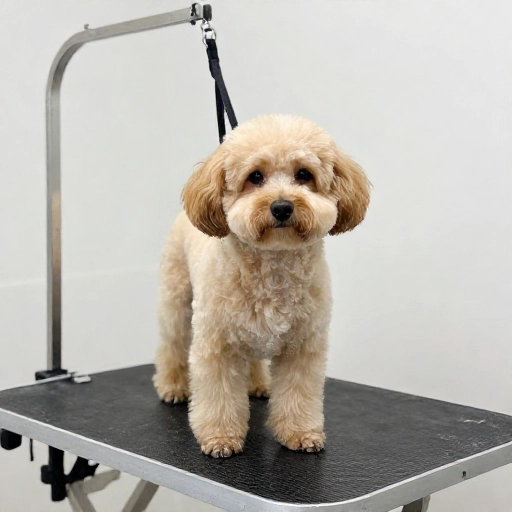
This is the unsung hero of my grooming station. A grooming loop attaches to your table or a wall hook and gently holds your dog in place. It’s not a leash; it’s a safety harness that keeps them from jumping off mid-groom.
I use a padded loop that goes around the neck and under the belly for extra support. It gives my dog a sense of boundaries, and it keeps me calm knowing they won’t bolt.
Never leave your dog unattended on a table with a loop on. This is purely for active grooming sessions.
Conclusion: Your Dog Will Thank You
Building a DIY grooming station doesn’t have to be fancy or expensive. Start with the basics and add tools as you go. The key is consistency and comfort. When you have a dedicated space with the right gear, grooming becomes a bonding ritual instead of a battle.
Your dog will feel calmer, smell better, and look sharper. And you’ll save a ton of money skipping the groomer every month. Take it one step at a time, and before you know it, you’ll be a pro.
Frequently Asked Questions
How often should I groom my dog at home?
It depends on the breed. Double-coated dogs need brushing 2-3 times a week. Baths are usually every 4-6 weeks unless they get dirty. Nails should be trimmed every 3-4 weeks.
Can I use human shampoo on my dog?
No, it’s too harsh. Human shampoo messes with your dog’s skin pH and can cause dryness and itching. Always use a dog-specific formula.
How do I stop my dog from hating the dryer?
Introduce it slowly. Start with the dryer off, then on low, and give treats the whole time. Point it at their back first, not their face. Keep sessions short and positive.
What if my dog has severe mats?
Don’t try to soak them out. It makes mats tighter. Try a dematting tool first. If it’s too close to the skin, shave the area with a #10 blade or see a professional groomer.
Do I need a grooming table?
Not necessarily, but it helps a lot for back pain and control. A sturdy countertop or table at waist height with a non-slip mat works perfectly for small to medium dogs.