12 Heartfelt DIY Dog Collar Designs Any Pet Parent Can Make (No Sewing Machine Needed!)
There’s something so special about making something for your dog with your own two hands. It’s not just about saving money or having a unique accessory—it’s about the love and time you put into every stitch, knot, and bead. Every time I see my pup strutting around in a collar I made, my heart melts a little.
If you’re looking for a fun weekend project or a thoughtful gift for a fellow dog lover, you’re in the right place. I’ve rounded up twelve of my absolute favorite DIY dog collar designs. They range from super simple no-sew options to slightly more involved projects, but all of them are totally doable for beginners. Grab your supplies, put on your favorite playlist, and let’s make something adorable for your best friend.
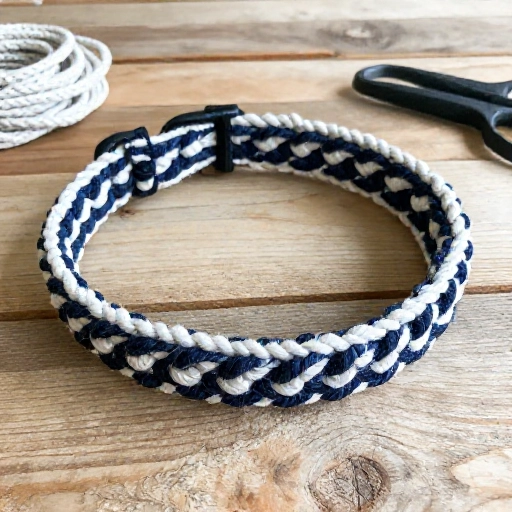
1. The Classic Braided Rope Collar
This is the perfect starting point if you’ve never made a collar before. It uses simple paracord or cotton rope, and the braiding technique is super relaxing once you get the hang of it. The best part? It’s incredibly durable and works great for dogs who love to swim, since the material dries quickly.
You’ll need two colors of cord to make it pop. Attach your D-ring and buckle to the ends before you start braiding, and you’ll have a sturdy, stylish collar in about thirty minutes. It’s a great project to do while watching TV.
I love using bright colors for visibility on walks. Plus, you can make a matching leash with the leftover cord!
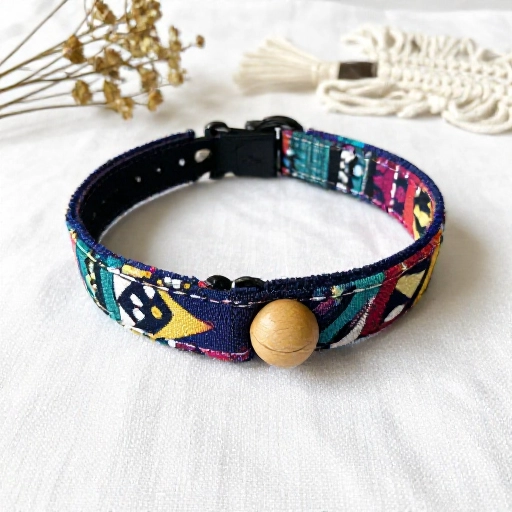
2. The Boho Fabric Wrap Collar
Turn an old, boring nylon collar into a work of art with just a few scraps of fabric. This is a fantastic way to upcycle materials you already have at home. All you need is a basic flat collar and some colorful cotton fabric.
Simply wrap the fabric tightly around the collar, folding the edges under for a clean look. Use a small amount of fabric glue to secure the ends. You can mix and match patterns for a fun, eclectic vibe.
This design is perfect for adding a pop of personality to your dog’s everyday look. It’s also machine washable if you remove the fabric and re-wrap it!
3. The Beaded Gemstone Collar
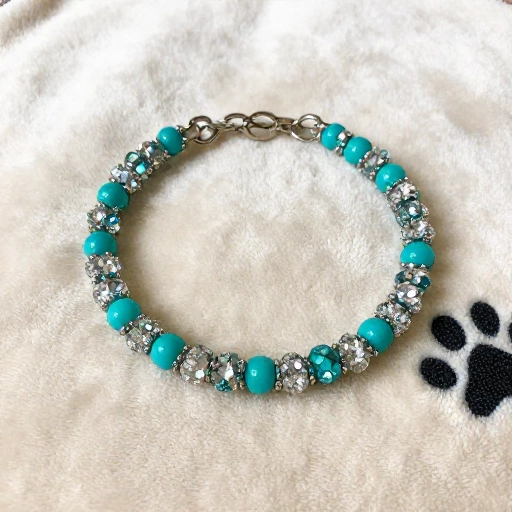
For a touch of elegance, this beaded collar is a showstopper. It’s easier than it looks—you’re essentially threading beads onto a strong cord. You can use wooden beads for a natural look or shiny crystals for a bit of glam.
Start by measuring your dog’s neck and then lay out your bead pattern before you start threading. This helps you get the spacing just right. Make sure to use a sturdy cord that can hold the weight of the beads.
I made one with turquoise beads for my lab, and she gets compliments on every single walk. It’s a simple way to make a big statement.
4. The No-Sew Bandana Collar
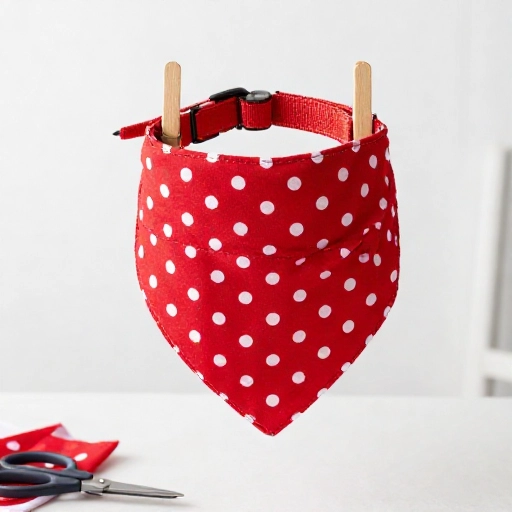
This is the quickest and easiest project on the list. It’s perfect for a last-minute gift or a fun activity with kids. The idea is to attach a pre-folded bandana to a simple collar using a couple of small, strong snaps or buttons.
You can buy bandanas in bulk or cut your own from old shirts. Just fold the triangle, place it over the collar, and snap it in place. Now you can change your dog’s style in seconds without taking off the collar.
This is my go-to for holiday photos. I have a collection of bandanas for every season and celebration.
5. The Cozy Knit Winter Collar
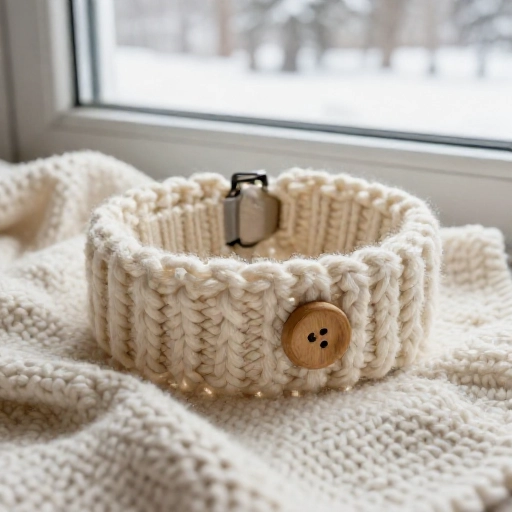
Keep your furry friend warm and fashionable with a chunky knit collar cover. This is a great project for using up leftover yarn. The knit sleeve slides right over a standard collar, so you can take it off when the weather warms up.
If you’re a knitter, this is a quick pattern. If you’re not, you can use a simple technique called “finger knitting” to create a long, chunky rope that you then stitch onto the collar.
It adds a soft, snuggly texture that is just adorable. Plus, it provides a little extra warmth for short-haired breeds during those chilly morning walks.
6. The Paracord Survival Collar
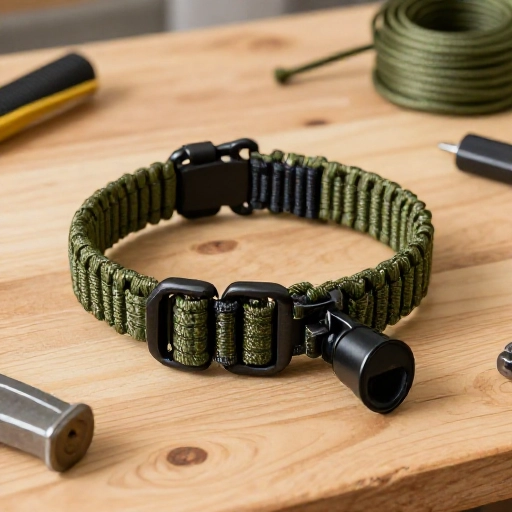
This is a collar with a hidden purpose. It’s made from 550 paracord, which is the same cord used in parachutes. It’s incredibly strong and can be unraveled in an emergency to use as a makeshift leash, tourniquet, or for other survival needs.
The design is a bit more complex, usually involving a cobra weave or a king cobra weave. There are tons of tutorials online, but once you learn the weave, it’s very repetitive and therapeutic.
It’s a practical and rugged choice for adventurous dogs. I love having that extra bit of preparedness built right into our gear.
7. The Personalized Name Collar
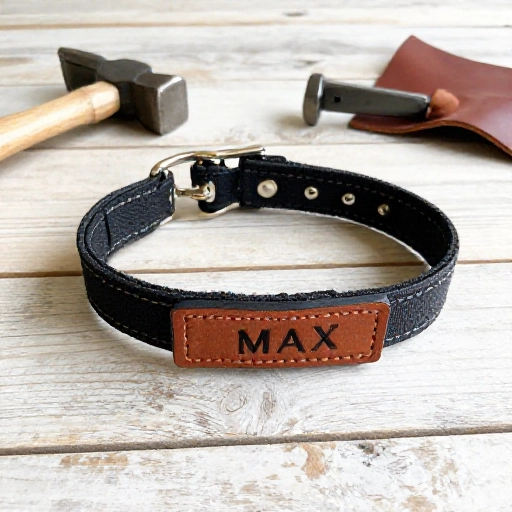
Nothing says “heartfelt” like a collar with your dog’s name woven right into it. You can do this using a simple macramé technique with a tag blank or by using letter beads. The macramé version looks super professional, but the bead version is easier for beginners.
For the bead version, you just string the collar as usual, but you add letter beads for the name in the center. Make sure to space them out evenly. Add a little heart bead at the beginning and end for extra charm.
This is a fantastic way to ensure your dog has identification, even if their tags fall off.
8. The Rustic Leather and Cord Collar
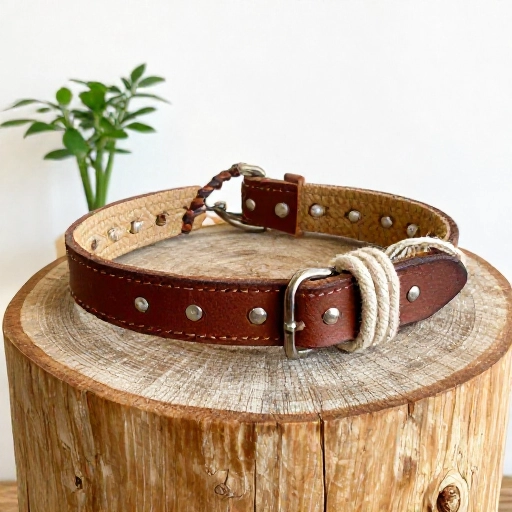
Combine the ruggedness of leather with the softness of cotton cord for a beautiful, rustic look. This design features a braided cord strip that is attached to a piece of flat leather. The contrast in textures is just gorgeous.
You can find pre-cut leather strips at craft stores, or you can cut your own from an old belt. Punch holes in the leather and stitch or rivet the braided cord onto the top. It’s a bit more advanced, but the result is stunning.
This collar ages beautifully, developing a unique patina over time. It’s a timeless piece that looks great on any dog.
9. The Upcycled Tie Collar
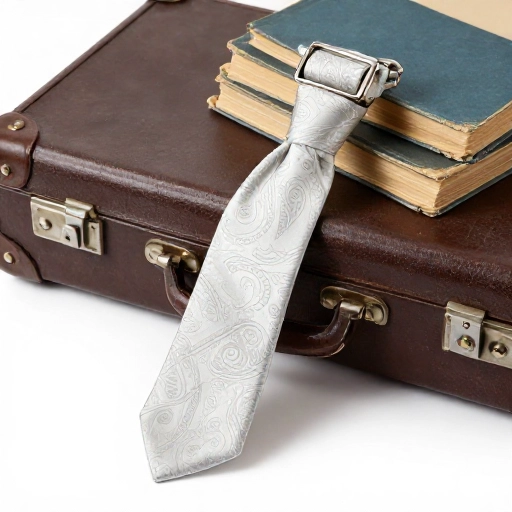
Give a new life to a vintage necktie by turning it into a dapper collar for your dog. This is such a creative and charming idea. The silk or polyester material is surprisingly durable and very easy to clean.
All you have to do is cut the tie to the right length, fold it over a plain collar, and sew or glue it in place. You can keep the bottom point of the tie hanging down for a classic look, or tuck it in for a cleaner silhouette.
I found a gorgeous silk tie at a thrift store for a dollar, and it’s now my dog’s fanciest accessory. It’s perfect for weddings or family photos.
10. The Soft Fleece Snuggle Collar
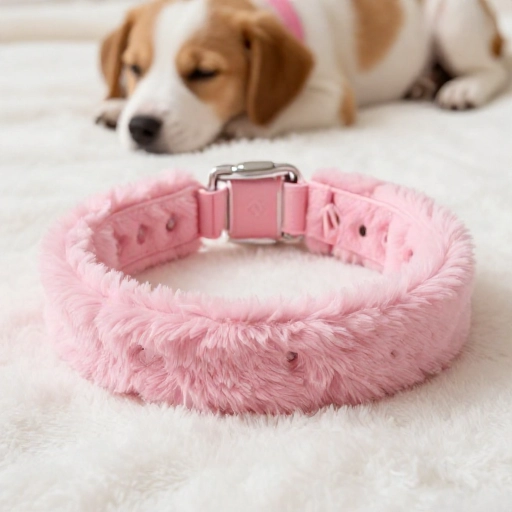
This one is all about comfort. Made from soft fleece fabric, it’s like a cozy scarf for your dog’s neck. It’s perfect for senior dogs or breeds with sensitive skin that might get irritated by rough materials.
You’ll cut a long strip of fleece, fold it over a simple collar, and use fabric glue or a simple whip stitch to secure it. The fleece adds a layer of cushioning that feels lovely.
It’s also a great way to add a pop of color without adding any bulk. My greyhound absolutely loves his.
11. The Simple Cloth-Strap Collar
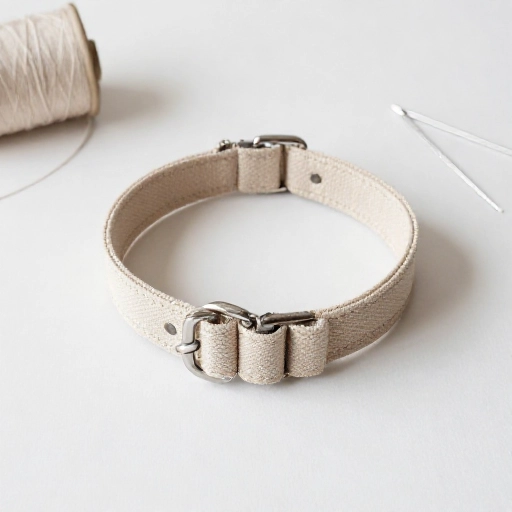
If you have a sewing machine, this is the ultimate customizable project. But you can also do it with iron-on hem tape if you don’t. It’s all about creating a durable, washable collar from your favorite cotton fabric.
Cut your fabric into a long strip, fold it in half lengthwise, and sew it inside out before turning it right side out. This gives you a clean, professional finish. Then, just add your buckle and D-ring.
You can use any pattern you can imagine. I have a bunch of these in different colors to match my dog’s mood (and my outfits).
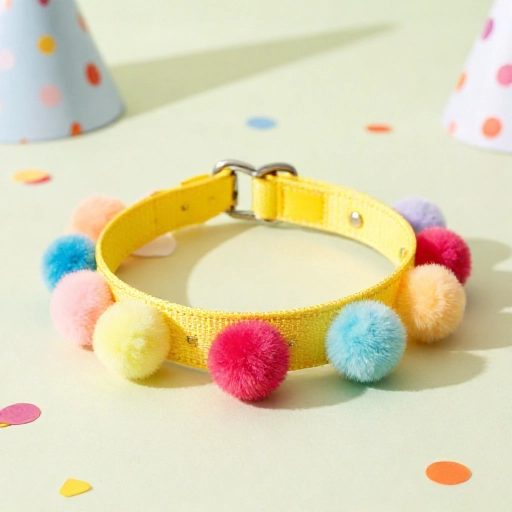
12. The Pom-Pom Party Collar
This is a fun and playful design that’s all about personality. It’s a standard collar with a string of fluffy pom-poms attached along the edge. It’s guaranteed to make you smile every time you look at your pup.
You can buy pre-made pom-poms or make your own with a pom-pom maker. Attach them securely to the collar using a strong needle and thread. Make sure they are on tight so they don’t become a chew toy.
This is the perfect collar for a puppy or a dog with a big, goofy personality. It’s just pure joy.
Final Thoughts on Making Your Own Collar
There is no greater feeling than seeing your dog wearing something you made with love. It doesn’t matter if it’s perfect—the slight imperfections are what make it special. It’s a little piece of you that they carry with them everywhere they go.
I hope these ideas have sparked your creativity. Start with the easiest one you can find, and don’t be afraid to make mistakes. Your dog won’t care if it’s crooked, they’ll just be happy to be with you. Happy crafting!
Frequently Asked Questions
Q: What is the safest material to use for a DIY dog collar?
A: For the base and hardware, you should always use materials designed for pet safety. Nylon webbing and sturdy plastic or metal buckles are best. For decorative elements, avoid anything that could easily break off and become a choking hazard.
Q: How do I measure my dog’s neck for a DIY collar?
A: Use a soft measuring tape and wrap it around the base of your dog’s neck where the collar will sit. Add about 2 inches to that measurement to ensure it’s not too tight. You should be able to fit two fingers comfortably between the collar and your dog’s neck.
Q: Can I make a DIY collar for a puppy?
A: Absolutely! Just remember that puppies grow fast. You might want to make a collar with a sliding knot or an adjustable buckle so you can loosen it as they grow, or just plan on making a new one in a few months.
Q: How do I clean my homemade fabric collar?
A: It depends on the materials. Nylon and cotton collars can usually be hand-washed with mild soap and water and left to air dry. For collars with leather or glued-on fabric, spot clean with a damp cloth to avoid damaging the glue.
Q: Do I need to use a breakaway buckle for a DIY collar?
A: I highly recommend it! A breakaway buckle is designed to release under pressure if the collar gets snagged on something, which is a crucial safety feature for any dog collar. You can buy these buckles online or at craft stores.