12 DIY Wooden Dog Stairs For Bed That Look Like Real Furniture
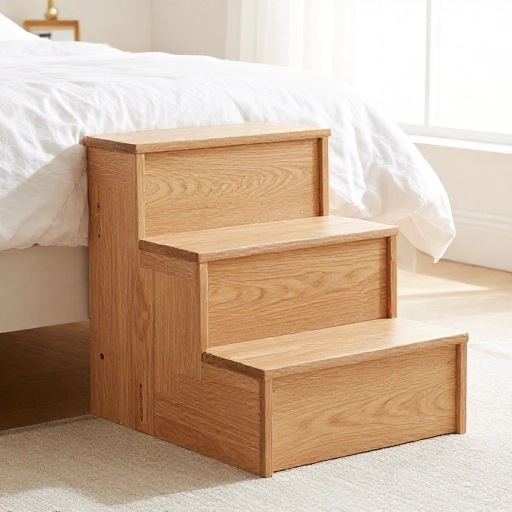
Is your furry best friend starting to struggle with jumping onto the bed? Or maybe you have a tiny pup who just can’t quite make the leap yet. I’ve been there—watching my senior beagle stare at the mattress like it’s Mount Everest was honestly heartbreaking.
Store-bought dog stairs are either flimsy, ugly, or crazy expensive. That’s why building your own wooden set is such a game-changer. Not only do they actually match your bedroom decor, but they’re sturdy enough to last for years. Plus, they’re a fun weekend project that doesn’t require expert carpentry skills.
Here are 12 wooden dog stairs for bed you can make—from super simple to slightly more advanced. Pick the one that fits your space and your pup’s needs!
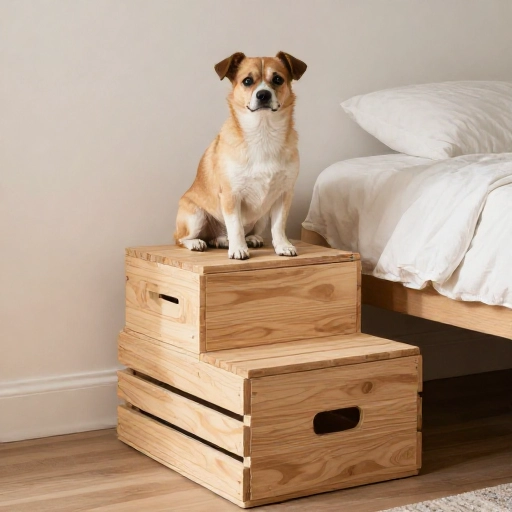
1. The Classic 2-Step Platform Stairs
This is the bread and butter of DIY dog stairs. It’s basically two large wooden boxes stacked in a step formation. It’s perfect for lower beds and small to medium dogs who just need a little boost.
You’ll need plywood, some 2x4s for support, and a good wood glue. The key here is making the top platform wide enough so your dog doesn’t feel like they’re balancing on a tightrope.
I love this design because it’s incredibly forgiving for beginners. Even if your cuts aren’t perfect, the boxy design hides mistakes easily. You can paint it to match your baseboards for a seamless look.
2. The Storage Staircase
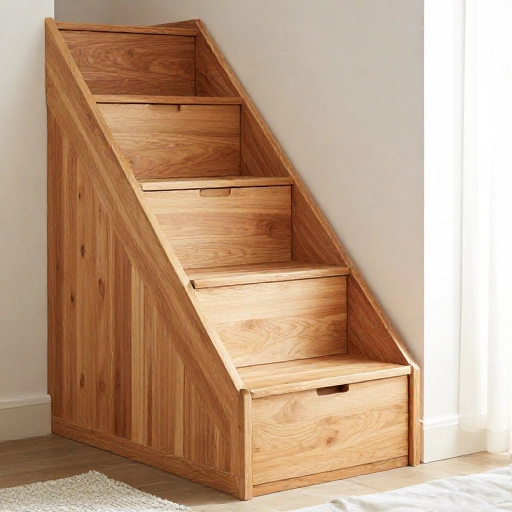
Why not get double duty out of your project? This design features hollow steps that double as storage bins for dog toys, leashes, or even your own shoes. It’s a brilliant space-saver for small bedrooms.
The trick is to build each step as a separate box with a hinged lid. You can use simple butt joints and add a piano hinge at the back of each step.
Use a sturdy plywood at least 3/4 inch thick so the top step can hold your dog’s weight plus the lid hinge. Add some felt pads on the bottom so you don’t scratch your hardwood floors when pulling the stairs out.
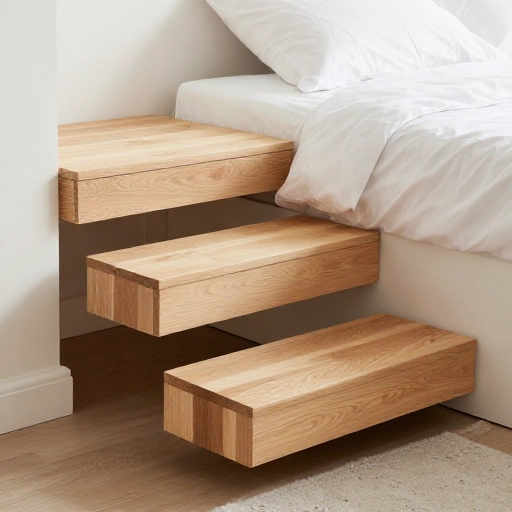
3. The Minimalist Floating Steps
If you have a modern or minimalist bedroom, bulky stairs might not fit your vibe. Floating steps attach directly to the wall, leaving the floor completely clear. They look like little shelves when your dog isn’t using them.
You’ll need to find your wall studs and secure a sturdy wooden bracket to each one. Then, you simply slide a stained wooden board over the brackets.
This is definitely one of the more advanced builds, but the visual payoff is huge. It’s also fantastic for senior dogs because the steps are shallow and easy to climb. Just make sure the wood is sanded super smooth to avoid splinters on paws.
4. The Crate-Topper Stairs
Do you have a dog crate next to your bed? Instead of a separate set of stairs, build a ramp or steps that go from the floor, up over the crate, and onto the mattress. It’s a genius way to save floor space.
Measure the height of your crate and build a box that sits on top of it. Then, create a staircase that leads up to that box. It creates a little “landing zone” for your pup.
This requires a bit more planning, but it’s sturdy because the crate provides the main support. It’s also great for dogs that like to have a high vantage point even when they aren’t on the bed.
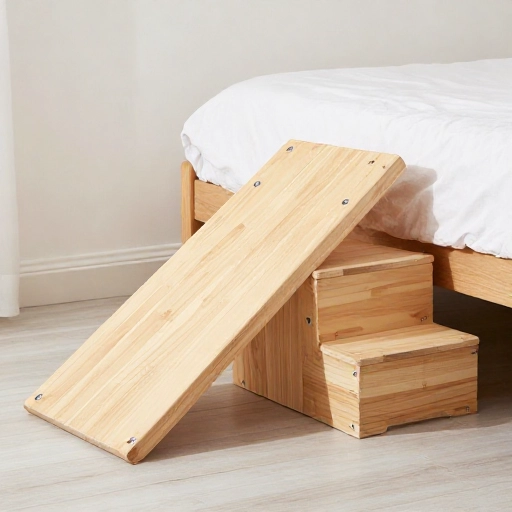
5. The Reversible Ramp & Stairs Combo
Some dogs prefer a ramp, while others like steps. Why not build something that works for both? This design features a flat ramp with small lip edges on one side, and you can flip it over to reveal stair steps on the other.
Build a solid wedge shape from plywood. On the sloped side, attach small wooden strips every few inches to act as traction. On the flat backside, you’ll build small box steps.
This is perfect for puppies who are still learning motor skills and senior dogs who have hip issues. It’s a versatile piece that grows with your dog’s needs.
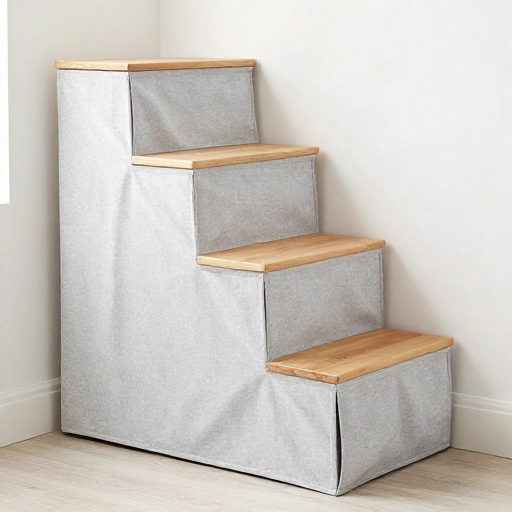
6. The Fabric-Skirted Hidden Stairs
Not everyone loves the look of raw wood. This design uses a basic wooden frame but hides it with a fabric skirt that matches your bedding. It looks like a chic upholstered ottoman from the outside.
Build a standard three-step staircase, but make the sides and front out of a lighter frame. Then, use a staple gun to attach your chosen fabric around the exterior.
This is a great option if you rent and can’t paint the walls to match wood tones. You can swap the fabric out seasonally or whenever you redecorate. It also hides any imperfections in your carpentry!
7. The Wide “Grand Staircase”
For large breeds like Labradors or Golden Retrievers, narrow stairs are a no-go. They need a wide, grand staircase that allows them to turn around and feel secure. This build uses full 24-inch wide steps.
You’ll need two long stringers (the side pieces that support the steps) and wide planks for the treads. Make sure the rise (height) between steps is low—around 6 inches—to be gentle on big joints.
This is a heavy piece of furniture, so consider adding locking casters to the bottom so you can move it easily for cleaning. The stability will make your big dog feel super confident.
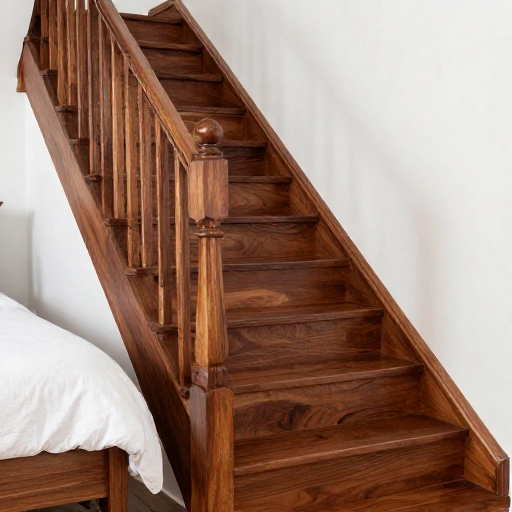
8. The Corner-Curve Stairs
If you have a corner bed, straight stairs might stick out too far into the room. Corner stairs wrap around the footboard or the side of the bed, saving precious square footage.
This is a more complex build where you’ll cut steps at angles to fit the corner. You can use a jigsaw to create curved side panels for a really polished look.
While this is an advanced project, it’s incredibly satisfying. It makes the room look custom-designed. Just be prepared to use a lot of wood filler and sanding to get the angled joints to look seamless.
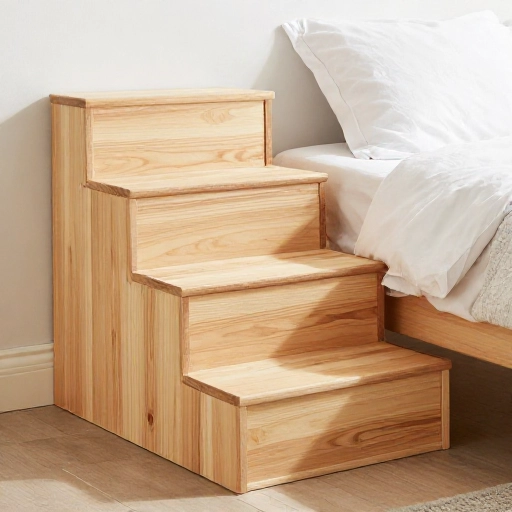
9. The Pallet Wood Stairs
On a budget? You can often get pallets for free. While pallet wood isn’t the prettiest, you can sand it down and stain it to look rustic and charming. This is a great eco-friendly option.
Break down the pallets carefully with a pry bar. You’ll get a mix of plank sizes that you can cut down into steps. Use a metal detector to check for hidden nails before cutting!
The rustic look actually works beautifully in farmhouse-style bedrooms. Add a dark walnut stain and some heavy-duty casters, and you’ve got a set of stairs that cost you almost nothing.
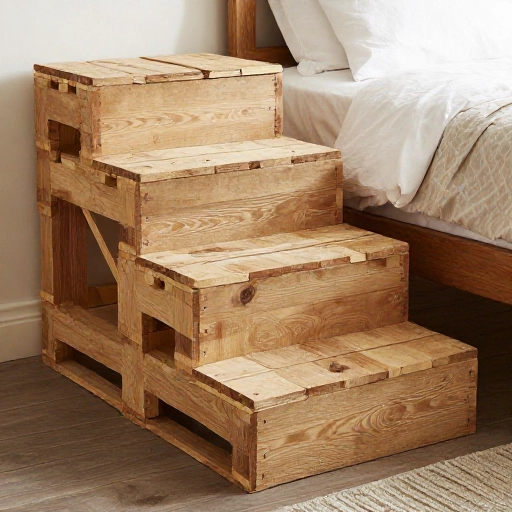
10. The Under-Bed Slide-Out Stairs
This is the ultimate space-saving hack. You build a low-profile set of stairs that slide completely under your bed when not in use. They are mounted on casters or heavy-duty drawer slides.
Build a set of 2 or 3 low steps. Attach wheels to the bottom. When your dog needs to get up, you pull them out like a drawer. When they are on the bed, you push them back under.
This is perfect for tiny apartments where floor space is at a premium. You’ll want to use very strong locking casters so they don’t roll away while your dog is climbing.
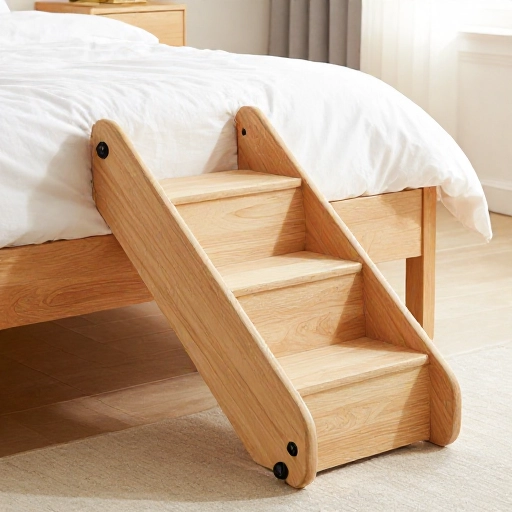
11. The Bookcase Stairs
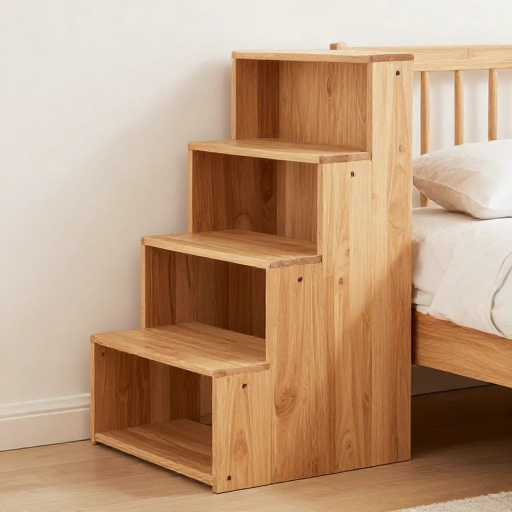
Similar to the storage stairs, but this version looks like a small bookshelf from the side. The treads of the stairs are the shelves, and they are open on the sides for display.
You build a box with angled shelves. The “steps” are the shelves, and you can store books or trinkets on the open sides between the steps.
This looks incredibly high-end. It’s a great conversation starter. Make sure the shelves have a lip on them so your dog’s paws don’t slip off the edge.
12. The Ramp with Traction Mats
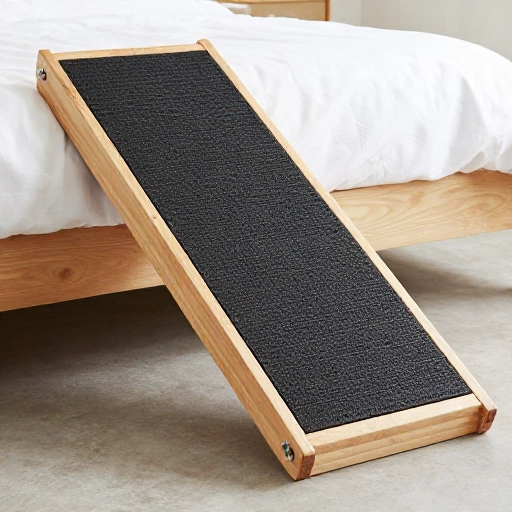
Sometimes, stairs are too much for a very old or injured dog. A ramp is gentler. This build is a simple sloped board with high sides and a non-slip surface.
Use a long piece of plywood. Attach side rails so your dog feels enclosed and safe. Cover the walking surface with outdoor carpet or stick-on anti-slip treads.
The key is to get the angle right. The ramp needs to be long enough that the incline is gentle. You can build a small platform at the top to bridge the gap between the ramp and your mattress.
Final Thoughts
Building your own dog stairs is one of those projects that pays off every single day. You’ll save money, get a custom piece that fits your home, and most importantly, give your pup a safe way to snuggle with you.
Don’t stress about perfection on your first build. Start with a simple box design and work your way up. Your dog won’t care if the corners aren’t perfectly flush—they’ll just be happy to be up on the bed with you!
Frequently Asked Questions
What is the best wood to use for dog stairs?
Plywood is the most practical choice for the main structure. It’s strong, stable, and affordable. For the top treads, you might want to use hardwood like oak or maple for better wear resistance, but a high-quality sanded plywood works perfectly fine.
How tall should dog stairs be for a bed?
It depends on your bed height. Measure from the floor to the top of your mattress. Generally, you want the top step to be just slightly lower than the mattress top so your dog steps down onto the bed rather than jumping. Most bed stairs are between 15 and 20 inches tall.
How do I make sure the stairs are non-slip?
You can attach carpet squares, rubber treads, or apply a non-slip paint additive to the steps. Another easy trick is using adhesive-backed grip tape (the kind used on outdoor stairs). This is crucial for senior dogs who need extra stability.
Do dogs actually use stairs?
Most dogs adapt very quickly, especially if they are food or toy motivated. You can train them by placing treats on each step and luring them up. For older dogs, a ramp might be a better first option, but many learn stairs with patience and encouragement.
How long does it take to build a set of dog stairs?
For a simple two-step design, you can finish it in a single afternoon. More complex builds like the corner stairs or storage units might take a full weekend. Most of the time is spent waiting for glue and paint to dry, so plan accordingly!