12 Creative DIY Cat Furniture Plans That Actually Work
Let me guess—you’ve bought your cat a fancy, expensive cat tree, and they’d rather nap in the cardboard box it came in. Sound familiar? I’ve been there too. Instead of dropping more cash on furniture that gets ignored, why not build something yourself? DIY cat furniture isn’t just about saving money—it’s about creating pieces that fit your space, your cat’s quirks, and your style.
I’ve gathered 12 clever, tried-and-true plans that range from beginner-friendly (think: a cardboard scratcher) to more advanced builds (hello, wall-mounted cat walkways). Each one is practical, budget-conscious, and designed to make your feline friend feel like the king or queen they think they are. Grab your tools, and let’s get started.
1. The Cozy Corner Bookshelf Climber
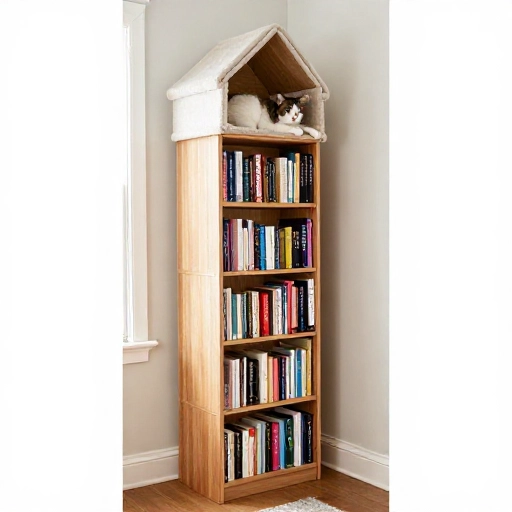
If you have a sturdy bookshelf that’s only half full, this is your easiest win. You don’t need to build anything from scratch—just rearrange what you have. Clear a few shelves, leaving about 12 inches of vertical space between them. Your cat will love hopping from shelf to shelf like a little mountain goat.
Add a soft blanket or a small cushion on one of the higher shelves to create a private lookout spot. For extra grip, line the shelves with a rubber shelf liner or a piece of carpet. This is a zero-cut, zero-measure plan that takes about ten minutes to set up.
- Bonus tip: Secure the bookshelf to the wall with anti-tip straps. Trust me, a jumping cat can shift even a heavy piece of furniture.
- Skill level: Beginner
- Cost: $0 (if you already have the shelf)
2. The Upcycled Ladder Tower
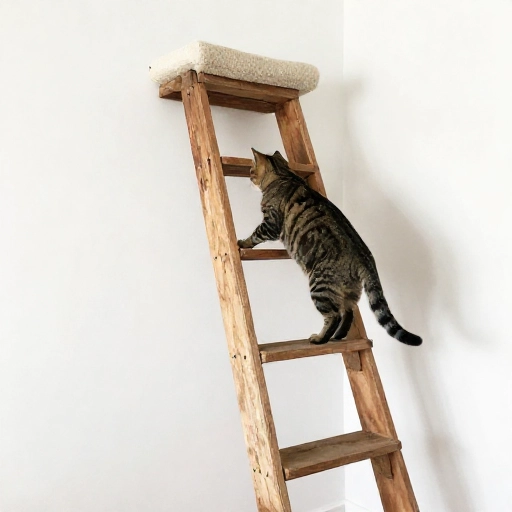
Have an old wooden ladder that’s seen better days? Don’t toss it. Lean it against a wall at a safe angle, and you’ve got an instant cat climbing frame. The rungs give your cat natural stepping stones, and the open design lets them see the whole room from different heights.
Wrap a few of the rungs with sisal rope using hot glue to turn them into scratching posts. You can also hang a small toy from the top rung to encourage play. Make sure the ladder is stable at the bottom—you can add rubber feet or secure the top with a bracket.
This project is forgiving, so don’t stress about perfection. A rustic, weathered ladder looks charming and your cat won’t care about the aesthetics, just the fun.
3. The Simple Cardboard Box Castle
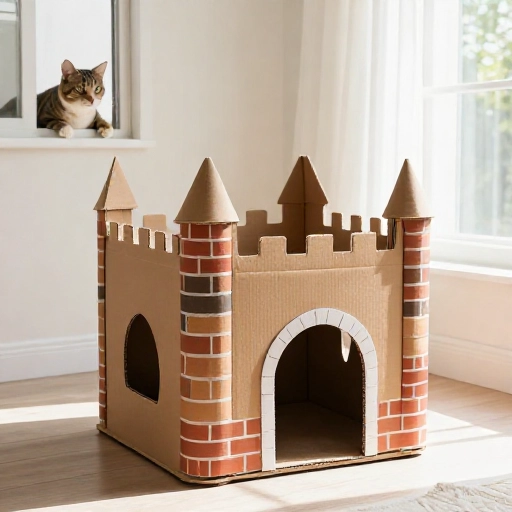
Before you recycle that Amazon box, think about this: a cardboard castle costs nothing, takes 20 minutes, and your cat will absolutely lose their mind over it. Stack boxes of different sizes, tape them together securely, and cut arch-shaped doors between them.
Leave the flaps on—they make great toys. You can also cut small windows on the sides so your cat can poke their head out and survey their kingdom. For extra fun, tuck a crinkly toy or a pinch of catnip inside one of the chambers.
This isn’t a permanent solution—cardboard wears out quickly—but it’s perfect for a weekend project. When it’s destroyed, just build another one. Your cat will think you’re a wizard.
- Skill level: Beginner
- Cost: Free
- Lifespan: A few weeks to a few months, depending on your cat’s enthusiasm
4. The Wall-Mounted Cat Walkway
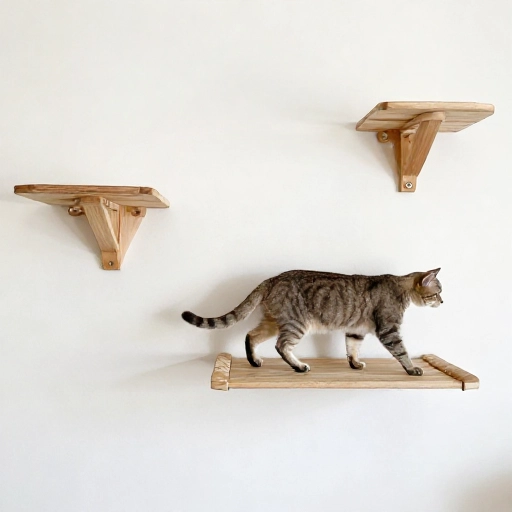
If you’re short on floor space, go vertical. Floating shelves made for cats are all the rage, and they’re surprisingly easy to DIY. You’ll need a few solid wood shelves (at least 10 inches deep), heavy-duty L-brackets, and a stud finder. Mount them at staggered heights along a wall to create a fun, climbable path.
Space the shelves about 18 to 24 inches apart vertically. That gives your cat enough room to jump comfortably without feeling like they’re doing high-intensity interval training. Add a plush mat to one of the higher shelves for a cozy sunbathing spot.
Make sure the brackets can hold at least 50 pounds. Cats are light, but they land with force when they jump. A little extra safety never hurts.
5. The DIY Sisal Rope Scratching Post
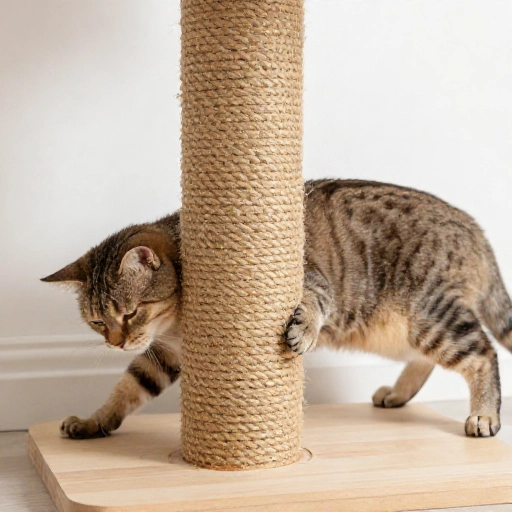
Scratched-up sofas are the enemy. The fix? A tall, sturdy scratching post that’s actually appealing. You can make one with a 4×4 wooden post (about 3 feet tall), a round wooden base (at least 16 inches wide), and sisal rope. Wrap the rope tightly around the post, gluing it as you go, until it’s fully covered.
Attach the post to the base with a strong wood screw or a metal bracket. For stability, use a base that’s heavy enough to prevent tipping. You can also mount the top of the post to a wall bracket for extra sturdiness.
Here’s the trick: rub a little catnip on the rope to attract your cat’s attention. Once they feel the satisfying texture of the sisal, they’ll choose the post over your couch every time.
- Skill level: Intermediate
- Cost: $15–$25
- Time: About 1 hour
6. The Pallet Wood Cat House
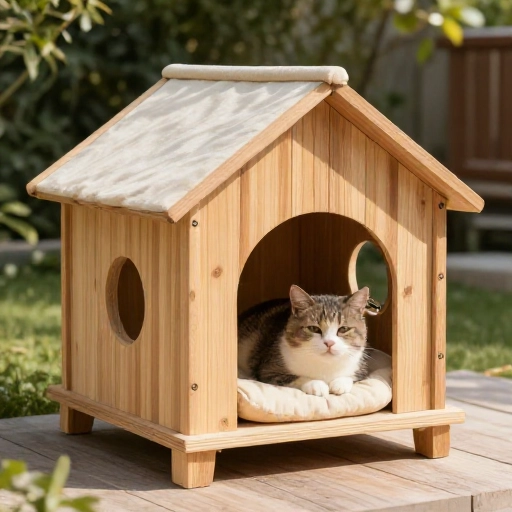
Pallets are free if you know where to look (check behind grocery stores or hardware shops). With a little sanding, they become beautiful, rustic cat houses. You’ll need to take the pallet apart, which is a workout, but the result is worth it. Use the boards to build a simple cube or a two-story house.
Keep the design simple: four walls, a floor, and a roof. Cut a round hole on one side for a door. For a two-story version, create a platform inside and add a ramp or a step. Sand everything thoroughly to avoid splinters.
Leave the wood natural for a farmhouse look, or paint it with non-toxic, pet-safe paint. Add a soft blanket inside, and your cat will have their own private retreat.
7. The Repurposed Crate Condo
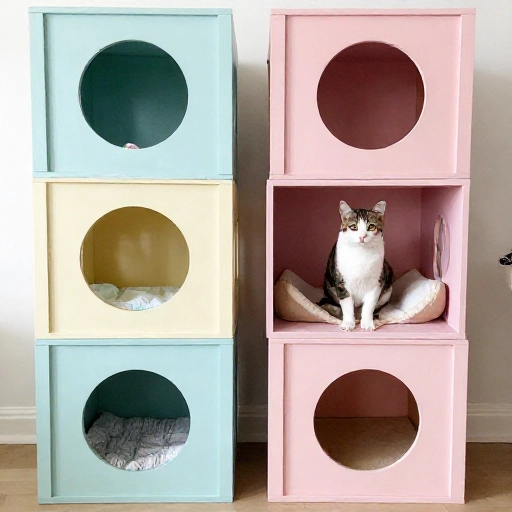
Wooden crates (the kind used for shipping produce) are perfect for cat furniture. Stack two or three crates on their sides, secure them together with screws, and you’ve got a multi-room condo. Each crate becomes a separate cave or a lookout perch.
Turn one crate upside down so the open side faces up, then add a cushion—that’s a cozy napping spot. Turn another one on its side for a hiding cave. Stack them in an L-shape for more visual interest.
Paint the crates to match your decor, or leave them natural. Add a hanging toy from the top crate to give your cat something to bat at while they lounge.
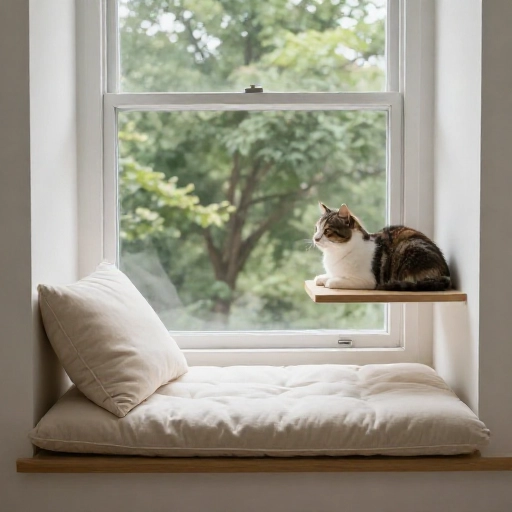
8. The Window Perch with a View
Cats love watching the world go by. A window perch gives them front-row seats. You can build one with a sturdy wooden shelf that spans your windowsill. If your windowsill is too narrow, use a wall-mounted shelf positioned right next to the window.
Make sure the perch is deep enough for your cat to lie down comfortably—at least 12 inches. Add a washable cushion or a piece of fleece for extra comfort. The key is to make sure it’s securely attached; a falling perch will scare your cat and break their trust.
Place a bird feeder outside the window, and you’ll have the happiest cat on the block. Just be prepared for lots of excited chirping and tail flicking.
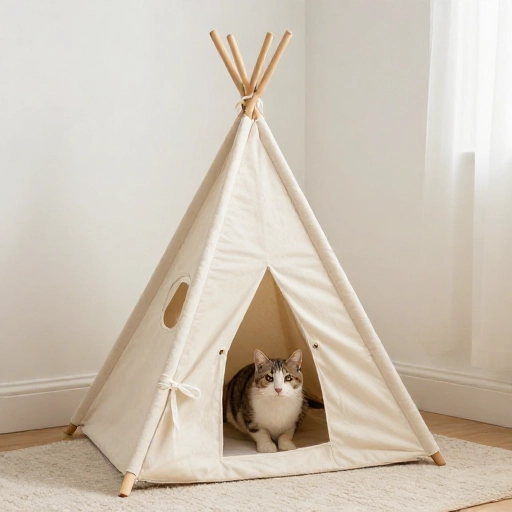
9. The Teepee Cat Hideaway
A teepee is a cute, boho addition to any room, and your cat will love having their own little den. You can build a frame using three or four wooden dowels (about 4 feet long) tied together at the top. Drape a piece of fabric over the frame, leaving one side open as an entrance.
Use a sturdy fabric like canvas or a thick cotton weave. Sew or glue the fabric to the dowels to keep it in place. Add a soft cushion on the inside floor, and you’re done. This is a lightweight, portable project that you can move from room to room.
For a more modern look, use a linen or a neutral-toned fabric. For a playful vibe, go with a fun pattern like stripes or little fish.
- Skill level: Beginner to Intermediate
- Cost: $20–$35
- Time: 1–2 hours
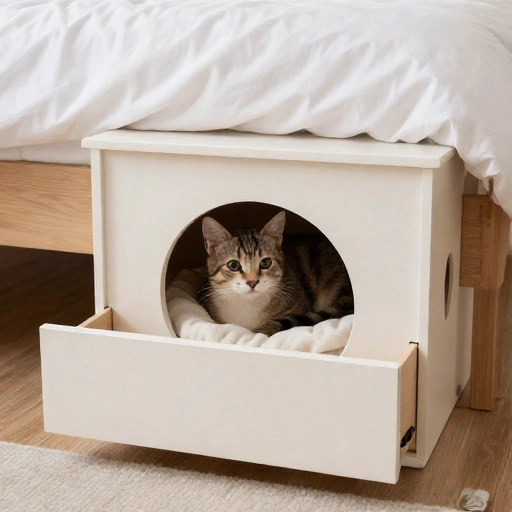
10. The Under-Bed Storage Cat Cave
That empty space under your bed isn’t wasted—it’s a potential cat cave. Use a low, flat storage bin (like the ones for sweaters) and cut a round hole in the side. Line the inside with a soft blanket, and slide it under your bed.
This gives your cat a dark, cozy, secure space to hide. It’s especially great for shy cats or during thunderstorms. You can also stack two bins and cut a hole between them to create a two-level hideout.
The best part? You can slide it out and wash the blanket whenever you need to. It’s the ultimate low-effort, high-reward project.
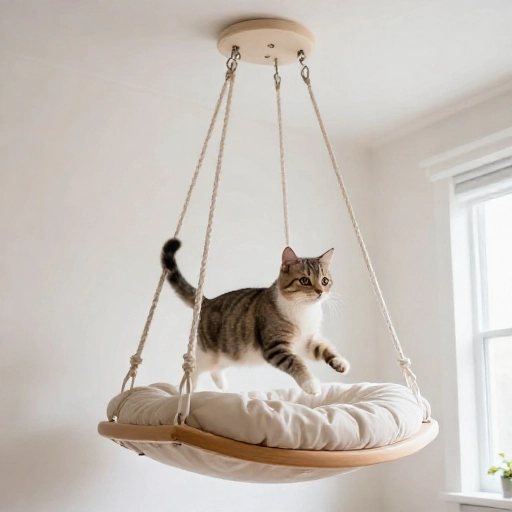
11. The Cat Swing Bed
Have you seen those hanging cat beds that look like hammocks? You can make one with a piece of sturdy fabric, two metal rings, and some strong rope. Attach the rope to a ceiling hook or a sturdy wall bracket, and adjust the height so your cat can jump in easily.
Use a durable fabric like denim, canvas, or even an old pair of jeans you have lying around. Sew the edges to prevent fraying, and attach the rings to each corner. The hammock should hang with a slight curve so your cat feels cradled.
Hang it near a window or in a quiet corner. Cats love the gentle sway, and it’s a fun alternative to a standard bed.
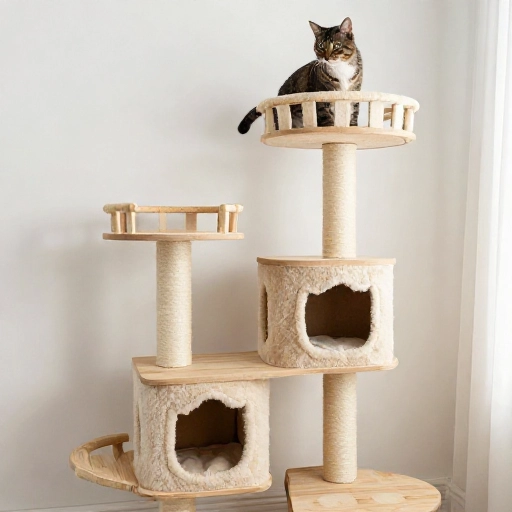
12. The Multi-Level Cat Tree (From Scratch)
This is the big one—the project that will make you feel like a true DIY hero. You’ll need a few 4×4 posts, several wooden platforms (circles or squares, about 16 inches wide), and a large base. Assemble the tree by screwing the posts between the platforms, creating multiple levels.
Wrap the posts with sisal rope for scratching, and attach a few toys to the platforms with string. Add carpet squares or fleece padding on each platform for comfort. Make sure the base is heavy and wide enough to prevent tipping.
This project takes a few hours and some power tools, but the result is a custom cat tree that fits your space perfectly. Plus, you can brag to your friends that you built it yourself.
- Skill level: Advanced
- Cost: $50–$80
- Time: 3–4 hours
Final Thoughts: Build It, and They Will Come
DIY cat furniture is equal parts fun and practical. You save money, you get to customize everything, and your cat gets something made with love. Start with a simple project if you’re new to building—maybe the cardboard castle or the scratching post. Once you see how happy your cat is, you’ll be hooked.
Remember, cats can be picky. If they ignore your first creation, don’t take it personally. Add a little catnip, move it to a different spot, or just give them time. They’ll come around eventually—or they’ll surprise you by loving the box you left on the floor instead. That’s cats for you.
Frequently Asked Questions
1. What’s the easiest DIY cat furniture project for a beginner?
The cardboard box castle is hands-down the easiest. You just need a few boxes and some tape. It’s also free and takes less than 30 minutes.
2. What materials are safe for cat furniture?
Untreated wood, sisal rope, and pet-safe, non-toxic paint are your best friends. Avoid small parts that could be swallowed and any loose staples or sharp edges.
3. How do I get my cat to use the DIY furniture?
Rub catnip on the new piece, place it near their favorite spots (like a window), or put treats on it. Patience is key—some cats take a few days to warm up.
4. Are DIY cat trees as sturdy as store-bought ones?
Yes, if you build them properly. Use strong screws, a heavy base, and secure everything to the wall if you have a particularly rambunctious cat. A well-built DIY tree can be sturdier than cheap store-bought ones.
5. Can I build cat furniture without power tools?
Absolutely. Projects like the cardboard castle, the crate condo, and the ladder tower can be done with basic hand tools or even no tools at all. Just make sure everything is securely fastened.