12 DIY Dog Bowl Holder Plans You Can Build This Weekend (Step by Step)
Is your pup’s mealtime a mess? Maybe they’re tipping their bowls, or you’re tired of bending down twice a day to feed them. I’ve been there. After building my own raised feeder last spring, I realized how easy (and fun) these projects are. You don’t need fancy tools or a big workshop—just a few boards, some screws, and a free afternoon.
Below are my favorite 12 plans, from farmhouse rustic to super modern. Each one comes with simple steps I’ve used myself, so you can skip the trial and error. Pick your favorite, grab some wood, and let’s get building!
1. The Classic Raised Wooden Stand
This is the most popular plan for a reason. It’s basically a sturdy box with two holes cut into the top. The height is perfect for medium to large dogs, saving their necks from strain.
Start by cutting your side panels (I used 1×6 pine). The trick is to measure your dog’s back height—the top of the stand should sit right at their chest level. Screw the sides together to form a rectangle, then add a bottom shelf for stability.
For the top, trace your bowls onto the wood, then cut with a jigsaw. Sand the edges well so they’re smooth.
This whole thing took me about two hours, and it looks like it came from a boutique pet store.
2. Rustic Pallet Wood Feeder
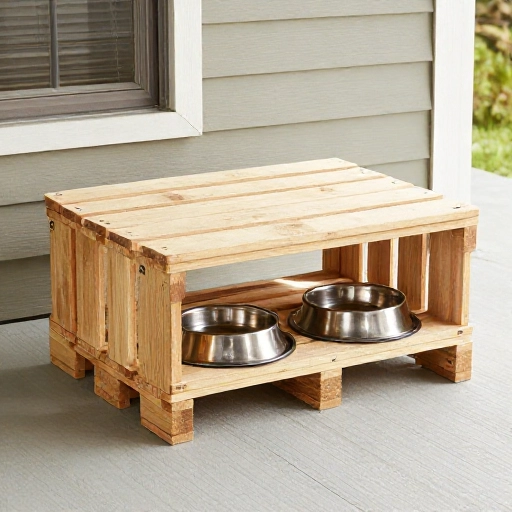
If you love that farmhouse aesthetic but don’t want to spend money on lumber, pallets are your best friend. I found free pallets behind a local hardware store and broke them down with a pry bar.
You’ll want to sand the wood a lot—pallet wood is rough. Cut two identical rectangles for the legs and a top piece to hold the bowls.
I kept the nail holes for character. A quick coat of dark wood stain made it look intentional and expensive. It’s super heavy and solid, which is great for a big dog that likes to push things around.
Just make sure to use pallets marked with “HT” (heat treated), not “MB” (methyl bromide).
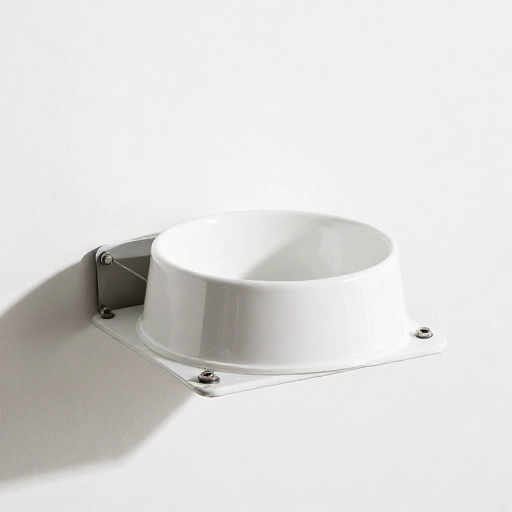
3. Modern Minimalist Floating Shelf
This one is for the city dwellers. It saves floor space and looks sleek. You’re essentially building a small shelf that mounts to the wall.
Cut a piece of hardwood (oak or walnut looks best) to about 20 inches long. You’ll attach a cleat to the back that hangs on the wall. Then, use a hole saw or jigsaw to cut a recessed circle for the bowl.
I recessed the bowl so the rim is flush with the wood. It’s a clean look. You’ll need to screw into wall studs, so grab a stud finder before you start.
This is perfect for small breeds like Chihuahuas or Frenchies.
4. The Tilted Anti-Whisker Fatigue Bowl
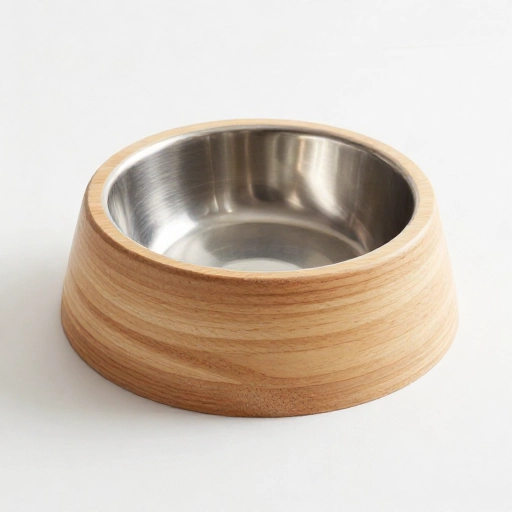
Does your dog hate eating out of deep bowls? Whisker fatigue is real. This plan tilts the bowls toward the dog, making it easier for them to reach every last kibble.
You’ll build a simple triangular wedge for the base. Cut two sides that are taller in the back and shorter in the front (think of a ramp).
Attach the top surface at an angle—about 15 degrees works well. Cut your bowl holes on this tilted surface.
I added rubber feet to the bottom so it doesn’t slide on the kitchen floor. It’s a simple build that makes a huge difference for sensitive pups.
5. Foldable Travel Picnic Table
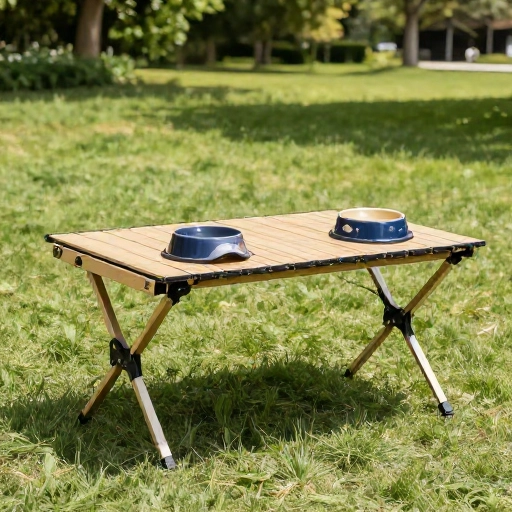
For the hiking and camping crew, this design is a game-changer. It folds flat for storage and pops up in seconds at the trailhead.
Use two rectangular frames connected by a hinge in the middle. The legs fold inward like a saw horse.
I used thinner plywood (1/2 inch) to keep the weight down. The bowls sit in a cut-out tray that you can remove for cleaning.
Add a simple strap to keep it closed when folded. It fits easily in the trunk of my car.
6. Corner Cabinet Caddy
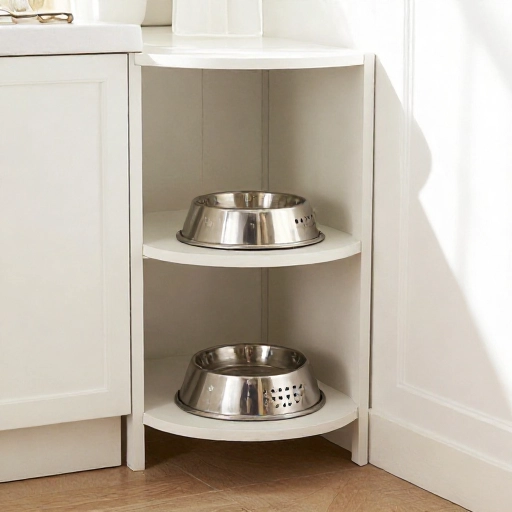
Got a tight corner in the kitchen? This plan uses wasted space. It’s a triangular stand that fits perfectly into a 90-degree corner.
Cut a triangular top piece (sides of about 18 inches). Then, cut three legs that angle outward slightly for stability.
I used pocket holes to attach the legs to the top. You can add a small shelf in the middle for storing treats or a water bottle.
This is a great beginner project because the joins are forgiving. No one sees the inside of the corner.
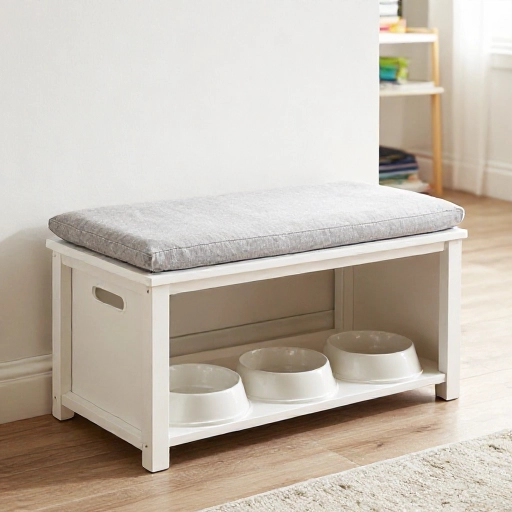
7. The Storage Bench Dog Station
This is the heavy hitter. It’s a bench that holds the bowls on one side and has a lift-up lid for storing toys, leashes, and food bags on the other.
Build a rectangular box. Divide it into two sections with a vertical divider. One side gets the bowl holes; the other side gets a hinged lid.
I used 3/4 inch plywood for this one because it needs to hold weight if someone sits on it. Add a cushion to the top for extra comfort.
This project takes a full day, but it replaces three pieces of furniture in my house.
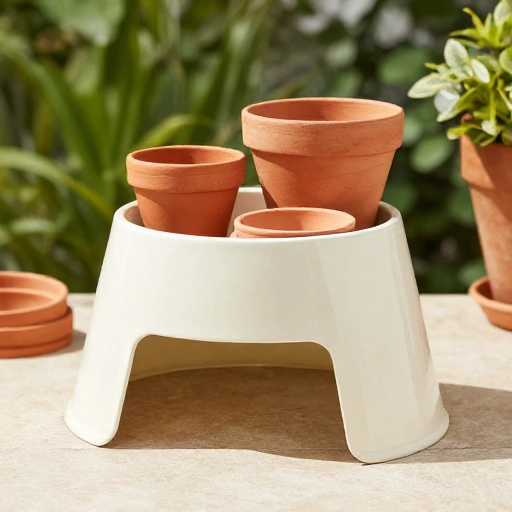
8. Upside-Down Planter Stand
You can actually make a dog bowl holder from a wooden planter box! I found a cheap square planter at a big-box store and simply flipped it upside down.
I cut a piece of plywood to fit the bottom (which was now the top) and traced my bowls. I cut the holes and placed the bowls inside.
The planter already had a nice rusted metal finish, so no painting was needed. It’s a trick that looks super custom but takes 30 minutes.
This is the cheapest trick on the list if you find a planter on clearance.
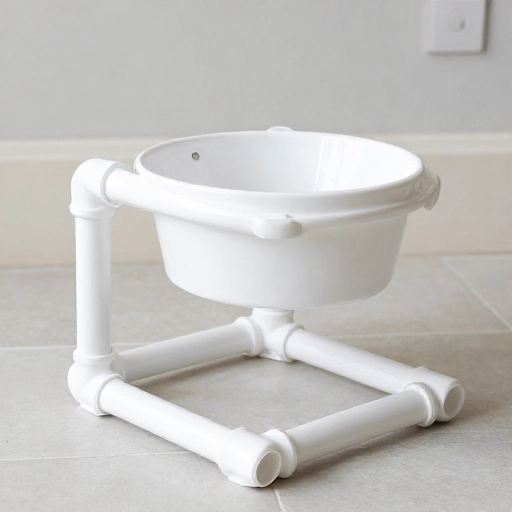
9. PVC Pipe Frame Holder
Don’t want to work with wood? PVC pipe is waterproof, cheap, and incredibly easy to cut. This is the plan I recommend for beginners.
You’ll need 1-inch PVC pipes and 3-way corner joints. Build a simple rectangle frame—two levels, with the top level holding the bowls.
Instead of cutting holes, I just let the bowls sit inside the pipe frame. The pipes act as a cradle that stops the bowls from sliding.
Spray paint it matte black to hide the plastic look. It’s also 100% washable—just hose it down in the yard.
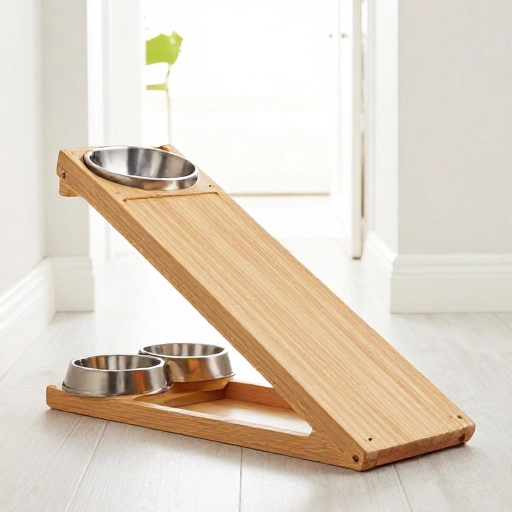
10. Double Bowl Tilted Ramp
For multi-dog households, this covers both water and food at different angles. It’s like two of the tilted plans combined into one long trough.
Build a long ramp (about 30 inches) with a 10-degree tilt. Cut two holes, one for each bowl.
The key here is to add a drip tray underneath the water bowl. I glued a plastic tray to the bottom step to catch spills.
This keeps the floor dry and prevents slipping. It’s a bit of a longer build, but the dogs love eating side-by-side.
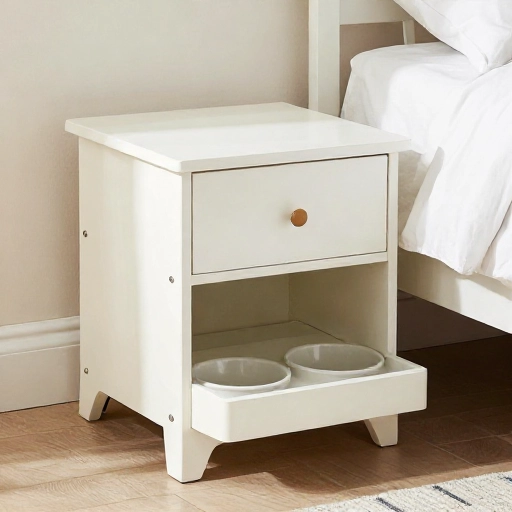
11. Repurposed Nightstand Feeder
Check your thrift store before you buy lumber. I found a solid oak nightstand for $15 and converted it into a gorgeous feeder.
I removed the drawers and cut holes in the top. I then added a shelf inside the cavity to hold the bowls at the right height.
The drawer fronts can be reattached as decorative panels or used as a tray underneath. I just sanded it down and applied a natural oil finish.
This is the most eco-friendly option on the list. Plus, the drawer cavity is perfect for storing a bag of food.
12. Mason Jar Holder
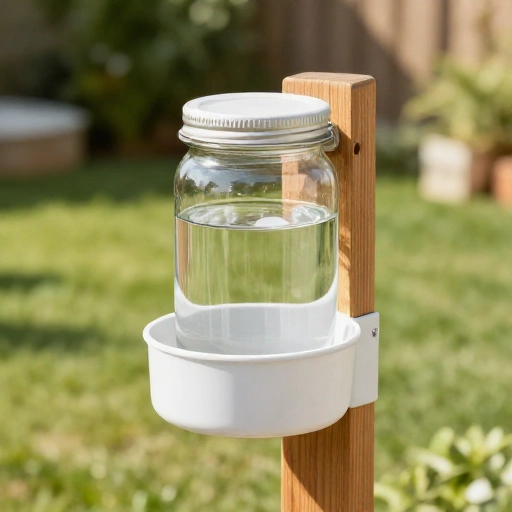
Okay, this one is more for water than food, but it’s so cute for small dogs. It’s a simple wooden block with two holes drilled for wide-mouth mason jars.
Use a 4×4 piece of wood (or glue two 2x4s together). Drill a 3-inch hole about halfway through the wood.
Insert the rim of the jar into the hole. The jar hangs upside down, and gravity dispenses the water into the mouth of the jar.
This is a quick afternoon project. I made one for my sister’s pug, and it looks adorable on her porch.
Conclusion
Building your own dog bowl holder is a rewarding way to add function to your home. Whether you need a simple wood stand or a full storage bench, these plans are all doable with basic tools. My advice? Start with the pallet plan or the PVC frame. They’re forgiving and quick, and you’ll learn the basics for the bigger builds.
Your dog won’t care if the corners aren’t perfect—they’ll just be happy their food is at the right height. Happy building!
FAQ: Dog Bowl Holders
1. What height should a dog bowl holder be?
Measure your dog from the floor to the top of their shoulder (withers). The bowl rim should be about 1-2 inches below that line. This lets them eat without lowering their head too much.
2. Is it better to use wood or plastic?
Wood looks nicer and is more stable, but it needs sealing to prevent water damage. Plastic (like PVC) is easier to clean and won’t rot, but it can look cheap unless painted.
3. Do I need a jigsaw to cut bowl holes?
Yes, a jigsaw is the best tool for cutting curves. If you don’t have one, you can use a drill with a spade bit to create a rough circle, but a jigsaw makes clean edges much easier.
4. How do I stop the bowls from sliding around?
You can apply a bead of silicone caulk around the rim of the hole before inserting the bowl. Or, just use rubber bowls with a lip that grips the wood.
5. Can I use a raised feeder for a puppy?
Yes, but you’ll need to adjust the height as they grow. Build one with removable legs or use a shorter plan (like the planter box trick) and switch to a taller one when they’re an adult.