12 Easy DIY Dog Stairs for Bed That Take Less Than an Hour to Build
Is your furry best friend struggling to hop up onto your bed these days? Maybe they’re a tiny pup with little legs, or a senior dog whose back legs just aren’t what they used to be. I know the feeling—watching them whimper at the foot of the mattress is heartbreaking. You want them snuggled up next to you, but you also don’t want to risk them injuring themselves trying to jump.
The solution? Build your own dog stairs! It sounds like a big project, but honestly, many of these can be done in a single afternoon with basic tools. Plus, you can customize them to match your bedroom decor perfectly. Let’s get into my favorite easy DIY designs that are sturdy, safe, and super budget-friendly.
1. The Two-Box Fabric Cover Stairs
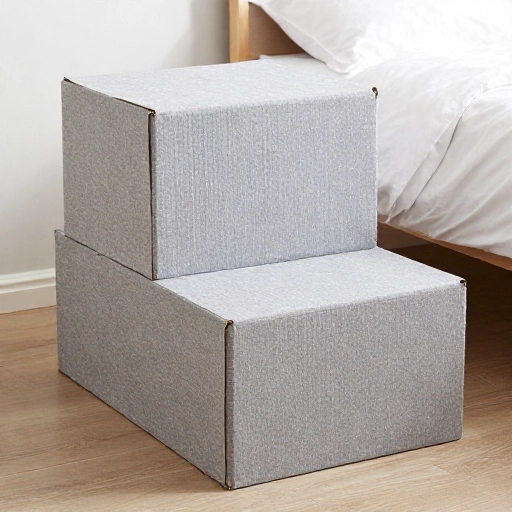
This is the classic “beginner” project. You don’t even need to cut wood if you don’t want to. Grab two sturdy cardboard boxes or small wooden crates in different heights. Stack them so they create a step-up effect next to your bed.
Wrap them in a non-slip fabric or a cute upholstery remnant. Use a staple gun to secure the fabric underneath. It’s lightweight, moves easily, and looks surprisingly polished. This is perfect if you want something temporary or you’re renting and can’t attach anything to walls.
The best part? You can toss the covers in the wash when they get muddy paws on them. Just make sure the boxes are beefy—reinforce them with duct tape if needed so they don’t collapse under a heavy dog.
2. The Simple Plywood Ramp with Carpet Runners
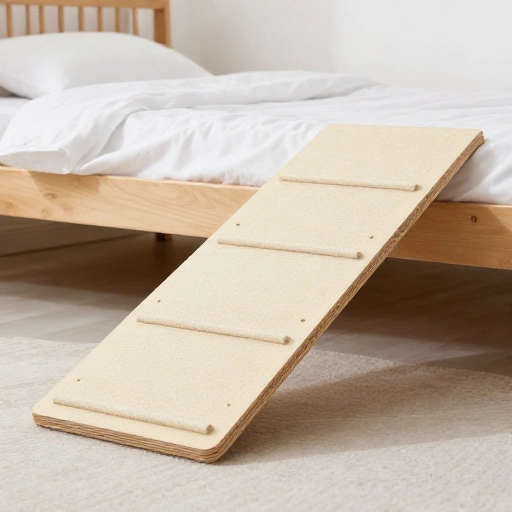
Sometimes stairs are too steep for a senior dog; a ramp is gentler on their joints. Cut a single piece of 3/4-inch plywood to the length of your bed height. Usually, about 3 to 4 feet works perfectly.
Cover the ramp with a heavy-duty carpet runner. Staple it down tight. To prevent sliding, glue a piece of rubber shelf liner to the bottom edge that touches the floor. Lean it against the bed frame at a slight angle.
I love this idea because it’s one piece—no assembly required. It stores flat under the bed when guests come over. Your dog will learn to trot up it in no time, and it’s practically silent.
3. Repurposed Nightstand Stairs
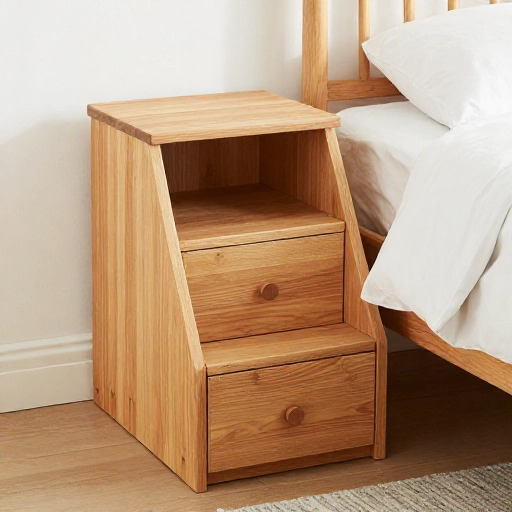
Take a trip to a thrift store and find an old wooden nightstand or end table with two drawers. Remove the drawers and the back panel. What you’re left with is a perfect, enclosed staircase structure!
Flip it on its side so the opening faces you. The shelves inside become the steps. Sand it down and paint it a fresh, bright color. The height is usually ideal for a standard bed.
This is a genius hack because it looks like furniture, not a dog accessory. You can even leave the top drawer in place for storing leashes and toys. It’s sturdy as a rock and costs less than $20.
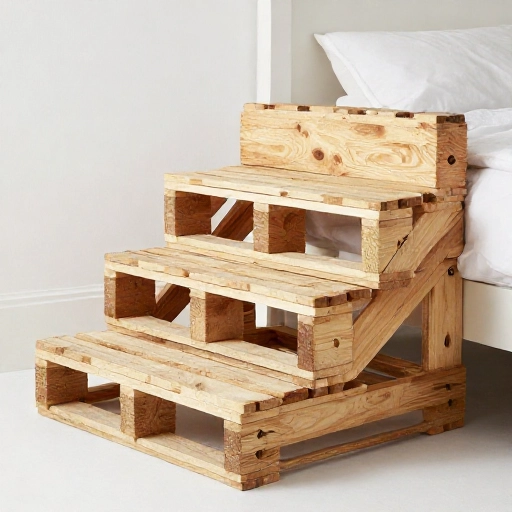
4. The Pallet Wood Stairs
If you have free pallets in your garage, put them to work. Disassemble the pallet planks carefully with a pry bar. You’ll have a ton of solid wood to work with. Build a simple three-step box frame using 2x4s for the internal supports.
Use the pallet planks for the treads. Sand everything down thoroughly to avoid splinters. A coat of dark walnut stain makes this look like a rustic, expensive piece from a boutique pet store.
These stairs are heavy-duty. They can easily support a 100-pound Great Dane. Plus, the gaps between the planks provide great traction for paws.
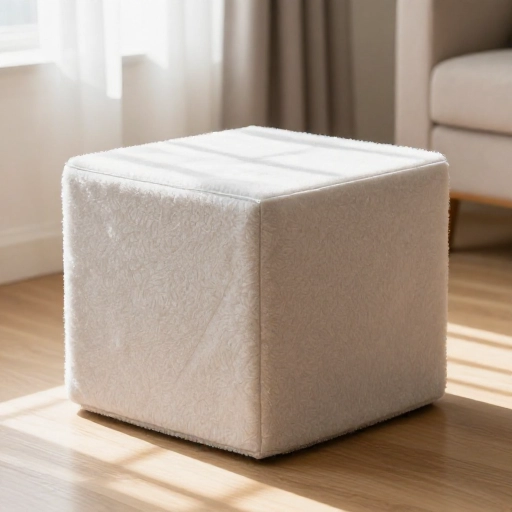
5. The Storage Cube Staircase
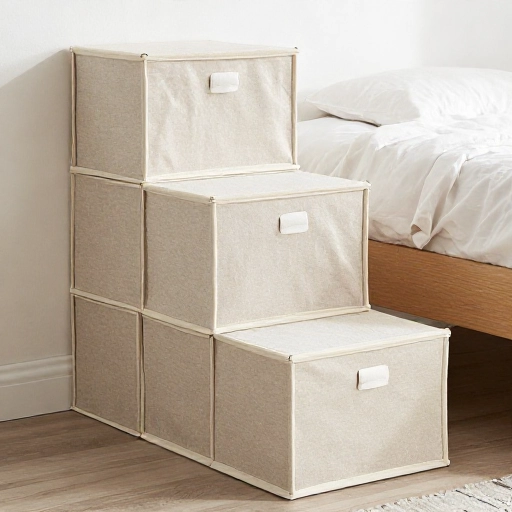
Buy two or three large, sturdy storage cubes—the fabric ones with a rigid frame. Stack them vertically next to the bed. Secure them to each other with zip ties or heavy-duty velcro straps so they don’t tip over.
Leave the front openings accessible. Your dog will hop into each cube to reach the top, which is a fun little “cave” feel for them. Or, you can flip them so the openings face sideways to create traditional steps.
This is a zero-saw solution. You don’t need any woodworking skills at all. It’s also perfect for small to medium dogs who like to feel enclosed while they climb.
6. The Foam Block Stairs
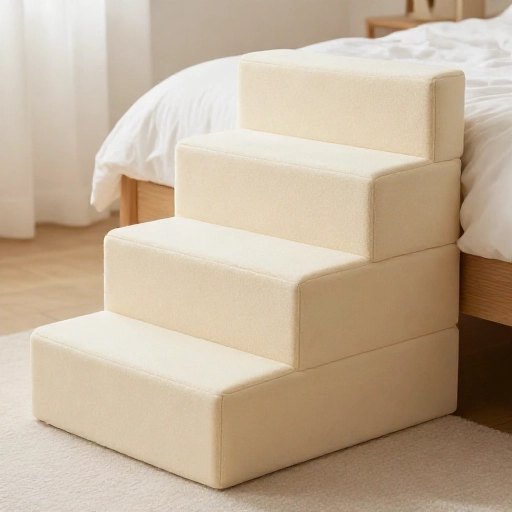
Head to a craft store and get high-density upholstery foam. You’ll need two or three thick blocks in descending sizes. Stack them against the bed frame in a pyramid shape.
This is the softest option for a dog with arthritis. They can really sink their paws into the foam for grip. To keep them together, use fabric glue between the layers.
Wrap the whole thing in a soft, quilted blanket or a waterproof dog bed cover. It’s super lightweight and quiet. I use this one for camping trips in the RV because it squishes down.
7. The “L” Bracket Wall Mounted Steps
If you have a solid wood bed frame, this is a space-saver. Cut three wooden planks to the width of your bed. Attach them to the side of the bed frame at staggered heights using heavy-duty “L” brackets.
This creates floating steps that hang off the side of the bed. They don’t take up any floor space at all. Make sure you screw into the frame’s studs, not just the thin paneling.
Add a strip of grip tape to each step. This looks super modern and sleek. It’s great for dogs who just need a little boost, not a full staircase.
8. The Cinder Block and Wood Tread Combo
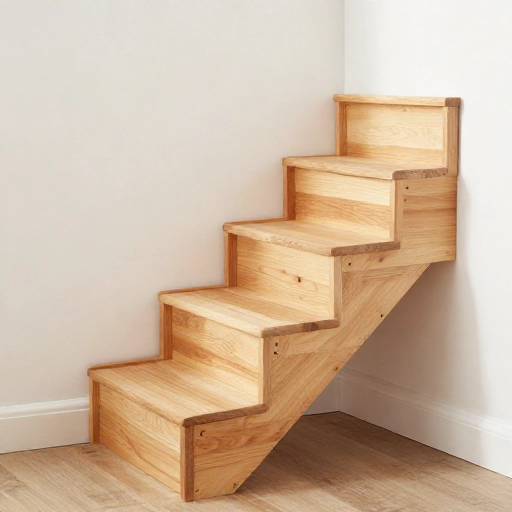
For a rugged, industrial look, grab two cinder blocks and one large wooden board. Stack one block flat on the floor. Place the board on top. Then, place the second block on one end of the board, closer to the bed.
This creates a two-level step system that is incredibly stable. The weight of the blocks means it will never slide around on hardwood floors. You can spray-paint the blocks to match your room.
This is the cheapest option on the list. You can build it in five minutes flat. Just wrap the wood in a bit of carpet to make it more comfy for the paws.
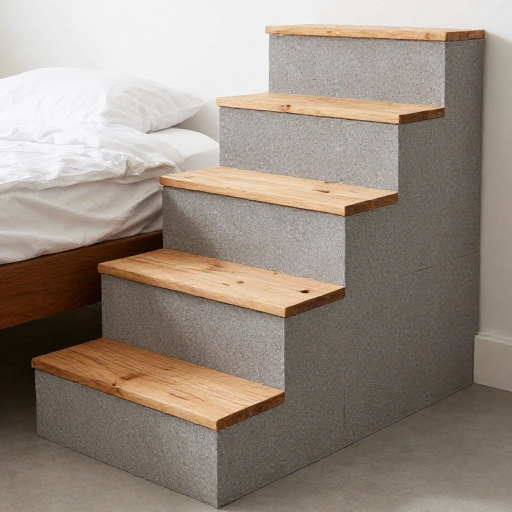
9. The Foldable Wooden Stairs
This one requires a bit more skill, but it’s worth it. Build two separate wooden boxes with hinges connecting them. When you’re done, you can fold them together like a book for storage.
Build the boxes using plywood and 1×2 furring strips for the frame. The top step should be hinged to the second step. This is perfect for small apartments where you don’t want a permanent fixture in the bedroom.
Make sure to use a strong piano hinge. Add a carrying handle to the side. Your dog will get used to the slight “click” when the stairs unfold.
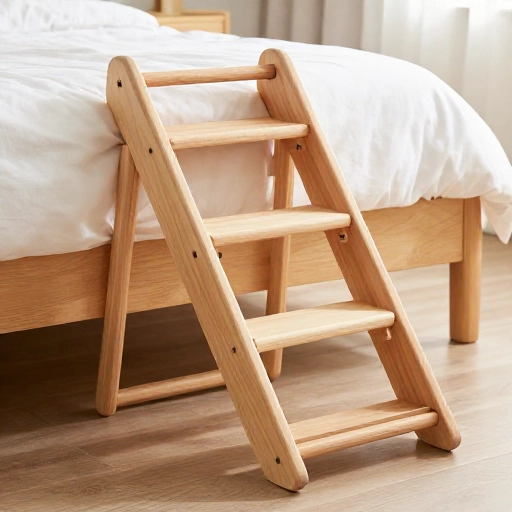
10. The Memory Foam Mattress Topper Stairs
Have an old mattress topper lying around? Cut it into three rectangular blocks of different sizes. Stack them from largest to smallest. This is super soft and warm—perfect for winter.
Use a serrated bread knife to cut the foam cleanly. Then, wrap each block in a fleece blanket. To keep them stacked, use a long upholstery needle and thick yarn to stitch them together.
This is a gentle landing for jumpers. It’s also great if your dog is recovering from surgery and needs a soft surface to climb over. It’s silent and squishy.
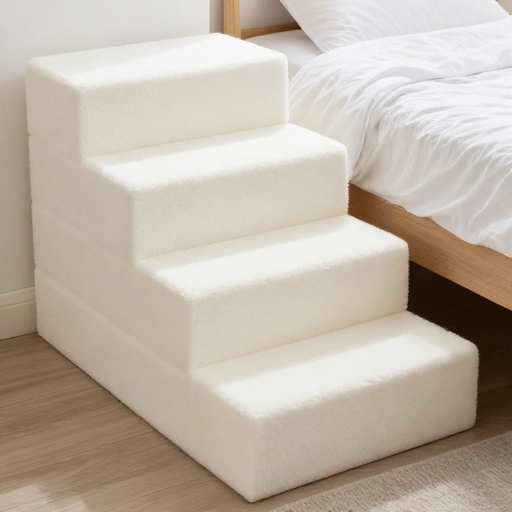
11. The Solid Oak “Library” Stairs
If you want a piece that will last forever, use solid oak or maple boards. Build a three-step stair unit with closed risers. This means the front of each step is covered, so it looks like a mini bookshelf.
You can stain it to match your bedroom furniture. Use wood glue and screws for a rock-solid connection. Add a clear polyurethane coat to protect against scratches.
This is a “buy it for life” project. It’s heavier than most, so it won’t slide around. It also doubles as a place to stack a few books or a plant on the top step when not in use.
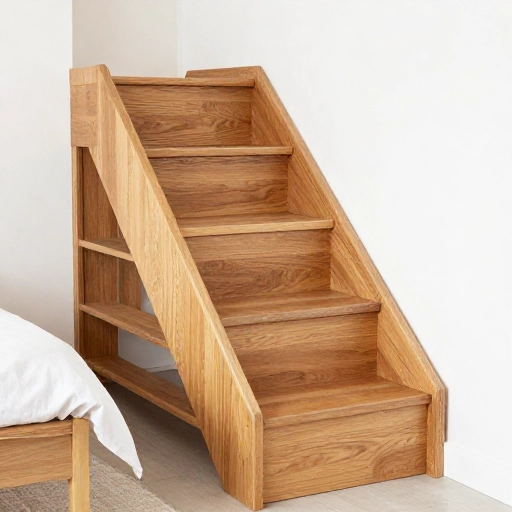
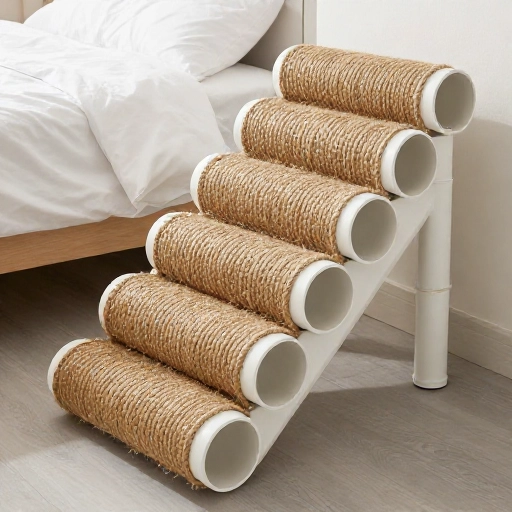
12. The Rope-Wrapped PVC Stairs
This is a fun, modern approach. Build a simple frame out of PVC pipes. Use “T” and “Elbow” connectors to create a rectangular frame with three tiers. Then, wrap the entire frame tightly with thick sisal rope.
Glue the rope every few inches with a hot glue gun to keep it in place. The rope provides excellent grip, and it doubles as a scratching post for smaller dogs or cats. It’s also waterproof and easy to hose off.
This looks like a piece of modern art. It’s lightweight and won’t damage your walls. Just make sure the PVC glue is dry and the joints are sealed tight before letting your pup test it.
Conclusion: Get Your Pup Back in Bed
Building dog stairs doesn’t have to be a stressful weekend project. Whether you spend five minutes stacking boxes or a few hours crafting a wooden masterpiece, the goal is the same: a happy, safe pup who can snuggle with you. Pick the design that best fits your skill level and your dog’s size. Trust me, the tail wags are worth the effort.
Frequently Asked Questions
How tall should dog stairs be for a bed?
It depends on your bed height. Measure from the floor to the top of your mattress. Divide that height by the number of steps you want. Each step should be no more than 6 to 8 inches tall for most dogs.
Are dog stairs or ramps better for senior dogs?
Ramps are generally better for dogs with severe arthritis or back issues. They allow the dog to walk down gently without putting stress on their spine. Stairs are better for dogs who have good mobility but just need a little help.
What is the best material for outdoor dog stairs?
If the stairs will be used outside, go with cedar or pressure-treated wood. They resist rot and insects. You can also use PVC, which is completely waterproof and won’t warp in the sun.
How do I stop my dog from being scared of the stairs?
Use positive reinforcement! Place treats on each step and let your dog explore at their own pace. Never force them. Start by rewarding them for just putting one paw on the first step, then gradually build up.
Can I use fabric glue instead of a staple gun for the covers?
Yes, but a staple gun is much faster and creates a tighter hold. If you use fabric glue, make sure it’s a heavy-duty, flexible glue that can withstand the weight of your dog stepping on the fabric.