12 Quick Cardboard Cat Scratching Pads (No Tools!) for Happy Cats and Scratch-Free Sofas
I have spent way too much money on fancy cat scratchers. My cats ignored almost all of them. Then I noticed something funny: they were obsessed with the cardboard boxes the scratchers arrived in.
So I started making my own quick cardboard scratching pads. No box cutter, no glue gun, no drill, no special tools. Just boxes, folds, and a little catnip. These are the 12 ideas I keep coming back to when my couch needs a break.
Most take two minutes or less. They are cheap, recyclable, and perfect for Pinterest-style quick wins when you want a happy cat without a big project.
1. The 2-Minute Flattened Box Pad
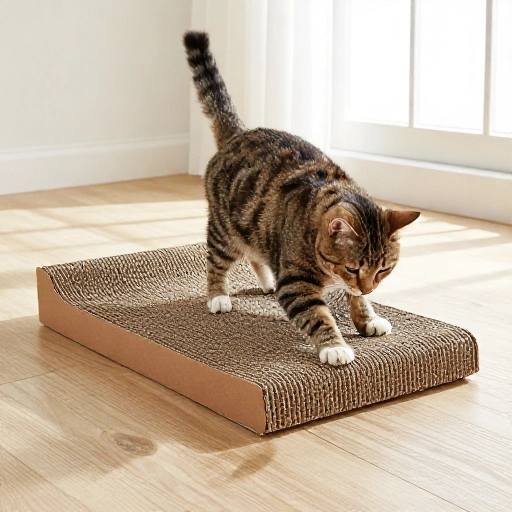
Grab any shipping box and open it along the existing creases. Flatten it so the corrugated side faces up. That ridged texture is exactly what cats love to dig their claws into.
Place it on the floor where your cat already stretches or scratches. Rub a little catnip into the ridges and give it a test scratch with your own nails.
If it slides around, tuck one edge under a sofa leg or set it inside a shallow box lid. No cutting, no tools, and it is ready in about two minutes.
2. The Open-Lid Scratcher Box
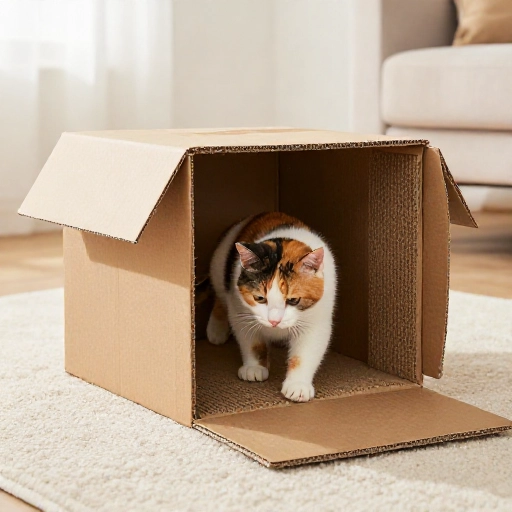
Leave the lid attached to a cardboard box and open it wide. Lay the box on its side so the lid sticks up at an angle. The exposed corrugated edge becomes a scratching surface.
Cats who like to scratch vertically will often go for this one right away. It feels sturdy enough for a good stretch without being complicated.
If the box feels tipsy, slide a folded towel underneath for support. You did not cut anything, and you can still recycle the whole thing later.
3. The Pizza Box Floor Pad
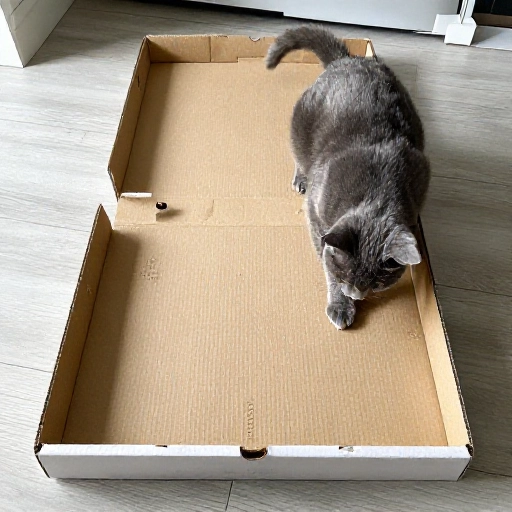
Use a clean pizza box with no grease or food residue. Open it flat and let the corrugated inside face up. The shallow sides create a natural tray shape that keeps cardboard bits from flying everywhere.
Sprinkle catnip across the surface and press it in with your fingers. My cats treat this like a little scratching zone and sometimes nap on it after.
When it gets shredded, stack a second pizza box underneath for more thickness. It is one of the easiest upcycled cat scratchers I have tried.
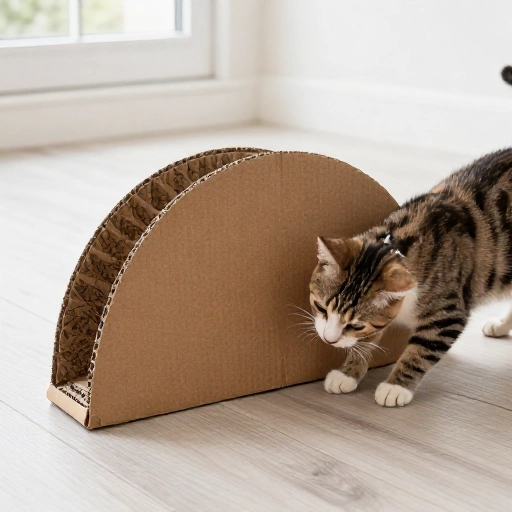
4. The Taco-Fold Corrugated Ramp
Take a long cardboard flap and fold it in half like a taco. Tuck the ends under so it holds a slight angle. This creates a ramp that cats can scratch, sit on, or launch from.
The fold gives the cardboard extra strength, so it does not flatten as fast as a single sheet. It also adds a fun shape that feels new to curious cats.
If the taco shape pops open, lean it against a wall or slide it into a box lid. No tape required if the tension holds.
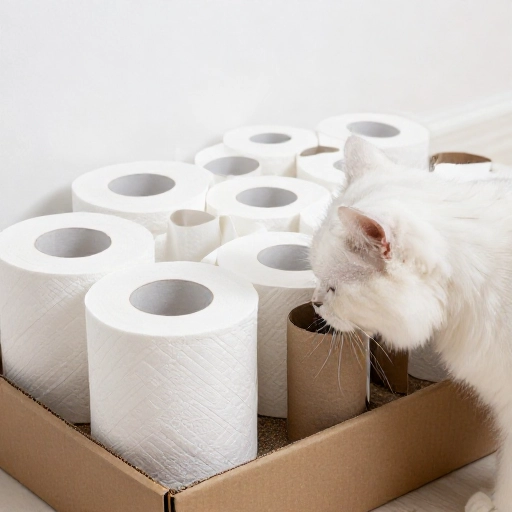
5. The Toilet Paper Roll Core Row
Save empty toilet paper and paper towel rolls. Stand them upright and pack them tightly into a box lid. The cardboard sides give cats something to scratch and bat around.
This one is great for kittens or cats who like to paw at small objects. I hide a few treats in the gaps to make it more exciting.
No tools needed because the rolls are already the perfect size. When they get worn, toss them in recycling and add new ones.
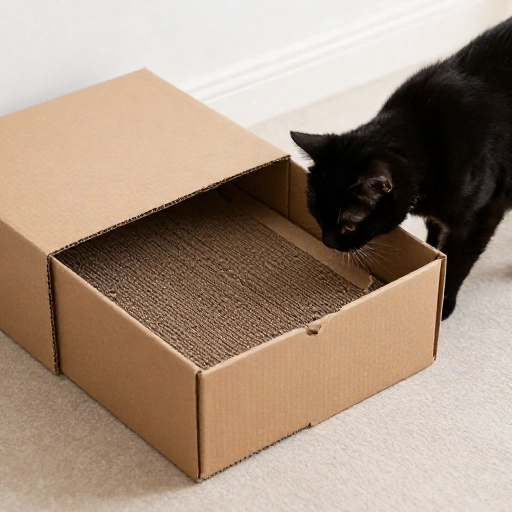
6. The Shoe Box Slider Scratcher
Flip a shoe box lid upside down. Find a piece of corrugated cardboard from another box and slide it inside. Let one edge stick out like a little scratching tab.
Your cat can scratch the exposed edge while the lid catches loose cardboard bits. It looks tidy and takes seconds to set up.
When the insert gets frayed, flip it over or swap in a fresh piece. The shoe box lid stays as the base.
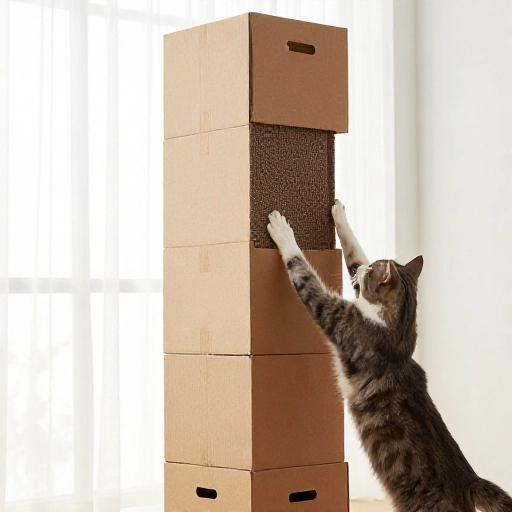
7. The Vertical Book Box Tower
Use a tall, narrow box like the kind books or small electronics arrive in. Leave the top flaps up and lean the box against a wall. Those upright flaps become a vertical scratching surface.
Put a few heavy books inside the bottom for stability. Now your cat can really pull and stretch without the box tipping over.
I like this one for cats who ignore flat pads. The vertical angle feels more like furniture, which is exactly what they want to scratch.
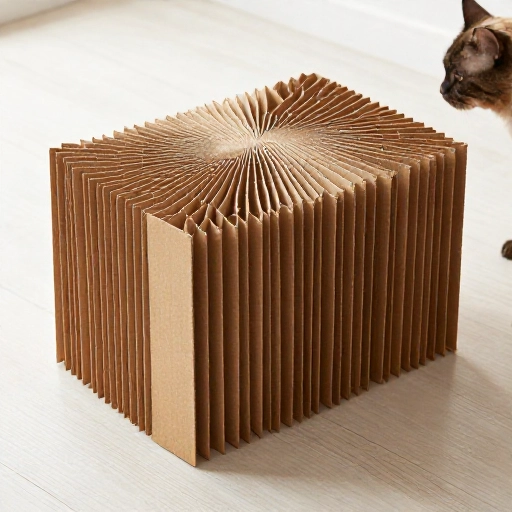
8. The Accordion Fold Pad
Find a long strip of cardboard and fold it back and forth by hand. You are making a zigzag or accordion shape. The bumpy ridges give claws a satisfying grip.
Set the folded strip inside a box lid so it keeps its shape. Sprinkle catnip between the folds and watch your cat investigate.
This is a nice texture change if your cat gets bored with flat pads. No tools, just gentle bends along the cardboard.
9. The Catnip Cardboard Sandwich
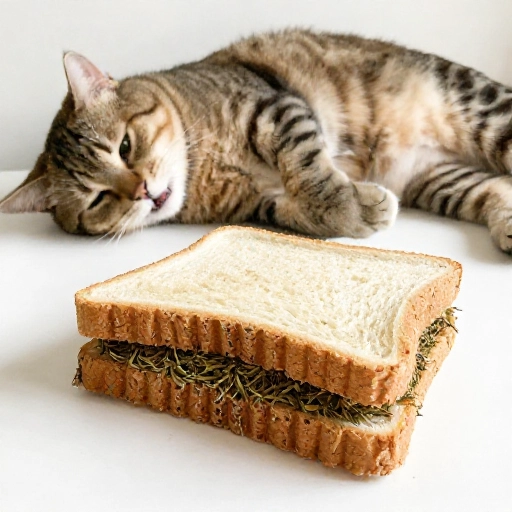
Take two flat pieces of corrugated cardboard and face the ridged sides outward. Sprinkle a generous pinch of catnip between them. Stack them together like a sandwich.
The scent drifts out and makes the pad irresistible. I place mine on the floor near a favorite sunny spot.
If it slides, tuck one corner under a low furniture leg or set it in a box lid. No tape or glue needed for the basic version.
10. The L-Shaped Corner Scratcher
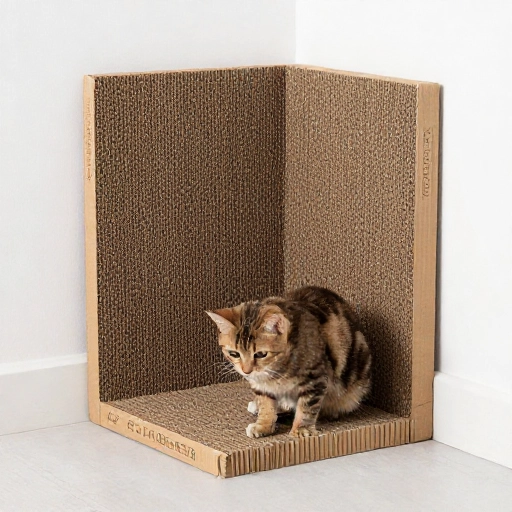
Fold two cardboard flaps so they meet at a right angle. Wedge the L-shape into a corner of a room. Now your cat can scratch both the side and the floor edge.
Corner scratchers are great for cats who like to stretch while they scratch. The walls help hold everything in place naturally.
If it slips, place a heavy book on the bottom flap or slide it under a chair leg. No tools, just a quick corner setup.
11. The Under-the-Bed Hidden Pad
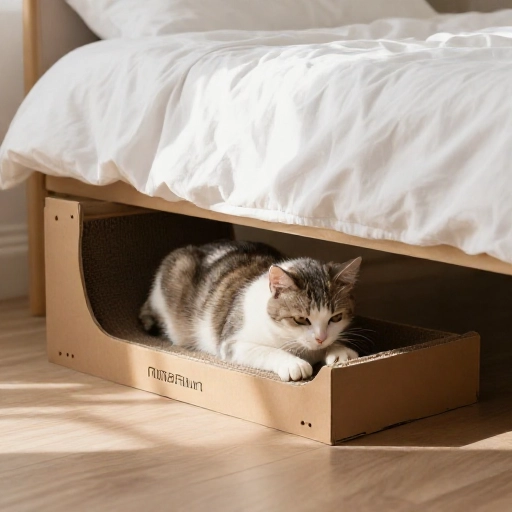
Flatten a large box and slide it under the bed or sofa. Leave a few inches sticking out. Cats love to scratch when they emerge from a hiding spot.
This keeps the scratcher mostly out of sight, which is great for small rooms. It also protects your carpet or rug from claw marks.
Rotate it every week or flip it over for a fresh surface. No cutting, no tools, and it stays hidden until your cat finds it.
12. The Replaceable Insert Station
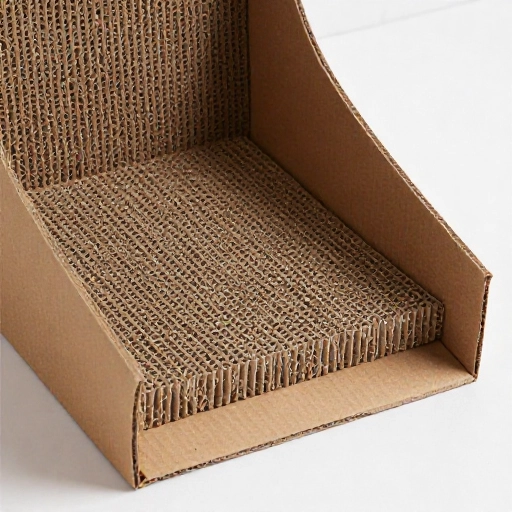
Use a sturdy box or plastic tray as your base. Fill it with corrugated cardboard pieces from packages. This is less of a one-time pad and more of a scratching station.
When one piece gets shredded, flip it or swap it out. Because you are using box flaps, you often do not need to cut anything at all.
This is my favorite long-term hack. I keep a small stash of cardboard near the recycling bin so I can refresh it in seconds.
Final Thoughts
Cardboard cat scratchers do not need to be pretty or expensive. They need to be in the right spot, have a good texture, and get replaced when they are worn down. These 12 ideas use what you already have and take almost no time to set up.
I like to keep two or three going at once: one flat pad, one vertical option, and one hidden under furniture. Rotating them keeps my cats interested and my sofa safer. If your cat ignores a new pad, try moving it near their favorite scratching spot and add a little catnip.
When the cardboard gets too fuzzy, toss it in recycling and make a fresh one. It is a tiny chore that pays off with a very happy cat.
FAQ: Cardboard Cat Scratching Pads
Q: Do I really need no tools at all?
A: For most of these ideas, no. You only need your hands, a cardboard box, and maybe catnip. Tape is optional if you want extra hold.
Q: How long will a cardboard scratcher last?
A: It depends on your cat. Some last a few days, others a few weeks. Flip the pad over or replace it when the surface gets too shredded.
Q: Will cardboard attract bugs?
A: Clean, dry cardboard is fine. Avoid greasy pizza boxes or damp boxes, and keep the pad away from food and water bowls.
Q: How do I get my cat to use it?
A: Put it where your cat already scratches. Rub catnip on it and scratch it gently with your nails. Praise your cat when they show interest.
Q: Can I recycle the pad when my cat is done?
A: Yes, if there is no tape, glue, or heavy mess. Remove any tape first, then recycle the cardboard.