13 DIY Dog Crate Cover Projects with Built-in Storage That Will Transform Your Space
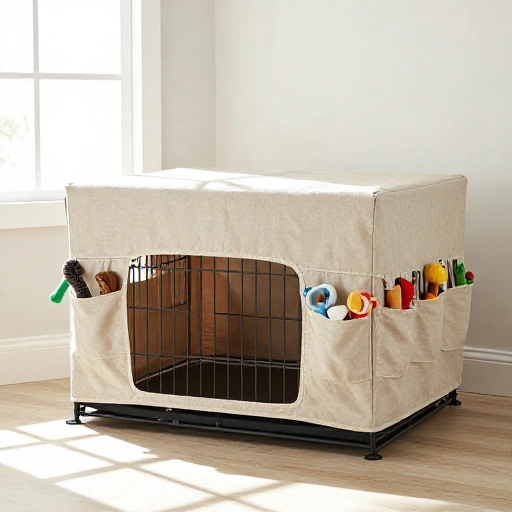
Let’s be honest, a dog crate can be an eyesore. But it’s also a safe haven for your pup. I used to just throw an old blanket over mine, but it looked messy and took up precious floor space. Then I discovered the magic of a DIY dog crate cover with built-in storage.
These projects hide the crate, give your dog privacy, and stash all their toys, leashes, and treats in one spot. No more tripping over chew toys or hunting for the poop bags. I’ve rounded up 13 of my favorite ideas that are practical, stylish, and totally doable for a weekend project.
Whether you rent an apartment or own a home, these covers will make your space look intentional. Grab your sewing machine (or just a staple gun) and let’s get started.
1. The Classic Slipcover with Side Pockets
This is the perfect starter project. You make a simple slipcover that drapes over the crate, then add deep pockets to the sides.
I used canvas fabric because it’s sturdy and washes well. The pockets are perfect for holding leashes, a water bottle, and a small bag of kibble. No more digging under the sofa for the harness.
- Measure your crate’s height, width, and depth carefully.
- Sew two large patch pockets on the side panels before assembling the cover.
- Add a loop for hanging a poop bag dispenser.
2. The Storage Ottoman Top
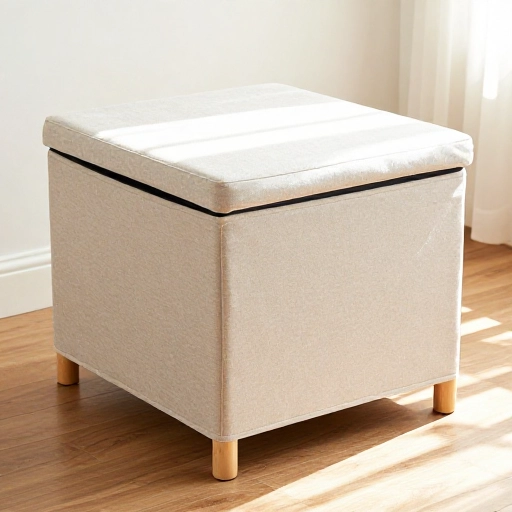
This idea turns the top of your crate into a functional seat or table. I built a wooden frame that sits on top of the crate, with a hinged lid.
Inside the lid, I store all the bulky items like dog bed covers and extra towels. The top is upholstered with foam and fabric, so it doubles as a bench for putting on shoes.
- Use plywood for the frame and attach it with corner brackets.
- Add a piano hinge to the back of the lid for easy opening.
- Staple batting and fabric over the top for a soft finish.
3. The Curtain-Style Cover with Hanging Organizer
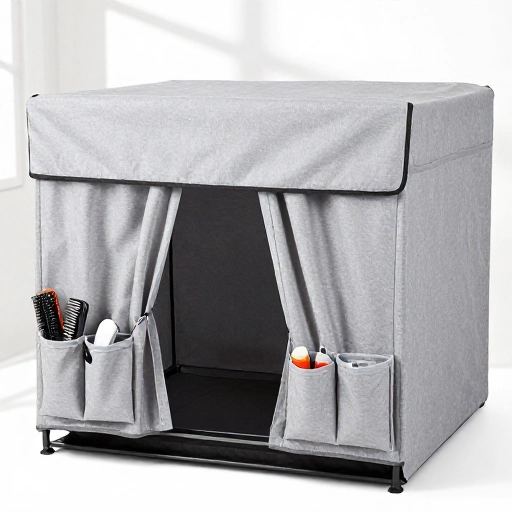
If you hate sewing, this one is for you. Instead of a fitted cover, you create a curtain that wraps around three sides of the crate.
I attached a clear shoe organizer to the inside of the curtain. It hangs flat against the crate and holds all the small stuff: treats, brushes, and even a travel water bowl. The curtain itself is just clipped on with tension rods.
- Use grommet clips to attach the fabric to a tension rod at the top.
- Choose a light-filtering fabric so your dog still gets airflow.
- The shoe organizer pockets are visible from the front when the curtain is open.
4. The Rustic Wooden Crate with Drawers
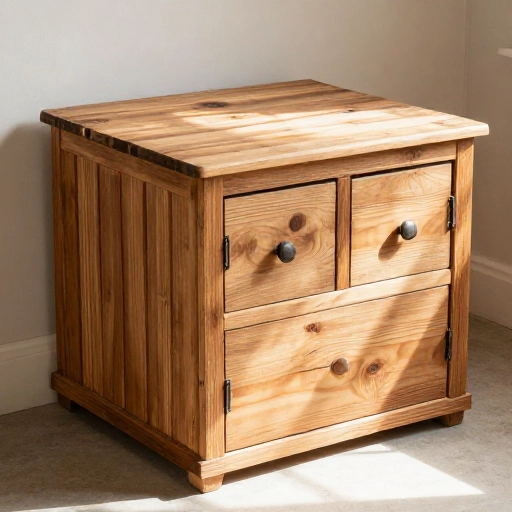
This project hides the wire crate inside a beautiful wooden cabinet. I built a simple box frame from pine boards and added two pull-out drawers at the bottom.
The drawers are perfect for storing dog toys, grooming supplies, and even your dog’s spare bed. The front of the cabinet has a cutout for the crate door, so your dog can still come and go freely.
- Use pocket hole screws for a clean build.
- Install drawer slides rated for at least 15 pounds.
- Paint or stain the wood to match your existing furniture.
5. The Fabric Wraparound with Zippered Compartment
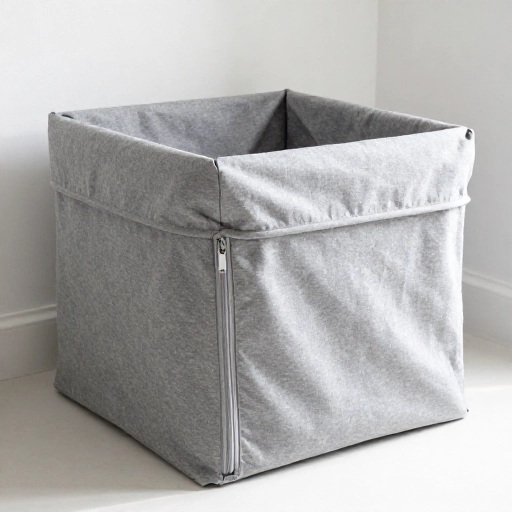
Think of this as a giant pillowcase for your crate, but with a secret zippered pocket on one side. I use the pocket to store my dog’s medical records and a first aid kit.
The wrap is made from two pieces of fabric sewn together, with a zipper running along the bottom edge. You can slide it over the crate easily for washing.
- Use a heavy-duty zipper so it doesn’t break with frequent use.
- Add a loop handle to the side for easy removal.
- Choose a patterned fabric to hide dirt and fur.
6. The Side Table Crate Cover with Magazine Rack
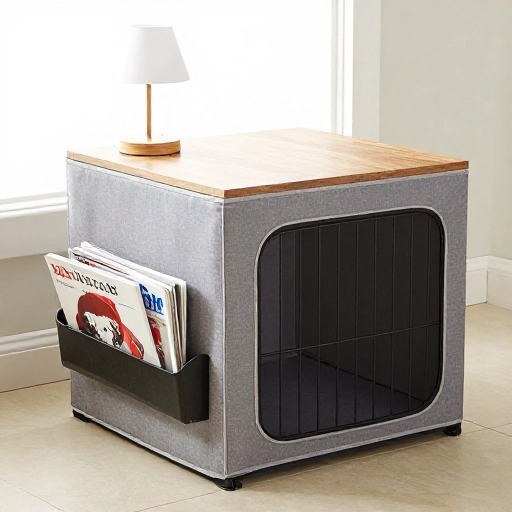
This design turns your crate into a stylish side table. I built a wooden top that has a built-in magazine rack or shelf underneath.
I store my dog’s training books and a few folded blankets in the rack. The top is wide enough for a lamp and a cup of coffee. It makes the crate feel like intentional furniture.
- Build a wooden sleeve that sits around the crate, not on top.
- Attach a small shelf to the side of the sleeve for the magazine rack.
- Sand everything smooth and use a waterproof finish.
7. The No-Sew Felt Cover with Velcro Pockets
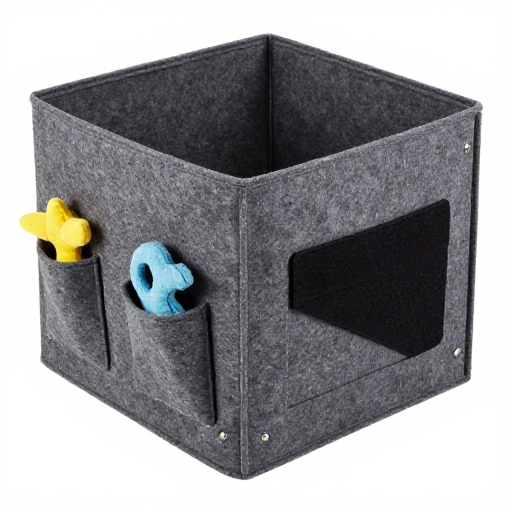
This is the quickest project on the list. You use adhesive felt sheets and stick them directly to the crate panels. Then, attach velcro strips to create removable pockets.
I cut the felt to fit each side of the crate and used fabric glue to attach small pouches for treats and toys. It’s not the most durable option, but it costs under $20 and takes 30 minutes.
- Use stiff felt sheets for better structure.
- Apply double-sided velcro tape to the back of each pocket.
- Replace the felt when it gets too dirty or worn.
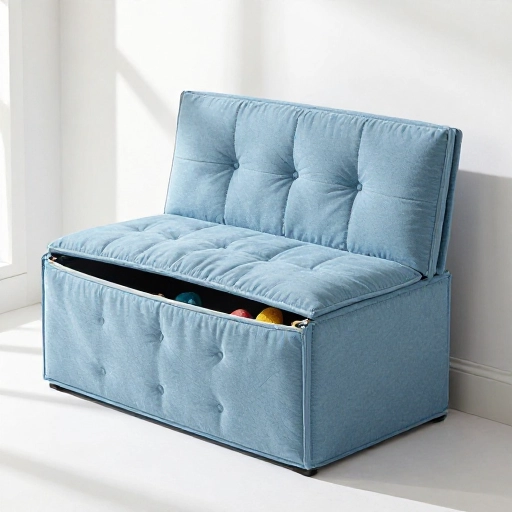
8. The Upholstered Bench with Hidden Toy Bin
This is my absolute favorite. I built a bench that fits right over the crate, with a hinged seat. The seat lifts up to reveal a deep storage bin underneath.
The bin is the same size as the crate top, so I can store large items like a dog bed, a basket of toys, and a bag of food. The bench itself is padded and covered in outdoor fabric.
- Build the bench frame slightly larger than the crate’s footprint.
- Use a gas strut to hold the lid open safely.
- Line the inside of the bin with fabric to keep things clean.
9. The Tension Rod Shelf Cover
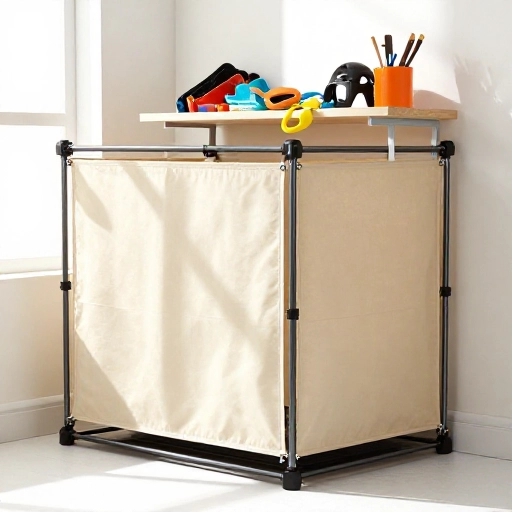
This idea adds storage above the crate without any heavy woodwork. I installed two tension rods across the top of the crate, creating a shelf.
On the shelf, I place a small basket that holds leashes, hats, and gloves. The fabric cover hangs down from the rods, hiding the crate and the basket. It’s a clever way to use vertical space.
- Use heavy-duty tension rods that can hold a few pounds.
- Choose a basket that fits the width of the crate.
- Drape the fabric so it covers both the crate and the shelf.
10. The Fabric Crate Sleeve with Built-in Toy Hammock
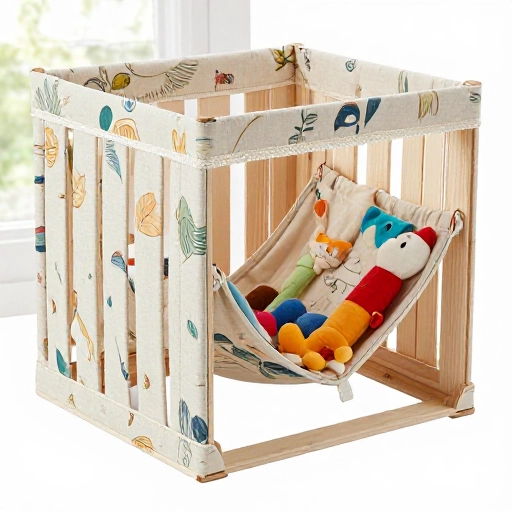
This one is genius for toy storage. I sewed a fabric sleeve that fits snugly around the crate. On the inside of the sleeve, I attached a mesh hammock that hangs down.
You toss the toys into the hammock through a small slit in the fabric. The toys stay contained but are easy for your dog to grab. It keeps the floor clear and the toys organized.
- Use a sturdy mesh fabric for the hammock.
- Make the slit large enough to fit a tennis ball through.
- Sew the hammock securely to the sleeve’s side seams.
11. The Rolling Crate Cover with Storage Caddy
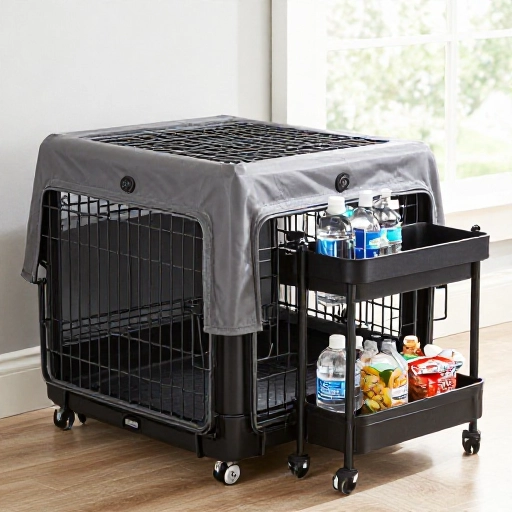
If you move your crate around the house, this is the solution. I built a wooden base with casters, then attached a fabric cover with a removable storage caddy.
The caddy clips onto the side of the cover and holds water bowls, treats, and a first aid kit. The whole thing rolls easily from room to room.
- Use locking casters so the crate stays put.
- Build the base slightly wider than the crate for stability.
- Make the caddy out of a small canvas tote bag.
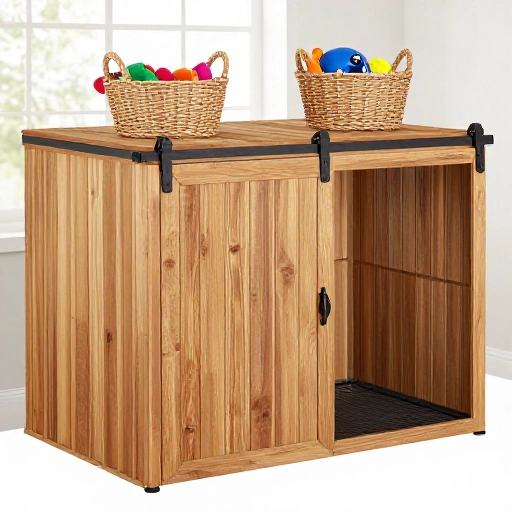
12. The Barn Door Style Crate Cover with Baskets
This project uses a sliding barn door to hide the crate, with baskets mounted on the door itself. I attached two small wire baskets to the front of the door.
The baskets hold leashes, poop bags, and a spare collar. The door slides open easily, and the baskets are always within reach. It looks rustic and modern at the same time.
- Use a barn door hardware kit rated for the weight.
- Attach baskets with sturdy screws and washers.
- Paint the door to match your trim or furniture.
13. The Convertible Crate Cover with Removable Storage Panels
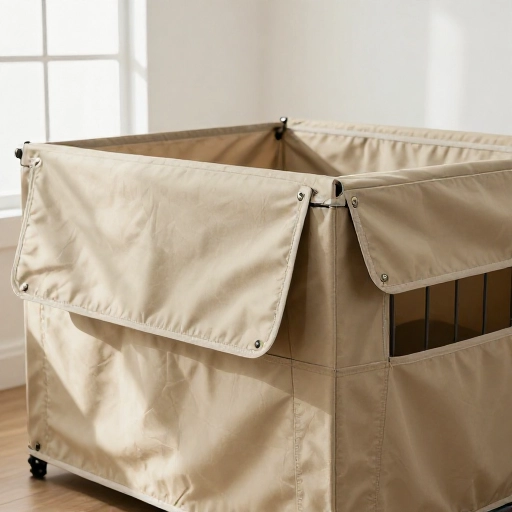
This is the most versatile design. I made a fabric cover with multiple panels that attach with zippers or snaps. Each panel has its own storage feature.
One panel has a mesh pocket for toys, another has a waterproof pouch for wet towels, and a third has a loop for a blanket. You can swap panels based on what you need.
- Use heavy-duty snaps for easy panel changes.
- Keep the main cover simple and add panels as needed.
- Label each panel so you know what goes where.
Conclusion
Building a DIY dog crate cover with built-in storage solves two problems at once: it hides the crate and organizes your dog gear. I’ve tried several of these projects myself, and each one made my home feel more put together. Start with the simplest idea, like the felt cover or the tension rod shelf, and work your way up to the more complex builds. Your dog will love the privacy, and you will love the extra storage.
Frequently Asked Questions
1. What is the best fabric for a dog crate cover?
Canvas and denim are my top picks. They are durable, washable, and resist wear from claws. Avoid delicate fabrics like silk or thin cotton.
2. Can I build a storage crate cover without a sewing machine?
Absolutely. The no-sew felt cover, tension rod shelf, and barn door style all use glue, staples, or hardware instead of stitching.
3. How do I clean a fabric crate cover with storage?
Most removable covers can be machine washed on a gentle cycle. For wooden covers, wipe with a damp cloth and mild soap. Always check the fabric label.
4. Will the storage make the crate unstable?
Not if you build it correctly. Attach storage elements securely to the cover or frame. Avoid overloading pockets or shelves. Balance the weight evenly.
5. Can I add storage to a crate cover I already own?
Yes, you can sew or glue on extra pockets, attach a hanging organizer, or add a small shelf on top. Just make sure the additions don’t block airflow or your dog’s view.