13 DIY Dog Ramp for Bed Easy Tutorial
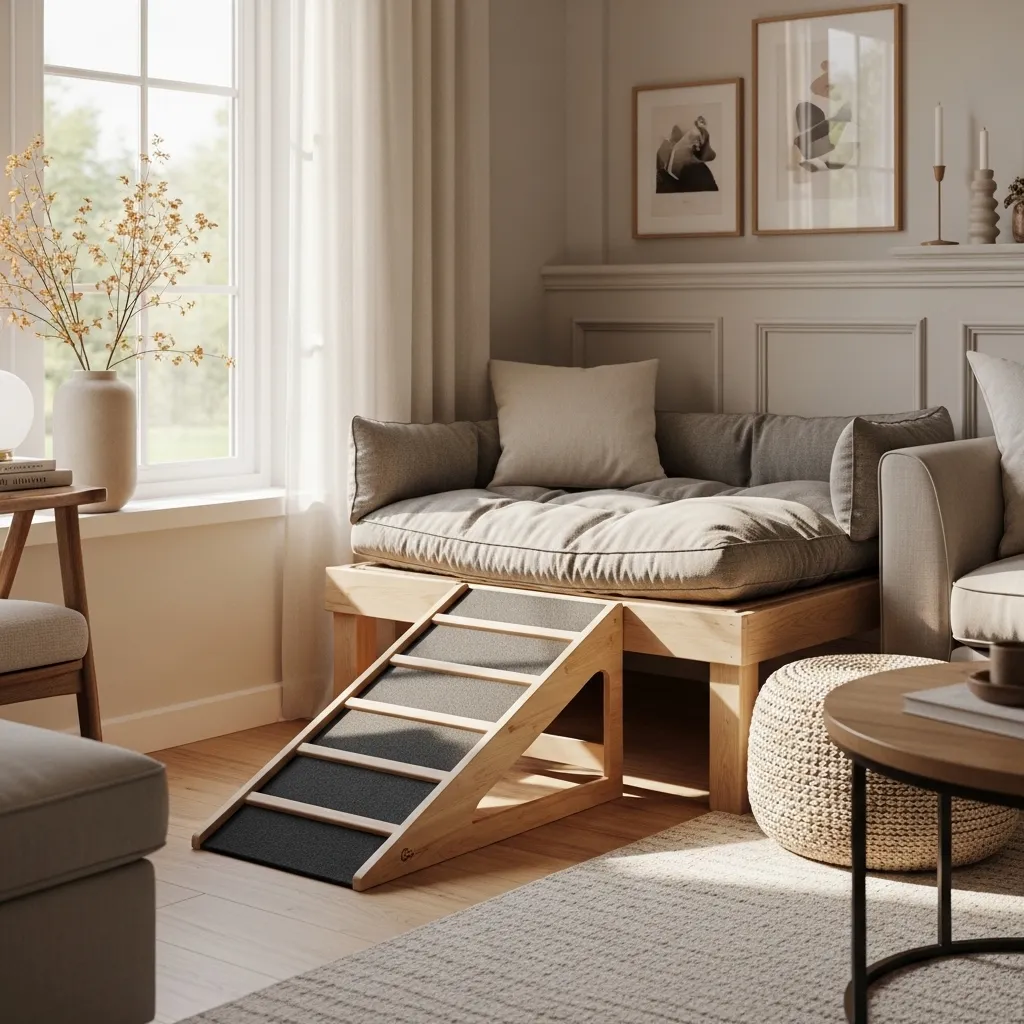
Watching my senior dog struggle to jump onto the bed broke my heart. He would back up, take a running start, and still miss the edge. That’s when I decided to build a simple ramp. It changed everything for him—and for my back, since I stopped lifting him up five times a day.
You don’t need to be a carpenter to make one of these. Most of these ramps use basic materials like plywood, carpet scraps, or even old foam mats. I’ve gathered 13 easy tutorials that range from super simple (think a plank with grip tape) to slightly more advanced (with folding legs for storage).
Every dog deserves a safe way to reach their favorite spot. Grab your measuring tape, pick a design that fits your space, and let’s get building.
1. The Classic Plywood Ramp
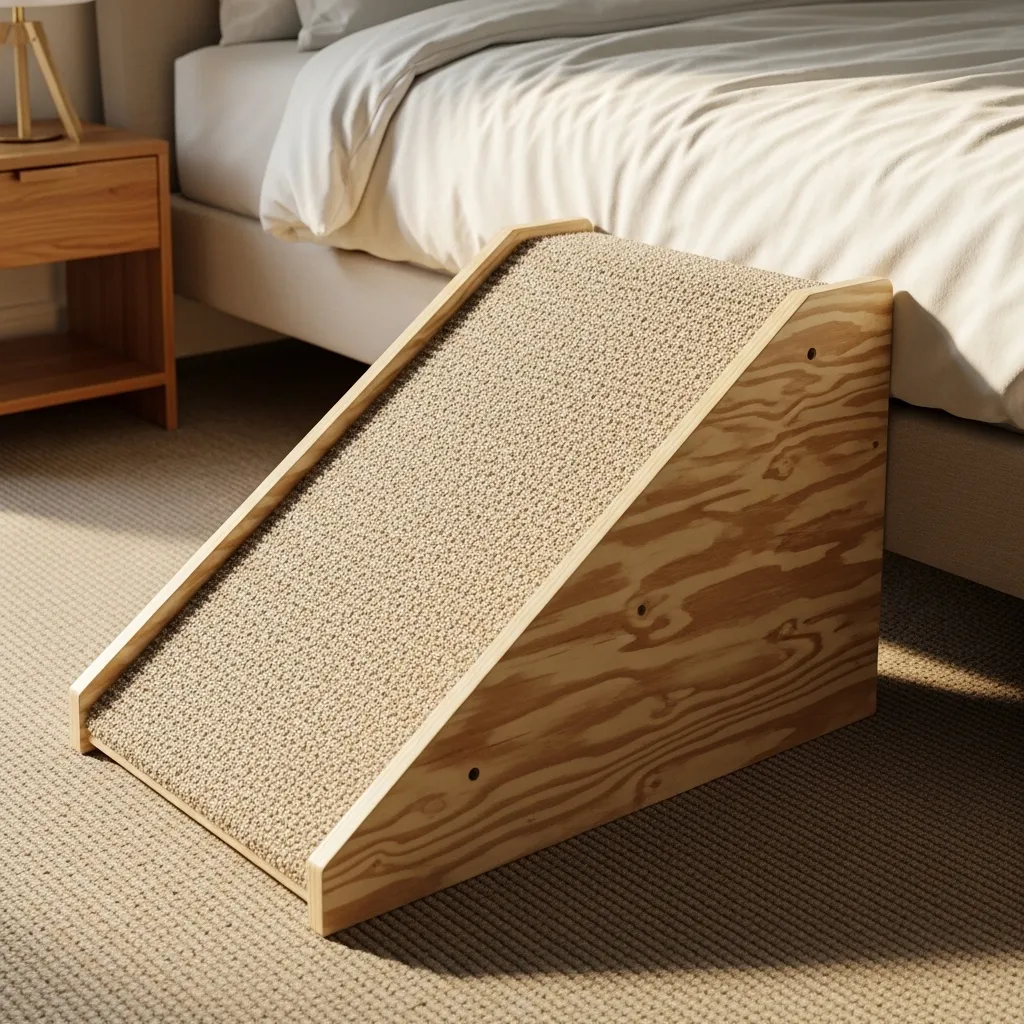
This is the most straightforward design. Cut a piece of ¾-inch plywood to about 3 feet long and 18 inches wide. Sand the edges so they’re smooth and splinter-free. Measure the height of your bed to get the right angle.
Cover the top with a scrap of indoor-outdoor carpet. Staple it tightly on the underside. The carpet gives your dog traction as they walk up. Add a small lip at the bottom so the ramp doesn’t slide away. Two small blocks of wood screwed to the bottom edge work perfectly.
I used this for my golden retriever when he was recovering from hip surgery. He walked up it like a pro on day one.
2. Memory Foam Wedge Ramp
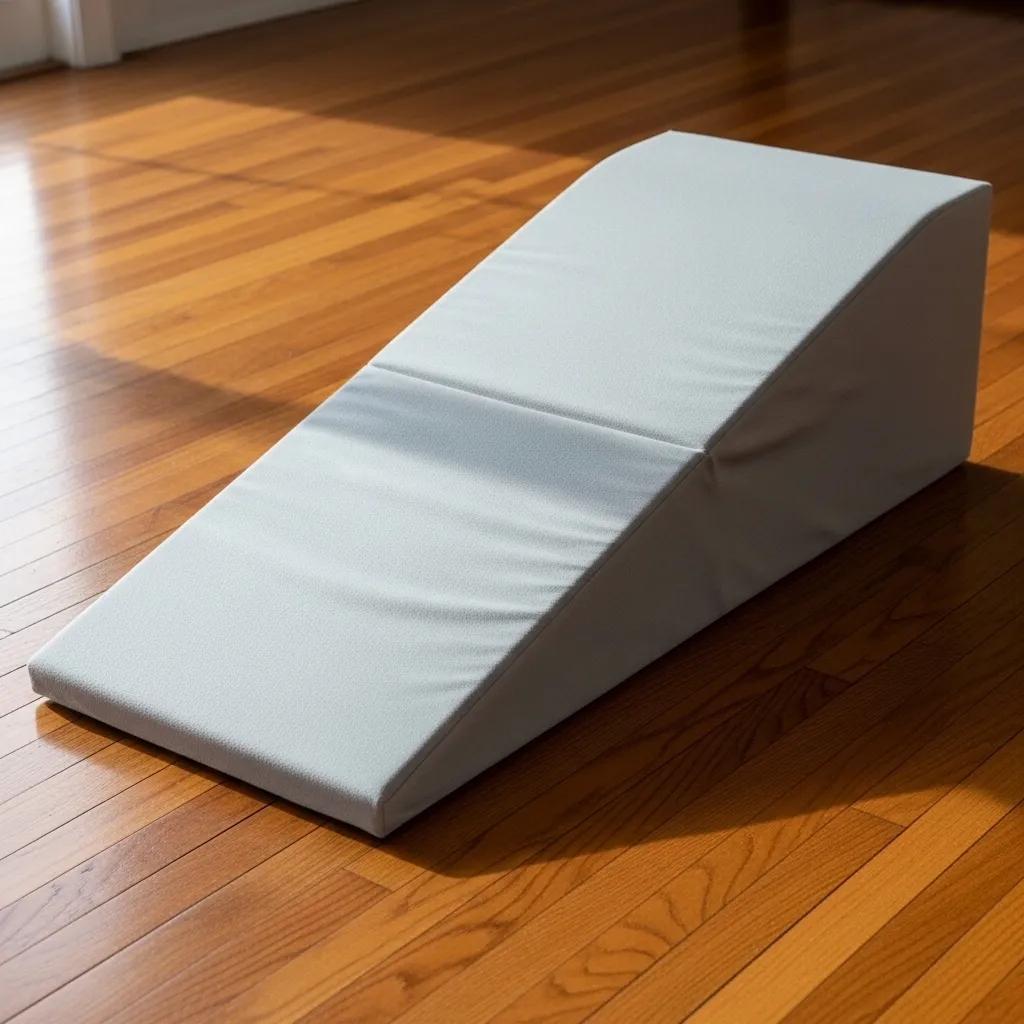
If you want something soft and lightweight, this is your best bet. Buy a piece of high-density memory foam at least 4 inches thick. Cut it into a wedge shape using an electric knife—the same kind you’d use for carving a turkey. The incline should match your bed height.
Cover the foam with a removable, washable fabric cover. I used an old duvet cover and sewed it into a simple envelope shape. The ramp stays put because it’s heavy and grippy. No tools, no sawdust.
This is great for small dogs or for people who rent and can’t drill into walls or furniture.
3. Foldable Tri-Fold Ramp
For a ramp that tucks away under the bed, try this foldable version. Cut three equal-length pieces of plywood. Attach them with sturdy hinges so they fold like a tri-fold wallet. The middle section becomes the incline.
Add carpet or a rubber mat to each section. Install a small wooden cleat at the top that hooks onto the bed frame. When you’re not using it, fold it flat and slide it under the mattress.
I built this for my travel trailer. It’s compact enough to store in a cupboard and sets up in seconds.
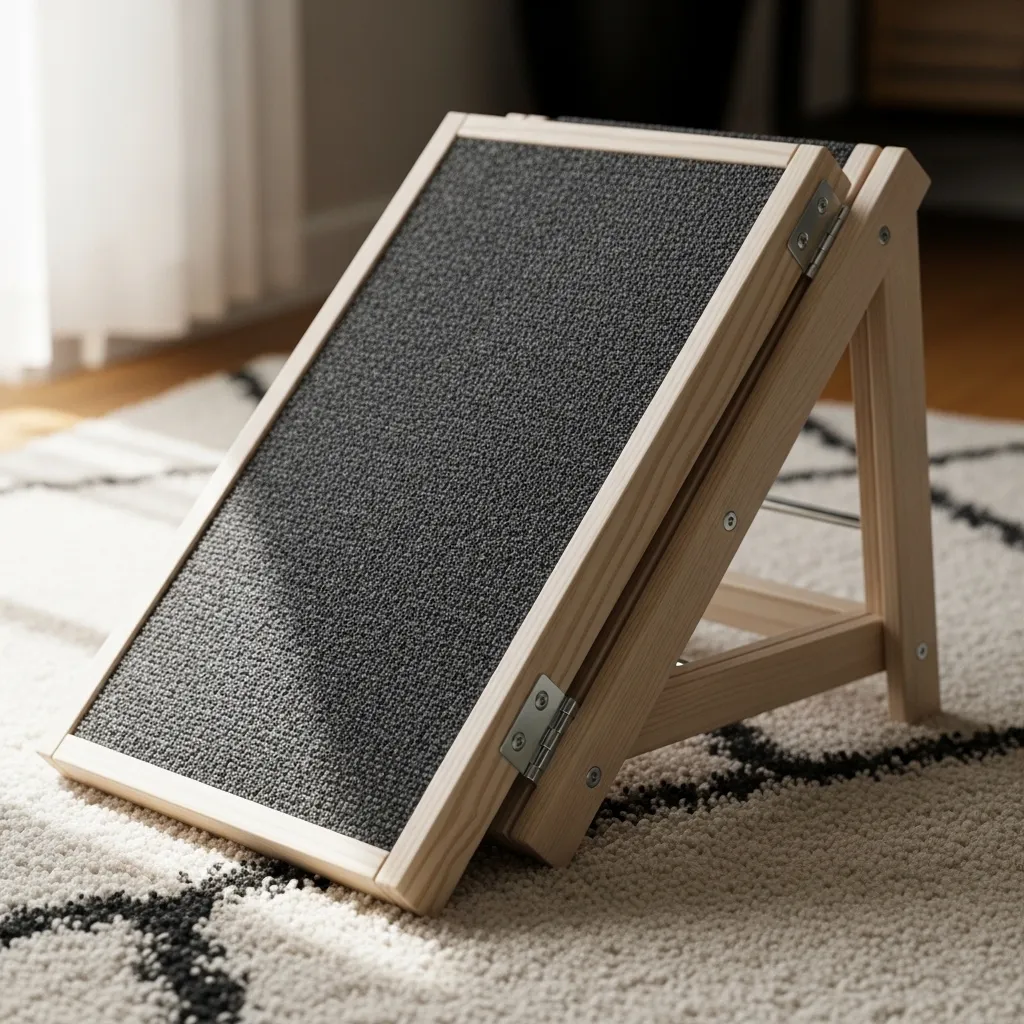
4. Pool Noodle Base Ramp
This one is almost too easy. Take a wooden plank or a sturdy piece of MDF. Glue pool noodles along the bottom edges. The noodles act as bumpers and keep the ramp from scratching your floor. They also add a little lift so the ramp doesn’t slip.
Cover the top with a yoga mat cut to size. The mat’s texture provides excellent grip. You can wrap the mat around the edges and glue it down. No sawing required if you buy a pre-cut board from the hardware store.
My neighbor made this for her dachshund. She said it took her twenty minutes, and the dog used it right away.
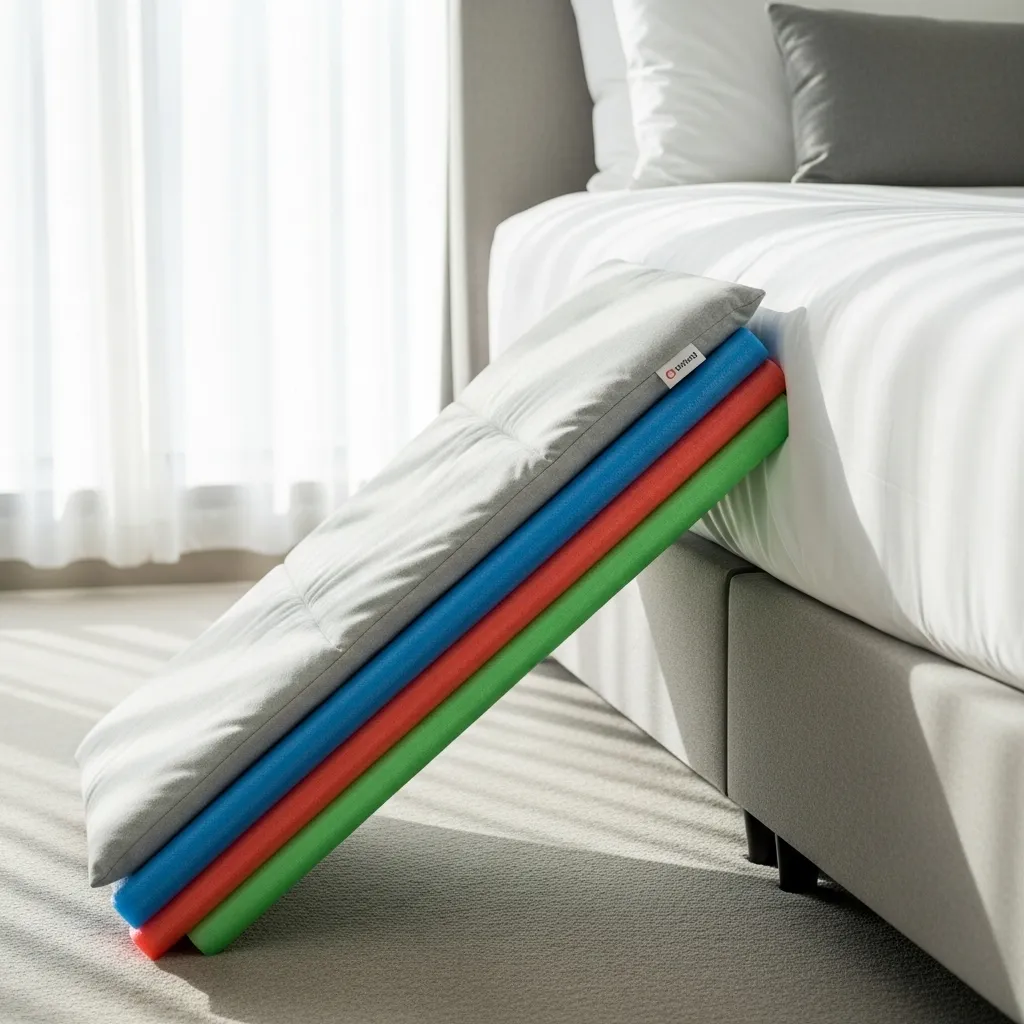
5. Two-Step Stair Ramp Hybrid
Some dogs get scared of a full incline. This design breaks the climb into two gentle steps. Build a low platform about 6 inches high, then a second platform at the bed height. Connect them with a short ramp piece. The dog walks up the ramp, rests on the platform, then steps onto the bed.
Use 2x4s for the frame and plywood for the tops. Carpet everything for grip and comfort. The platforms also give your dog a place to pause if they get tired.
This worked wonders for my friend’s elderly beagle. She would stand on the middle platform and look around before making the final hop.
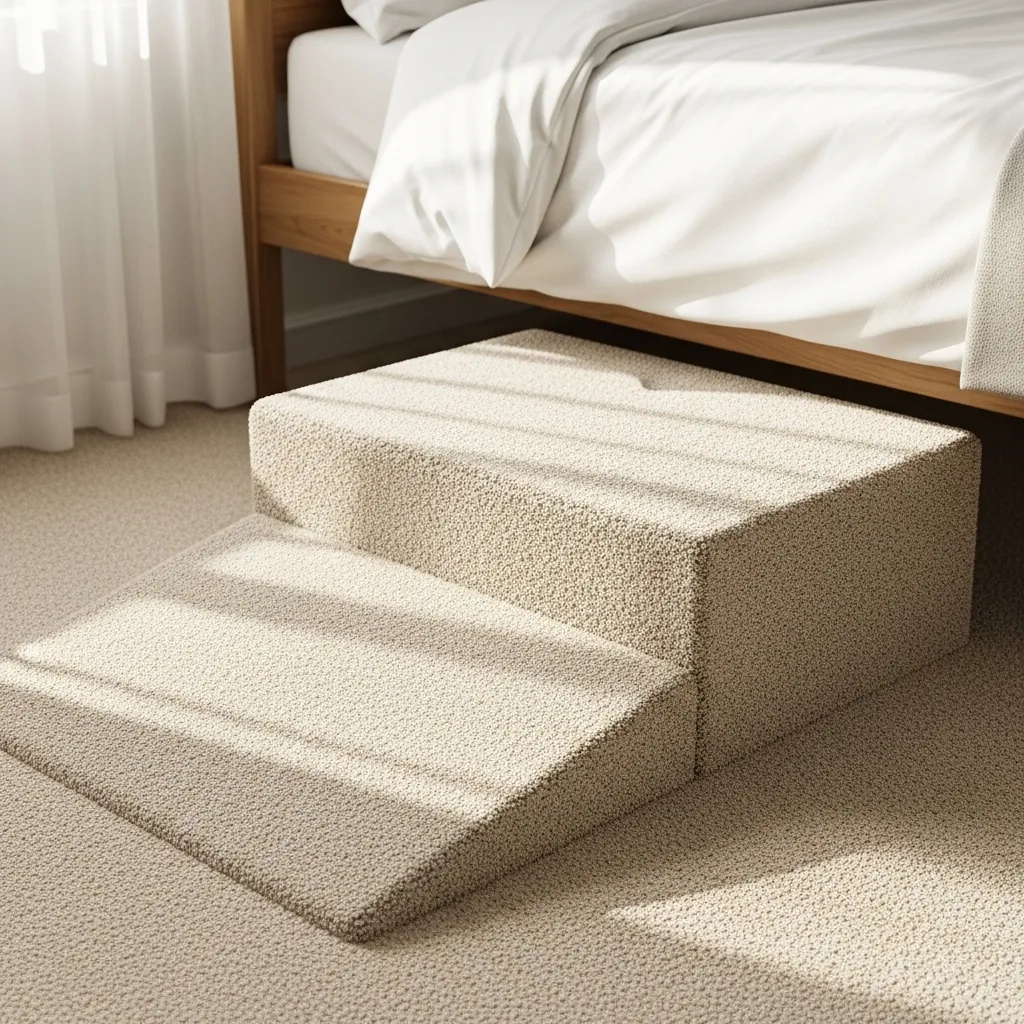
6. Repurposed Bookshelf Ramp
Look around your house for an old bookshelf or a sturdy wooden crate. Lay it on its side. The shelves become the ramp surface. If the shelves are too far apart, add a piece of plywood on top to create a smooth incline.
Line the surface with carpet remnants or stick-on grip strips. You can paint the outside to match your bedroom decor. This is a zero-cost project if you already have the shelf. I used an old IKEA unit and it worked perfectly.
The bonus is that you can store toys or blankets underneath the ramp.
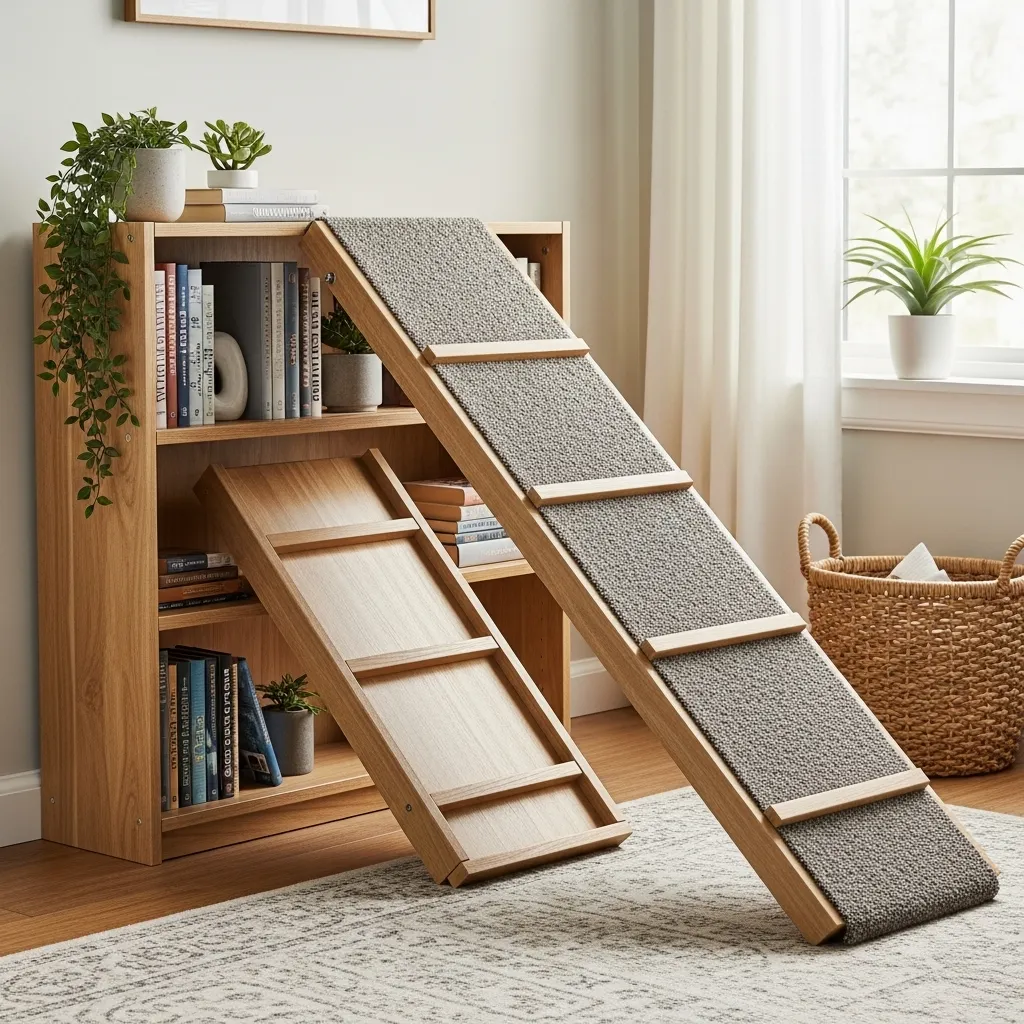
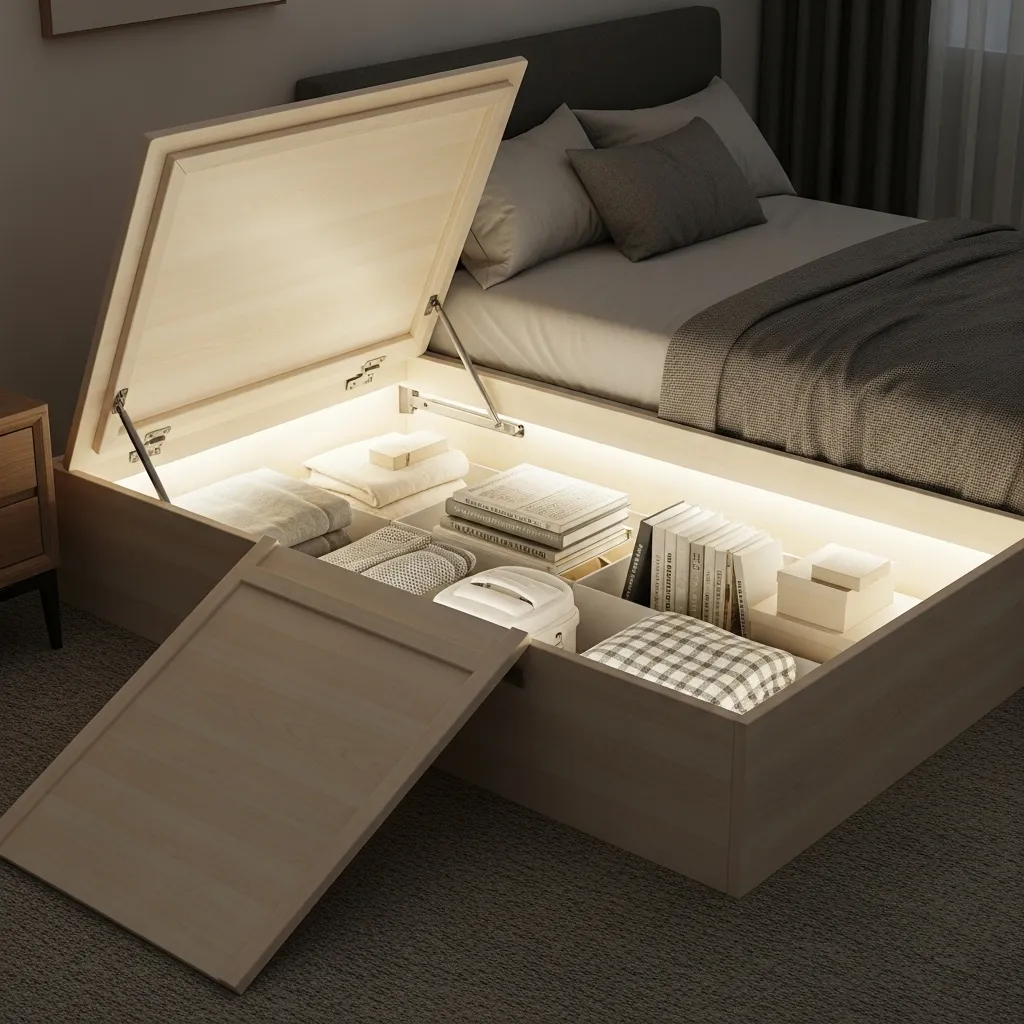
7. Under-Bed Storage Ramp
This design doubles as storage. Build a ramp that sits flush against the side of your bed frame. Add a hinged lid on the top section. Open the lid to store dog beds, leashes, or extra blankets inside the hollow ramp.
Use plywood for the structure. Make the top lid lift up with a simple handle or a fabric loop. Carpet the walking surface. The storage space is deep enough for a full-size dog bed.
I keep my dog’s winter sweaters in mine. It’s functional and hides clutter.
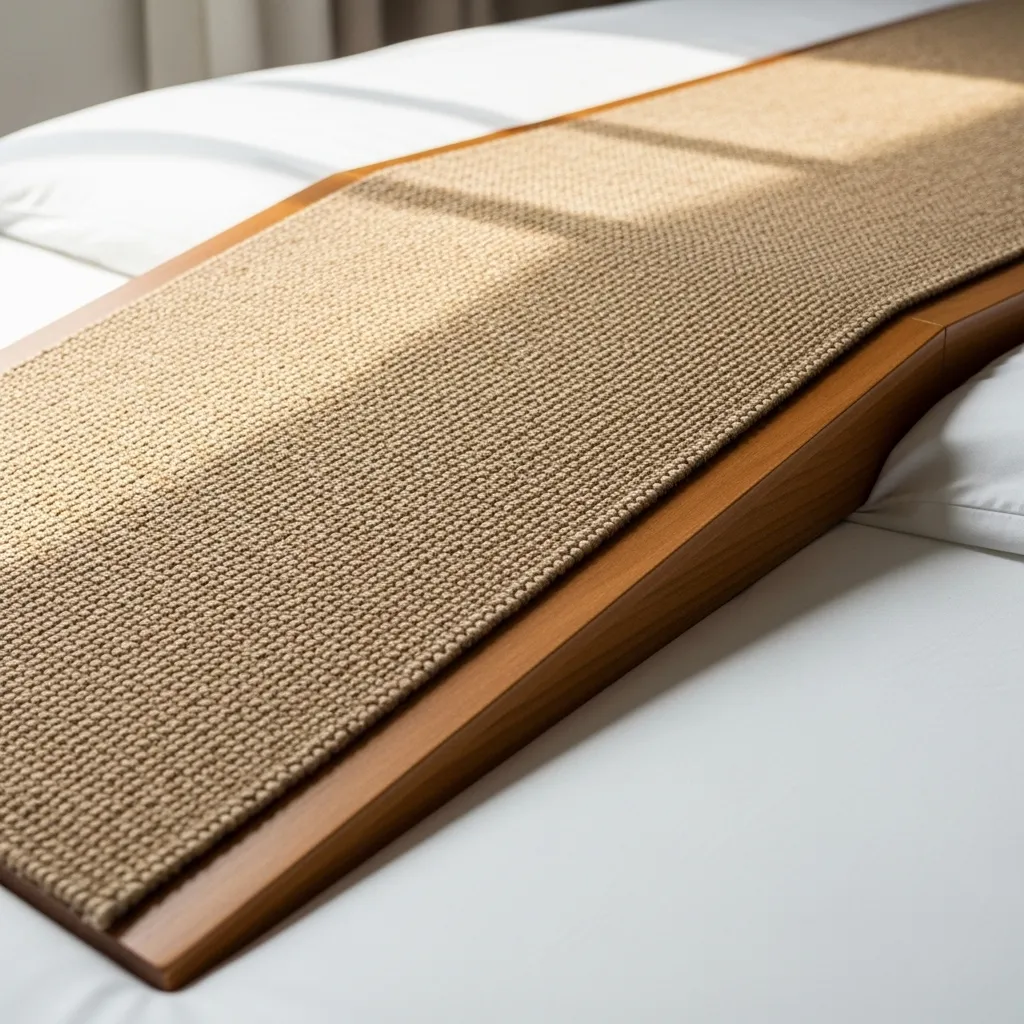
8. Carpet Runner on a Board
This is the simplest ramp of all. Buy a pine board that’s the right length for your bed height. Get a carpet runner from a home store—one with a rubber backing so it stays put. Lay the runner over the board and staple it underneath.
That’s it. No cutting, no measuring beyond length. The board should be at least 12 inches wide so your dog feels secure. Add a small wooden stopper at the bottom so it doesn’t scoot away.
I made this for a foster dog who was terrified of everything. The simple design didn’t spook him, and he was using it within hours.
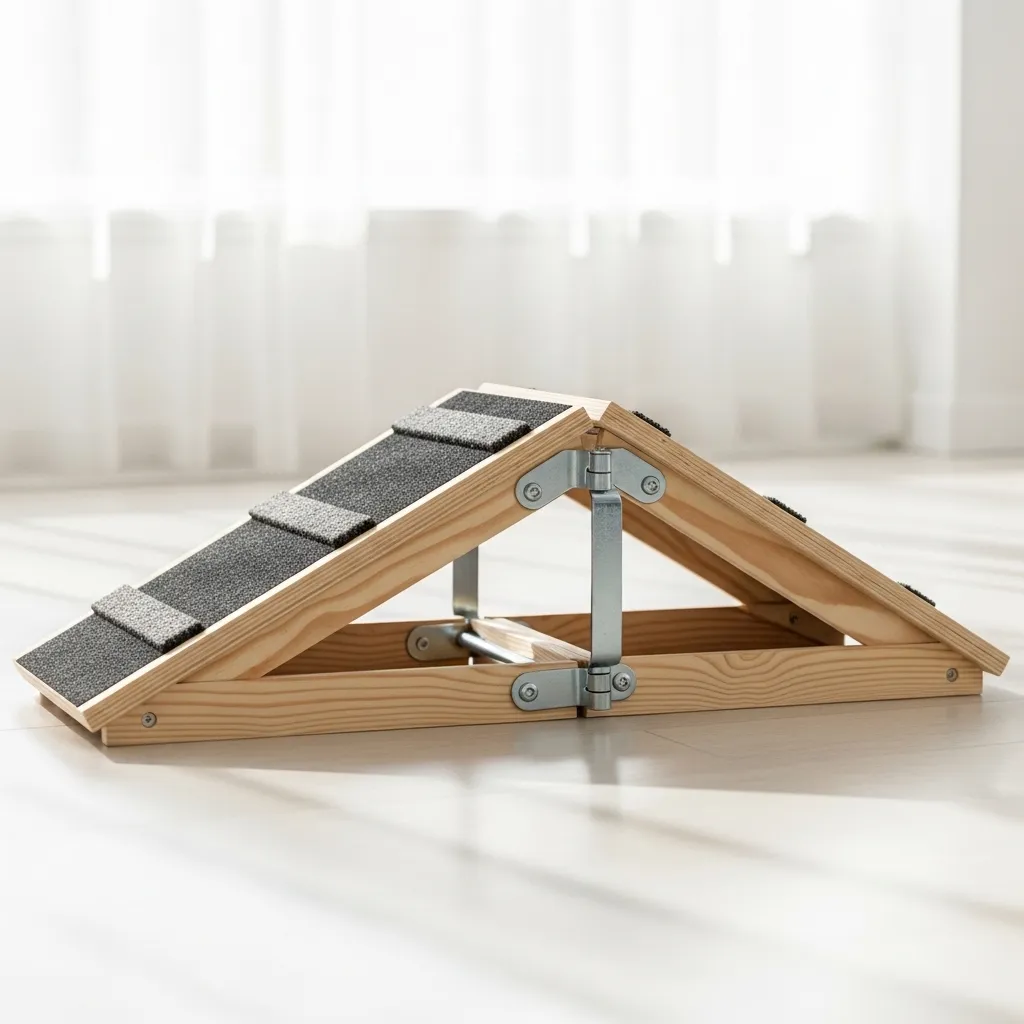
9. Adjustable Angle Ramp
If you have multiple beds or different heights, make an adjustable ramp. Build a ramp base from plywood. Attach two folding legs to the underside using adjustable hardware. You can change the angle by moving the legs to different notches.
Cover the ramp with a non-slip material. Use wing nuts on the leg brackets so you can adjust without tools. This is perfect for RV owners or for people who move furniture often.
My sister uses this for her guest bed. She adjusts it whenever she changes the mattress height.
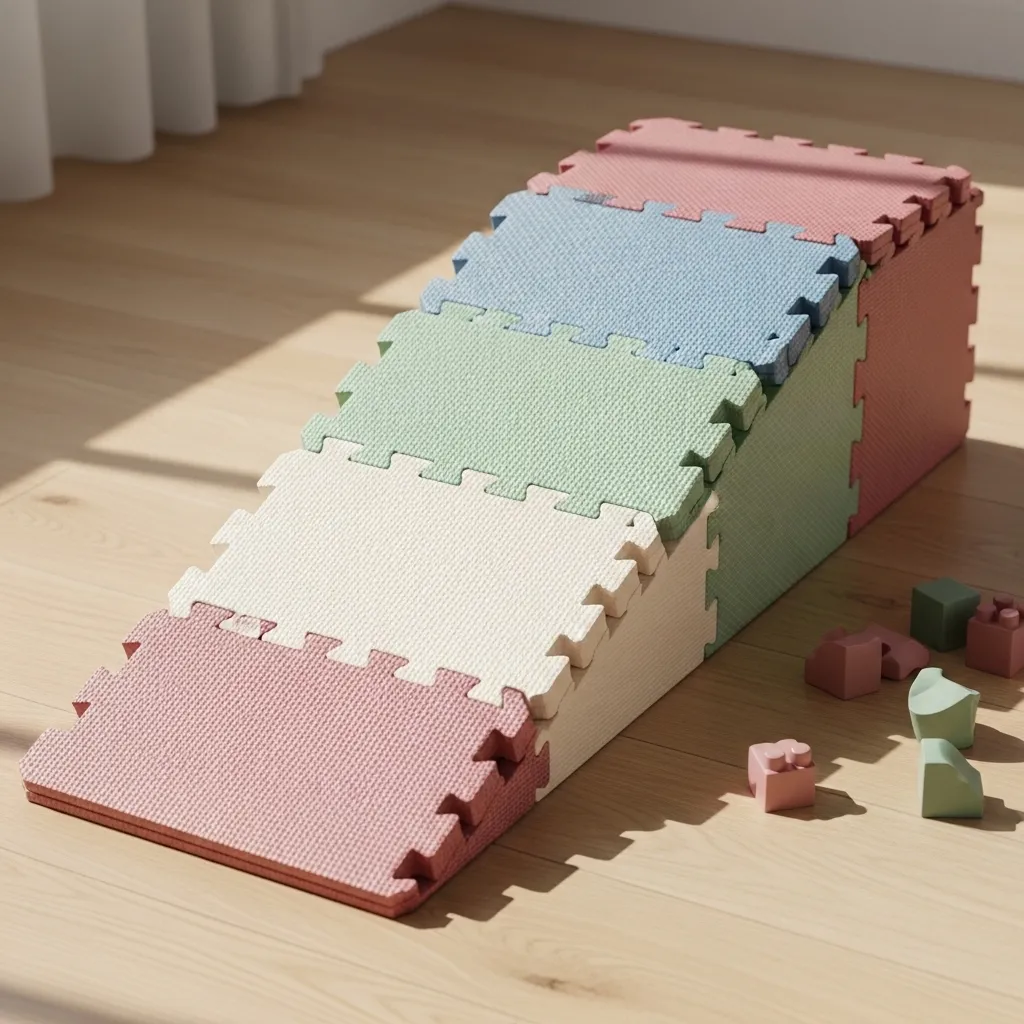
10. Foam Play Mat Ramp
Stack interlocking foam play mats to create a gentle incline. Start with one layer at the bed edge, then add two layers, then three, until you have a ramp shape. The foam is lightweight and can be trimmed with scissors.
Cover the stack with a fitted sheet or a piece of fleece. The foam provides cushioning for older joints. You can make the ramp as wide as you want by using more mats. It’s also totally silent—no creaking or banging.
I use this for my cat too. He thinks it’s a new climbing toy.
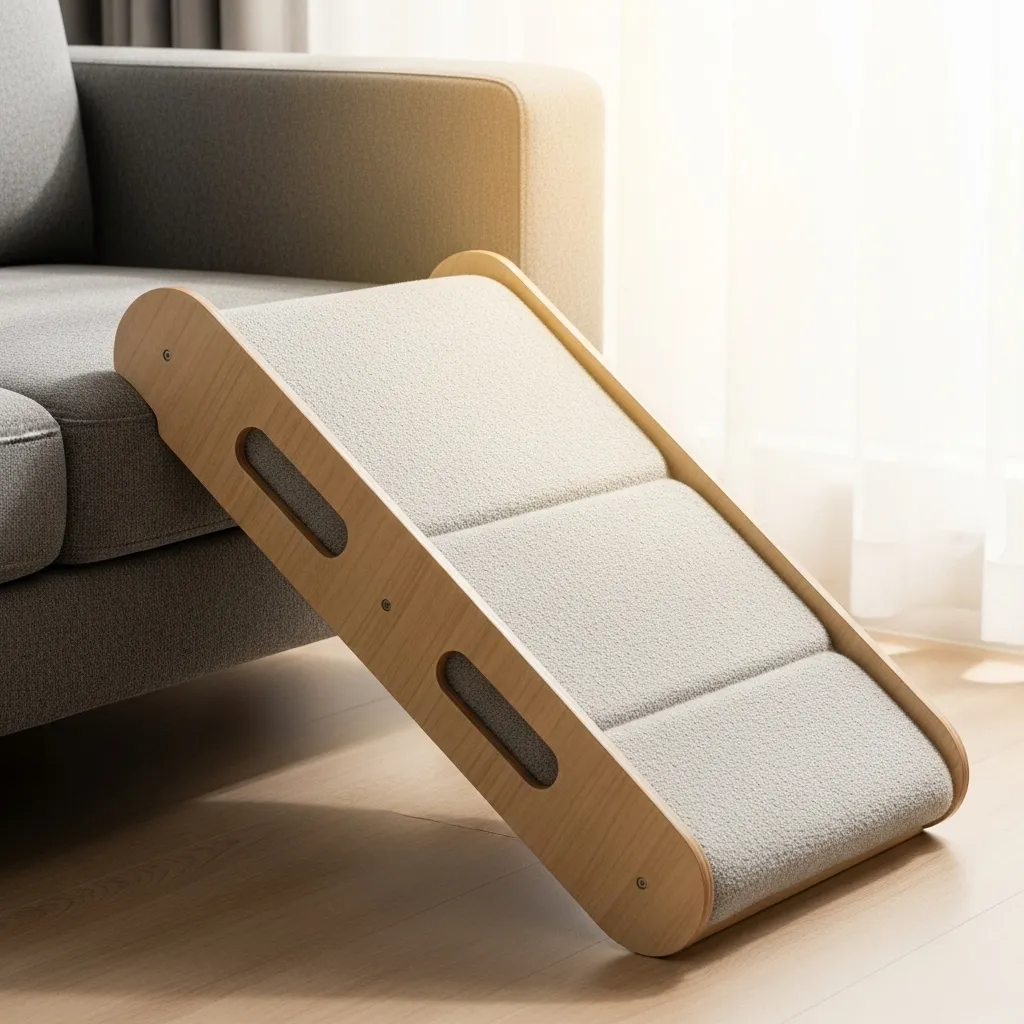
11. Padded Board with Handles
Take a plywood board and wrap it in 1-inch foam padding. Staple the foam in place, then cover it with a durable fabric. The padding makes it comfortable for dogs with arthritis. Add two sturdy handles cut into the sides so you can carry the ramp to different rooms.
The handles also make it easy to lift the ramp against the wall when not in use. Use fabric that matches your bedding. This one looks like a piece of furniture rather than a medical aid.
My dog loves the soft feel under his paws. He actually naps on the ramp sometimes.
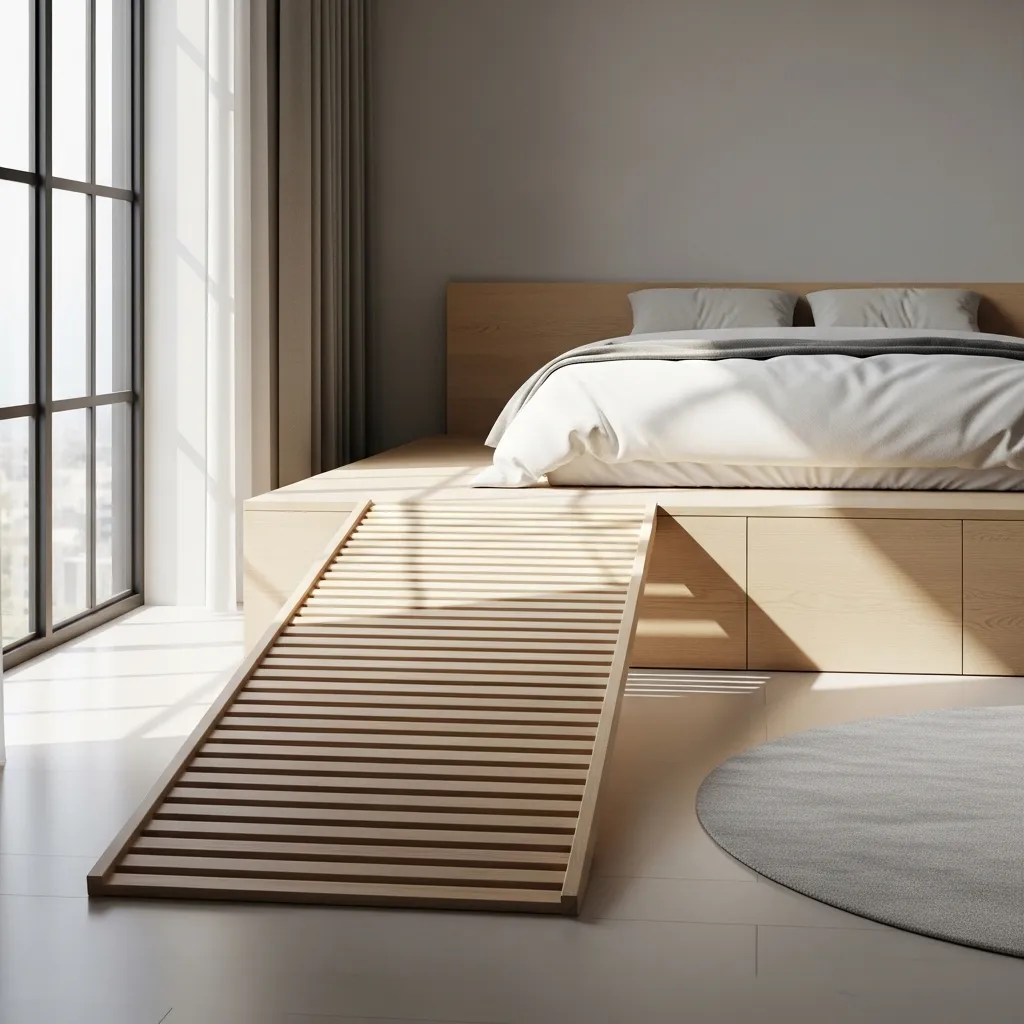
12. Minimalist Slatted Ramp
For a modern look, skip the carpet. Use wooden slats spaced about an inch apart. The slats provide natural grip, especially if you leave them rough-sanded. Build a frame from 2x4s and attach the slats across it.
The gaps let dirt and hair fall through, so the ramp stays cleaner. You can stain or paint the wood to match your floor. Add rubber feet to the bottom so it doesn’t slide on hardwood.
This design is popular in modern farmhouse decor. It’s sturdy and looks intentional.
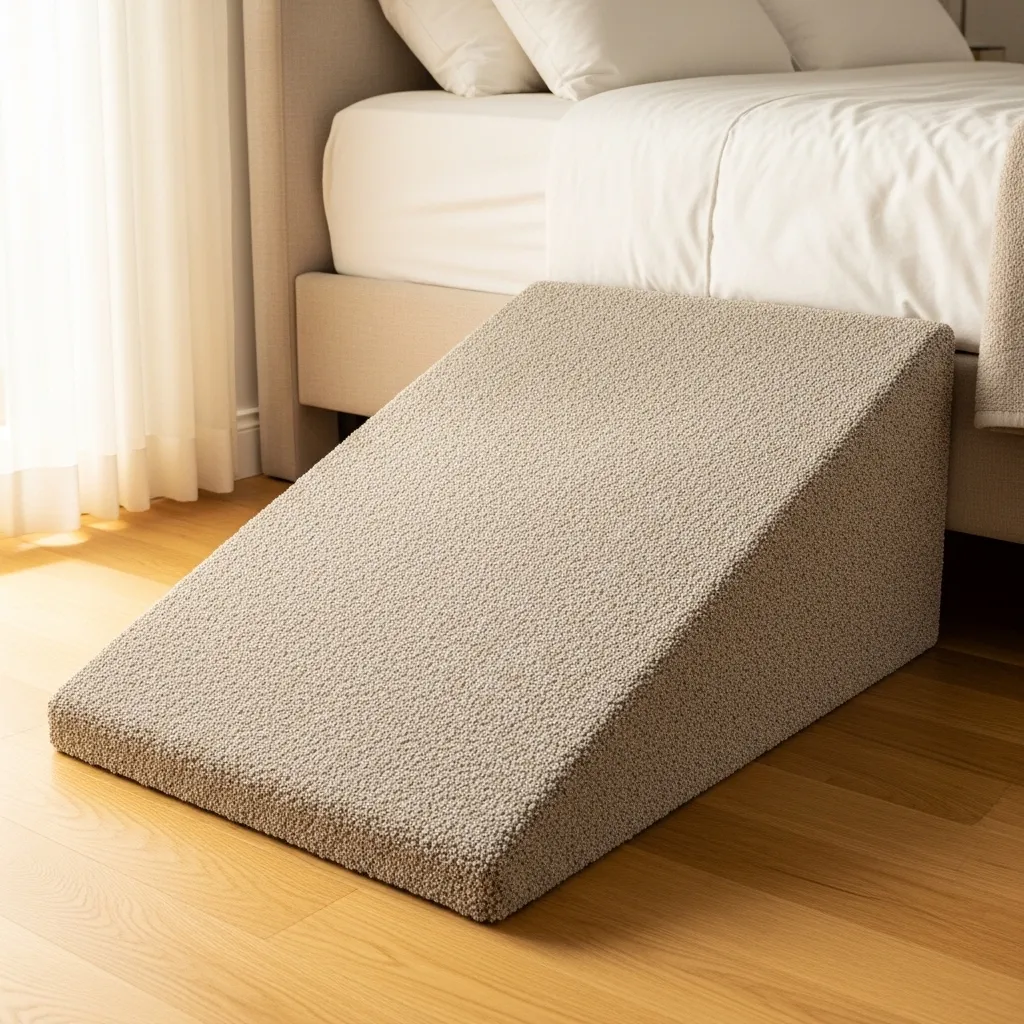
13. Carpeted Box Ramp
Build a hollow box shape from plywood. The box should be as tall as your bed and about 2 feet wide. Cut one side at an angle to create the ramp surface. Carpet the entire outside. The inside is hollow, so you can store things inside.
This is the most stable design because the box sits flat on the floor. It won’t tip or slide. Make the opening wide enough for your dog to walk up comfortably. Add a small lip at the top to bridge any gap between the ramp and the mattress.
My uncle built this for his Great Dane. The dog walks up it like a gentle hill.
Conclusion
Building a dog ramp doesn’t have to be complicated or expensive. The best design is the one you actually finish and your dog actually uses. Start with the simplest version—maybe just a board with a carpet runner—and see how your dog reacts. You can always upgrade later.
Your dog’s joints will thank you. And so will your back. Once you have a ramp, you’ll wonder why you didn’t build one sooner. Pick your favorite, gather your materials, and give your best friend a safe way to cuddle up with you.
[[IMG:IMG15]]
Frequently Asked Questions
What angle should a dog ramp be for a bed?
Aim for a 20 to 25-degree angle. That’s gentle enough for most dogs. Measure your bed height and cut the ramp length so the incline stays shallow. For a standard bed (25 inches tall), a 6-foot ramp gives a nice slope.
Can I use a dog ramp for a senior dog?
Absolutely. That’s the main reason to build one. Senior dogs often have arthritis or hip problems. A ramp reduces strain on their joints. Add foam padding or carpet for extra comfort.
How wide should a dog ramp be?
At least 12 inches for small dogs, 18 inches for medium dogs, and 24 inches for large breeds. A wider ramp feels safer and gives your dog room to adjust their footing.
What material is best for traction on a dog ramp?
Carpet is the most popular choice. It’s grippy and soft. Rubber mats or yoga mats also work well. Avoid smooth surfaces like bare wood or laminate—they’re slippery and scary for dogs.
Will my dog be scared of the ramp?
Some dogs need a little encouragement. Place treats on the ramp and let them explore at their own pace. Start with the ramp flat on the floor, then gradually lift it to the bed. Patience and praise go a long way.