Homemade Tuna Cat Treats Your Feline Will Love
I never thought I’d be baking for my cat, but here we are. My picky eater, Mochi, turns her nose up at most store-bought treats. One day, I opened a can of tuna for my own lunch, and she went absolutely wild. That’s when the idea hit me—why not make simple, healthy tuna treats right in my own kitchen?
These are not just any treats. They’re free from weird preservatives, fillers, and mystery ingredients. Plus, making them yourself means you control exactly what goes in. Your cat gets all the flavor, and you get the peace of mind. Ready to become your cat’s favorite person? Let’s dive into ten easy, fun ways to whip up tuna treats at home.
1. The Classic Baked Tuna Bites
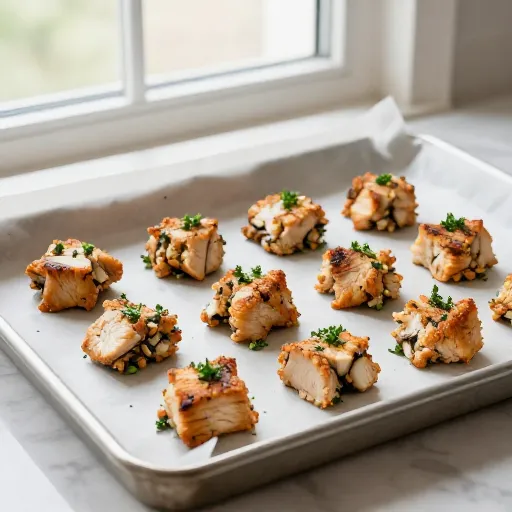
This is the recipe I started with, and it’s still my go-to. You only need three ingredients: one can of tuna in water (drained), one egg, and a little bit of oat flour. Mash the tuna with a fork, mix in the egg, then add flour until it forms a dough.
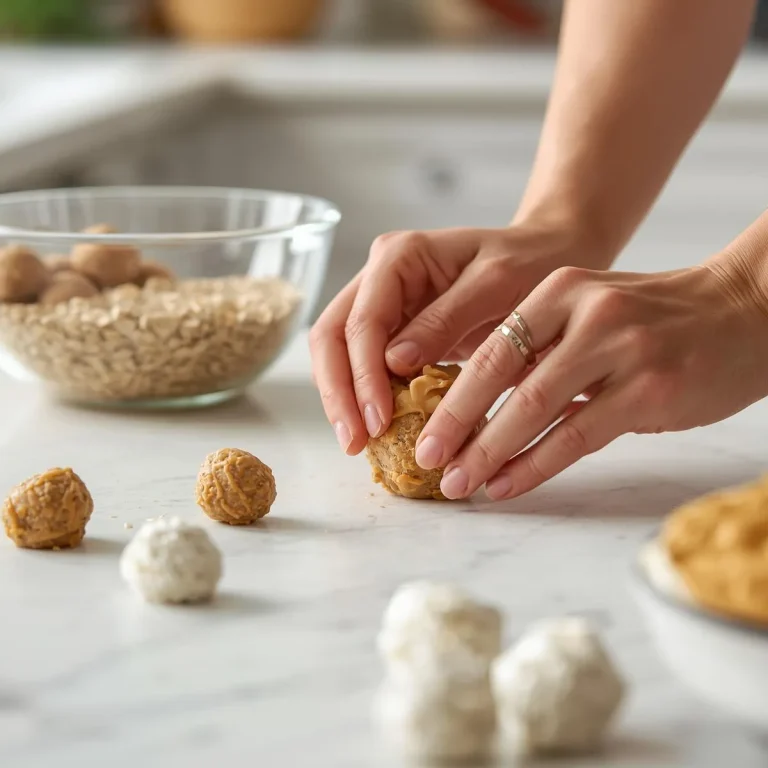
Roll tiny pea-sized balls and place them on a lined baking sheet. Bake at 350°F for about 10–12 minutes. They should be firm but not hard. Let them cool completely before serving. My cat does a little happy dance every time I pull these out of the oven. Store extras in the fridge for up to a week.
2. No-Bake Tuna and Pumpkin Balls
Sometimes you just don’t want to turn on the oven. These no-bake balls are perfect for hot summer days. Mix one can of drained tuna with two tablespoons of plain canned pumpkin (not pie filling). Add a spoonful of coconut flour until the mixture holds together.
Roll into small balls and pop them in the fridge for 30 minutes. The pumpkin is great for digestion, and the tuna gives a protein punch. They’re soft, easy to chew, and absolutely irresistible. Just keep them chilled, and they’ll last about five days.

3. Dehydrated Tuna Flakes for Crunch
If your cat loves crunchy textures, this is the simplest thing you can make. Take a can of tuna, drain it well, and spread the flakes thinly on a parchment-lined tray. You can use a dehydrator at 135°F for about 4 hours, or your oven on the lowest setting with the door slightly open.
The result is crispy, flaky tuna that crumbles beautifully. Sprinkle a pinch over your cat’s regular food as a topper, or serve as a crunchy snack. It’s also a great way to use up leftover tuna from your own meal. My cat goes nuts for the sound of the bag crinkling.
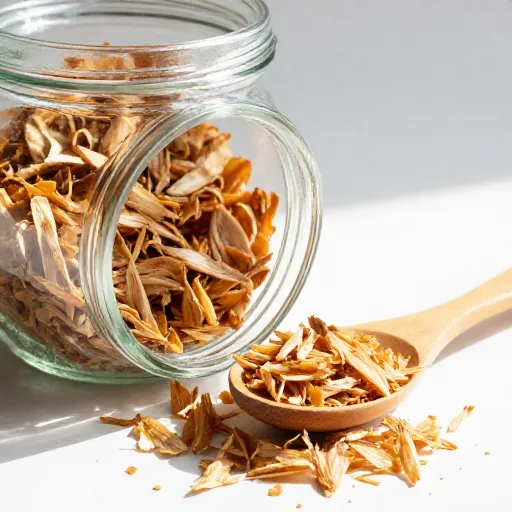
4. Tuna and Cheese Meltaway Bites
A little cheese goes a long way, and most cats can’t resist it. Mix one can of drained tuna with a quarter cup of finely shredded cheddar cheese and one egg. Add a bit of whole wheat flour or rice flour until you get a stiff dough.
Shape into small discs and bake at 350°F for about 8 minutes. The cheese gets slightly crispy on the edges, and the tuna stays moist inside. Use cheese sparingly—too much can upset a cat’s stomach. These are best as an occasional special treat.
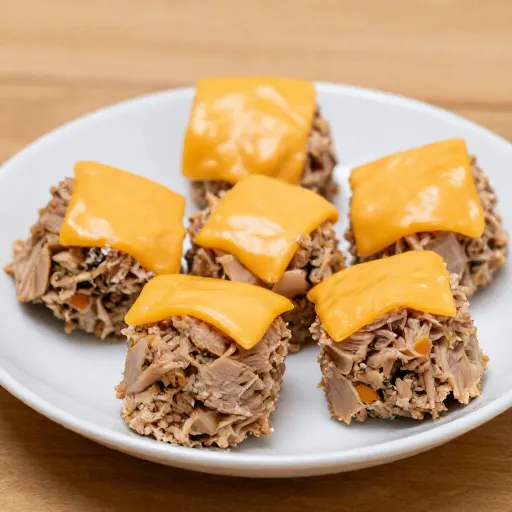
5. Tuna Broth Ice Cubes for Hydration
This is less of a treat and more of a fun hydration hack. My cat sometimes forgets to drink enough water, so I make these. Drain a can of tuna into a bowl, reserving the water. Add a little extra water to the bowl and stir.
Pour the liquid into an ice cube tray and freeze. Pop one cube into your cat’s water dish or onto a plate on a hot day. They’ll lick and play with it as it melts. It’s a refreshing, low-calorie way to keep your cat hydrated and entertained.
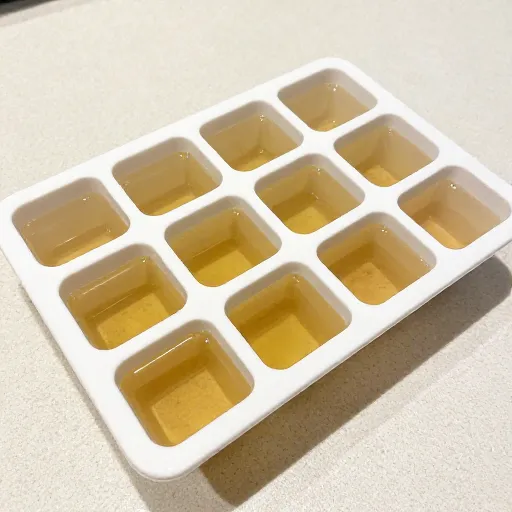
6. Soft Tuna and Oatmeal Morsels
For older cats or those with dental issues, soft treats are a lifesaver. Cook a small amount of plain oatmeal and let it cool. Mix one can of drained tuna with two tablespoons of the cooked oatmeal. Add a splash of water if it’s too thick.
Scoop tiny spoonfuls onto a baking sheet and bake at 325°F for just 5–7 minutes. They should be soft and chewy, not crispy. Your cat will appreciate the gentle texture, and the oatmeal adds a bit of fiber. Keep these in the fridge and use within three days.
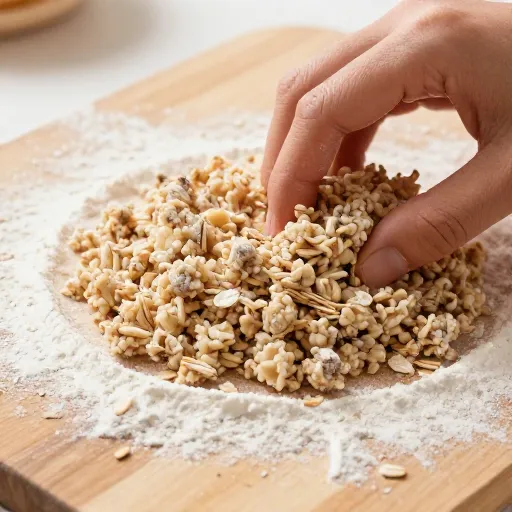
7. Freeze-Dried Tuna Style Treats
If you have a freeze-dryer, this is fantastic. But you can mimic the texture at home. Slice tuna steak (not canned) into very thin strips. Place them on a rack in your oven set to the lowest temperature. Let them dry for 6–8 hours, flipping halfway.
The result is light, airy strips that snap when broken. They’re pure protein, with zero additives. Break them into small pieces for training or just as a special reward. The texture is completely different from baked treats, and many cats find it irresistible.
8. Tuna and Catnip Party Mix
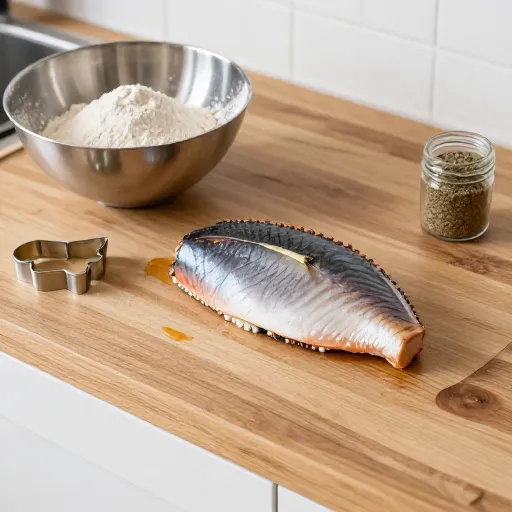
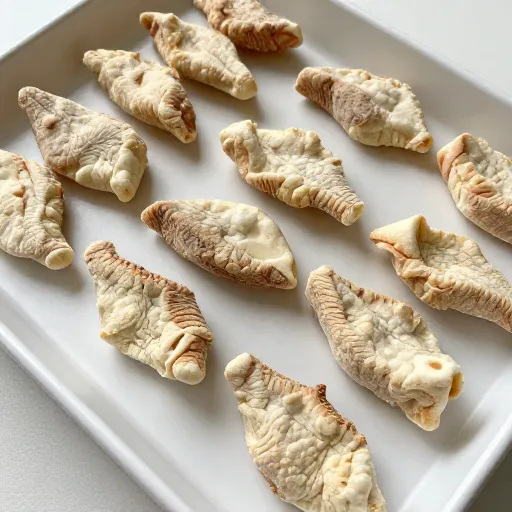
This is my secret weapon for getting my cat to play. Combine one can of drained tuna, one egg, and a tablespoon of dried catnip. Add enough rice flour to make a workable dough. Roll out the dough and cut it into tiny star or fish shapes.
Bake at 350°F for 10 minutes. The catnip adds a fun, relaxing element that many cats love. The tuna flavor masks the herb, so even picky eaters usually go for it. Use these as a post-playtime reward or a calming treat before a vet visit.
9. Tuna and Sardine Super Mix
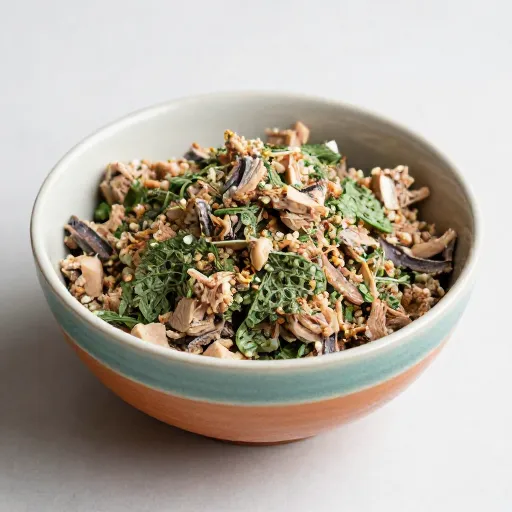
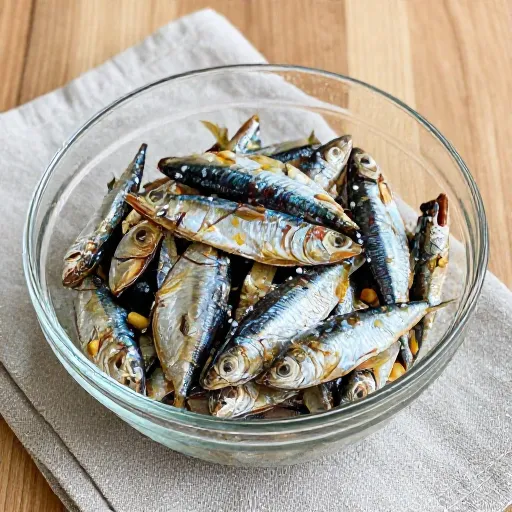
Sometimes you need to elevate the flavor game. Mash one can of tuna and one small can of sardines (in water, no salt) together. Add one beaten egg and a sprinkle of nutritional yeast for a cheesy flavor without dairy.
Form small patties and bake at 350°F for 8 minutes. The sardines add healthy omega-3s, which are great for your cat’s coat and joints. The smell is intense, so be prepared for a very enthusiastic feline. These are rich, so limit to one or two per day.
10. Simple Tuna and Rice Flour Crackers
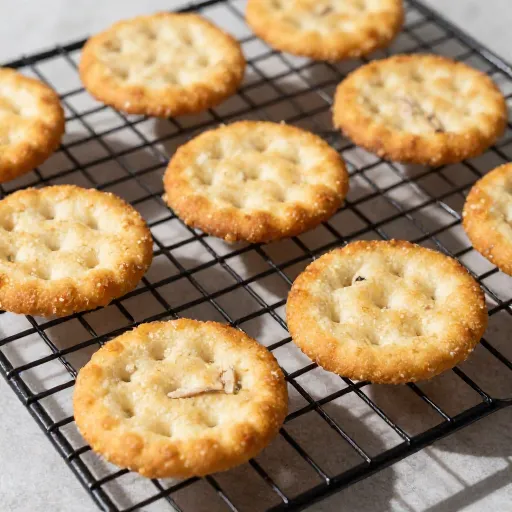
This is the easiest recipe when you’re short on time. Mix one can of drained tuna with three tablespoons of rice flour and a tablespoon of water. Knead into a firm dough, then roll out thinly between two sheets of parchment.
Cut into small squares and bake at 350°F for 12 minutes. They come out crispy and crunchy, perfect for cats who like to chew. Rice flour keeps these treats light and easy to digest. They store well in an airtight container for up to two weeks.
Conclusion
Homemade tuna treats have changed the way I bond with my cat. It’s such a simple joy to see her get excited over something I made with my own hands. You don’t need fancy equipment or rare ingredients—just a can of tuna, a little creativity, and a willing feline taste-tester.
Start with one recipe that feels easy to you, and see how your cat reacts. You might be surprised at how picky eaters suddenly become enthusiastic. And remember, treats are treats—keep them to about 10 percent of your cat’s daily diet. Happy baking, and give your kitty an extra scratch from me.
Frequently Asked Questions
Can I use tuna packed in oil?
It’s best to stick with tuna packed in water. Oil can be too rich for cats and may cause digestive upset. Always drain the tuna well before using.
How long do homemade tuna treats last?
Baked treats last about a week in the fridge. Freeze-dried or dehydrated treats can last several weeks in an airtight container. Always check for any signs of spoilage before serving.
Can kittens eat these treats?
Kittens can enjoy small amounts, but make sure the pieces are tiny and soft. Always consult your vet before introducing new foods to a very young kitten.
My cat has allergies. Are these safe?
Tuna is generally safe, but some cats have fish allergies. If you’re unsure, start with a tiny piece and watch for any reactions like itching or vomiting. Your vet is the best guide here.
Can I add other ingredients like vegetables?
Absolutely. Finely grated carrot or zucchini can add nutrients. Just keep the base mostly tuna and avoid onions, garlic, or anything from the allium family, as those are toxic to cats.