13 Raised Dog Bowls DIY Hacks That Actually Work
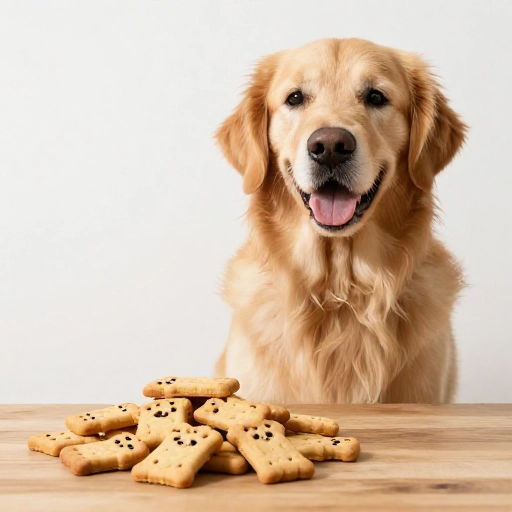
I used to watch my old lab, Duke, bend down awkwardly to eat from his bowls on the floor. After a while, he started coughing and gulping air. That’s when I knew I needed a change. Raised dog bowls are a game-changer for digestion and posture, but buying a fancy wooden stand? That can cost a small fortune.
So, I got creative. I started building my own elevated feeders using stuff I already had around the house. Some worked brilliantly, and some were total flops. After a lot of trial and error, I’ve narrowed it down to 13 DIY hacks that are sturdy, affordable, and look surprisingly good. These are projects you can actually finish in an afternoon.
Whether you have a Great Dane or a Miniature Schnauzer, here are the best raised dog bowl stands you can build yourself.
1. The Classic Wooden Crate Stand
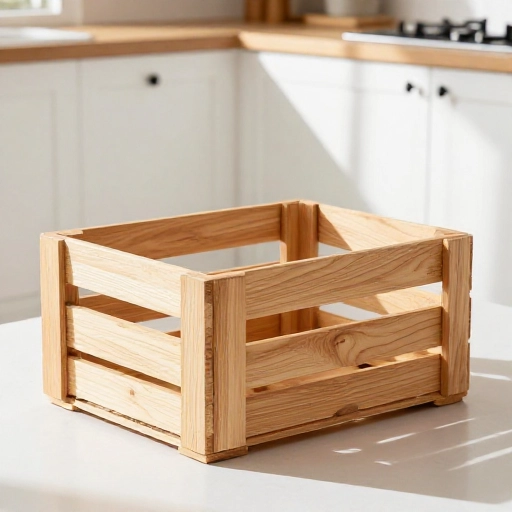
This is where most of us start. Grab a simple wooden crate from a craft store or your recycling pile. Flip it over so the open side is down. The slatted top is perfect for resting two bowls side by side.
I painted mine with leftover chalk paint for a matte finish. It’s sturdy, lifts the bowls about six inches off the ground, and costs almost nothing. Just make sure the crate is wide enough so your dog doesn’t knock the bowls off the edges.
If your dog is a messy drinker, add a small silicone mat on top of the crate to catch drips.
2. Repurposed Nightstand Transformation
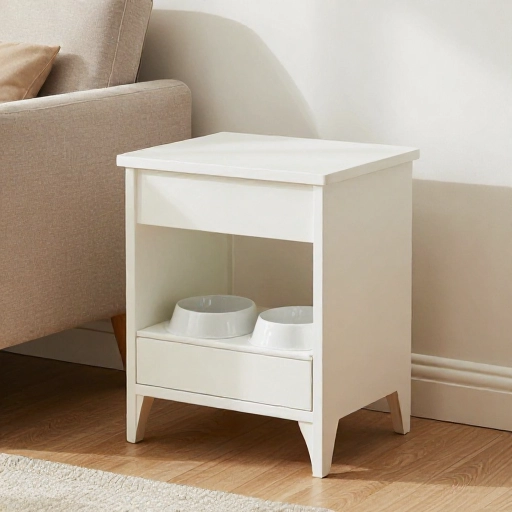
I found an old, beat-up nightstand at a yard sale for five dollars. The drawer was broken, but the frame was solid. I removed the drawer completely and cut a hole in the top panel large enough to sink a stainless steel bowl into.
This gives a mid-century modern vibe that blends right into your living room. The lower shelf is perfect for storing treats and leashes. You want the hole to be snug so the bowl doesn’t wobble. Use a jigsaw for the cut, and sand the edges smooth.
It’s surprisingly elegant for a dog bowl stand.
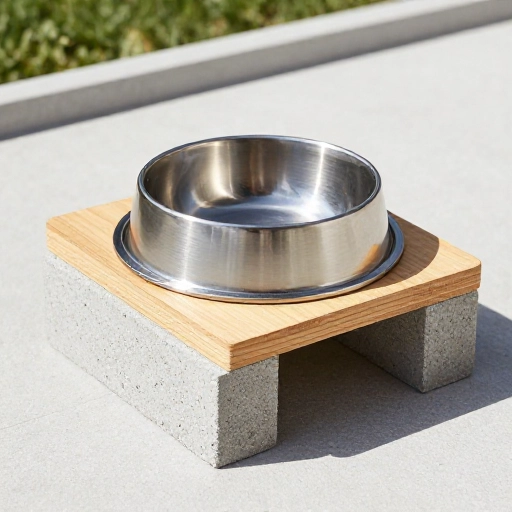
3. Concrete Block & Wood Plank Combo
This is the most industrial-looking hack on the list, and it’s also the cheapest. Grab two concrete cinder blocks and a sturdy wooden plank. Stack the blocks vertically, place the plank on top, and set the bowls on the plank.
I used a 2×10 piece of pine that I stained dark walnut. You can paint the cinder blocks to match your decor or leave them raw for a modern farmhouse look. The weight of the blocks makes it impossible for even the most enthusiastic eater to tip over.
It’s not fancy, but it works perfectly for a large breed dog.
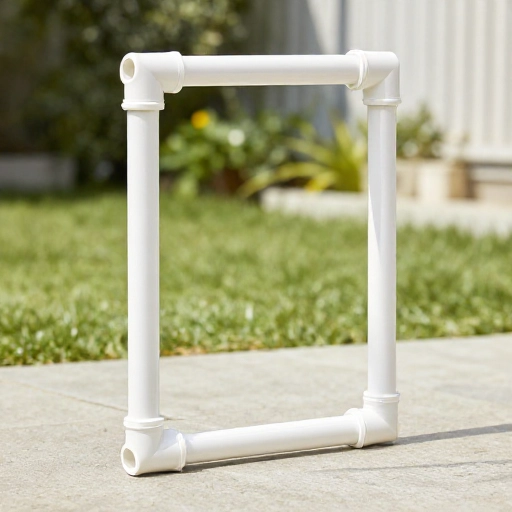
4. PVC Pipe Frame Feeder
This one is for the handy folks. Using 2-inch PVC pipes and a few elbow joints, you can build a custom frame that holds the bowls at the perfect height. Cut the pipes to length, glue them together, and slide the bowls into the openings.
I built one for my friend’s Great Dane in about 30 minutes. The best part is that you can adjust the height easily by cutting longer legs. Spray paint the PVC with a matte finish to make it look like expensive furniture.
Make sure the bowls fit snugly so they don’t pop out during dinner time.
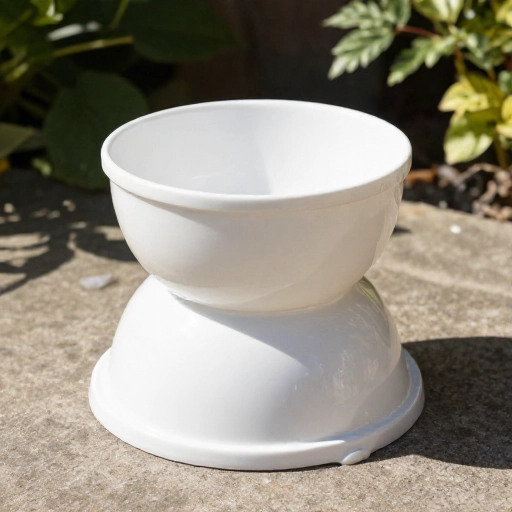
5. Stacked Flower Pot Stand
I love this hack because it’s so unexpected. Take two large terracotta or ceramic flower pots. Flip one upside down to act as the base. Place the second pot right-side up on top. The rim of the top pot creates a natural ledge for a single, large bowl.
You can stack two pots for a shorter stand or three for a taller one. I sealed mine with a waterproof spray to make cleaning easier. It gives a beautiful, earthy aesthetic to your feeding station.
Just ensure the pots are heavy enough to not tip over when your dog pushes against them.
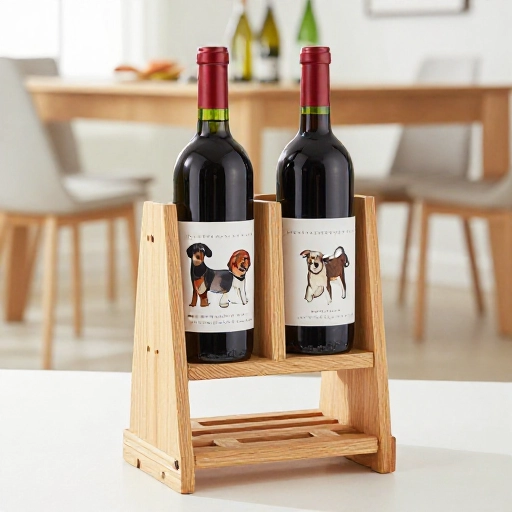
6. Wine Crate Double Feeder
Wine crates are the perfect size for two dog bowls. They are deeper than standard crates, which helps contain messes. Find two matching wine crates and stack them on top of each other. Screw them together from the inside for stability.
I left the wood raw and just added a coat of linseed oil. The slatted sides look great, and the open front makes it easy to slide the bowls in and out. You can even add small caster wheels to the bottom for easy moving.
It’s rustic, charming, and super functional.
7. Thrifted End Table with a Cutout
This is a step up from the nightstand hack. Find a small end table with a solid top and short legs. Using a hole saw, cut a circle in the top that is slightly smaller than the diameter of your dog’s bowl. Drop the bowl into the hole.
The bowl sits flush with the table surface, which prevents splashing and sliding. I found a cute little table with hairpin legs for under ten bucks. It looks like it was designed specifically for my dog.
This is probably the most polished looking option on the list.
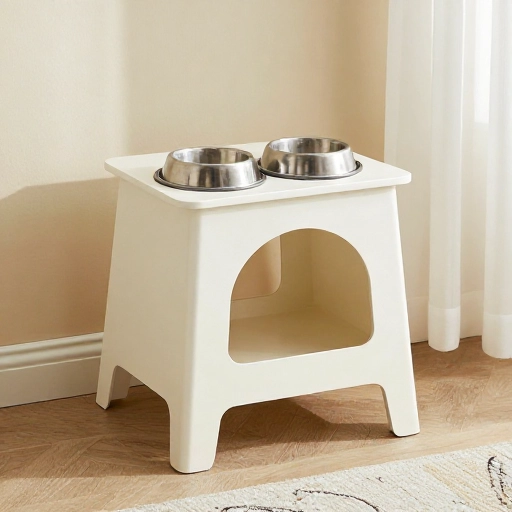
8. Painted Cinder Block Tower
If you like the concrete block idea but want it to look prettier, paint it. Grab four standard cinder blocks and stack them in a two-by-two pattern. Paint each block a different pastel color or go for a monochrome look.
Place a sturdy wooden board on top. The holes in the blocks can be used as storage for toys or poop bags. I painted mine a soft sage green and it looks like a modern art piece.
It’s heavy, stable, and completely weatherproof if you want to use it outside.
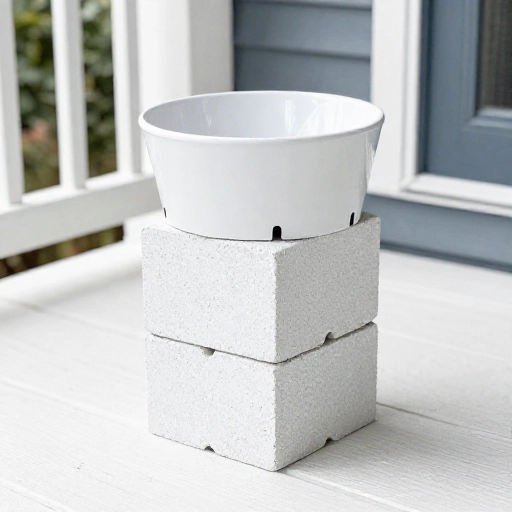
9. Simple Folding Step Stool
This is the easiest hack on the list. Buy a small, folding plastic step stool from the dollar store. Open it up and place your dog’s bowls on the steps. The top step holds one bowl, and the lower step holds another.
It’s not the most glamorous, but it works great for travel or temporary setups. I keep one in my car for trips to the park. It folds flat, takes up zero space, and gives a good two-level height.
Just make sure the stool is wide enough to prevent tipping.
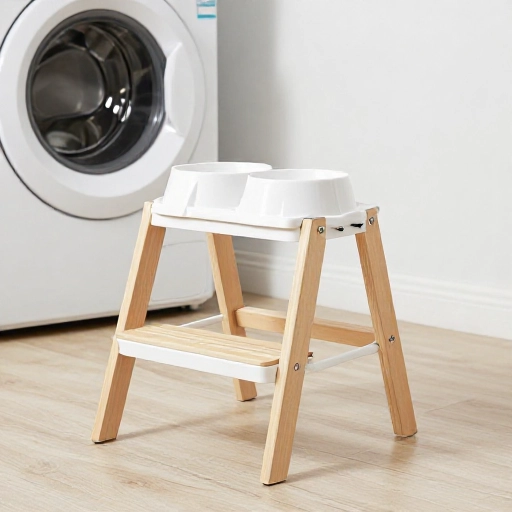
10. Log Slice Natural Stand
If you have access to a fallen tree, this is a beautiful option. Take a large, flat log slice that is about 12 inches thick. Sand the top and bottom until it is perfectly level. Place the bowls directly on the log.
The natural wood grain looks incredible, and it’s completely free. I sealed mine with a food-safe mineral oil to prevent cracking. It feels very rustic and grounding in a home.
Make sure the log is stable and doesn’t rock back and forth.
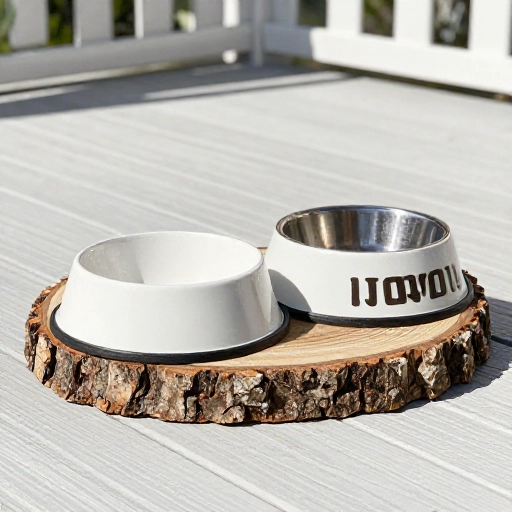
11. Old Dresser Drawer Repurpose
Got a broken dresser drawer? Remove the front panel and flip it over. The sides of the drawer act as a natural barrier to keep bowls in place. Screw on four short legs or use rubber bumpers for height.
I added a coat of bright yellow paint to mine. It adds a pop of color to the kitchen corner. The depth of the drawer catches all the kibble that misses the bowl.
It’s a great way to upcycle something that would otherwise end up in the trash.
12. Metal Basket with Wooden Base
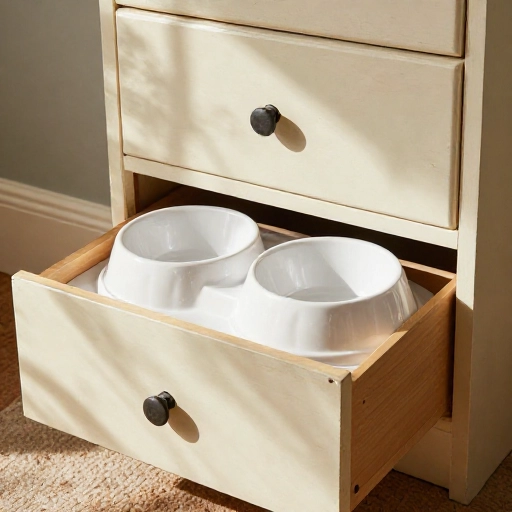
Find a large, shallow metal wire basket at a thrift store. Attach it to a wooden base using zip ties or screws. The wire basket holds the bowls securely, and the wooden base lifts it off the floor.
I used a wooden cutting board as the base. The metal looks industrial and modern. You can line the basket with a small towel to reduce noise if the bowls clank around.
It’s lightweight but still very sturdy.
13. Pallet Wood Custom Build
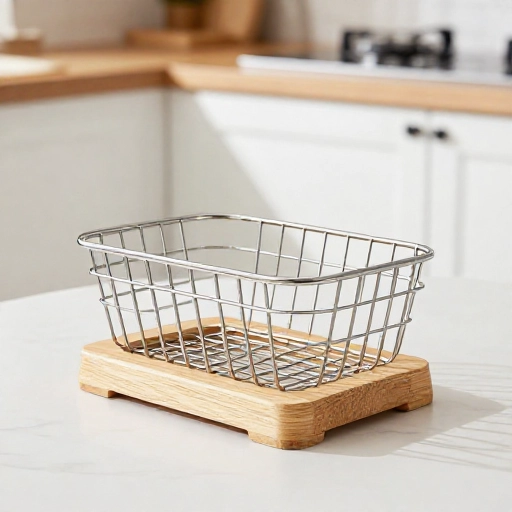
This is the most advanced hack, but it’s worth it. Break down a wooden pallet and use the planks to build a simple box frame. Make it just wide enough for two bowls. Add a shelf inside so you can adjust the height later.
I built mine with a slight angle so the bowls tilt towards my dog, making it easier for him to eat the last bits of food. Sand everything well to avoid splinters. Stain it with a dark wood tone for a rich look.
It’s a weekend project that feels incredibly rewarding.
Conclusion
Building your own raised dog bowl stand doesn’t have to be expensive or complicated. Most of these ideas cost under ten dollars and use materials you probably already have. The best part is that you can customize the height perfectly for your dog. No more guessing with store-bought sizes. My Duke now eats with his head level, and the gulping has stopped completely. Pick the hack that fits your style and your dog’s size. You’ll wonder why you didn’t do it sooner.
Frequently Asked Questions
How high should a raised dog bowl be?
The top of the bowl should be at the same height as your dog’s lower chest, just above the elbows. For most medium dogs, that’s about 6 to 8 inches off the ground. Large breeds might need 12 to 16 inches. Measure your dog while they are standing.
Are raised dog bowls better for all dogs?
They are great for large and giant breeds, senior dogs with arthritis, and dogs that gulp air while eating. However, they are not recommended for dogs prone to bloat (GDV). Always consult your vet if you are unsure.
Can I use any bowl for a DIY stand?
Stainless steel bowls are best because they are heavy, easy to clean, and don’t harbor bacteria. Ceramic bowls work too but can break if dropped. Avoid plastic bowls as they can cause chin acne in some dogs.
How do I clean a wooden raised dog bowl stand?
Wipe it down with a damp cloth and mild soap daily. Once a week, use a pet-safe wood cleaner or a vinegar-water solution. Seal the wood with a food-safe finish to prevent water damage and bacteria growth.
Will my dog knock over a DIY stand?
If your stand is sturdy and heavy enough, it should not tip over. For larger dogs, use heavier materials like concrete blocks or solid wood. Always test the stand by pushing on it gently before letting your dog use it.