13 Smart Dog Treat Storage Ideas That Actually Work (No More Stale Biscuits!)
Let’s be honest—dog treats are a staple in every pet parent’s home. But nothing breaks my heart more than reaching into the bag to reward my pup for a perfect sit, only to find rock-hard, stale cookies that crumble into dust. We’ve all been there, right?
That’s why I went on a mission to find the absolute best ways to keep those tasty rewards fresh, organized, and out of sneaky reach. Whether you bake your own goodies or buy them in bulk, these smart storage hacks are total game-changers. Say goodbye to crumbly messes and hello to perfectly fresh treats every single time!
Get ready to transform your kitchen game. These solutions aren’t just practical—they look great on your counter, save you money by reducing waste, and keep your furry friend safe. Let’s dive into the ultimate guide to dog treat storage that actually works.
Why Smart Dog Treat Storage Matters for Your Pup’s Health
Think of dog treats the same way you think of your own snack stash. Freshness and safety go hand-in-hand. Proper storage isn’t just about keeping things tidy—it’s about protecting your four-legged family member from potential health issues.
When treats are exposed to air and moisture, they can grow mold or bacteria that isn’t visible to the naked eye. This can lead to an upset stomach or worse for your dog. Also, storing treats in their original flimsy packaging often means they lose their flavor and crunch quickly, leaving you with a dog that turns their nose up at training time.
Plus, let’s talk about the “sniff test.” Dogs have an incredible sense of smell, so if the treat is absorbing odors from the fridge or pantry, they won’t want it. A good storage system locks in that delicious meaty aroma, making your dog even more eager to obey. It also keeps curious noses (and paws) out of bags that might get ripped open when you’re not looking.
Essential Kitchen Equipment & Tools for Treat Storage
You don’t need a fancy, expensive setup to get this right. Most of these tools are probably already sitting in your kitchen cabinets! The key is choosing the right material and size for the amount of treats you typically have on hand.
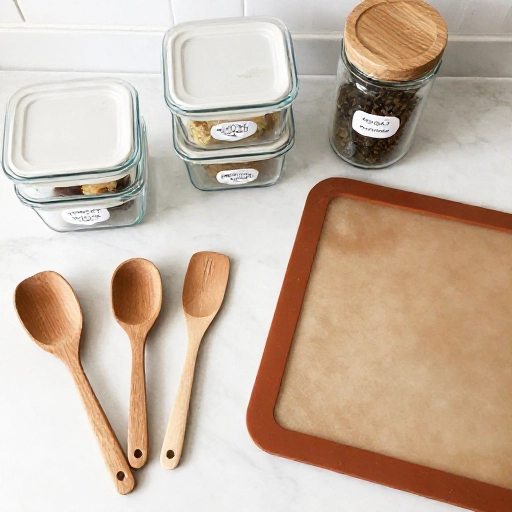
Let’s start with the basics. A set of different-sized glass jars with airtight lids is my absolute go-to. They’re heavy enough that your dog can’t knock them over, and the thick glass doesn’t absorb odors like plastic can. Mason jars work perfectly for smaller training bites, while larger flip-top jars are great for bigger biscuits.
For those who buy treats in bulk, a large, food-grade plastic container with a snap-lock lid is essential. Look for ones with rubber gaskets—that’s the secret to a truly airtight seal. And don’t forget a set of cute labels and a dry-erase marker so you can note the expiration date or what’s inside without guessing.
Another handy tool is a dedicated treat scoop. I love using a small stainless steel scoop to avoid getting greasy crumbs all over my hands when I’m in the middle of a training session. It keeps the container clean and makes portioning a breeze. Finally, consider a cookie jar with a tight-fitting lid for the counter—just make sure it has a lock or is heavy enough that your clever dog can’t figure out how to open it!
Ingredients & Best Types of Treats for Long-Term Storage
Before we talk about the “how,” we need to talk about the “what.” Not all dog treats are created equal when it comes to shelf life and storage needs. Understanding your ingredients is step one to keeping them perfect.
If you’re baking homemade treats, your ingredient list matters big time. Treats made with fresh meat, pumpkin, or sweet potato have a higher moisture content and will spoil much faster. These should be stored in the fridge and used within a week, or popped in the freezer for up to three months. I always add a little vitamin E or a splash of coconut oil to my homemade dough—it acts as a natural preservative and keeps the treats soft.
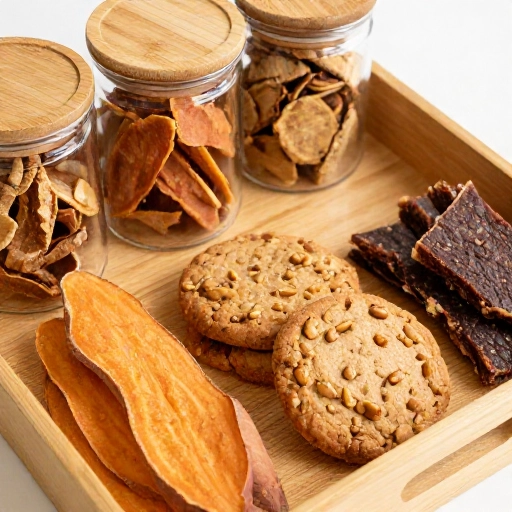
For store-bought treats, look for ones that are baked and crunchy rather than soft and chewy. These have a longer shelf life and handle room-temperature storage much better. Jerky treats are great, but they need to be kept perfectly dry to prevent mold. If you live in a humid climate, you absolutely need an airtight container plus a food-safe silica gel packet to absorb excess moisture.
Here is a quick list of what works best for pantry storage vs. fridge storage:
- Pantry (Airtight Container): Dry kibble-based biscuits, baked cookies, dental chews (keep away from humidity).
- Fridge (Airtight Container): Homemade treats with meat, soft-baked treats, fresh fruit slices (like apples or blueberries).
- Freezer (Zip-lock or Vacuum Seal): Large batches of homemade treats, raw chews, or anything you want to keep for months.
Step-by-Step Guide to Storing & Organizing Treats
Alright, let’s get hands-on! This is my foolproof process for setting up a treat station that keeps everything fresh, organized, and within reach for training time. It only takes about ten minutes to set up, and the payoff is huge.
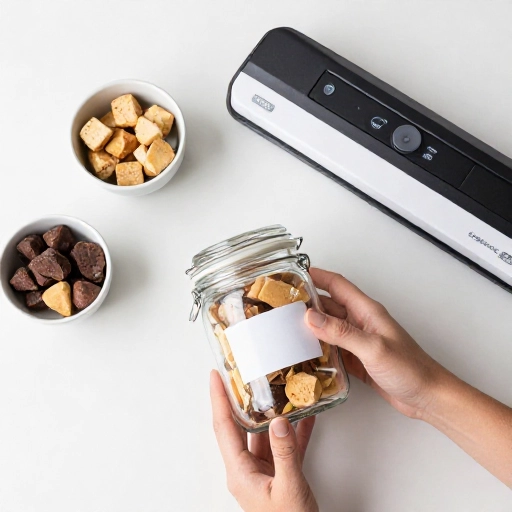
First, let’s talk about the “de-bagging” process. I know it feels wrong to toss the original packaging, but trust me, it’s the best thing you can do. The original bags are rarely airtight after opening. Cut the bag open and transfer the treats into your glass jar or plastic container. If you’re worried about forgetting the brand, just tape the label to the bottom of the jar—it’s a simple trick that saves you from mystery treats later.
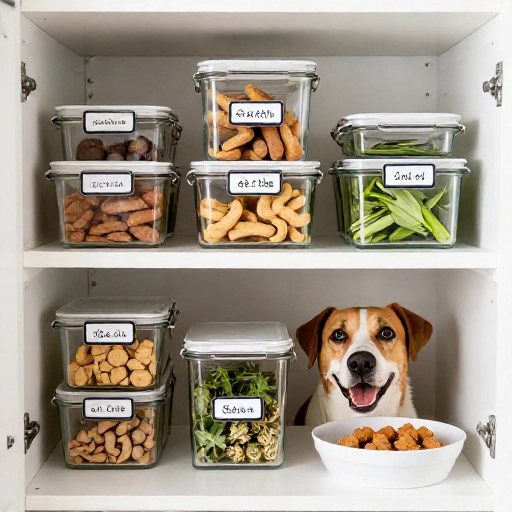
Next, you need to designate a “treat zone.” This should be a cool, dark place away from the stove and dishwasher. Heat and steam are the enemies of crunchy treats. I use a dedicated cabinet shelf or a high shelf in the pantry. If you prefer countertop storage, make sure it’s away from direct sunlight, as UV rays can degrade the fats in the treats and make them go rancid.
Now, here’s the pro tip for freshness: add a couple of uncooked, dry rice grains to the bottom of your jar. They absorb extra moisture and keep the treats crunchy. It sounds weird, but it works like a charm! For soft treats, I like to layer them with parchment paper so they don’t stick together into one giant blob.
Finally, always label your containers with the “best by” date. I use washi tape and a marker—it’s cute and comes off easily. This is crucial for homemade treats, but it’s also great for store-bought ones so you know exactly when to replace them. A little organization goes a long way in keeping your pup happy and healthy.
Serving Size, Feeding Guidelines & Storage Duration
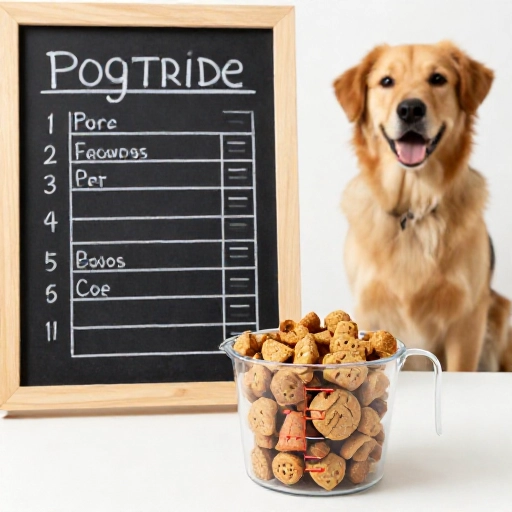
Now that your treats are perfectly stored, let’s make sure you’re serving them correctly. Treats should only make up about 10% of your dog’s daily caloric intake. The rest should come from their regular, balanced dog food. This is super important for weight management—even the healthiest treats add up!
For training purposes, you want tiny, pea-sized pieces. This is where that scoop I mentioned earlier comes in handy. For larger breeds or as a special snack, you can give them a bigger biscuit, but always supervise to ensure they chew properly and don’t try to swallow it whole.
Here’s a quick guide on how long things last with proper storage:
- Store-bought, dry treats: 6-9 months in an airtight container at room temp.
- Homemade baked treats: Up to 2 weeks in the fridge, or 3-4 months in the freezer.
- Soft jerky or chews: 2-4 weeks after opening in an airtight container. Check for any white spots (mold!) before giving them.
Always trust your nose and eyes. If a treat smells off, looks discolored, or has any sign of moisture, throw it out. It’s just not worth the risk to your dog’s tummy. Keeping that “treat zone” clean and wiping down your jars before refilling them will prevent the buildup of old oils and crumbs that can go bad.
Final Verdict & Why This System is Life-Changing
Honestly, implementing this storage system has completely changed our routine. No more waste, no more sad, crumbly cookies, and no more frantic searches for a treat that isn’t rock hard. My dog, Biscuit, is way more excited for training sessions because his treats actually taste like they’re supposed to.
The beauty of this approach is its flexibility. You don’t have to buy fancy, expensive containers all at once. Start with what you have—a clean pasta jar or a Tupperware container—and upgrade as you go. The core principle is simply keeping the treats sealed away from air, heat, and light.
Plus, having a designated treat station looks so much nicer than a cluttered shelf of half-open bags. It’s a small change that makes your whole kitchen feel more organized. And knowing that you’re providing your furry friend with safe, fresh, and tasty rewards makes all the difference. Give it a try—your dog will thank you with a wagging tail!
Frequently Asked Questions About Dog Treat Storage
Can I store dog treats in the original bag?
You can, but it’s not ideal. The original bags are rarely reusable and don’t provide a strong enough seal to keep treats fresh for long. Transferring them to an airtight container is always the better option to lock in flavor and prevent staleness.
Is it okay to refrigerate all dog treats?
Not necessarily. Dry, crunchy biscuits are fine in the pantry as long as they are sealed tightly. Refrigeration can actually introduce moisture, which might make them soft. Only refrigerate treats that are specifically labeled as perishable or homemade ones with fresh ingredients.
How do I keep homemade dog treats from molding?
The trick is to bake them until they are completely dry and crisp. Then, let them cool completely before storing them in an airtight container. You can also add a food-safe silica gel packet to the container to absorb any lingering moisture. For longer storage, freeze them.
What is the best way to store dog treats for travel?
I love using a small, dedicated pill organizer or a silicone travel pouch. They are compact, airtight, and fit easily into a backpack or purse. Just make sure to only pack enough for the trip to avoid them getting crushed or stale.
Are plastic or glass containers better for treat storage?
Glass is generally better because it is non-porous, so it doesn’t absorb strong smells or oils from the treats over time. It’s also heavier, which prevents your dog from knocking it over. However, high-quality, food-grade plastic containers with airtight seals are a perfectly good, shatterproof alternative.