DIY Dog Ramp Made Simple & Affordable: 10 Easy Ideas Your Pup Will Love
My dog used to launch onto the couch like a tiny superhero. Then one day, he hesitated. That little pause broke my heart — and sent me hunting for a dog ramp. The ones I found online cost more than my first car. So I decided to build my own.
You don’t need a woodshop or a big budget. A few basic tools, some scrap wood, and a free afternoon can get you a ramp your dog actually uses. I’ve tried plenty of flops, so you don’t have to.
Here are 10 DIY dog ramp ideas that are simple, affordable, and genuinely practical. Pick one that fits your dog’s size, your home, and your skill level.
1. The Two-Minute Cardboard Ramp for Tiny Dogs
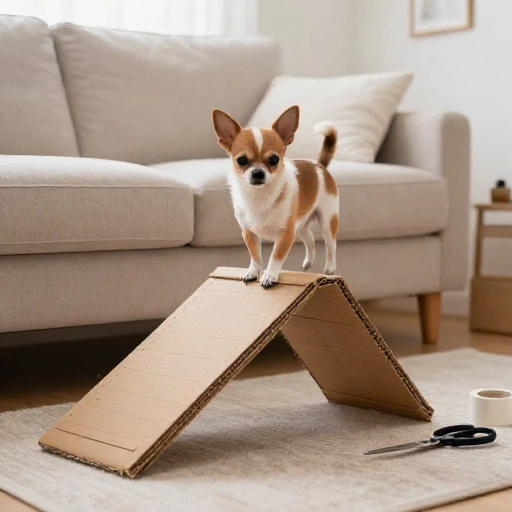
If you have a small dog or a puppy, start here. Grab a sturdy cardboard box — the kind that holds a case of canned drinks. Cut one side open and flatten it into a long, gentle slope.
Tape the edges with packing tape so they don’t fray. Then hot-glue a strip of shelf liner or an old yoga mat to the top for grip. That’s it. Two minutes, zero dollars.
This ramp won’t last forever, but it’s perfect for testing whether your dog will even use a ramp before you build something permanent. My Chihuahua mix loved his so much I had to upgrade.
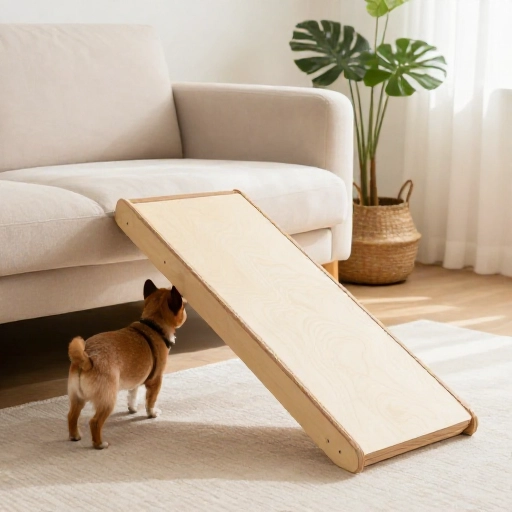
2. The Budget Plywood Ramp That Looks Custom
A half sheet of 1/2-inch plywood is surprisingly cheap. Ask the hardware store to cut it to your desired length — most do it for free or a couple of bucks.
Lay it at a gentle angle and mark where it meets the floor and the furniture. Cut two triangular side supports from scrap 2x4s. Screw everything together, then add thin wood strips every few inches for traction.
Paint it to match your trim, and people will think you bought it. Mine cost $18 total. My dog didn’t care about the paint, but I did.
3. Upcycled Pallet Ramp for Rustic Charm
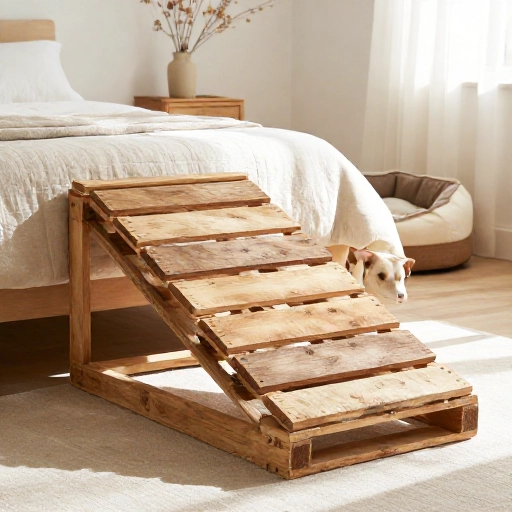
Pallets are free if you ask nicely at garden centers or construction sites. Just make sure they’re heat-treated, not chemically treated. Look for the “HT” stamp.
Pull the boards apart with a pry bar. Sand the rough spots. Then build a simple rectangular frame and nail the boards across it, leaving small gaps for grip.
This ramp is heavy and sturdy — great for medium to large dogs. I stained mine a warm walnut color. It looks like a piece of furniture, and my Lab mix uses it daily.
4. Foldable Car Ramp That Fits in Your Trunk
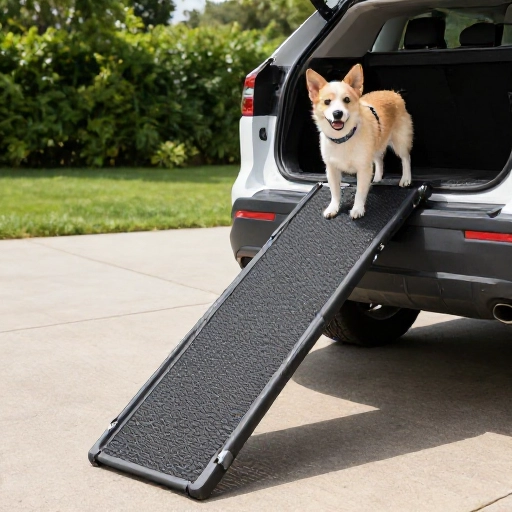
If your dog needs help getting into the car, a folding ramp is a game-changer. You’ll need two pieces of plywood, three hinges, and a strip of carpet.
Cut the plywood into two equal lengths. Connect them with hinges on the top side. Staple carpet to the bottom side for traction and to protect your car’s paint.
Add a small lip at the top so the ramp doesn’t slide off the bumper. It folds flat and lives behind your seat. My senior terrier hops up like a pro now.
5. No-Slip Bed Ramp with Carpet Scraps
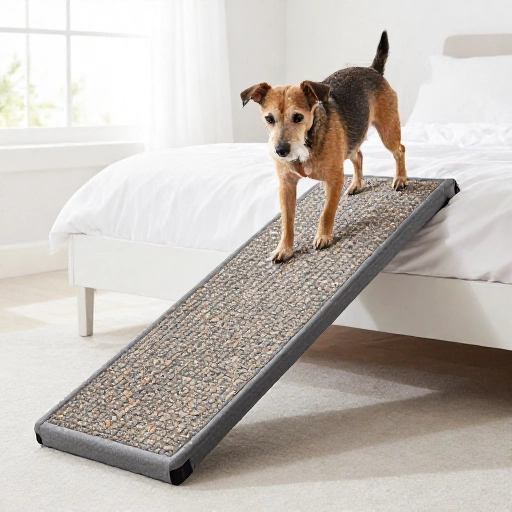
Dogs slipping on a ramp is the number one reason they refuse to use it. The fix? Carpet scraps. Ask a local flooring store for remnants — they often give them away.
Build a simple angled ramp from plywood and 2×4 supports. Then wrap the top with carpet and staple it tight on the underside. No more sliding paws.
I added a small raised edge on both sides, like a tiny guardrail. It gives my nervous dog confidence. Now she trots up to bed without a second thought.
6. Adjustable Couch Ramp for Senior Dogs
Senior dogs can’t always handle a steep angle. An adjustable ramp lets you change the height as their needs change. Use two wooden supports with a series of notches cut into them.
Slide a crossbar into the notches to set the ramp’s height. Lower it for bad days, raise it for good ones. A bolt through the side keeps everything secure.
I made mine from a single 2×6 and some scrap plywood. It’s not fancy, but it’s flexible. My old boy uses the low setting in the morning and the higher one after his nap.
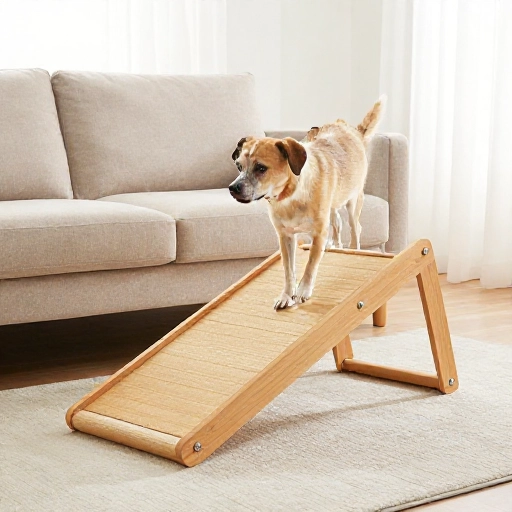
7. PVC Pipe Ramp for Lightweight Portability
PVC pipe is cheap, light, and easy to cut with a handsaw. Build a simple rectangle frame, then add angled legs. Zip-tie or screw a thin plywood deck on top.
Because it’s so light, you can move it from the couch to the car with one hand. Add grip tape or a rubber mat to the deck so your dog feels stable.
This isn’t the prettiest option, but it’s the most portable. I keep one in the garage for trips and one by the back door. My dog doesn’t judge the look.
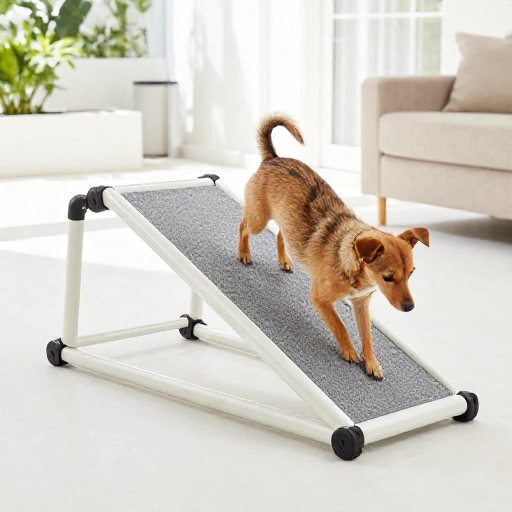
8. Foam Wedge Ramp for Dogs with Arthritis
Sometimes you don’t need wood at all. A high-density foam wedge — like the kind used for exercise — can be covered in fabric and used as a soft ramp.
Cut the foam to your desired angle with a bread knife. Then sew or staple a washable cover from an old bedsheet. Add a non-slip rug pad underneath.
This is the gentlest option for dogs with arthritis or joint pain. It has a little give, so it’s forgiving on their paws. My foster dog refused wooden ramps but walked right up this one.
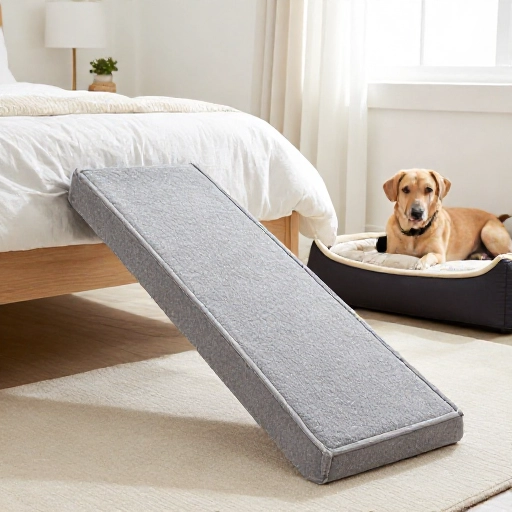
9. Scrap Wood Ramp with Hidden Storage
If you’re short on space, build a ramp that doubles as a storage box. Make a rectangular box from scrap wood, then cut the top at an angle to create the ramp surface.
Add hinges to one side of the top so you can lift it. Inside, store leashes, treats, or poop bags. The ramp itself gets carpet or grip tape.
This is my favorite space-saving hack. It sits at the foot of my bed, looks like a cute bench, and holds all my dog’s gear. Two problems solved with one build.
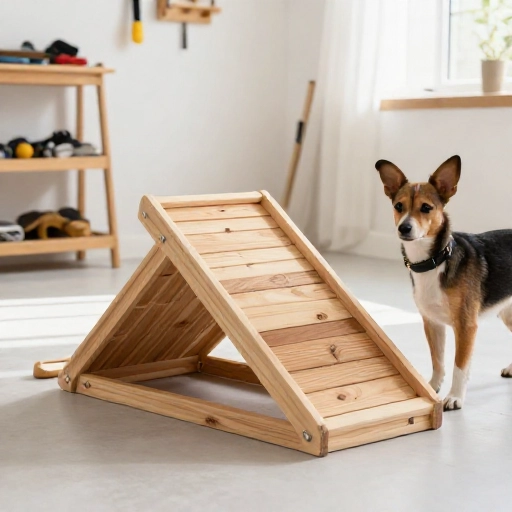
10. Stylish Painted Ramp That Matches Your Decor
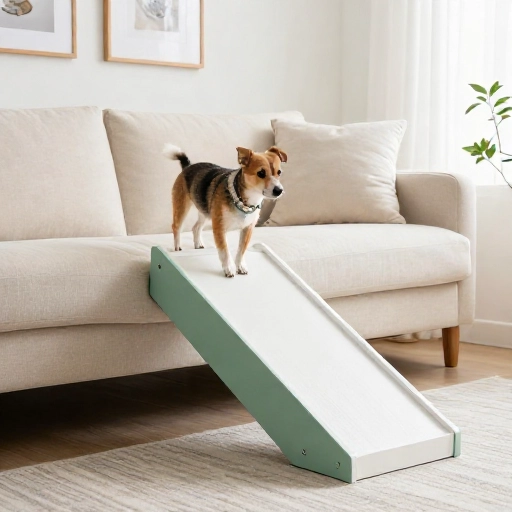
Who says dog gear has to be ugly? Start with a basic plywood ramp. Sand it smooth, then paint it the same color as your walls or furniture.
Add a stencil pattern if you’re feeling fancy. For grip, use clear anti-slip tape or a thin runner rug that matches the paint. Seal it with a pet-safe polyurethane.
Mine is a soft sage green with a subtle herringbone stencil. Guests always ask where I bought it. I love saying I made it for under $25.
Conclusion
Building a DIY dog ramp doesn’t have to be complicated or expensive. Start with the cardboard version if you’re unsure. Then upgrade to plywood, pallets, or foam based on your dog’s size and needs.
Always test the angle before your dog tries it. A gentle slope — around 18 to 25 degrees — works for most pups. Add traction, secure the ramp so it doesn’t slide, and praise every attempt.
Your dog will thank you with wagging tail and fewer painful jumps. And you’ll save money while making something truly custom. That’s a win for both of you.
FAQ
What’s the best angle for a dog ramp?
Aim for 18 to 25 degrees. Steeper than that feels scary for most dogs, especially seniors. If your dog hesitates, lower the angle or add more traction.
How do I stop my dog from slipping on the ramp?
Carpet scraps, rubber shelf liner, or anti-slip tape work great. Staple or glue them down so they don’t bunch up. Avoid smooth wood or plastic surfaces.
Can I build a ramp for a large dog?
Absolutely. Just use thicker plywood — at least 3/4 inch — and reinforce the supports. Add a lip at the top and consider side rails for extra safety.
What tools do I need for a basic DIY dog ramp?
A saw, drill, measuring tape, and screwdriver. A staple gun helps for carpet. You can often get plywood cut to size at the hardware store, so you may not even need a saw.
How much does a DIY dog ramp cost?
Anywhere from free to about $40. Cardboard and foam versions are nearly free. Plywood and pallet ramps usually run $15 to $30, depending on what you already have.