14 Dog Ramp For Stairs Builds You’ll Love (And Your Pup Will Actually Use!)
Is your best friend giving you the side-eye from the bottom of the stairs? Or maybe they’re a tiny pup with giant ambitions but short legs. I get it. Watching your dog struggle to climb up to the couch or the bed is heartbreaking.
I’ve spent way too many weekends looking at overpriced, flimsy ramps that look like they’d collapse under a heavy sneeze. So, I started digging into DIY builds. Turns out, making a dog ramp for stairs is not only easier than you think, but it can also look like a legit piece of furniture. Here are the 14 best builds I found (and a few I’ve tried) that will save your dog’s joints and your back.
1. The Classic Plywood & Carpet Runner
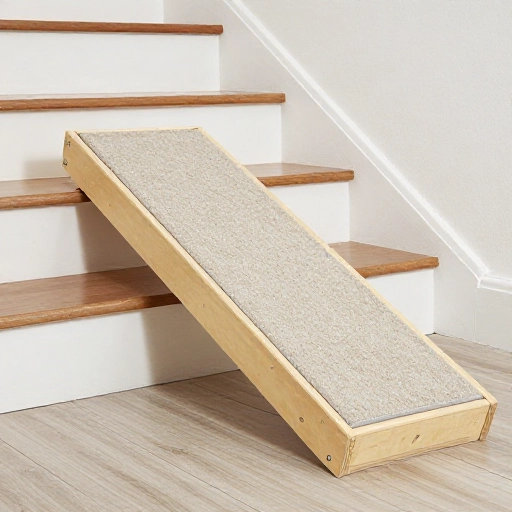
This is the bread and butter of dog ramps. It’s cheap, it’s simple, and it works. You just need a sturdy piece of plywood cut to the length of your stairs.
The trick is to cut small cleats (wood strips) to place underneath the board so it doesn’t slide. Then, you staple a piece of indoor-outdoor carpet to the top. The carpet gives your dog the traction they need to feel secure.
I painted the sides white to match my trim, and honestly, it just looks like a modern architectural feature now. It’s the perfect weekend project for a beginner.
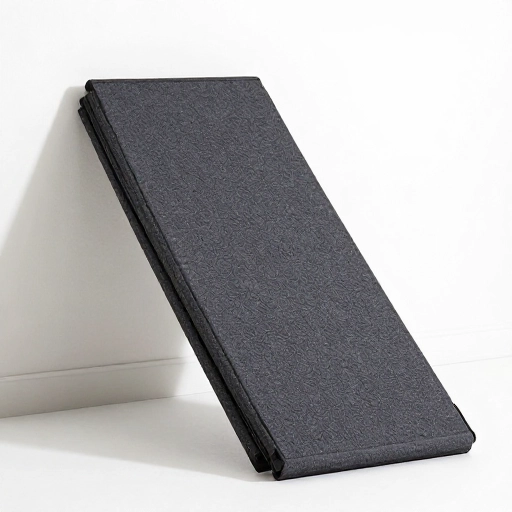
2. The Foldable “Staircase” Wedge
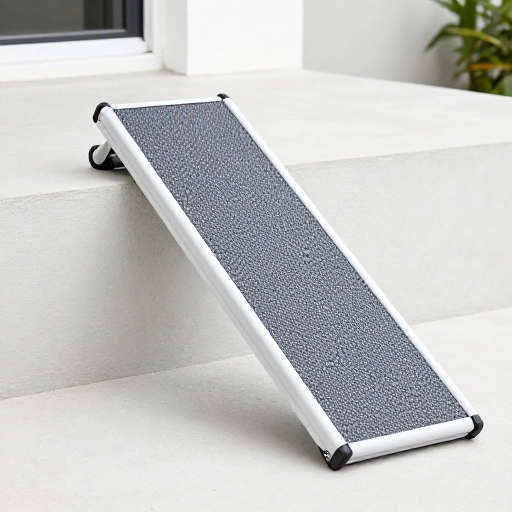
If you have limited space, a solid ramp might be a pain. This build uses two hinged pieces of wood that fold up like a book. When it’s down, it creates a gentle slope over the actual steps.
You want to use a heavy-duty hinge here. I used a piano hinge (the long metal strip) to make sure it doesn’t wobble when my 70-pound lab runs up it at full speed.
Add a small handle to the top edge so you can easily fold it up and tuck it behind the door when guests come over. It’s a space-saver that doesn’t skimp on safety.
3. The Crate & Pallet Hybrid
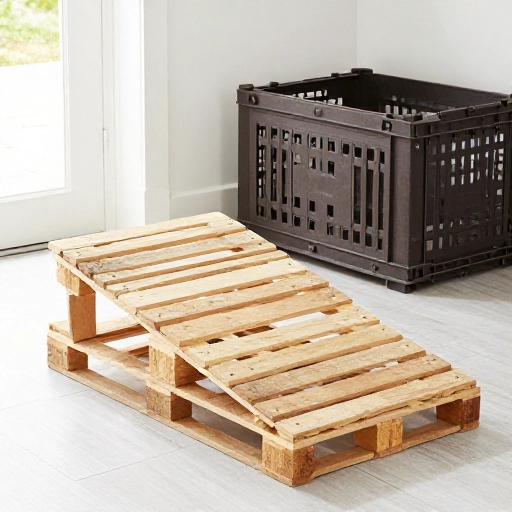
This one is for the upcyclers out there. Instead of buying wood, grab a few wooden pallets. You can create a stepped platform that acts like a ramp by staggering the pallets.
You’ll want to sand them down heavily to avoid splinters. Then, screw them together securely. It’s not the smoothest ramp, but it’s a fantastic “staircase” for older dogs who prefer a step-up motion rather than a long slope.
I topped mine with outdoor foam tiles (the interlocking ones). It turned a rusty pallet into a cozy, bouncy incline that my dog loves.
4. The “L” Shaped Landing Ramp
Some stairs have a landing in the middle. A single straight ramp won’t work. This build uses two separate ramp pieces that meet at the landing, forming an “L” shape.
You need to measure the angle carefully. The key is to make the second ramp slightly wider so the dog can turn easily without feeling like they’re going to fall.
I added a small lip on the outside edge of the ramp. It’s just a 1×2 piece of wood, but it acts like a guardrail to keep paws from slipping off the side. It gives me so much peace of mind.
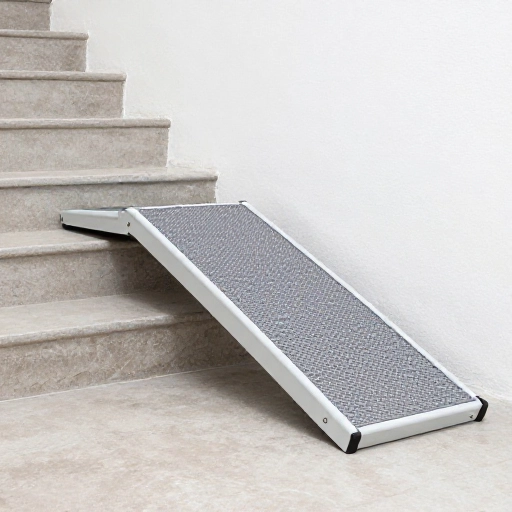
5. The Minimalist Floating Ramp
This is the one for the modern, minimalist home. It’s a single, thick piece of hardwood (like oak or walnut) that is mounted directly to the wall, running parallel to the stairs.
You’ll need heavy-duty wall brackets to support the weight. The finish is key here. I used a matte polyurethane to keep it grippy but smooth.
It doesn’t touch the floor, which makes sweeping underneath a breeze. It looks like a sculpture. It’s a bit pricier, but it’s a showstopper.
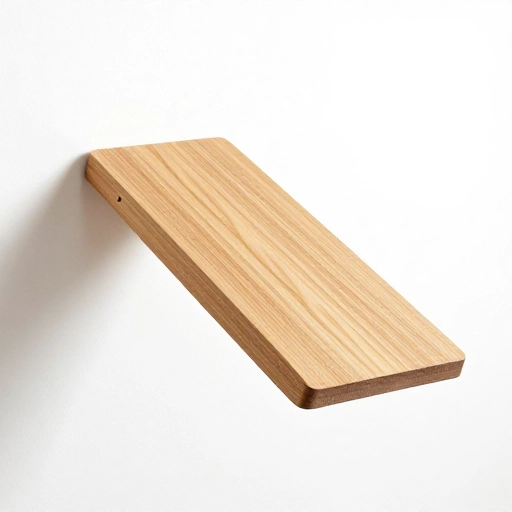
6. The Carpeted Box Steps
If your dog is scared of ramps, this is your solution. Instead of a slope, you build a series of solid wooden boxes that increase in height, like a staircase for tiny legs.
Each box is just a frame covered in plywood. You wrap each one in carpet or a grippy fabric. Because they are independent, you can rearrange them to fit your stair width.
I made three boxes for my porch steps. They are lightweight enough to move around, but heavy enough not to tip. It’s a great build for small dogs or puppies.
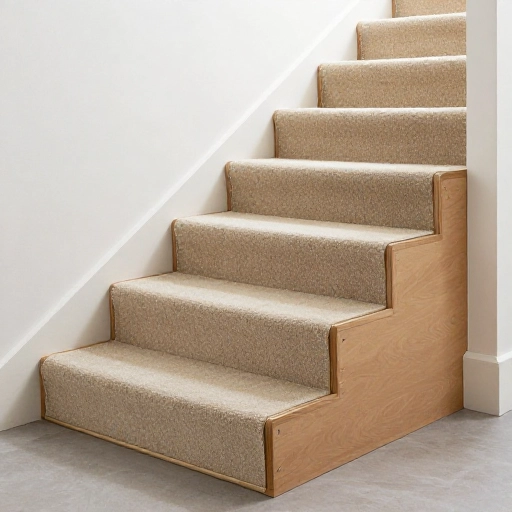
7. The Under-Stair Storage Ramp
Why waste space? This ramp is built to slide right under the bottom step of your staircase when not in use. It’s a pull-out drawer style ramp.
You build a shallow box that fits the cavity under your stairs. The ramp slides out on heavy-duty drawer slides. This keeps the hallway completely clear when you don’t need it.
I added a rope pull on the front to make it easy to grab. It’s a genius hack for narrow hallways where a permanent ramp is a tripping hazard.
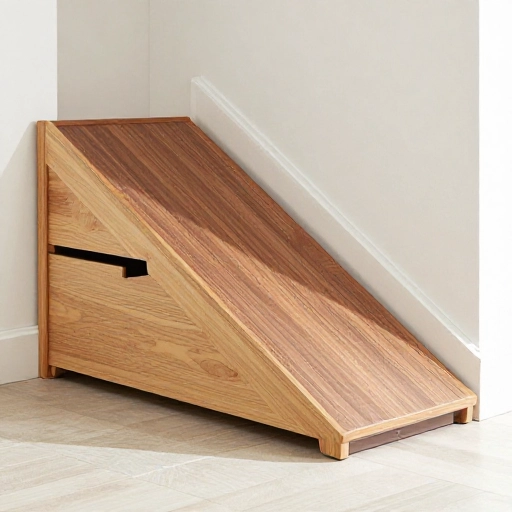
8. The Carpeted Two-by-Four Ramp
This is the “rustic farmhouse” look. You use standard 2×4 lumber laid side-by-side to create the width of the ramp. The gaps between the boards provide natural traction.
You screw them onto a base frame, leaving a small (very small) gap—like a quarter-inch—so water and dirt can fall through. This is perfect for a muddy backyard entrance.
I stained mine a dark ebony color. It looks sharp and it’s incredibly durable. It can handle any weather without rotting.
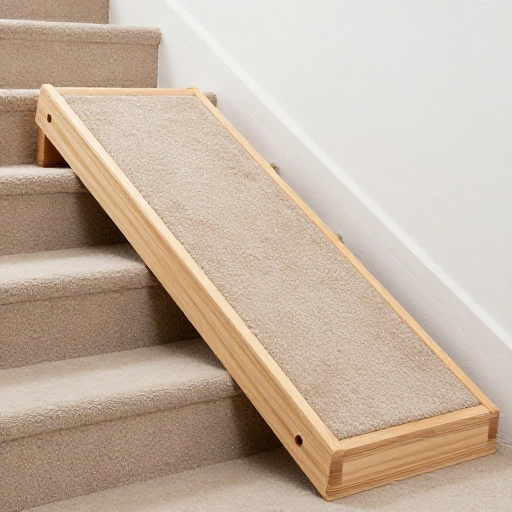
9. The Wide “Couch” Companion Ramp
This isn’t for stairs; it’s for the bed or the couch. It’s a short, wide ramp that sits against the foot of your bed. The width is key—it allows your dog to walk up naturally without feeling like they’re on a balance beam.
Use a dense foam core or a hollow wooden frame. Cover it with a washable, slip-resistant fabric. I used a quilted outdoor fabric that matches my duvet.
Because it’s wide, it doubles as a little lounge spot for them at the foot of the bed. It’s a win-win.
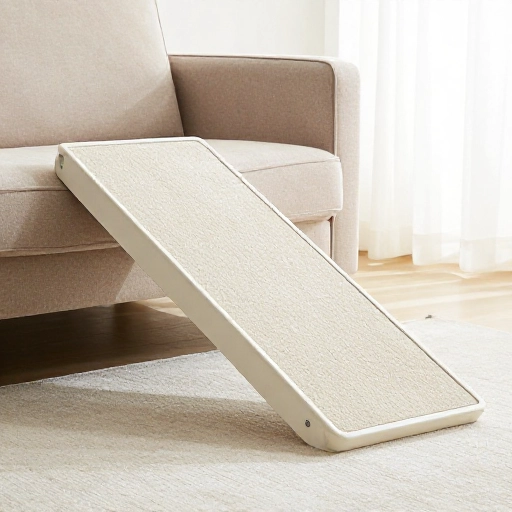
10. The Traction Grip Tape Ramp
This is a quick upgrade to any existing ramp you have. If the carpet is wearing thin, grab a roll of anti-slip grip tape (the stuff used for skateboards).
You just cut strips and apply them crosswise along the ramp. It provides a super aggressive grip that is perfect for senior dogs with weak back legs.
It’s not the prettiest, but you can get black tape that blends in nicely. It’s a five-minute fix that prevents a lot of falls.
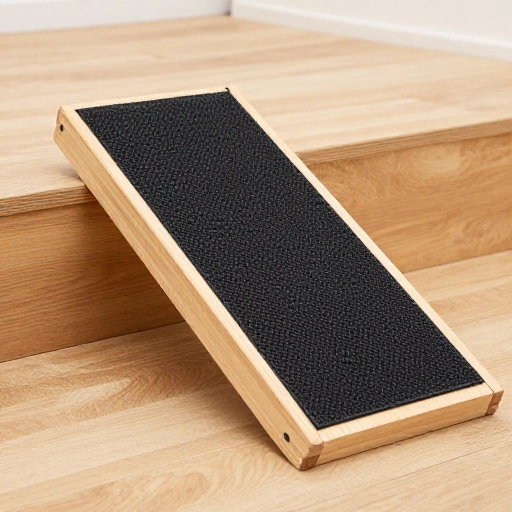
11. The Pallet Wood “Puzzle” Ramp
This one is a bit more advanced. It uses pallet wood planks arranged in a herringbone pattern. It looks like a high-end wood floor that just happens to be a ramp.
You need to cut the planks at angles, which requires a miter saw. But the result is stunning. The diagonal lines also add texture for grip.
I sealed it with a marine-grade varnish to protect the wood. It’s a statement piece that you’ll actually want to leave out.
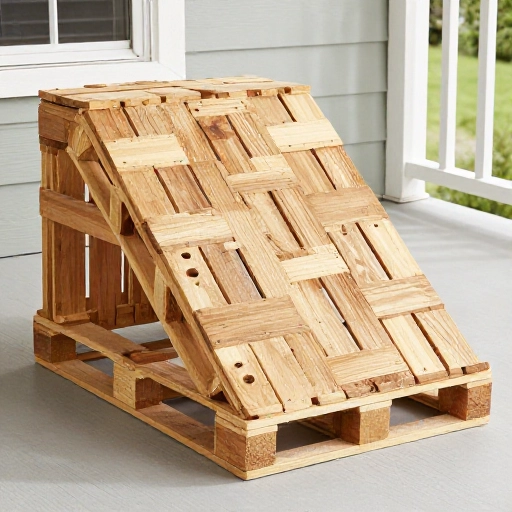
12. The Adjustable Telescoping Ramp
This is the “buy it once, build it for life” ramp. You build two sections of wood that slide over one another, like a telescoping ladder.
You drill a series of holes and use a locking pin to secure the length. This allows you to adjust the ramp height for different porches or stairs as you move furniture.
It’s a bit more mechanical, but it’s incredibly versatile. I use mine for the deck stairs in the summer and the back porch in the winter.
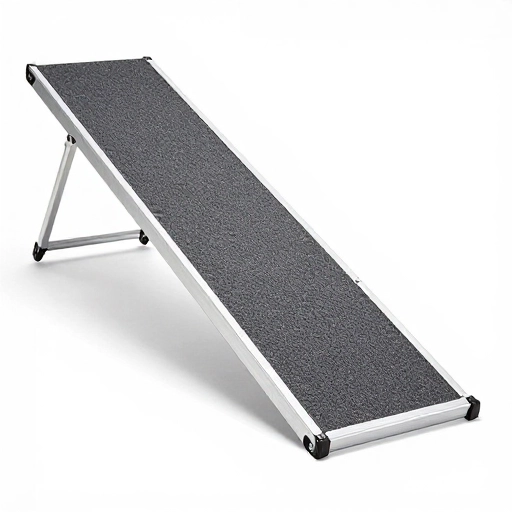
13. The Fabric & Foam Tear-Down Ramp
For the non-woodworker, this is a sewing project. You create a wedge shape using high-density upholstery foam.
You cut the foam to the shape of a ramp and then sew a tight-fitting cover for it. The cover is the secret—use a canvas or denim fabric for durability.
This is the lightest option. You can literally pick it up with one finger. It’s perfect for travel or for moving between rooms in an apartment. It’s soft on paws and totally silent.
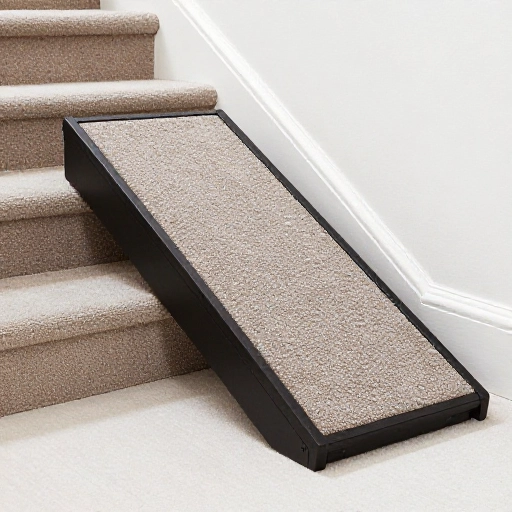
14. The Staircase Insert Ramp
If you have a straight, open staircase (without a wall), you can build a ramp that fits *on top* of the steps but only on one side. This leaves the other half of the step free for humans.
You build a long ramp that sits at an angle, resting on the step treads. The width is just enough for a dog. It’s like adding a personal dog lane to your staircase.
You need to secure it well so it doesn’t shift. I used rubber padding underneath. It’s a great compromise if you can’t block the whole stairway.
Final Thoughts
Building a dog ramp is one of those projects that you don’t realize you need until you see your senior dog happily trotting up a slope instead of hesitating at the bottom. It’s a small build that makes a massive difference in their quality of life.
Don’t stress about making it perfect. Just make sure it’s solid, safe, and has good traction. Your dog won’t care if the seams aren’t perfect—they’ll just be happy to be next to you on the couch without the struggle.
Frequently Asked Questions
Q: What is the best angle for a dog ramp?
A: You want the angle to be as shallow as possible. A 30-degree angle is ideal. Anything steeper than 45 degrees can be tough on their back and hips. The longer the ramp, the easier it is for them.
Q: Is carpet or grip tape better for a dog ramp?
A: It depends. Carpet is softer and more comfortable, but it can hold onto fur and dirt. Grip tape is easier to clean and provides excellent traction, but it can be harsh on sensitive paw pads. I prefer carpet for indoor ramps and tape for outdoor ones.
Q: How do I get my dog to use a new ramp?
A: Use high-value treats. Place a treat on the bottom, then halfway up, then at the top. Don’t force them. Let them sniff it and explore. Eventually, their curiosity (and the treats) will win.
Q: Can I use a ramp for a puppy?
A: Yes, absolutely. It’s actually great to get them used to ramps early, especially for breeds prone to joint issues. It teaches them safe climbing habits before they get big and heavy.
Q: What wood should I use for an outdoor ramp?
A: Use pressure-treated lumber or cedar. These resist rot and insects. Avoid particleboard or MDF, as they will swell and disintegrate in the rain. Always seal the wood with an outdoor varnish.