15 Brilliant Raised Pet Bowl DIY Projects That’ll Save Your Back (And Your Floors!)
Let’s be real—bending over to fill your dog’s bowl a dozen times a day gets old fast. And if you’ve got a senior pup or a giant breed with a long neck, eating from the floor just isn’t comfortable for them either. Raised feeders aren’t just a fancy trend; they’re a game-changer for digestion, posture, and keeping your floors cleaner in the process.
But here’s the thing—store-bought raised stands can cost a pretty penny, and honestly, they all look the same. That’s why I’ve rounded up 15 of my favorite DIY raised pet bowl projects that are stylish, budget-friendly, and totally doable even if you’re not a master woodworker. From rustic farmhouse vibes to sleek modern builds, there’s something here for every home and every pet. Let’s get building!
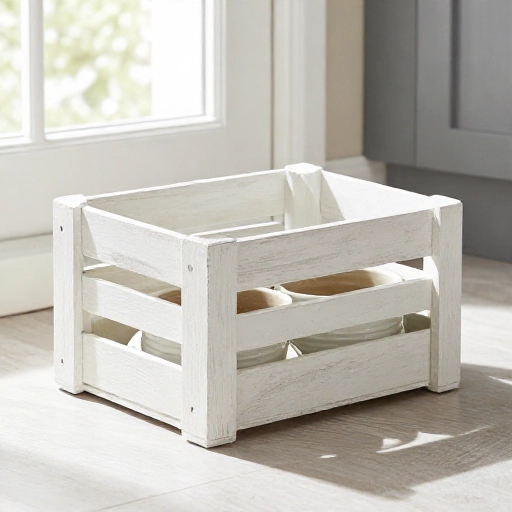
1. The Classic Wooden Crate Upcycle
You know those old wooden wine crates or vegetable boxes collecting dust in your garage? They’re the perfect starting point for a quick raised feeder. The slatted sides already give it a charming, rustic look that fits right into farmhouse decor. Just sand down any rough edges so your pup doesn’t get a splinter.
To make it functional, you’ll either cut two holes in the top slats or simply place a piece of plywood over the open top, trace your bowls, and cut out the circles. The crate’s natural height is usually perfect for medium-sized dogs. Finish it with a coat of food-safe sealant or just leave it raw for a more organic feel.
This is honestly a one-hour project that costs almost nothing. You can stain the crate to match your kitchen cabinets or paint it a fun, bold color to make it a statement piece. It’s also lightweight, so moving it around for outdoor feeding is a breeze.
2. Modern Minimalist PVC Pipe Stand
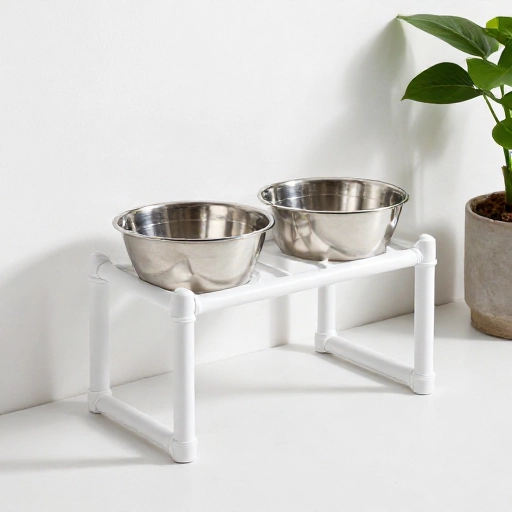
If you’re renting or just don’t want to commit to a heavy piece of furniture, this PVC pipe stand is your best friend. It looks surprisingly sleek and modern, almost like something from a high-end pet boutique. You’ll need some wide PVC pipes, connectors, and a can of spray paint in your favorite matte color.
This build is incredibly simple: assemble the pipes to create a stable rectangle base and legs, then create a top frame where the bowls can sit snugly. The beauty of PVC is that it’s waterproof, wipeable, and won’t absorb odors. You can also adjust the height by simply using longer pipe segments for taller breeds.
I love this one for messy drinkers. You can easily hose it down in the yard. Plus, the hollow center of the pipes means you can even thread some heavy sand or pebbles inside to add extra weight if your dog is a bulldozer at dinner time.
3. Rustic Barnwood Breakfast Bar
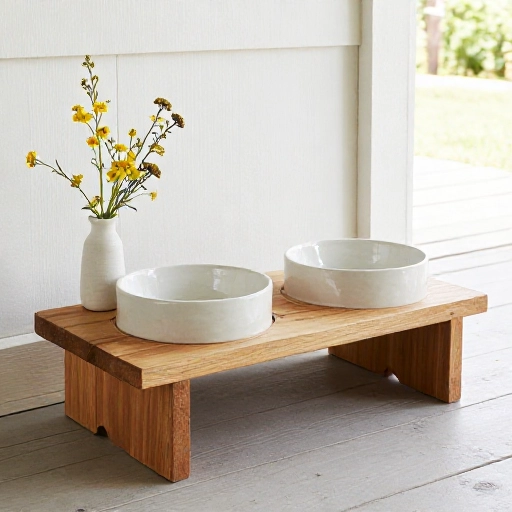
For the farmhouse lovers out there, this one’s for you. All you need is some reclaimed barn wood (or any aged lumber you can find) and four sturdy hairpin legs. The contrast between the weathered wood and the industrial black legs is just gorgeous. It adds instant character to your mudroom or kitchen nook.
You’ll want to cut the wood to your desired length—long enough for two bowls side-by-side, or maybe even three if you have a multi-pet household. Drill two large holes with a hole saw attachment for the bowls to drop into. This keeps them from sliding around while your pet eats.
Seal it well with a polyurethane coating to protect it from water splashes and kibble crumbs. This isn’t just a pet feeder; it’s a piece of decor. I’ve seen these sell for over $100 online, but you can make it for less than $40 if you source the wood smartly.
4. Repurposed Nightstand Feeder
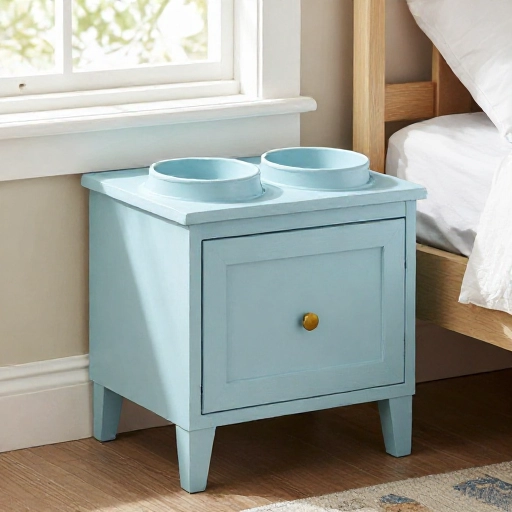
Take a peek at your local thrift store or Facebook Marketplace for a solid, small wooden nightstand or end table. This is one of the easiest DIYs because you’re working with a piece that’s already assembled and stable. The drawers can even be used to store treats, leashes, and food scoops.
Remove the top drawer if you want the bowls to sit at a lower height, or just cut holes directly into the tabletop surface. If the nightstand has a drawer, you can pull it out completely and use the opening as a feeding cubby. It gives your dog a cozy, den-like feeling while they eat.
This is perfect for large breeds that need a significant height boost. A nightstand is typically around 24 inches tall, which is ideal for a Great Dane or a Lab. Plus, you can paint it to match your trim or leave it with a battered, shabby-chic look.
5. Sleek Folding Tray Stand
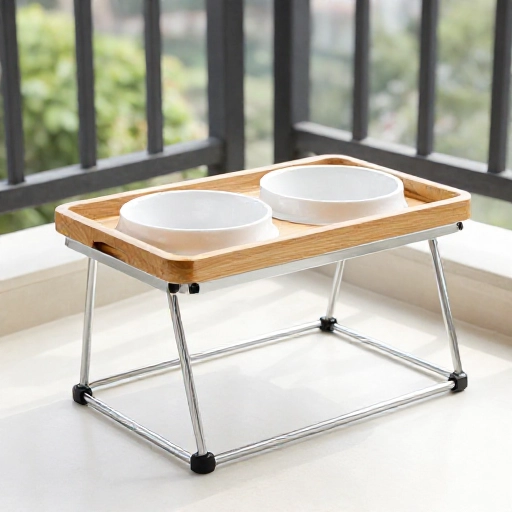
Short on space? This folding design is a total lifesaver. It’s essentially two wooden rectangles connected with heavy-duty hinges that fold flat against the wall when not in use. You can make it look super polished with a sleek, dark walnut stain and brushed gold bowls.
You’ll need to cut two identical rectangles—one for the base and one for the back support. The base holds the bowls, and the back panel rests against the wall. A small chain or a wooden brace on the sides keeps it from collapsing forward when your dog eats.
This is great for small apartments or for people who feed their pets in different rooms. It’s lightweight enough to carry around, and when guests come over, you can just fold it up and put it behind the door. It’s functional, clean, and looks high-end.
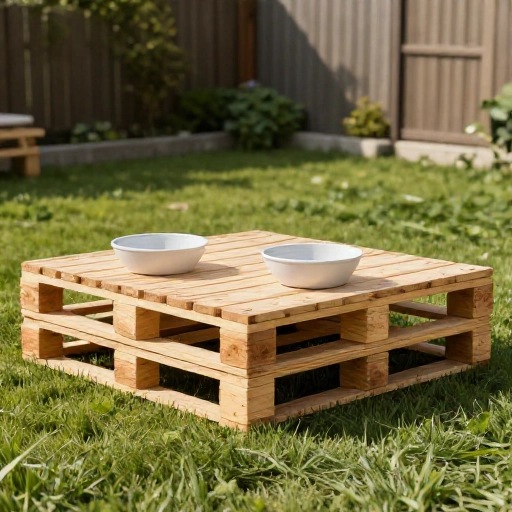
6. Pallet Wood Pet Diner
Don’t throw away that pallet sitting in your driveway! Pallet wood is free, sturdy, and gives you that perfect distressed look without any extra effort. You’ll need to carefully pry apart the boards and remove any nails—safety first! Then, assemble them into a simple box-style frame.
This design usually works best as a corner unit. Build a simple L-shaped frame where the bowls sit on one leg, and the other leg provides extra stability. You can leave the pallet wood raw for a rustic vibe or whitewash it for a coastal feel.
Because pallet wood is thicker, it makes a really solid, heavy stand that won’t tip over, even if you have a hyperactive puppy. It’s rough and tough, perfect for outdoor patios or garages. Just give it a good sanding to prevent snags on your dog’s collar.
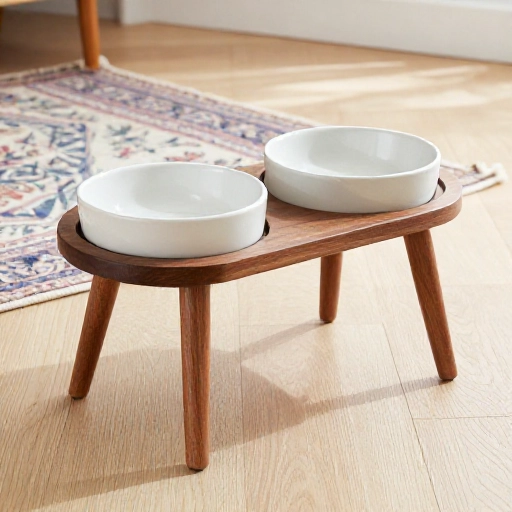
7. Mid-Century Modern Leggy Stand
If your home has a retro vibe, you’ll love this one. This build uses tapered wooden legs (you can find these in the furniture section of your hardware store) and a solid piece of plywood for the top. The key is the angled, outward-splayed legs that give it that iconic mid-century silhouette.
Cut your plywood to size, drill your bowl holes, and sand everything smooth. Attach the legs using metal leg brackets that allow for that slanted angle. A rich teak or walnut stain will really sell the “Mad Men” look. It’s a fun weekend project that yields a seriously chic result.
This looks fantastic in a dining room or a stylish kitchen. It’s proof that pet accessories don’t have to look utilitarian. You’ll actually want to leave this out in the open because it looks more like a piece of designer furniture than a pet feeder.
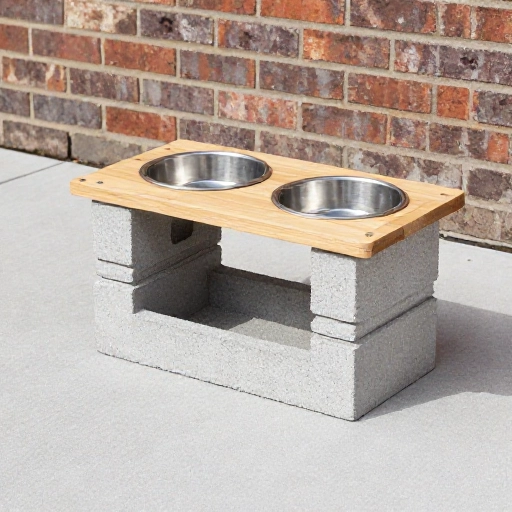
8. DIY Concrete Block and Wood Feeder
This is the ultimate budget build. Head to your local hardware store and grab a few hollow concrete blocks (cinder blocks) and a single wooden board. It doesn’t get any simpler or sturdier than this. You don’t even need glue or screws for the base structure.
Stack the blocks to your desired height, leaving a space in the middle for the board to sit. Place your bowls on top of the board, and that’s it. It’s incredibly heavy and stable, so it’s perfect for outdoor kennels or garages where you don’t want something that can be knocked over.
You can paint the concrete blocks to look like chic, modern tiles or leave them raw for an industrial vibe. If you want it indoors, sand the wood board and stain it to look a bit more polished. It’s functional, cheap, and takes five minutes to assemble.
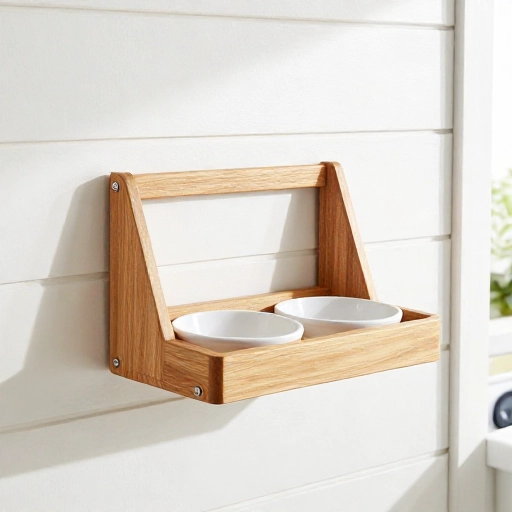
9. The Wall-Mounted Flip-Up Feeder
This is the most space-saving solution on this list. It’s a wooden frame that attaches directly to the wall with heavy-duty brackets. The magic part? It has a lid that flips up to reveal the bowls and flips down to hide them completely when not in use. It keeps your floor space completely clear.
You’ll need to build a rectangular box that protrudes about 6 inches from the wall. Inside, you’ll secure the bowls. The front door of the box is hinged at the bottom, so it swings down to become a feeding ledge, or it hinges at the top to become a canopy. Either way, it’s completely out of the way.
This is perfect for entryways or hallways where floor space is precious. You can even add a magnetic latch to keep the door closed securely. It looks like a cute wall cabinet, and nobody will know it’s a pet feeder until you open it.
10. Reclaimed Pallet Slat and Pipe Frame
This project is all about mixing materials for an industrial-chic look. You’ll use black iron pipes (the kind used for plumbing) for the frame and legs, and reclaimed pallet slats for the top surface. The combination of dark metal and light wood is visually striking.
The pipes screw together easily, so you don’t need to weld anything. You’ll just need to measure the length of pipe needed for the top frame and the legs, then connect them with T-joints and flanges. The wooden top can be screwed directly onto the flange bases.
This feels very “urban loft.” It’s hardy, easy to clean, and the height is completely customizable. You can make it extra tall for a Dane or keep it low for a Frenchie. The pipes are powder-coated or painted black to prevent rust.
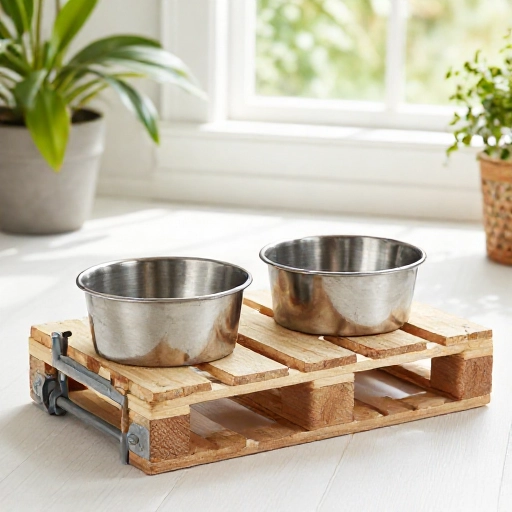
11. Boho Macrame Hanging Bowls
Who says raised feeders have to sit on the floor? This boho-chic design involves hanging the bowls from a sturdy wooden dowel or a ceiling hook. It’s a fun, artistic take on the concept that adds texture and warmth to a room. It’s perfect for small cats and small dogs.
You’ll need to learn a basic macrame knot (the square knot is enough) to create a cradle for the bowls to sit in. Use a thick cotton rope for durability. The bowls hang at chest height for your pet, which is exactly what we want for a raised feeder.
Make sure you screw the ceiling hook into a wall stud or a ceiling joist! The last thing you want is the whole thing crashing down during dinner. This is a great project for crafters who are more into textiles than power tools.
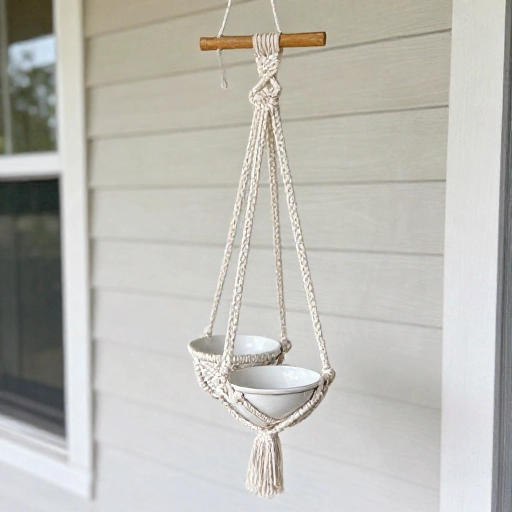
12. Minimalist Plywood Stair-Step Feeder
If you have a cat who likes to eat in peace away from the dog, this two-tiered design is brilliant. It’s a simple plywood structure that looks like a small set of stairs. The dog gets the lower bowl, and the cat gets the higher bowl. It keeps peace in the household.
Building this is just cutting three rectangles of plywood—a base, a middle step, and a top step—and stacking them with glue and screws. You can make it as wide or narrow as you like. Round over the edges to prevent injuries to clumsy pets.
This project is great because you can paint it any color to match your trim. It’s also a very solid, stable piece that won’t wobble. And honestly, it looks like a modern sculpture when it’s finished. It maximizes floor space by going vertical.
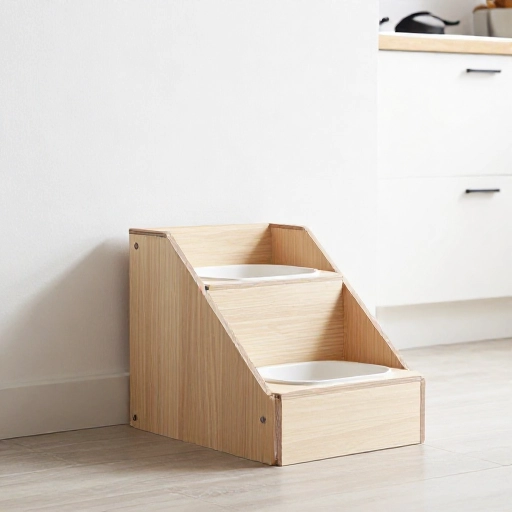
13. The “Hidden” Storage Buffet
This is the ultimate upgrade for the kitchen. Instead of just a stand, you’re building a complete buffet unit with a flip-top lid. The bowls sit on the top surface, and the inside of the cabinet is hollow, holding your pet’s food bag, treats, and feeding mats.
You’ll build a simple box with a hinged top. When it’s closed, it looks like a sleek sideboard. When you open the top, you access the storage. The bowls sit on the closed lid, so you don’t have to worry about lifting them out of holes. This is the most functional design on the list.
It keeps all pet paraphernalia out of sight, which is a huge win if you like a clutter-free home. You can elevate it on small feet to make sweeping underneath easier. This is a weekend project, but the payoff in organization is massive.
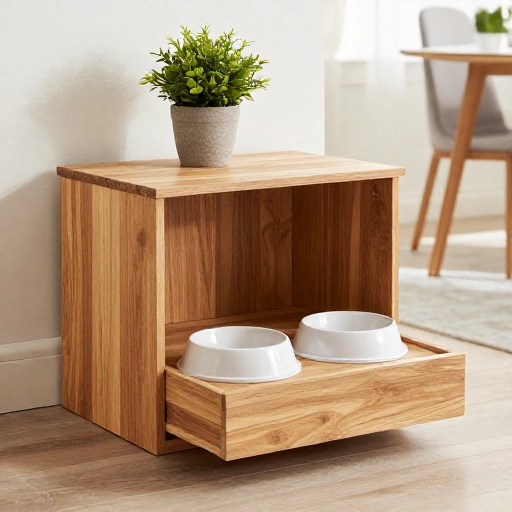
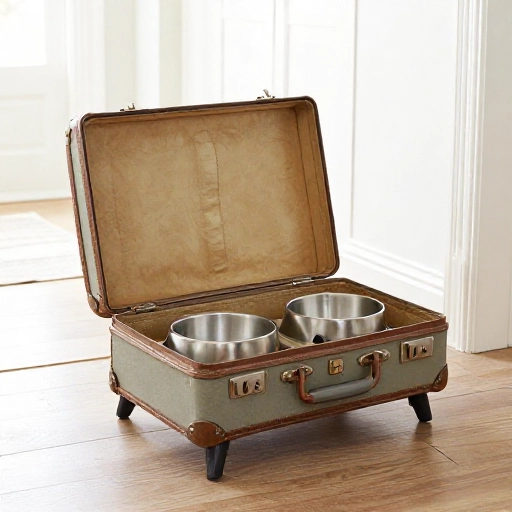
14. Upcycled Suitcase Raised Feeder
For a truly unique, vintage look, find an old hard-shell suitcase at a thrift store. A sturdy Samsonite or a vintage train case works perfectly. This is a super creative way to repurpose something that would otherwise be trash, and it looks amazing in a retro or eclectic home.
The suitcase already has a raised height, so you just need to cut holes in the top flat surface. You can use a jigsaw to cut the holes, and then insert your bowls. The best part is the handle—you can literally carry your pet’s feeding station around the house or to the park with you!
Leave the suitcase as-is for a worn, vintage look, or give it a fresh coat of paint with some fun stenciling. It’s quirky, functional, and a guaranteed conversation starter. Just make sure the material is thick enough to support the bowls and the weight of the food.
15. The Anti-Slobber Sloped Feeder
This one is for the messy drinkers and the gulp-and-vomit crowd. Instead of a flat surface, you’ll build a box with a sloped top. The front is lower, and the back is higher. This angle helps slow down fast eaters and reduces the amount of air they swallow, which means less bloat and less mess.
To build it, you’ll cut the side panels of your box at an angle (like a wedge). Then, attach the top surface at that same angle. Your bowls will sit tilted toward your dog. It takes a bit more math than the others, but it’s worth it for your dog’s digestive health.
You can pair this with a slow-feeder bowl insert for the ultimate solution. This is one of those DIYs that shows you really care about your pet’s well-being. It’s practical, specialized, and looks pretty darn cool too.
Final Thoughts
There you have it—15 different ways to get your pet’s food off the floor and into a stylish, comfortable setup. Whether you’re a seasoned woodworker or a total beginner, there’s a project here that fits your skill level and your space. The best part is seeing your furry friend happily munching away at a comfortable height, knowing you built it with your own two hands.
Start with something small, take your time with the measurements, and don’t stress about it being perfect. Your dog won’t care if the corners aren’t perfectly flush—they’ll just be happy to eat! Happy building, and give your pup a scratch behind the ears for me.
Frequently Asked Questions
What is the ideal height for a raised dog bowl?
The general rule of thumb is that the top of the bowl should be at the same height as your dog’s chest, right around the bottom of their sternum. Measure your dog from the floor to their chest, and subtract about 5-6 inches (the depth of the bowl). That’s your stand height.
Are raised dog bowls actually better for my dog?
For most dogs, yes! They reduce strain on the neck and back, especially for seniors or breeds with joint issues. They also aid in digestion because the dog doesn’t have to hunch over. However, for giant breeds prone to bloat, some vets recommend floor feeding, so always check with your vet first.
What type of bowls should I use in a DIY feeder?
Stainless steel is the best choice because it’s durable, non-porous, and doesn’t harbor bacteria. Ceramic is also good if it’s lead-free and heavy. I’d avoid plastic, as it can cause acne on your dog’s chin and holds onto odors.
How do I clean and maintain a wooden raised feeder?
Use a food-safe sealant or polyurethane finish to protect the wood. Wipe up spills immediately to prevent water damage. You should never put the wooden frame in the dishwasher—just wipe it down with a damp cloth and mild soap, then dry it thoroughly.
Can I make a raised feeder for a cat?
Absolutely! Cats benefit from raised feeders too, especially older ones with arthritis. Just make the stand shorter—usually around 4 to 6 inches tall is perfect for an average-sized cat. You can scale down any of these DIY plans to fit your feline friend.