15 Cozy Feral Cat House Solutions for Winter Protection
Winter can be brutal for community cats. I started building shelters a few years ago after noticing a shivering little face peeking out from under my porch. It broke my heart. Since then, I’ve tried nearly every setup you can imagine. Some worked beautifully. Others were total fails.
The good news? You don’t need fancy tools or a big budget to make a warm, safe spot. Most of these ideas use things you probably already have lying around. Let me share what I’ve learned from trial and error.
Each of these shelters focuses on three things: staying dry, blocking wind, and holding body heat. That’s really all it takes. Here are 15 solutions that actually work.
1. The Classic Styrofoam Cooler House
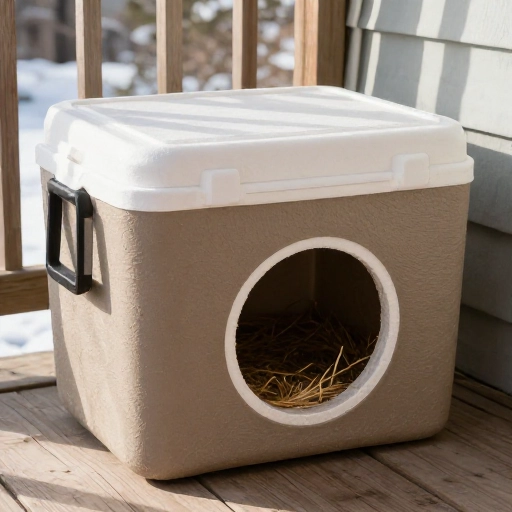
This is the shelter I recommend to everyone starting out. Grab a large Styrofoam cooler from the dollar store. Cut a small door (about 6 inches wide) on one short side. Flip the lid upside down so it seals tight. Stuff the inside with straw—not hay, never hay. Hay gets damp and moldy. Straw stays dry and cozy.
I like to wrap the whole thing in a heavy-duty trash bag for waterproofing. Duct tape the bag tight. Then set the cooler inside a larger plastic tub for extra protection. The cats will find it fast. I’ve had ferals sleeping in mine within hours.
2. Rubbermaid Bin Tote Shelter
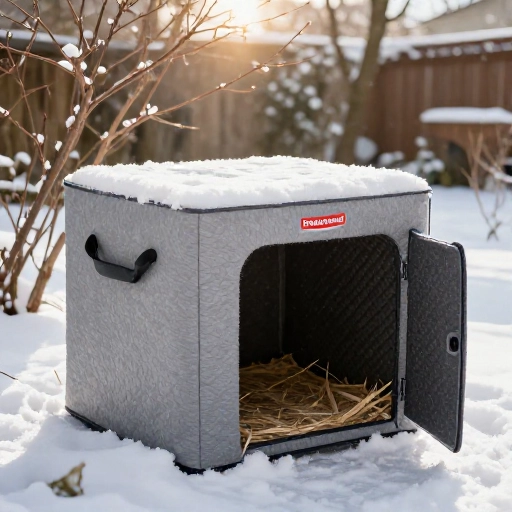
Plastic storage bins are everywhere. Get two: one large, one slightly smaller. Cut a door in the large bin. Fill the gap between bins with rigid foam insulation board. Line the inside with straw. The double wall creates an air pocket that traps warmth.
Pro tip: Stack a few bricks on the lid. Wind won’t blow it open. I also drill a few tiny holes near the top for ventilation. Condensation can be a real problem otherwise. This shelter is lightweight and easy to move if needed.
3. The Igloo Dog House Hack
Those plastic igloo dog houses you see at garage sales? Perfect for ferals. They already have a dome shape that sheds rain and snow. But they’re bare inside. Stuff the interior tightly with straw. Make a small doorway flap from a heavy rubber mat or thick canvas.
I wedge the house against a wall or fence. That blocks wind from the back. Then I pile leaves or pine straw around the base for extra insulation. The cats feel hidden and safe. Plus, the igloo shape keeps the interior surprisingly warm with just a little straw.
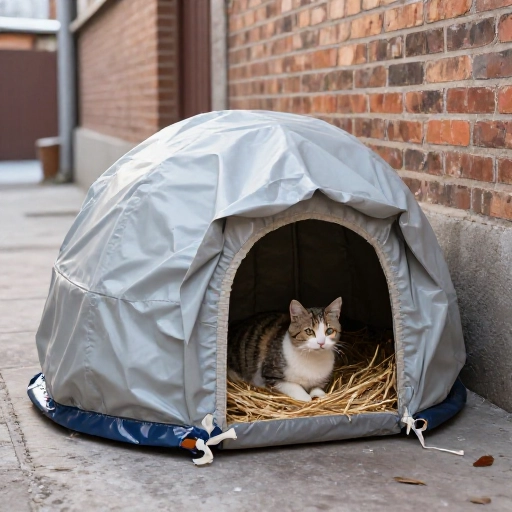
4. Hay Bale Fortress
This one looks rustic and works like a charm. Arrange three straw bales in a U shape. Place a wooden pallet on top as a roof. Then cover everything with a tarp. The straw bales are natural insulators. They block wind completely.
Inside, lay down a thick layer of loose straw. The cats will burrow in. I built one of these in my backyard corner, and it became the neighborhood hangout. Just make sure the tarp extends past the bales so rain doesn’t drip inside. Weigh it down with rocks.
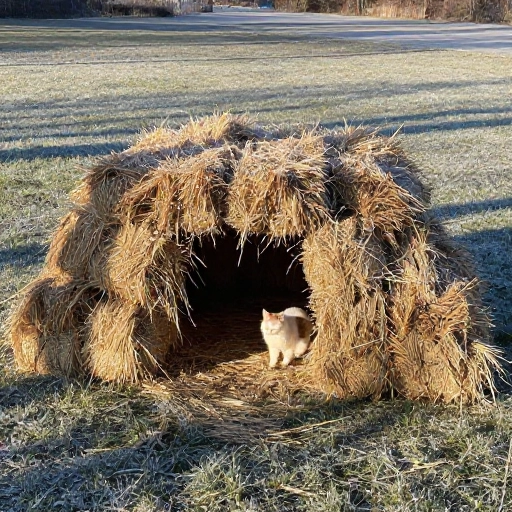
5. The Waterproof Cat Igloo
You can buy pre-made cat igloos online, but they’re expensive. I make my own using a large plastic storage bin and a piece of corrugated plastic roofing. Cut the bin’s lid in half. Attach the roofing piece at an angle over the opening to create a covered entryway.
Line the inside with a thick layer of straw. The angled roof keeps snow from piling up at the door. I also add a small piece of carpet (outdoor type) at the entrance so cats can wipe their paws. It keeps the straw cleaner longer.
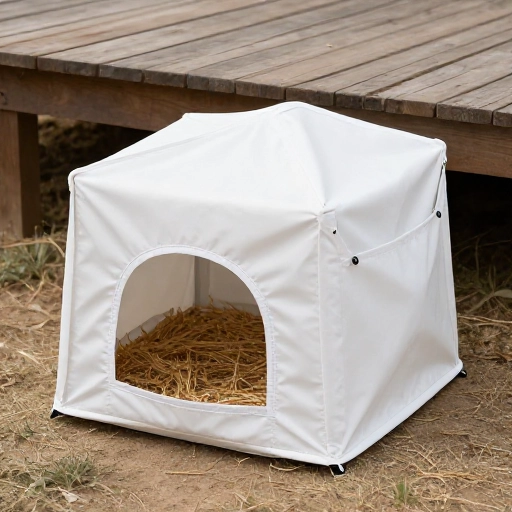
6. Wooden Pallet Shelter
Pallets are free and easy to find. Stack two pallets on top of each other. Nail plywood sheets to the sides and back. Leave the front open but add a small door hole. Fill the space between the pallet slats with straw or old blankets (if kept dry).
I painted mine dark green so it blends into the garden. The pallet gaps provide natural ventilation. Just make sure the roof is solid and slanted for rain runoff. A piece of corrugated metal works great. Cats love the sturdy feel of wood under their paws.
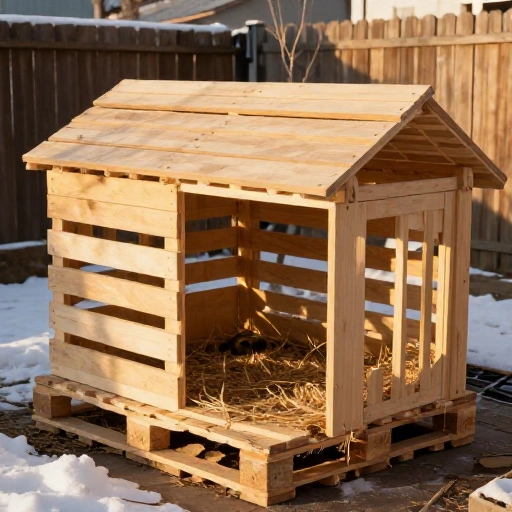
7. The Bathtub Shelter
This sounds weird, but trust me. An old clawfoot bathtub is the ultimate windbreak. Set it upside down on bricks. Prop one side up slightly so there’s a small opening. The porcelain holds heat incredibly well. Stuff the inside with straw.
I found mine at a salvage yard for twenty bucks. It looks charming in the yard, like garden art. The tub’s thick walls keep the interior temperature stable. Even on freezing nights, the inside stays above freezing. Plus, rain slides right off the curved surface.
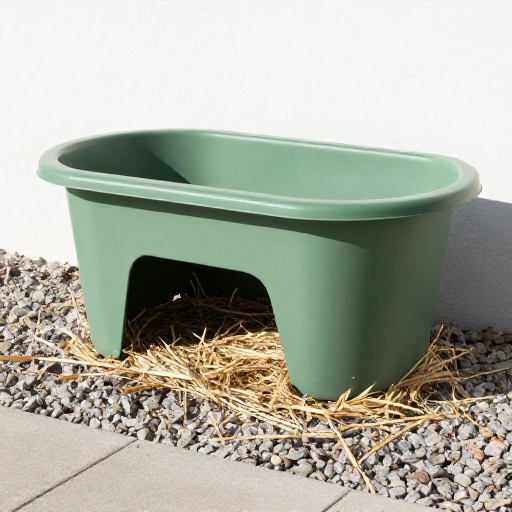
8. Repurposed Cat Carrier Shelter
Old plastic cat carriers often end up in the trash. Don’t throw them out. They make perfect mini shelters. Remove the metal door. Cut a small opening in the plastic instead. Line the carrier with straw. Wrap the whole thing in a thick blanket or moving pad.
I stack two carriers side by side inside a larger plastic bin. That gives the cats a two-room setup. They can eat in one and sleep in the other. The carriers keep the straw contained and easy to clean. Just dump and refill when needed.
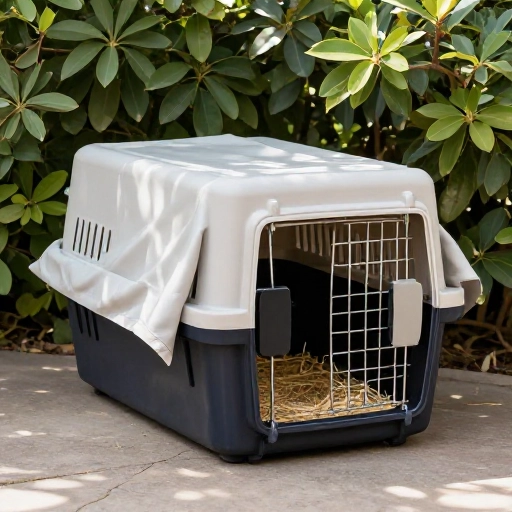
9. The Tire Tower Shelter
Old tires are surprisingly good insulators. Stack three or four tires on top of each other. Fill the center with straw. Cover the top with a piece of plywood and then a tarp. The rubber walls block wind and hold heat.
I painted my tires black so they absorb sunlight during the day. That passive solar heat makes a big difference. Just make sure water can’t pool inside. Drill a few small drainage holes in the bottom tire. Cats will crawl in through the gaps between tires.
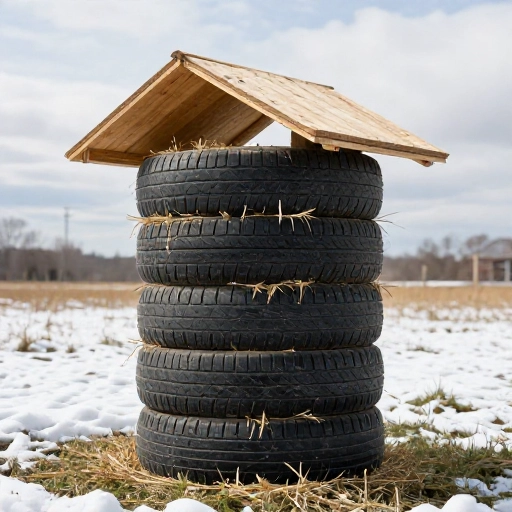
10. The Cardboard Box Upgrade
Cardboard boxes are everywhere, but they fall apart in wet weather. Here’s the trick: Wrap the box completely in heavy-duty trash bags. Tape the seams. Then place the wrapped box inside a second, larger box. Fill the gap with crumpled newspaper or straw.
I line the inside with a Mylar emergency blanket first. That reflects the cat’s body heat back at them. Then add straw on top. This setup is temporary but works in a pinch. Replace the box every few weeks if it gets damp. Cats love the small, enclosed feel.
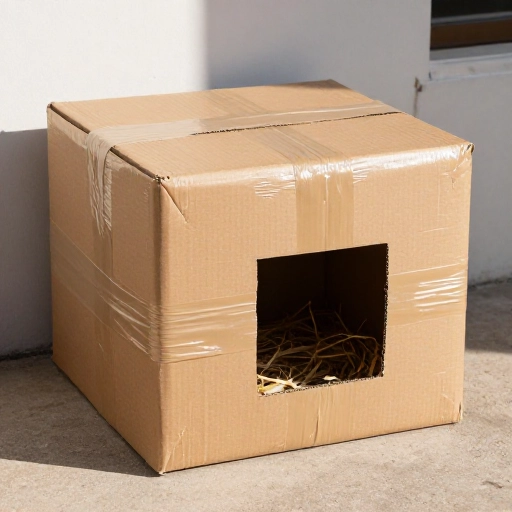
11. The Cooler and Bucket Combo
Take a large Styrofoam cooler and a five-gallon bucket. Cut a hole in the cooler’s lid that fits the bucket snugly. Place the bucket upside down inside the cooler. The bucket creates a raised sleeping platform. Straw goes underneath and around it.
This keeps the cat off the cold floor. I learned this trick from a rescue group. The bucket also adds another layer of insulation. The cooler’s lid seals everything tight. I put the whole thing inside a large plastic storage bin for waterproofing. It’s compact and efficient.
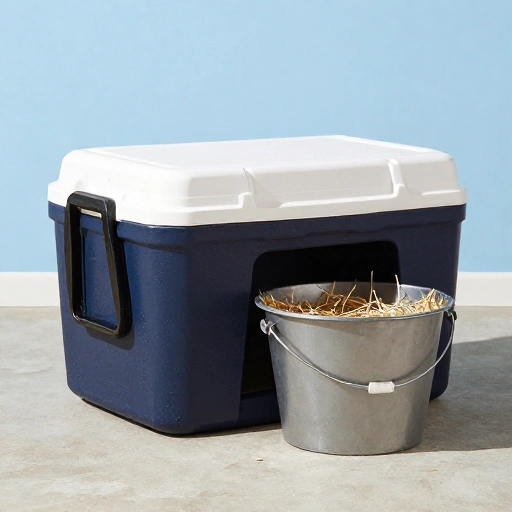
12. The Underground Den
This is for serious cold climates. Dig a hole about two feet deep. Line it with rigid foam insulation boards. Place a plastic storage bin upside down over the hole. Cover the bin with dirt and leaves. Leave a small tunnel entrance made from PVC pipe.
The ground stays at a constant temperature below the frost line. I built one last winter, and the cats used it during the worst blizzard. The dirt covering adds weight and insulation. Just make sure the entrance pipe is angled down so rain doesn’t flow in.
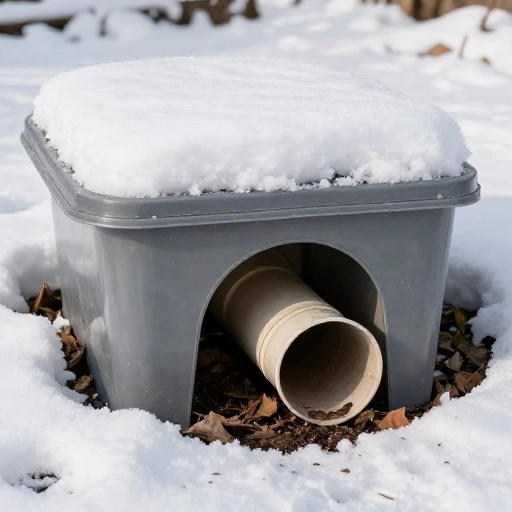
13. The Porch Cubby
If you have a deck or porch, use the space underneath. Build a simple wooden box that fits under the deck. Make it just big enough for two or three cats. Line it with rigid foam and straw. Add a small door facing away from the wind.
I attached my box to the porch floor joists with brackets. That keeps it off the cold ground. The porch roof protects it from rain and snow. The cats feel hidden and secure. Plus, it’s out of sight. You barely notice it’s there.
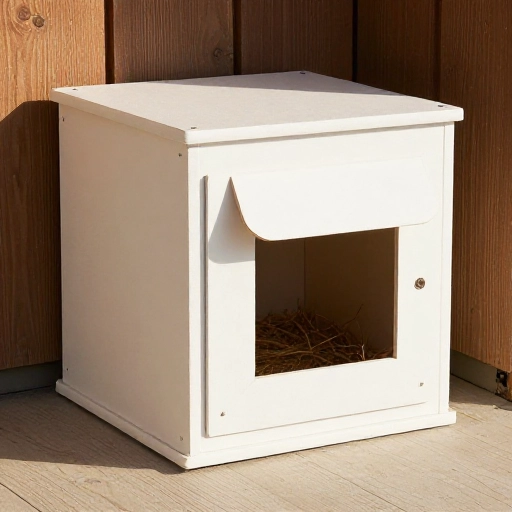
14. The Blanket Fort for Cats
This is quick and easy. Take a large plastic storage bin. Cut a small door. Line the inside with a thick layer of straw. Then drape an old wool blanket over the top and sides. Secure it with bungee cords or rope.
The blanket adds an extra insulating layer. I use wool because it stays warm even when damp. The bin keeps the blanket dry. This shelter is portable and takes five minutes to set up. I keep one in my car for emergency situations when I find a cat in need.
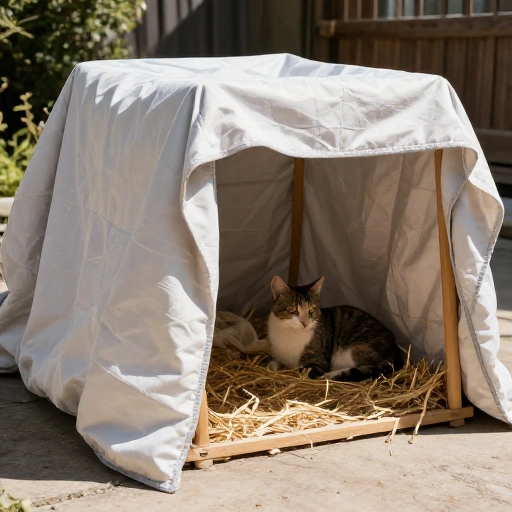
15. The Double-Door Igloo
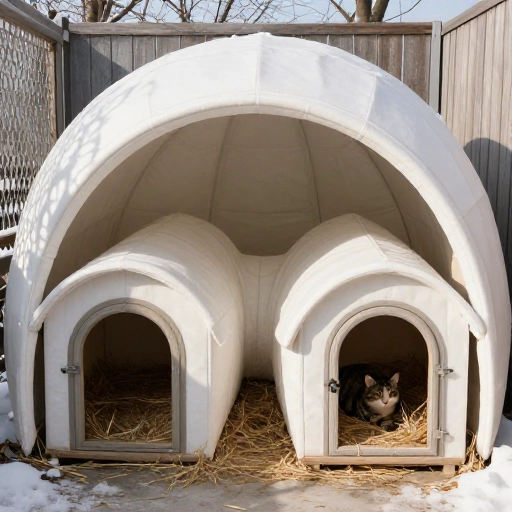
This is my favorite design. Take two large plastic storage bins. Cut a door in each one. Then place them facing each other, with a short tunnel (made from a cardboard tube or PVC pipe) connecting the doors. Cover the whole thing with a tarp.
Now the cats have two rooms. One for sleeping, one for eating or hiding. The tunnel keeps the sleeping area extra warm. I fill both bins with straw. The cats can move between rooms without going outside. It’s like a tiny cat duplex.
Conclusion
Building winter shelters for feral cats doesn’t have to be complicated or expensive. The best shelter is the one that stays dry, blocks wind, and holds heat. Straw is your best friend. Hay is not. And please, never use towels or blankets—they freeze and become death traps.
Start with one shelter. Place it in a quiet spot away from traffic and predators. Check it regularly to make sure it stays dry. The cats will find it. And when you see them curled up inside, warm and safe, you’ll know it was worth every minute.
FAQ
1. What’s the best material to use inside a feral cat shelter?
Straw is the best. It’s hollow, so it traps air and insulates well. It also wicks moisture away. Never use hay, towels, or blankets. They absorb moisture and freeze, which can kill cats.
2. How big should the door be?
About 6 inches wide and 6 inches tall. Big enough for a cat to enter easily but small enough to keep out predators like raccoons. Position the door away from prevailing winds.
3. Where should I place the shelter?
In a quiet, sheltered spot. Under a porch, behind a bush, or near a fence. Face the door away from wind and rain. Elevate the shelter slightly off the ground to prevent moisture from seeping in.
4. How often should I clean the shelter?
Check it weekly during winter. Replace wet or dirty straw immediately. In mild weather, clean and refresh the straw every few weeks. A clean shelter is a healthy shelter.
5. Can I use heated pads or beds?
Only if they’re designed for outdoor use and have chew-proof cords. Otherwise, they can short out or start a fire. Straw is safer, cheaper, and works just as well when the shelter is properly insulated.