15 Delicious DIY Dog Treats Your Pooch Will Bark For (Easy, Healthy & Vet-Approved Recipes)

Let’s be honest—our dogs are family. And just like we wouldn’t feed our kids mystery meat from a plastic wrapper, why should we feed our pups processed snacks loaded with preservatives? I started making homemade dog treats on a rainy Sunday afternoon, and let me tell you, the tail wagging that followed was off the charts.
These 15 recipes are not only ridiculously easy to whip up, but they’re also packed with wholesome ingredients you actually recognize. Whether you have a picky eater, a dog with allergies, or just a four-legged foodie, I’ve got something here that will make them do zoomies. Get ready to become your dog’s favorite chef!
Why Make Homemade Dog Treats? (Health & Nutritional Benefits)
Making your own treats isn’t just a fun hobby; it’s a game-changer for your dog’s health. When you buy store-bought snacks, you’re often paying for fillers like corn, soy, and artificial colors that offer zero nutritional value. Homemade treats put you in total control.
You get to choose high-quality proteins, healthy fats, and digestible carbs. Plus, you can easily cater to specific dietary needs. Is your pup allergic to chicken? Swap it for duck or salmon. Need to watch their weight? We can use pumpkin and green beans to keep them full without the extra calories. It’s personalized nutrition in every bite.
Also, think of the bonding experience. The smell of baking fills the house, and your dog will be your little shadow, supervising your every move. It’s love, baked right in.
Kitchen Equipment & Tools You’ll Need
You don’t need a fancy culinary degree or a high-end kitchen to make these treats. I use the same basic tools I use for my own baking, which means you probably already have everything you need right in your drawers.
Here is the essential list to get you started:
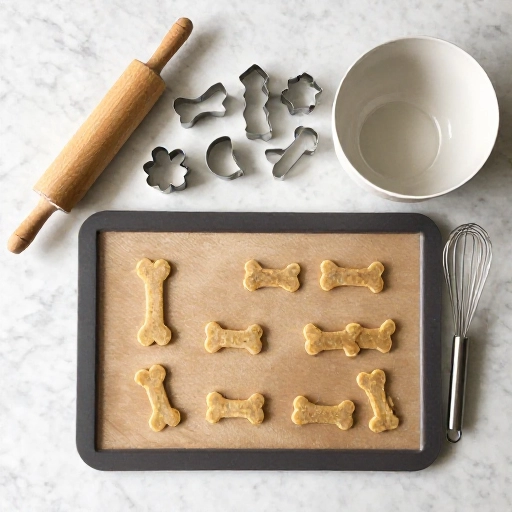
- Mixing Bowls: A couple of different sizes for wet and dry ingredients.
- Cookie Cutters: Bone shapes are classic, but stars, hearts, or even simple circles work perfectly. If you don’t have any, you can just cut them into squares with a knife.
- Rolling Pin: Helps get the dough to an even thickness so they bake evenly.
- Parchment Paper: Trust me, this is a lifesaver for easy cleanup and prevents sticking.
- Food Processor or Blender: Essential for pureeing pumpkin, blending peanut butter, or grinding oats into flour.
- Baking Sheets: Standard rimmed baking trays are perfect.
- Air-Tight Container: To keep your treats fresh and crunchy.
If you want to get fancy, a silicone baking mat is great, but parchment paper works just as well. Don’t overthink the equipment—just grab what you have!
Ingredients List & Safe Substitutions
The beauty of these recipes is their simplicity. Most use pantry staples, but there are a few important rules to keep in mind to keep your pup safe. Always read labels carefully.
Here are the core ingredients we will use:
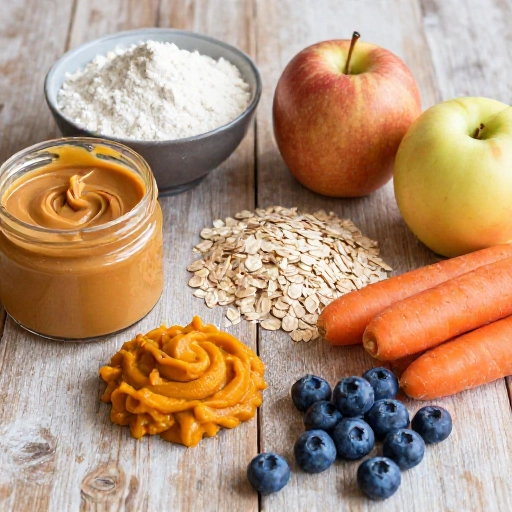
- Peanut Butter: Must be 100% natural, unsweetened, and Xylitol-free. Xylitol is toxic to dogs, so double-check that label!
- Pumpkin Puree: Make sure it’s 100% pure pumpkin, not pumpkin pie filling which contains added sugar and spices.
- Oats: Rolled oats or quick oats are great for added fiber. You can blend them into a flour for a smoother texture.
- Bananas: Naturally sweet and full of potassium. The riper, the better for sweetness.
- Sweet Potato: Cooked and mashed, it’s a fantastic source of Vitamin A.
- Apples: A great crunch, but ensure you remove all seeds and the core, as seeds contain cyanide.
- Eggs: Act as a binder and provide protein. If your dog has an egg allergy, you can substitute with a flax egg (1 tbsp flaxseed meal + 3 tbsp water).
- Chicken or Beef Broth: Use low-sodium, onion-free, and garlic-free broth to add flavor to hard biscuits.
How to Make Them: Step-by-Step Preparation Guide
Alright, let’s get to the fun part! Here is the baseline method for the crunchy biscuits, and then I’ll give you the flavor variations to keep things interesting. The process is so simple, you can do it with your kids (and your dog under the table waiting for spills).
Basic Crunchy Biscuit Method:
- Preheat & Prep: Preheat your oven to 350°F (175°C). Line your baking sheet with parchment paper.
- Mix Wet: In a large bowl, combine your wet ingredients. For example, 1 cup natural peanut butter, 1 cup pumpkin puree, and 2 eggs. Mix until smooth.
- Add Dry: Gradually add 2.5 cups of oat flour (or whole wheat flour) to the wet mix. Stir until a stiff dough forms. If it’s too sticky, add a little more flour; if too dry, add a splash of broth.
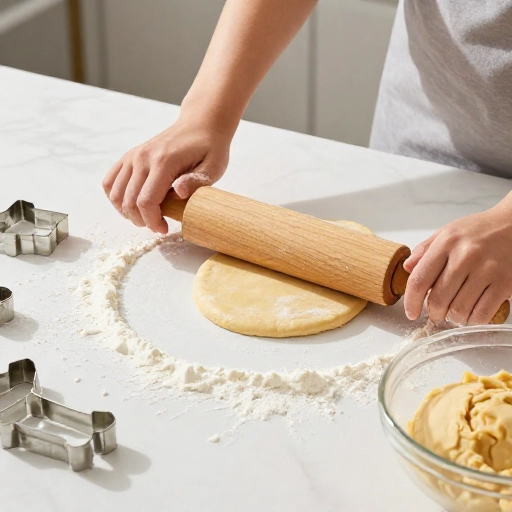
- Roll & Cut: On a lightly floured surface, roll the dough to about 1/4-inch thickness. Use your cookie cutters to press out shapes.
- Bake: Place them on the baking sheet and bake for 20-25 minutes, or until golden brown and firm to the touch.
- Cool Completely: This is crucial! They will continue to harden as they cool. Never feed a hot treat to your dog.
Flavor Variations: Swap the peanut butter for mashed banana, or the pumpkin for applesauce. You can add a handful of shredded cheddar cheese for a “cheesy” version or some fresh parsley for fresh breath. The options are endless!
Storage & Serving: Feeding Guidelines and Storage Tips
Making a big batch is smart, but you need to know how to store them properly. Because these treats don’t contain preservatives, they won’t last as long as store-bought ones. But they are so good, they probably won’t last long anyway!
Storage: Store your treats in an airtight container in the refrigerator. They will stay fresh for up to two weeks. For longer storage, pop them in the freezer. They can be frozen for up to three months. Just thaw them in the fridge overnight or give them frozen on a hot day as a refreshing chew (especially good for teething puppies).
Serving Size: Treats should only make up about 10% of your dog’s daily caloric intake. For a small dog, one small biscuit is plenty. For a large breed, two or three is fine. Always monitor your dog when giving them a new treat to ensure they chew properly, and always have fresh water available.
Pro Tip: If you have a gulper who swallows food whole, make your treats larger so they have to bite them, or break them into smaller pieces before serving.
Final Verdict & Summary
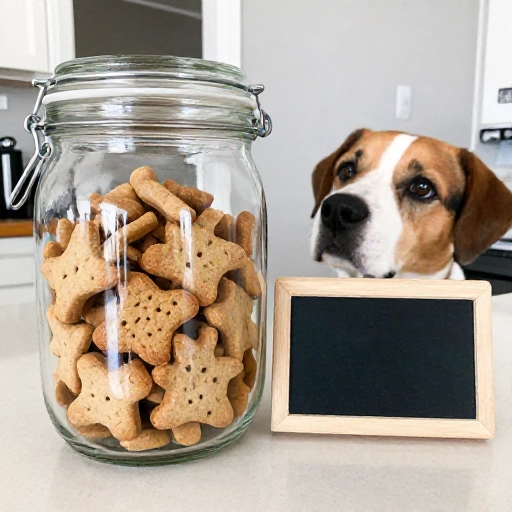
I genuinely believe that making your own dog treats is one of the most rewarding things you can do as a pet parent. It’s cost-effective, healthier, and so much more personal. Watching my dog do the “happy dance” when I pull out the treat jar is a feeling that never gets old.
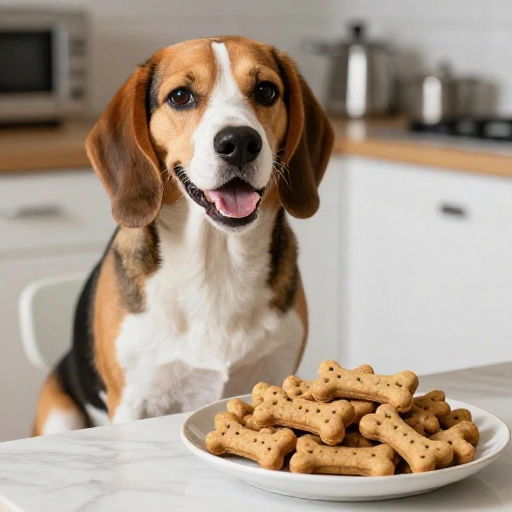
These 15 recipes are your starting point. Don’t be afraid to experiment and find the flavors your furry friend loves the most. You’ll know you’ve hit the jackpot when you see that empty bowl and a very satisfied, tail-wagging pup looking up at you for more.
So, grab your apron, preheat that oven, and get ready for some serious puppy love. Your pooch will definitely bark for these!
Frequently Asked Questions (FAQ)
Q1: Can I use whole wheat flour instead of oat flour?
Absolutely! Whole wheat flour is a great substitute. Just be aware that some dogs have wheat sensitivities. If that’s the case, stick to oat flour or even coconut flour (though coconut absorbs more liquid, so you’ll need to adjust the recipe).
Q2: How do I know when the treats are fully baked?
The best way to tell is by texture. The treats should be firm and not squishy in the middle. They will also be a light golden brown on the edges. If you tap one with your finger, it should sound hollow, similar to a cracker.
Q3: My dog is a senior with dental issues. Can I still make these?
Yes! For older dogs or those with sensitive teeth, simply reduce the baking time by 5-7 minutes to keep them softer. You can also steam the ingredients rather than baking them for a mushy texture. Remember, always prioritize your dog’s chewing ability.
Q4: Are these treats safe for puppies?
Yes, these are generally safe for puppies over 8 weeks old. Start with a very small piece to see how their digestive system handles it. Since they are softer and smaller, they are great for training treats. Just make sure to account for their smaller calorie needs.
Q5: Can I add supplements like fish oil or glucosamine to the dough?
Definitely! This is a brilliant idea. You can easily mix liquid supplements into the wet ingredients. Just be aware that adding liquids might require you to add a bit more dry flour to get the right dough consistency. It’s a great way to sneak in extra health benefits.