15 Dog Grooming Shop Layouts That Actually Work
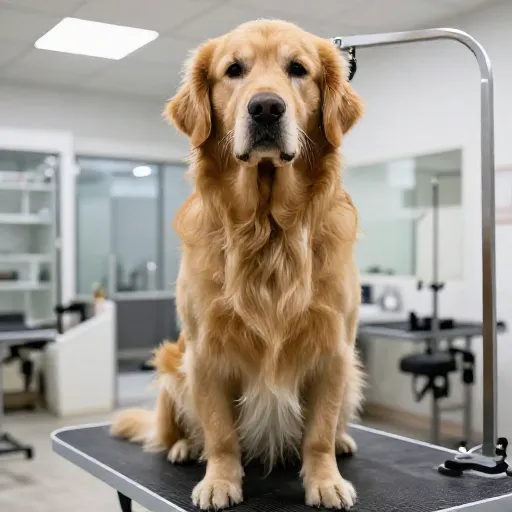
Let’s be real—your grooming shop layout can make or break your day. I’ve been in enough salons to know that when the space flows well, the dogs are calmer, your tools are within reach, and you’re not tripping over crates every five minutes. A smart layout isn’t just about looking pretty; it’s about saving your back, your sanity, and your schedule.
Whether you’re building from scratch or reworking a cramped space, these 15 layout ideas will help you create a grooming studio that works as hard as you do. From tiny home setups to full-blown commercial salons, there’s something here for every budget and square footage. Grab a notebook—you’re going to want to sketch these out.
1. The Open Floor Plan with Defined Zones
Forget walls and closed-off rooms. The open floor plan keeps you visible to pet parents while still giving you dedicated areas for bathing, drying, and grooming. Use different floor colors or mats to visually separate each zone—it’s simple, airy, and makes the space feel twice as big.
Position your grooming tables in the center and keep bathing stations along the back wall. That way, you’re never walking across the whole shop with a wet, wiggly pup. You’ll cut your steps in half and keep your energy for the dogs.
This layout shines in spaces with high ceilings or lots of natural light. It also makes cleaning a breeze—no hidden corners for fur to gather. Just add some stylish area rugs (washable ones!) to soften the space.
2. The “Wet-to-Dry” Flow
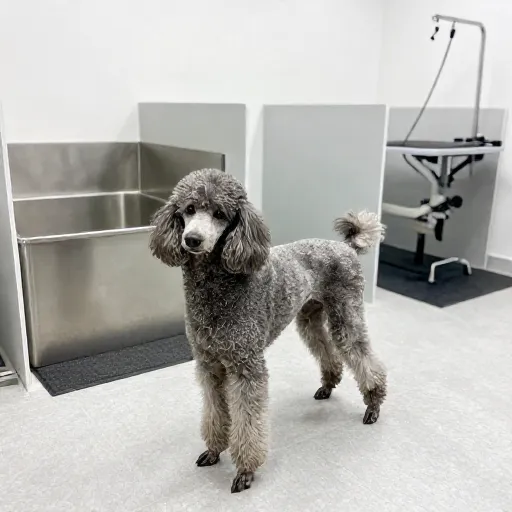
This is the classic workflow layout, and for good reason. You start with intake at the front, move to the bathing area in the middle, and end with drying and finishing toward the back. It’s a linear path that just makes sense—dirty dogs never cross paths with clean ones.
Set up your tubs closest to the water source, then place your dryers and tables right after. Add a few drying cages nearby for dogs who need a break between the bath and the brush-out. This keeps the chaos contained and the hair in one general direction.
If you’ve got a narrow space, this is your winner. It’s a straight-line flow that works even in tight footprints. Just make sure the path is wide enough for two people to pass comfortably.
3. The Corner Bathing Nook
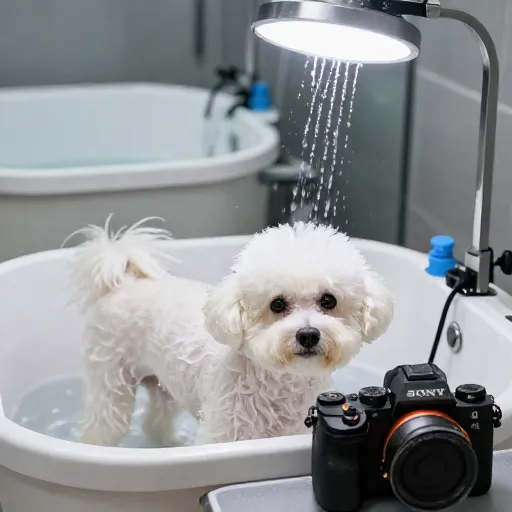
Don’t let a small shop fool you—corners are gold. Tuck your bathing station into a corner to maximize floor space for grooming tables and kennels. Use a corner-style tub if you can find one; they fit snugly and keep water splash contained to one area.
Install a fold-down table next to the tub for easy access to towels and pre-bath brushes. This creates a compact “wet zone” that doesn’t interfere with the rest of your shop. You’ll be amazed how much room you save.
Add a ceiling-mounted hose or a flexible sprayer to make corner work easier on your arms. This little setup is a lifesaver for solo groomers working in tight quarters.
4. The Island Table Setup
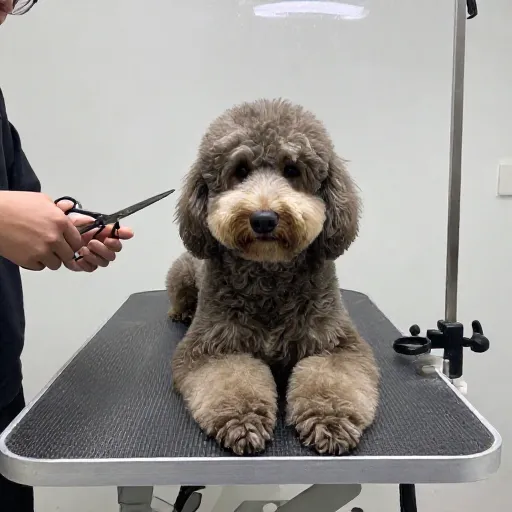
Put your grooming tables in the center of the room, like islands in a kitchen. This lets you walk around the dog from every angle without having to reposition them. It’s a back-saver and a time-saver, especially for larger breeds.
Position your tools and blades on a rolling cart nearby so everything is just a spin away. Add a second lower table beside the main one for staging—towels, brushes, and clippers all have a home. You’ll never have to put a dog down to grab something again.
This layout works best in medium-to-large spaces. If you have room for two islands, even better—you can work on two dogs at once without them feeling crowded.
5. The “Pod” System for Multiple Groomers
If you have a team of groomers, pods are the way to go. Each groomer gets their own mini-station with a table, a small sink, and storage. It’s like a tiny office for each stylist, giving them ownership of their space and tools.
Use low dividers between pods to keep dogs from distracting each other while still allowing conversation. Each pod should have its own electrical outlets, lighting, and a small counter for products. This layout reduces cross-contamination of tools and keeps everyone organized.
It’s a bit more of an investment upfront, but the productivity boost is worth it. Groomers who have their own space tend to work faster and take better care of their equipment.
6. The Raised Tub Station
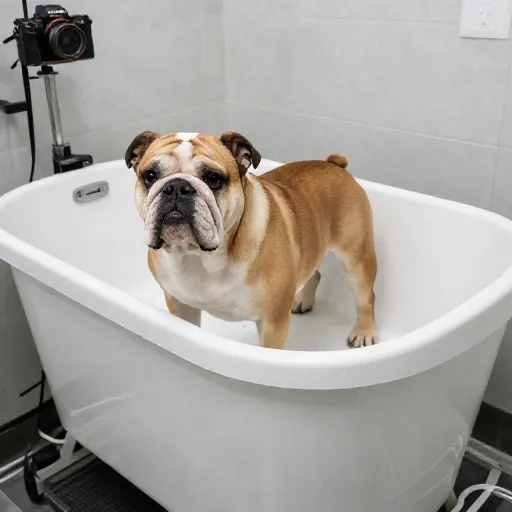
Your back will thank you for this one. Instead of bending over a low tub, build a raised platform that brings the tub to waist height. It’s a game-changer for taller groomers or anyone with back issues.
Add a small step stool for smaller dogs to climb up, and a ramp for seniors or heavy breeds. The raised height also makes it easier to see what you’re doing and reduces water splashing. Your grooming arms will feel fresher at the end of the day.
Pair this with a grooming arm on the tub itself to help steady wiggly dogs during their bath. It’s a simple upgrade that makes a huge difference in your daily comfort.
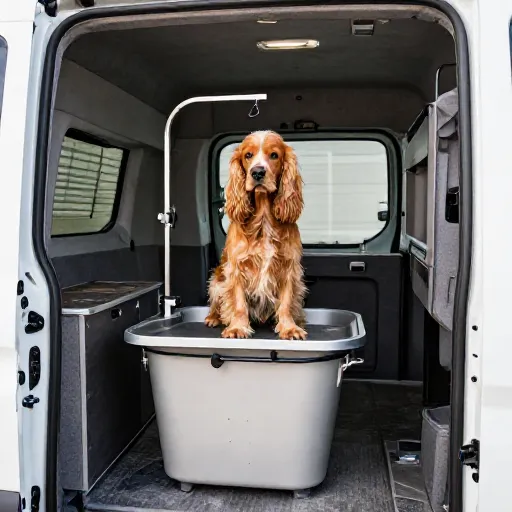
7. The “Shop-in-a-Box” for Mobile Groomers
If you’re running a mobile grooming van, this layout is for you. Think of your space as one compact, multi-functional unit. The tub, dryer, and table all need to work in a tiny footprint—so choose equipment that folds or slides away when not in use.
Use vertical space for storage: shelves above the tub, hanging racks for leashes, and magnetic strips for scissors. Every inch counts in a van, so keep the floor clear and the counters clutter-free.
This layout is all about efficiency. You want to be able to reach everything without moving more than a step or two. Once you find your flow, you’ll be able to groom anywhere, anytime.
8. The Curved or L-Shaped Layout
Instead of pushing everything against straight walls, try an L-shaped arrangement. Put the bathing area on one wall and grooming tables on the adjacent wall, meeting at the corner. This creates a natural turning point that keeps traffic moving smoothly.
Use the corner space for a sink, a tool cart, or even a small folding table for paperwork. The L-shape breaks up the visual monotony of a rectangular room and gives you more usable wall space.
This layout is perfect for odd-shaped rooms or basements-turned-salons. It’s flexible and adapts well to existing plumbing locations.
9. The Two-Room Split (Wet Room + Dry Room)
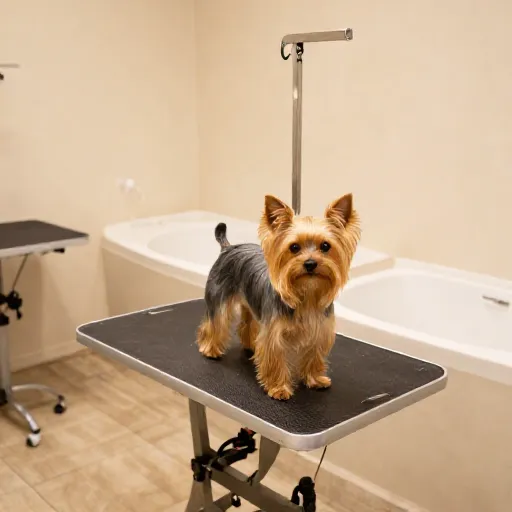
If you have the square footage, separate the bathing and drying areas from the grooming and finishing areas. The wet room can get messy—that’s fine. The dry room stays clean, quiet, and comfortable for the final styling work.
Use a door or a heavy curtain between the two rooms to keep noise and humidity down. This also helps keep the drying room warmer in winter and cooler in summer. Dogs feel calmer when they’re not surrounded by the noise of dryers and water.
This is a premium layout that clients notice. It shows professionalism and care for the dogs’ experience. If you’re planning a new build, this is worth the extra cost.
10. The Minimalist Scandinavian Setup
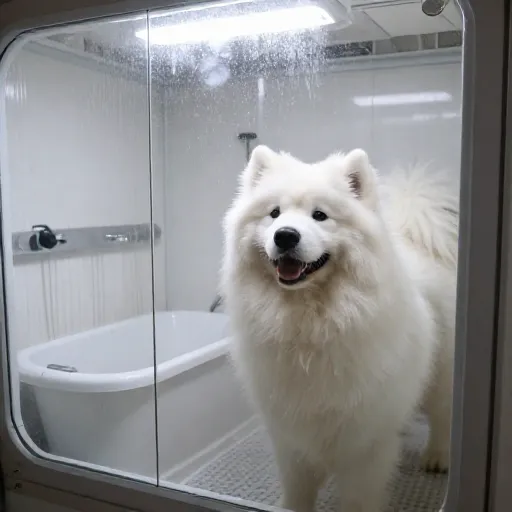
Less is more. Use light woods, white walls, and clean lines to create a calm, spa-like atmosphere. Keep only essential equipment visible and store everything else behind closed cabinets.
This layout reduces visual stress for both you and the dogs. The simple aesthetic also photographs beautifully—great for your Instagram and Pinterest! Plus, it’s easier to keep clean when there are fewer surfaces to wipe down.
Use a single, high-quality grooming table as the star of the room. Add a few plants (faux ones are fine) and soft lighting to complete the look.
11. The Vertical Storage Solution
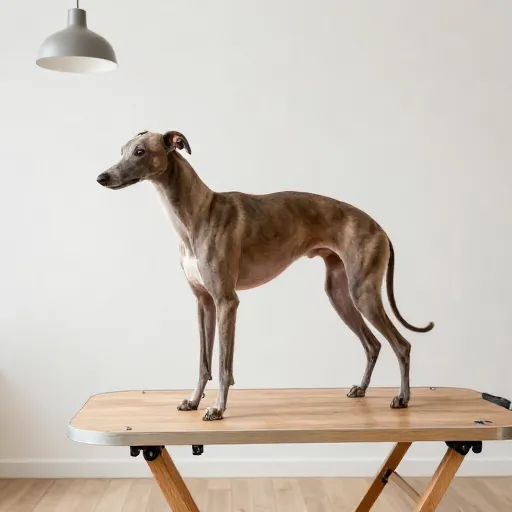
Running out of floor space? Go up. Install wall-mounted shelves, pegboards, and hanging racks to keep tools off the tables and counters. You’ll be surprised how much you can store on a single wall.
Use clear bins for smaller items like bows, bandanas, and cologne. Label everything so you’re not digging through boxes mid-groom. A pegboard for scissors, combs, and clippers keeps them visible and within reach.
This layout is perfect for tiny shops and home groomers. It keeps the floor clear for the dogs and makes cleaning up at the end of the day a breeze.
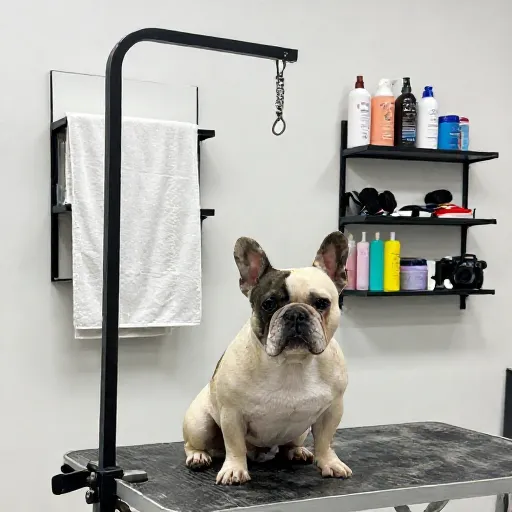
12. The Kennel Corner Layout
Designate a specific corner of your shop for kennels and crates, away from the main grooming action. This gives dogs a quiet place to rest before or after their session. It also keeps them from getting tangled underfoot while you work.
Stack crates to save floor space, but make sure each dog has enough room to stand up and turn around. Add a small curtain or cover to create a cozy den-like feeling. It reduces barking and anxiety in a busy shop.
Place the kennel area near the back entrance so dogs can be picked up and dropped off without crossing the whole shop. This is a small detail that makes a big difference for your workflow.
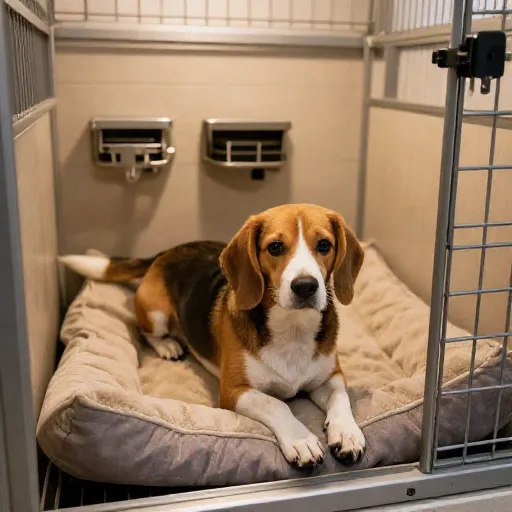
13. The Double-Sided Grooming Table
Invest in a grooming table that can be used from both sides. This is ideal for teaching, or for when two groomers share a table. It also lets you work from a more ergonomic angle without having to walk around the dog.
Position the table so it’s not against a wall—give yourself access to all four sides. Use a hydraulic or electric lift table to adjust the height as you work. Your body will appreciate the flexibility.
This setup is great for shops that offer training or apprenticeships. It’s also just a smart way to make the most of a premium piece of equipment.
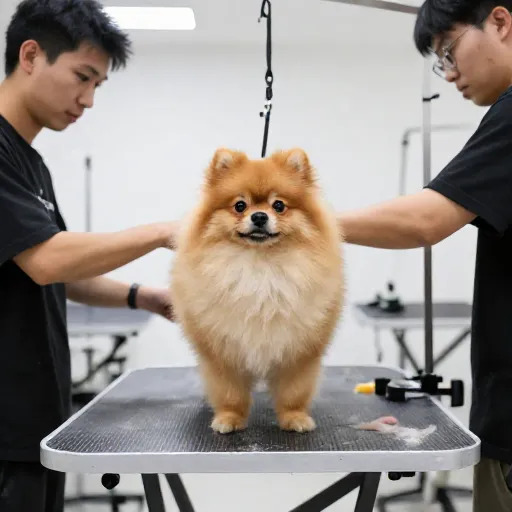
14. The Window-Facing Grooming Station
Dogs are naturally curious, and a view of the outside can be very calming. Position one or two grooming tables near a window so dogs can watch the world go by. It’s a simple trick that reduces anxiety and makes the grooming session feel less intimidating.
Keep the window ledge free of clutter so the light comes in. Use a sunscreen or tint to keep the room from getting too hot. Natural light is also the best for spotting coat issues and doing precise scissor work.
If you don’t have a window, install a large mirror or a nature mural. It’s not the same, but it does help create a more open feeling in the room.
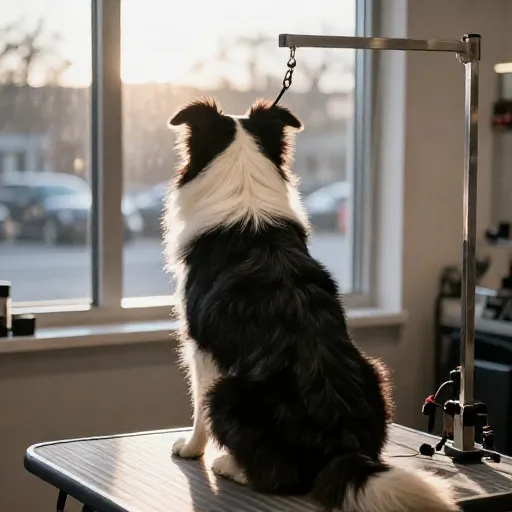
15. The “Everything on Wheels” Layout
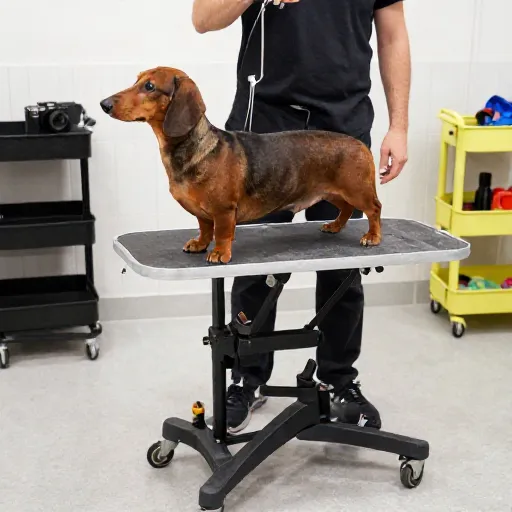
Flexibility is the key to this layout. Every table, cart, and station sits on locking casters so you can reconfigure the space in minutes. Need more floor space for a big dog? Roll the cart out of the way. Want to change your flow? Move the table.
This is perfect for groomers who like to switch things up or who rent a shared space. It also makes deep cleaning easier—just roll everything to the center of the room and mop the edges.
Invest in sturdy, heavy-duty casters that can handle the weight of a moving dog. You don’t want a table rolling away mid-groom! Locking wheels are a must for safety.
Final Thoughts on Your Grooming Space
Your grooming shop layout is a living thing. It should evolve with your business, your body, and the dogs you serve. Don’t be afraid to try something new for a week and see how it feels. Sometimes the smallest change—like moving your table two feet to the left—makes the biggest difference.
Start with one or two of these ideas and build from there. The goal is a space that feels good to work in, keeps dogs calm, and makes your day flow smoothly. When your shop works, you work better—and that’s good for everyone.
Frequently Asked Questions
What is the best layout for a small dog grooming shop?
For a small shop, try the “Wet-to-Dry” flow or the “Corner Bathing Nook.” These layouts maximize every square foot and keep your movements efficient. Use vertical storage to free up floor space.
How much space do I need for a dog grooming salon?
You can start with as little as 200 square feet for a solo groomer. For a full salon with multiple stations, plan for 500 to 1,000 square feet. The key is to allow enough room for a tub, a table, kennels, and walking paths.
Should grooming tables face the wall or the room?
Facing the room is usually better. It lets you walk around the dog and keeps you engaged with the space. Facing a wall can be okay for a quiet, focused session, but it limits your mobility.
How do I keep my grooming shop smelling fresh?
Good ventilation is number one. Add an exhaust fan or an air purifier with a carbon filter. Also, clean your tubs and tables after every dog, and use enzyme cleaners on any accidents. Baking soda in the trash cans works wonders.
Can I combine a grooming shop with a pet retail area?
Absolutely. Just keep the retail space at the front and the grooming area behind a glass partition or door. This lets clients shop while they wait, and it keeps hair and noise out of the retail zone.