15 Must-Try Spayed Dog Recovery Shirt DIY Ideas
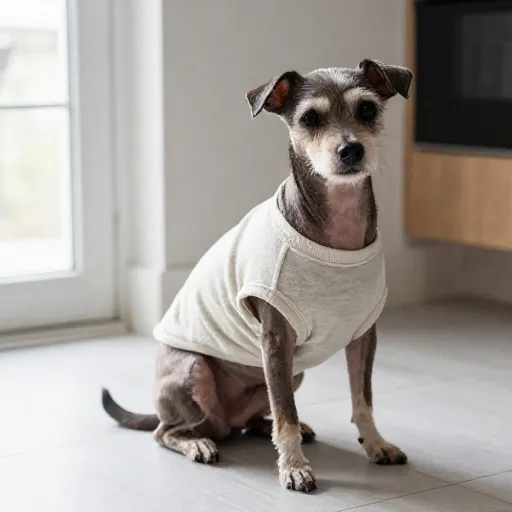
Bringing your girl home after her spay surgery is a mix of relief and “oh no, how do I keep her calm?” mode. The cone of shame is the classic go-to, but honestly, it’s bulky, it bumps into everything, and it makes your pup look absolutely miserable. That’s where recovery shirts come in—they’re soft, comfortable, and cover the incision without the drama.
The best part? You don’t have to spend a fortune buying one. I’ve rounded up 15 super practical DIY ideas that use stuff you probably already have at home. Whether you’re a sewing pro or have never touched a needle, there’s an option here for you. Let’s get your girl comfy and cute in no time.
1. The Classic T-Shirt Hack
This is the most famous DIY for a reason. Grab an old, soft cotton t-shirt (the bigger, the better). Cut off the sleeves and the neckband, then slip it over your dog’s head like a little poncho.
Pull her front legs through the armholes. Now, gather the extra fabric around her waist and tie it in a knot right above her tail. For a snugger fit, you can roll the bottom hem up a few times before tying. This one takes two minutes and works for almost every body shape.
2. The No-Sew Sock Wrap
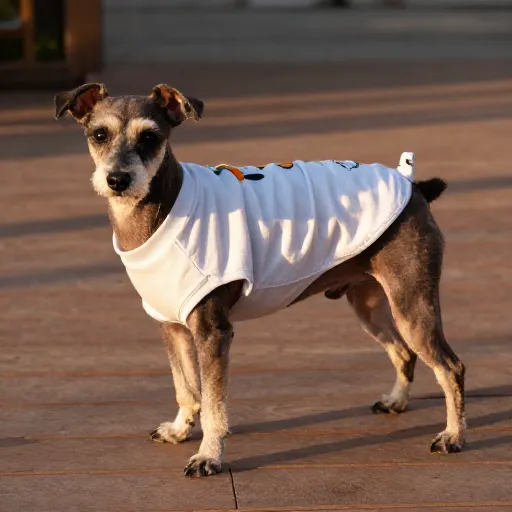
Got a small or toy breed? A baby sock might be all you need. Cut the toe off a clean, soft sock so you have a little tube. Slide it over your dog’s body, with her front legs poking out through the cut opening.
The heel of the sock sits nicely on her back, and the ribbed top can rest around her belly. If it’s too loose, just use a little piece of medical tape to secure it. This is perfect for those tiny pups who hate anything bulky.
3. The Button-Up Onesie
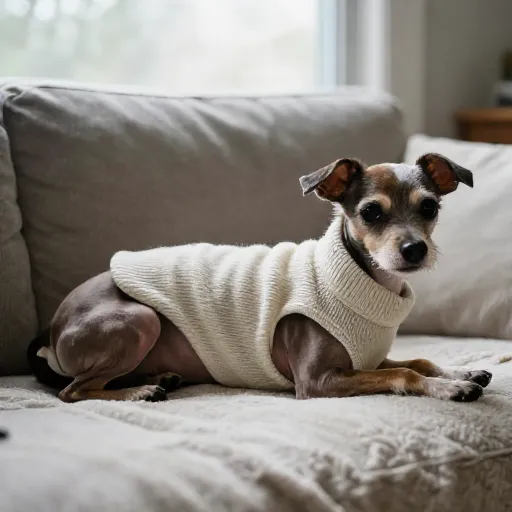
This one is a game-changer for potty breaks. Take an old baby onesie or a small kids’ t-shirt. Cut two small holes for her back legs, right at the bottom of the shirt. Slip it on like a regular shirt.
The beauty of a onesie is the snap buttons. You can unsnap the bottom for quick trips outside without having to take the whole thing off. Just make sure the snaps are at the bottom near her tail. It’s genius and so convenient.
4. The Tube Top Wrap
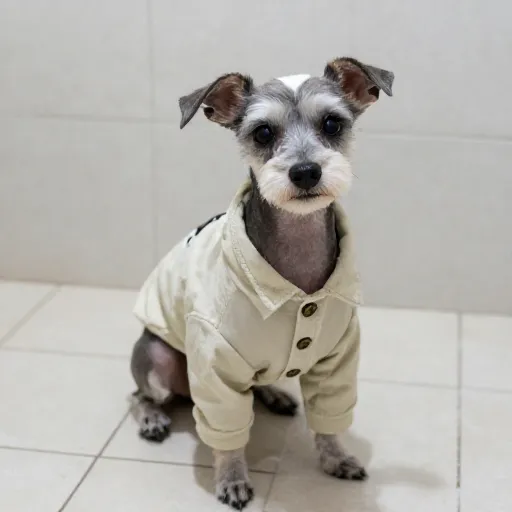
This is the simplest idea of them all. Just take a long piece of stretchy fabric—like an old jersey sheet or a scarf—and wrap it around your dog’s midsection. Tuck in the ends securely, or use a safety pin.
The key is to wrap it snugly but not tight. You want to cover the incision completely. This works best for a dog who will be supervised, as it can slip if she’s running around. It’s a great “quick fix” for the first night home.
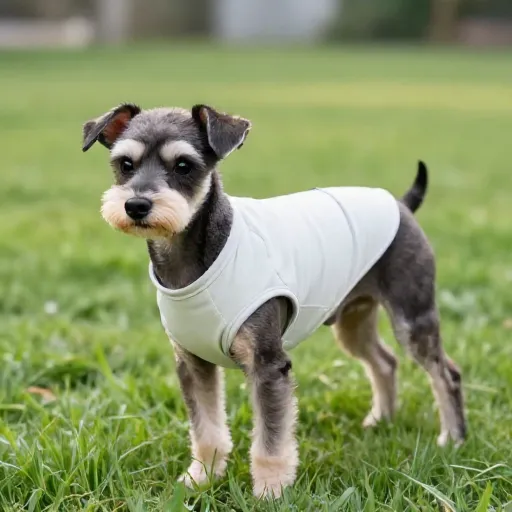
5. The Fleece Scrap Vest
If you have any fleece scraps from old blankets or pajamas, this is a cozy option. Cut a large rectangle that wraps around your dog’s torso. Cut two holes for her front legs.
Now, here’s the trick: cut a few slits along the top edge on both sides. You can then tie these slits together like shoelaces along her back. It creates a custom, adjustable vest that stays put. Plus, fleece is warm and doesn’t fray, so you don’t even need to hem it.
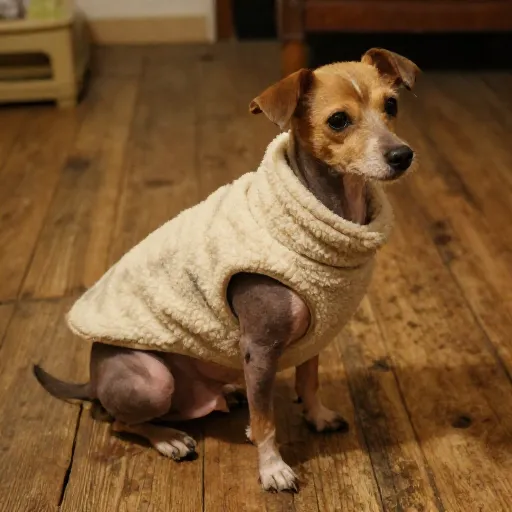
6. The Pillowcase Cover
Pillowcases are made of soft, breathable cotton, making them perfect for this. Lay the pillowcase flat and cut out a small hole for her head at the closed end. Then, cut two armholes on the sides.
Slide it over her head and put her front legs through the armholes. The open end of the pillowcase will hang down her back. You can tie the bottom corners together under her belly for a secure fit. It’s roomy, comfy, and gives her plenty of space to move.
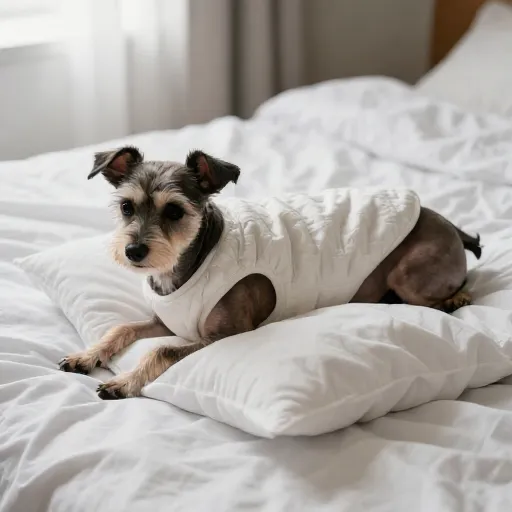
7. The Legging Leg Wrap
Don’t throw out those leggings with a hole in the knee! Cut off one leg, from the ankle to the hip. You’ll have a long fabric tube. This is perfect for a larger breed.
Slide the tube over your dog’s head and pull her front legs through. The ankle part can cover her neck nicely, and the hip part covers her bum. You can tie a knot in the fabric at the end to keep it in place. It’s stretchy and moves with her.
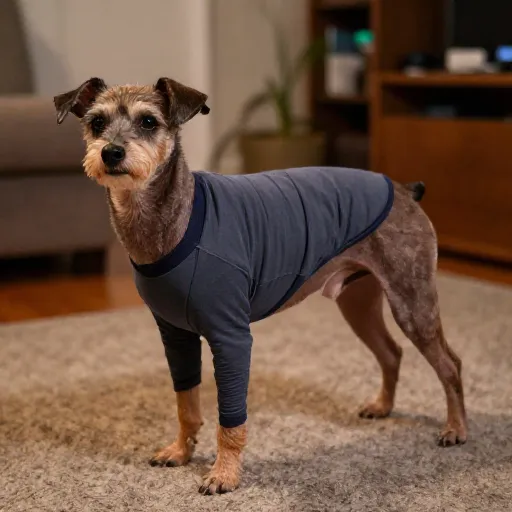
8. The Flannel Button-Up
This one looks adorable and is super easy. Take an old flannel shirt and put it on your dog like a jacket. Her front legs go through the sleeves, and the shirt hangs down her back.
Now, button up the front of the shirt under her belly. If the sleeves are too long, just roll them up or cut them. You can tie the bottom of the shirt in a loose knot above her tail. It’s a classic, comfy, and stylish look.
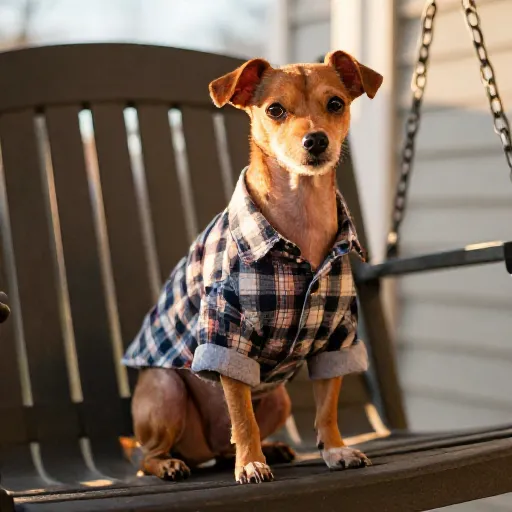
9. The Double-Layer Sock
This is for the extra wiggly dogs. Take a long sock (like a tube sock) and cut the toe off. Slide it over your dog’s body. Then, take a second sock and do the same thing, sliding it over the first one.
The double layer provides extra security and makes it harder for your dog to wiggle out of it. It also adds a bit more warmth and padding, which is nice for a dog who loves to sleep. Just make sure the socks are clean and soft.
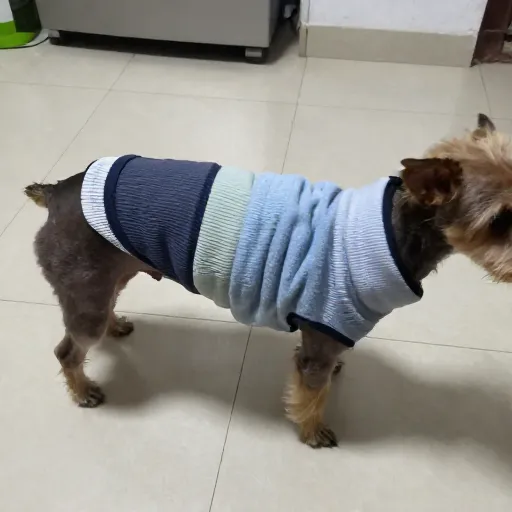
10. The Hair Tie Dress
Got a little princess? This one is cute. Take a small t-shirt and cut the sleeves off. Then, cut the shirt straight across, right under the armpits. You’ll have a little tube top.
Slide it over your dog’s front legs and body. Then, use a few strong hair ties to cinch the bottom of the shirt closed around her waist. It’s less about fashion and more about function—the hair ties keep it snug so she can’t lick. It’s a super quick fix.
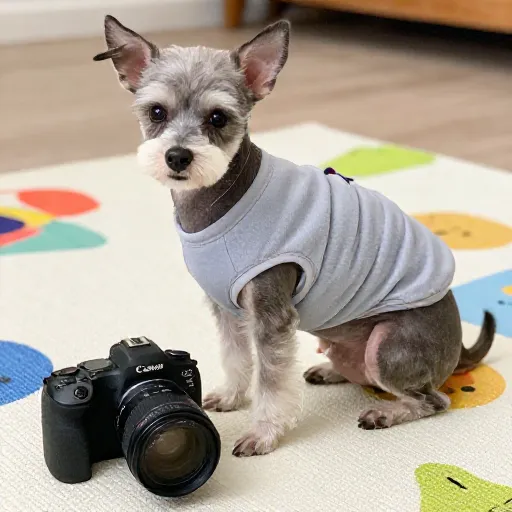
11. The Duct Tape-Free Wrap
If you’re in a real pinch, you can use a clean, soft dish towel. Fold it lengthwise into a long strip. Wrap it around your dog’s belly, covering the incision site.
Use a couple of large safety pins to secure the ends together on her back. The key is to make sure the pins are facing away from her skin. This isn’t a long-term solution, but it works in a pinch if you’ve run out of clean shirts. Supervise her while she wears it.
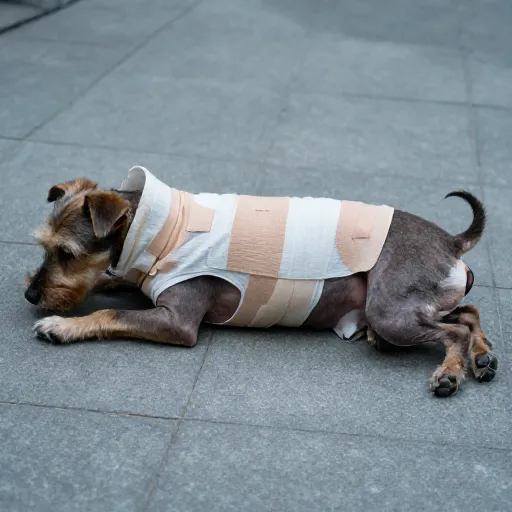
12. The Upcycled Baby Dress
This one is too cute. If you have an old baby dress or a onesie with a skirt, this is perfect. The sleeve holes are usually the perfect size for your dog’s front legs.
Put her front legs through the sleeves and pull it over her head. The skirt part will cover her belly and back. You can secure the bottom with a safety pin or a small belt. It’s whimsical, functional, and gives your pup a little flair during recovery.
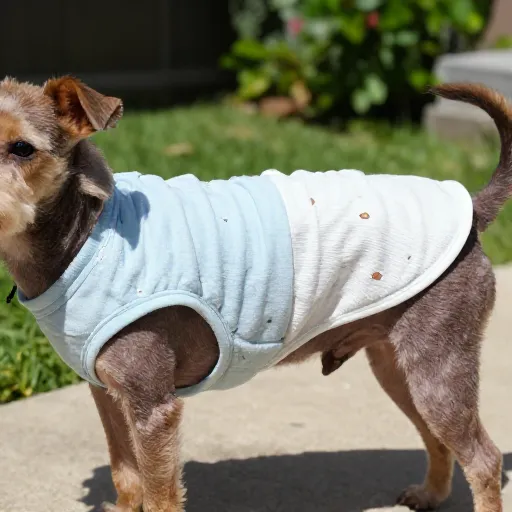
13. The Bathrobe Belt
If you have an old, fluffy bathrobe with a tie belt, this is a brilliant hack. The belt is usually long and soft. Wrap it around your dog’s midsection, covering the incision.
You can wrap it around twice for extra coverage, and then tie it in a knot or a bow on her back. The thick, fluffy material is great for a dog who needs a little extra comfort. It’s like giving her a cozy hug all day long.
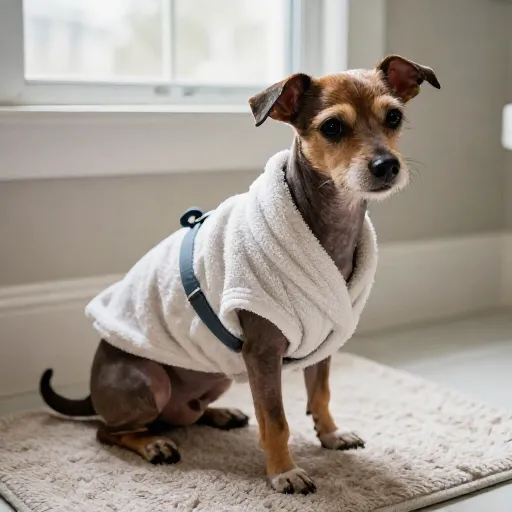
14. The Bandana Wrap
This is for the dog who needs to be stylish. Take a large, square bandana or scarf. Fold it in half to make a triangle, then fold it into a long, wide strip.
Wrap it around her belly, making sure it covers the stitches. Tie the ends securely on her back. You can adjust the width of the fold to get the coverage you need. It’s lightweight, breathable, and looks like a cute accessory rather than a medical device.
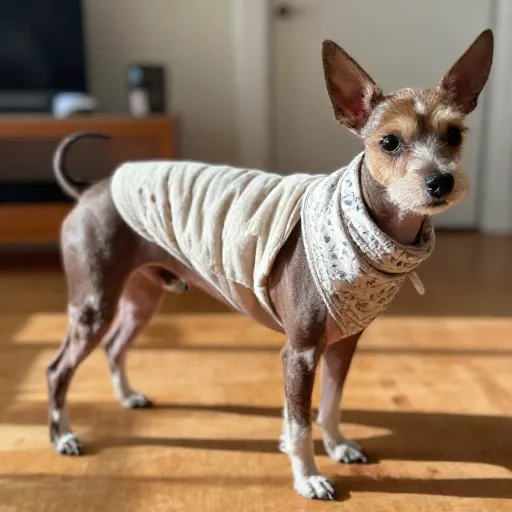
15. The Custom Fit Sleeve
This one’s for the slightly craftier folks. Cut the sleeve off an old sweatshirt. You’ll have a long, soft tube. Cut two small holes near the shoulder seam for her legs.
Slide it over her head and put her legs through the holes. The cuff of the sleeve can sit around her neck, and the cut end can be tucked or pinned under her belly. It’s soft, warm, and gives a full, secure fit that’s great for overnight wear.
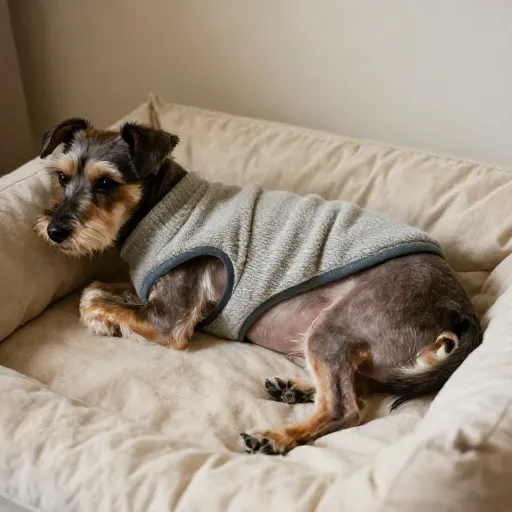
Final Thoughts on DIY Recovery Shirts
DIY recovery shirts are a lifesaver. They’re cheaper than store-bought ones, and they use materials that are already soft and worn-in, which is way more comfy for your pup. The goal is just to keep that incision covered and out of reach of her tongue.
Remember to wash the shirt regularly and check the incision site a couple of times a day for any redness or swelling. If you ever feel unsure, a quick text or call to your vet is always a good idea. You’ve got this, and your girl will be back to her zoomie-loving self in no time.
Frequently Asked Questions
1. How tight should the recovery shirt be?
It should be snug enough that she can’t slip out or lick underneath, but loose enough that you can easily fit two fingers flat between the shirt and her back. It should never feel restrictive.
2. Can my dog wear a recovery shirt instead of a cone?
Yes, for most dogs, a recovery shirt is a great alternative to a cone. However, if your dog is determined to lick, you might need to use both. Always check the incision to make sure she isn’t getting to it.
3. How often should I change the shirt?
Change it daily, or whenever it gets dirty or wet. It’s important to keep the area clean and dry to prevent infection. Having two or three DIY shirts on hand makes this super easy.
4. Will she need to wear it while she sleeps?
Yes, it’s best to keep it on during sleep, especially for the first week. Dogs often try to groom themselves when they’re relaxed, and that’s when they’re most likely to bother the stitches.
5. When can I take the shirt off for good?
Typically, you’ll need it for about 10 to 14 days, or until your vet clears her. Your vet will let you know when the incision has healed enough to go shirtless. Always follow your vet’s specific instructions.