15 Easy Dog Dye Ideas For Beginners That Will Make Your Pup Stand Out
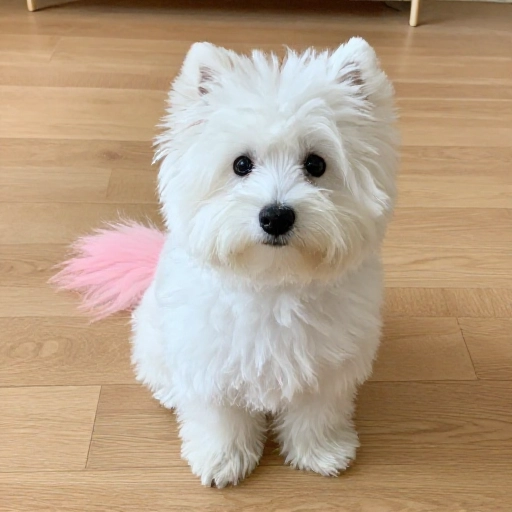
Okay, let’s be honest. Sometimes you look at your perfectly adorable, plain-colored pup and think, “What if their tail was pastel pink?” Or maybe you saw those incredible, vibrant dyed dogs on Pinterest and wondered how on earth they did it without turning their bathroom into a crime scene. I get it. The idea is fun, playful, and honestly, a total vibe.
But here’s the thing—dyeing your dog isn’t about grabbing a box of hair color from the drugstore. It’s about using safe, pet-specific products and making the process as fun for your dog as it is for you. If you’re a total newbie, the thought can feel a little intimidating. That’s why I put together this list of 15 ridiculously easy, beginner-friendly dye ideas that look amazing but don’t require a professional grooming license.
Think of this as your creative playbook. From a subtle pastel ombre tail to funky spotted ears, these projects are designed to be simple, low-mess, and totally doable in a weekend afternoon. Grab your dog’s favorite treats, and let’s get started!
1. The Classic Pastel Dip-Dye Tail
This is the gateway project for all dog dye beginners. It’s simple, forgiving, and looks absolutely adorable. You’re just focusing on the tip of the tail, so there’s no need to worry about messy faces or bodies.
You’ll want to use a light-colored dog for this one. Mix your pet-safe dye with conditioner to create a pastel shade. Then, simply dip the last three inches of the tail into the mixture and let it sit for about 15 minutes.
Rinse with cool water until it runs clear. The result is a subtle, whimsical pop of color that’s charming and not too over-the-top. It’s perfect for a first attempt.
2. The “Just The Tips” Ear Ombre
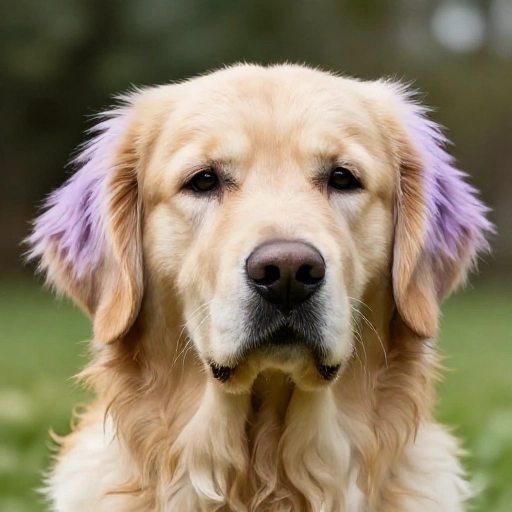
If your dog has floppy ears, this is your chance to shine. This technique creates a gorgeous gradient effect that looks professionally done, but it’s actually super easy to achieve at home.
The key is to apply the dye to the bottom half of the ear flap only. Use a small sponge or a clean makeup brush to dab the color on, focusing on the edges and the bottom point of the ear.
Blend the color upward with a dry brush to soften the line of demarcation. This creates a beautiful “ombre” effect that fades from natural to vibrant. It’s a fantastic way to add color without it looking like a solid block.
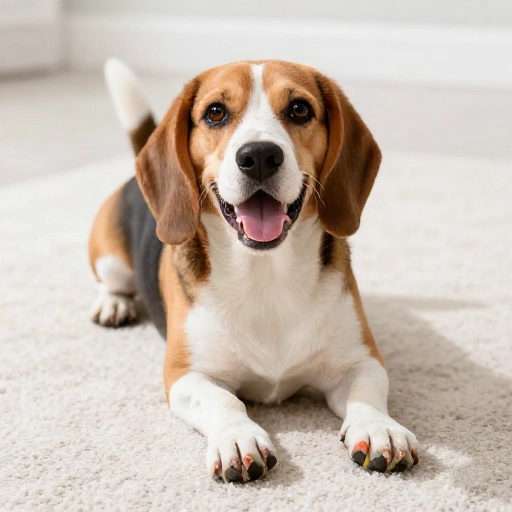
3. Rainbow Painted Paws
Who says the color has to stay on the fur? This idea is all about creating a temporary, photo-ready look that’s perfect for a birthday party or a holiday card. It’s less about lasting dye and more about the artistic application.
Use a paintbrush to apply pet-safe dye directly to the paw pads and the fur right above them. You can do each paw a different color of the rainbow. It’s playful, fun, and your dog will look like they walked through a candy store.
Because this is a quick application, it’s also one of the least stressful projects for a wiggly dog. Just make sure to keep them busy with treats while you work on each paw.
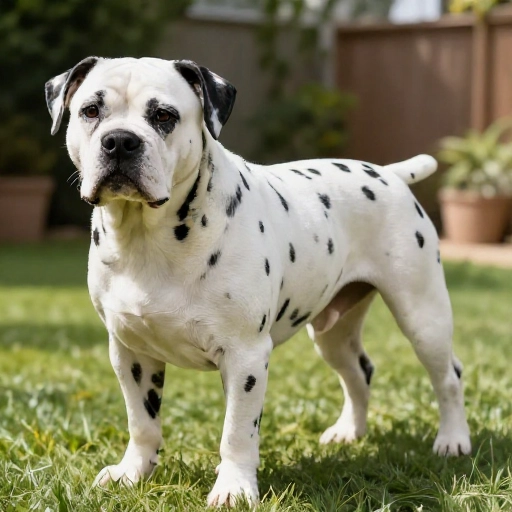
4. The Dotted Dalmatian Look
This is a brilliant trick that creates a high-impact look with very little product. You’re essentially turning your pup into a custom piece of art by adding contrasting dots to their back and sides.
To get perfect circles, use the end of a clean, dry makeup sponge or a stencil brush. Dip it into the dye, dab off the excess on a paper towel, and then gently press it onto your dog’s fur.
It’s best to do this on a solid-colored dog (either white or black) for maximum contrast. The result is playful and whimsical, and the best part is, if you mess up a dot, you can just wipe it off and start over!
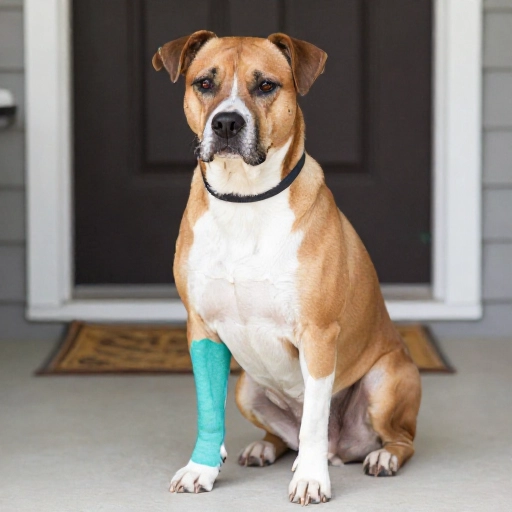
5. Single Color Sock Markings
Have you ever seen those dogs who look like they’re wearing little socks? You can enhance that natural look by dyeing the fur on their lower legs a solid, bold color. It’s like giving them permanent boots.
This is easier than it sounds. You can use a plastic bag or a large cup to hold the dye solution and dip each leg up to the ankle joint. It’s a clean, contained way to get an even coat of color.
For a really fun twist, choose a neon color like hot pink or electric blue. This look is surprisingly durable and makes your dog look super stylish on every walk.
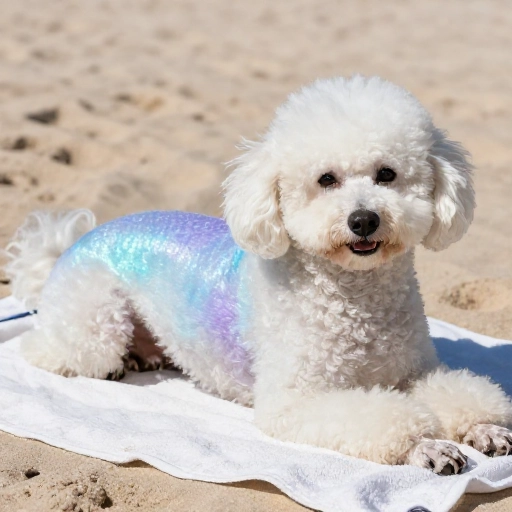
6. The Soft Mermaid Shimmer
This idea is for the dreamers. It’s all about creating a soft, fantasy-like look using a mixture of pastel blues, greens, and purples. The goal isn’t to have distinct stripes, but rather a blended, magical haze of color.
Use a spray bottle to lightly mist your dog’s back and sides with water. Then, using your fingers, gently rub small amounts of pastel dye into the wet fur, blending the colors together as you go.
Think of it like painting with watercolors. The result is a gorgeous, ethereal look that’s perfect for spring or summer. It’s minimal effort, but the payoff is massive in terms of cuteness.
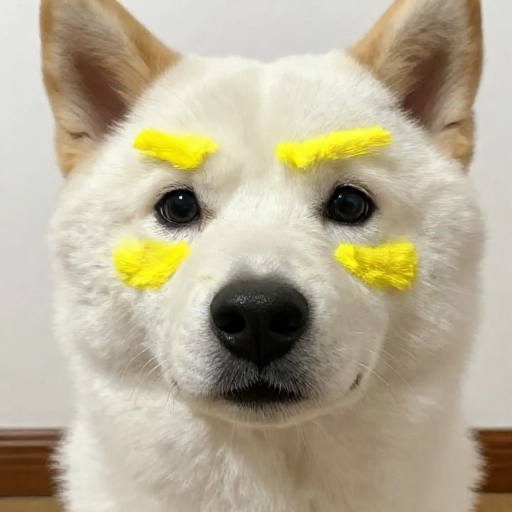
7. Highlighter Cheeks and Eyebrows
This is a hilarious and adorable project that adds personality to your dog’s face without covering their sweet eyes. It’s a subtle change that makes a big impact when you look at them.
Use a small brush to apply a bright color, like yellow or coral, to the fur just above their eyes (like eyebrows) and on the highest part of their cheeks. This highlights their facial expressions in a really fun way.
It’s a very quick project that takes less than five minutes to apply. Your dog will look like they just came back from a spa day with a glowing tan.
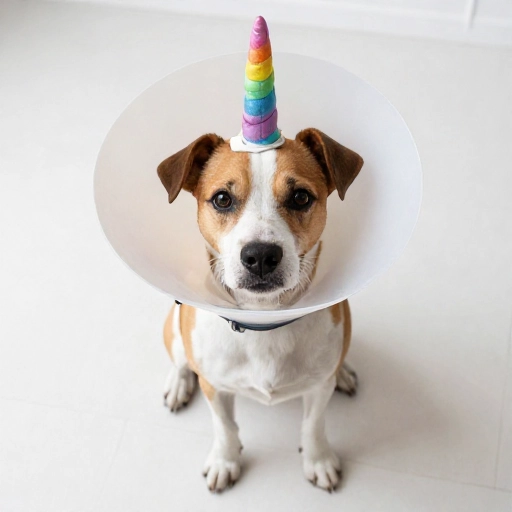
8. The Cranky Unicorn Horn (Cone Dye)
Instead of dyeing the whole head, you can create a unicorn horn effect by dyeing a small, circular patch of fur on the top of the forehead. It’s a cute, unexpected surprise that doesn’t require a lot of surface area.
Place a small cup or a round sponge over the spot and apply the dye inside the circle. Keep it contained to just that area. A pastel purple or pink works best for this.
It’s a tiny detail that’s perfect for a photo shoot or a themed party. It’s also great for dogs who don’t like being touched on the ears or muzzle.
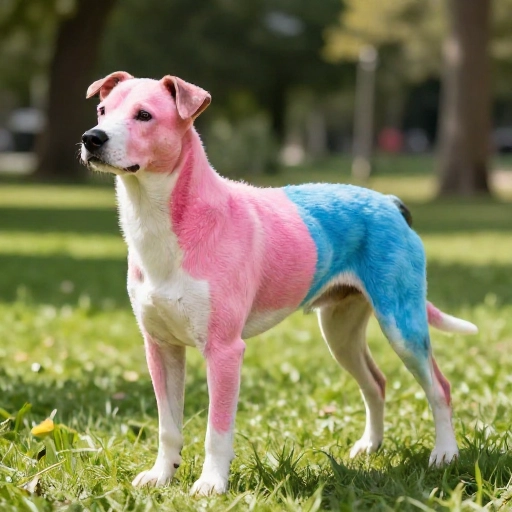
9. Two-Tone Split Back
This is a bolder look that is surprisingly easy to achieve. You’ll be splitting your dog’s back down the middle, dyeing one half one color and the other half another color.
Use a grooming clip to part the fur straight down the spine. Apply one color to the left side and a completely different color to the right side. This creates a striking, symmetrical look.
It’s best to use a spray bottle or a sponge to get good coverage. This is a statement look that will definitely turn heads at the dog park.
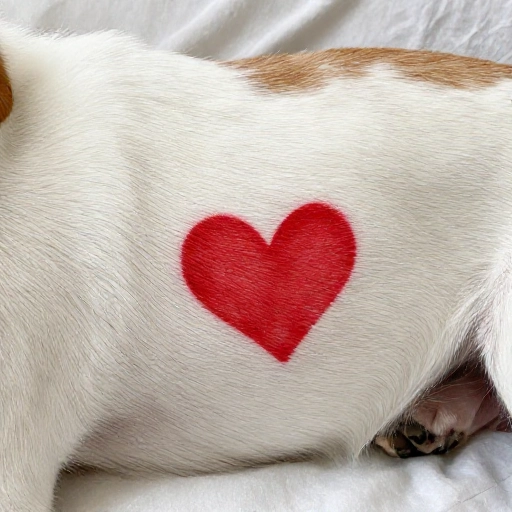
10. Stenciled Heart or Star
If you want a specific shape, using a stencil is your best friend. It’s a foolproof way to get a crisp, clean design on your dog’s hip or shoulder.
You can buy stencils at a craft store or make your own at home with cardboard and a knife. Hold the stencil firmly against the fur and use a stiff brush to dab the dye over the opening.
This is a fantastic option for holidays like Valentine’s Day or the Fourth of July. The key is to make sure the fur is dry and brushed flat before you apply the dye.
11. The “Sunkissed” Tips
This is a super low-commitment project that adds a subtle glow to any dog. It’s about giving the outer edges of the fur a lighter, sun-kissed look, much like a balayage in human hair.
Use a clean, dry toothbrush or a small comb to apply a light color (like a soft yellow or light beige) to just the very ends of the fur. Focus on the longer fur on the ears, tail, and legs.
It’s a delicate touch that doesn’t look dyed, but rather like your dog just spent a day at the beach. It’s perfect for anyone who wants a change but wants to keep it natural.
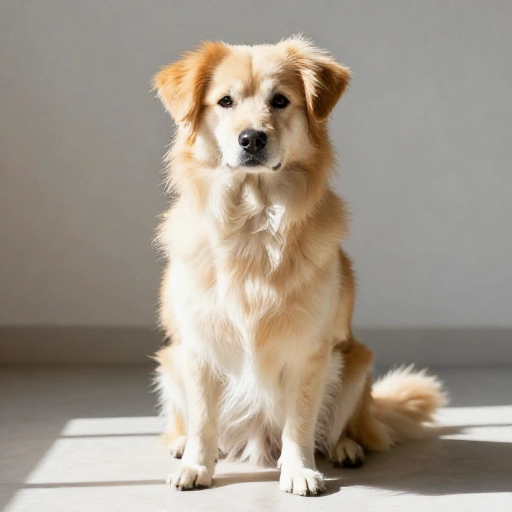
12. Candy Corn Tail
This is a seasonal favorite that’s perfect for fall. It’s a multi-color project, but it’s so easy because you’re just working in sections on the tail.
Divide the tail into three sections. Dye the base of the tail orange, the middle section yellow, and the tip white. Let each section dry slightly before starting the next to avoid bleeding.
It’s a playful and festive look that’s guaranteed to get compliments. Just make sure to use a high-quality pet dye to keep the colors vibrant.
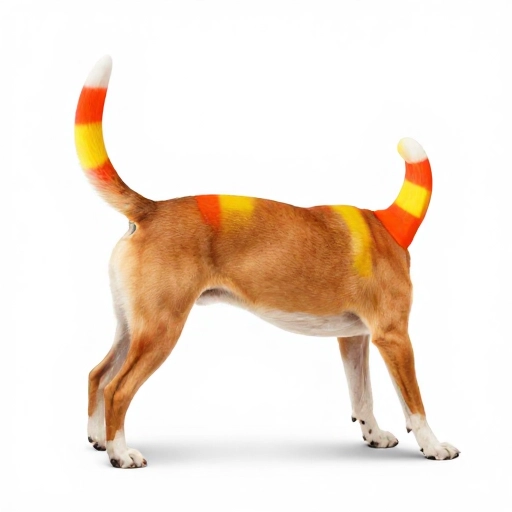
13. The Glitter Beard (Temporary)
Okay, this isn’t a traditional dye, but it’s a fun and easy alternative that gives an instant “wow” factor. This is perfect for dogs with a little beard or longer fur on their chin.
You can use a pet-safe, temporary color spray (like the kind used for dog shows) in a metallic or shimmering shade. Simply spray it onto the beard fur and brush it through.
It’s completely temporary and will brush out easily. This is great for a quick party or a photo op without any long-term commitment.
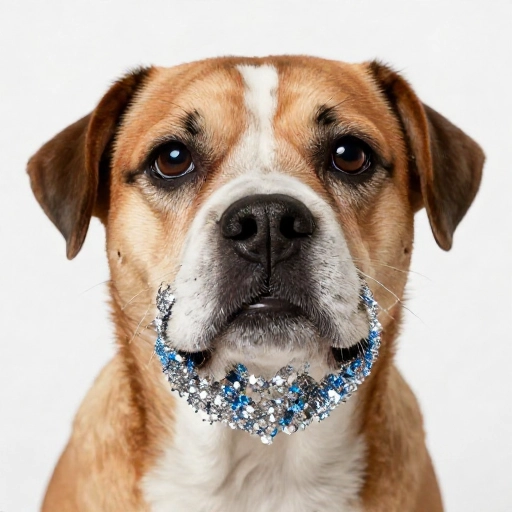
14. The Panda Face Patch
If you have a dog with a white face, you can create the illusion of a panda by dyeing large circles around their eyes. It’s a hilarious transformation that’s sure to get a laugh.
Use a large makeup sponge to apply dark dye (like black or dark grey) in a circular shape around each eye. Be careful to keep the dye away from the eyes themselves.
This is a bold look, but it’s also limited to a small area. The result is absolutely adorable and perfect for a themed costume party.
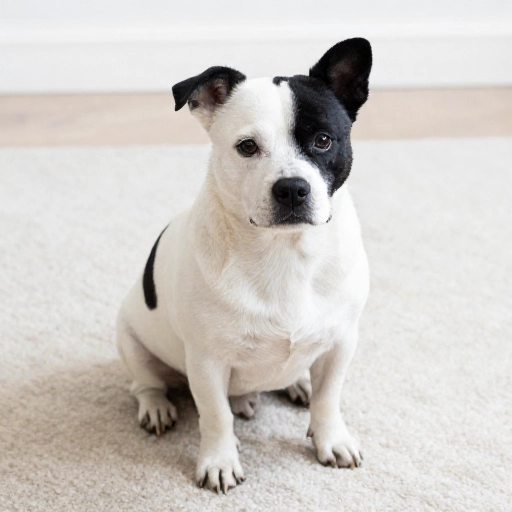
15. The Ombre Back Stripe
Instead of a solid stripe down the back, you can create a beautiful gradient effect. This is similar to the tail dip, but it runs the length of the body.
Start by applying the darkest color at the base of the tail and work your way up the spine, adding more conditioner to the dye mixture as you get closer to the neck to lighten the shade.
This creates a seamless transition from dark to light that looks very high-end and designer. It’s a beautiful way to add some flair to your dog’s silhouette.
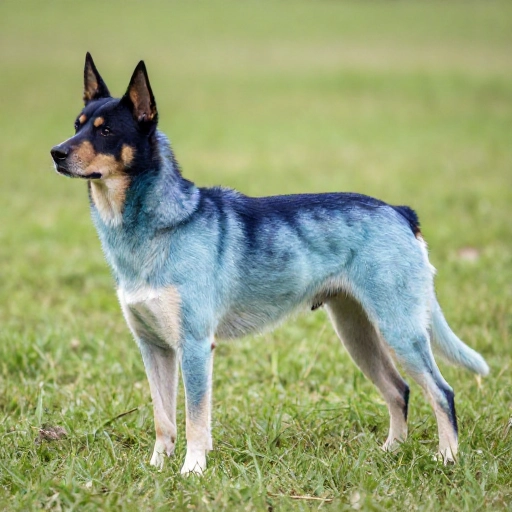
Ready to Get Creative?
There you have it—15 fun, easy, and totally doable dog dye projects that are perfect for a beginner. Remember that the most important ingredient in any of these projects is patience and a dog who is relaxed and happy. Always use dye that is specifically formulated for dogs, and never use human hair dye, as it contains chemicals that are toxic to pets.
Always do a patch test first to make sure your dog doesn’t have an allergic reaction. And most importantly, have fun with it! The process should be a bonding experience, not a stressful one. Your dog doesn’t care what color they are; they just care that they’re with you and getting lots of treats.
Frequently Asked Questions
Is it safe to dye my dog’s fur?
Yes, as long as you use professional, pet-safe dye that is specifically made for animals. These dyes are non-toxic and safe if ingested in small amounts. Never use human hair dye or bleach on your pet.
How long does dog dye last?
Most pet-safe dyes are semi-permanent and will fade over time. Depending on the color and the dog’s coat, it can last anywhere from a few weeks to a couple of months. Frequent bathing will speed up the fading process.
Can I dye a black dog?
Yes, but the colors won’t show up as vividly as they do on a white or light-colored dog. You’ll need to use brighter, more saturated colors, and the result will be a more subtle tint rather than a bold pop of color.
Will dyeing hurt my dog?
No, dyeing should never hurt your dog. The process itself is painless. However, if your dog is anxious or fidgety, it’s best to skip it. Always monitor your dog during the process and stop if they seem stressed.
How do I remove the dye if I don’t like it?
Since we only use semi-permanent dye, it will fade on its own. If you want to speed up the process, you can bathe your dog more frequently using a gentle dog shampoo. You can also use a clarifying shampoo to help strip some of the color.