15 Essential Winter Cat House Builds for Survival
When the temperature drops and the wind starts howling, our furry friends need a safe place to escape the cold. If you care for outdoor or feral cats, you know that winter can be brutal. A simple cardboard box just won’t cut it when frost sets in. Building a proper shelter can mean the difference between life and death for these resilient little survivors.
I’ve spent years tweaking and testing different designs, and I’m excited to share the most effective ones with you. Whether you have a few spare hours or a whole weekend, there’s a project here for every skill level and budget. Let’s get those paws warm and toasty!
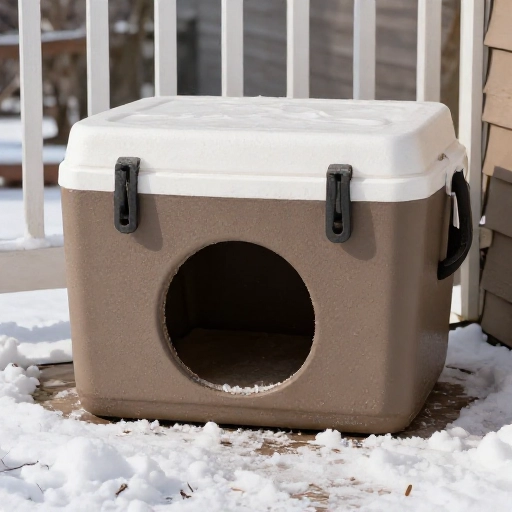
1. The Classic Styrofoam Cooler Shelter
This is the fastest and most affordable build you can make. Grab a large styrofoam cooler from the grocery store or a friend’s garage sale. Cut a 6-inch diameter hole in one side for the entrance. Fill the bottom with straw (not hay!) for insulation. The thick styrofoam walls trap body heat remarkably well, turning a simple cooler into a cozy winter den.
To make it waterproof, wrap the entire cooler in a heavy-duty trash bag and duct tape. This protects the styrofoam from moisture which can freeze and break it apart. Place it on pallets or bricks to keep it off the frozen ground. It’s truly a life-saver in a pinch.
2. The 5-Gallon Bucket Igloo
Don’t throw away those plastic buckets from the hardware store! Two 5-gallon buckets can create a surprisingly durable shelter. Nest one bucket inside the other, but put a 2-inch layer of foam board insulation between them. The inner bucket becomes the sleeping chamber.
Cut the entry hole on the side of both buckets, ensuring they line up perfectly. Fill the bottom of the inner bucket with straw. The rounded shape of the bucket helps deflect wind, and the double-wall design provides excellent thermal protection. It’s small, but it holds heat like a champ.
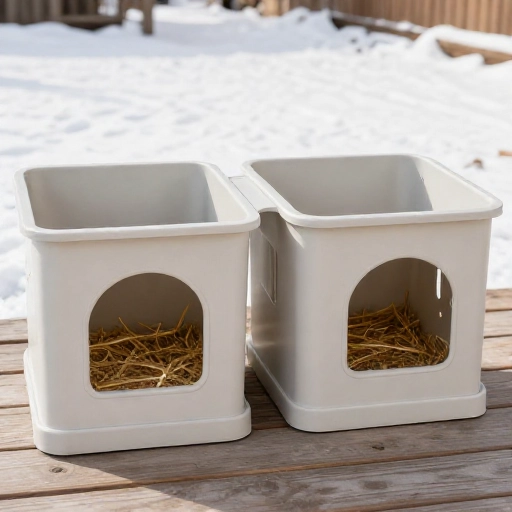
3. The Two-Bin Storage Tote House
This is my go-to recommendation for a quick upgrade. You need two large plastic storage totes—one bigger than the other. Cut a hole in the side of both, and place the smaller tote inside the larger one. Fill the gap between them with straw, shredded newspaper, or foam peanuts. This creates an insulated dead-air space.
The lid of the larger tote acts as a roof. This design is easy to clean because you can simply lift the lid and swap out the straw. It’s also incredibly sturdy and won’t collapse under heavy snow. Make sure the inner tote is slightly lifted off the bottom with a piece of foam for extra ground insulation.
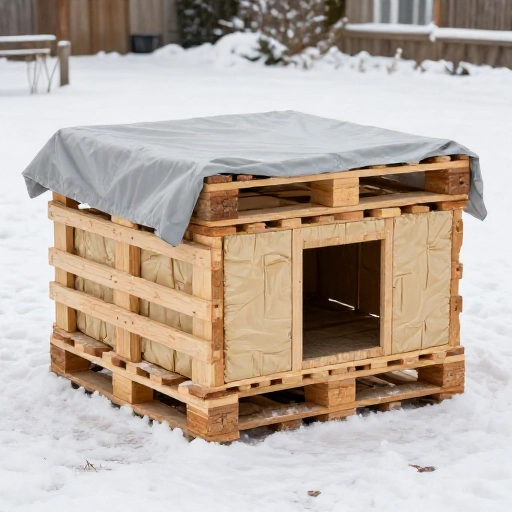
4. The Wooden Pallet Fortress
If you have some basic DIY skills, a pallet shelter is a solid, long-term investment. Stand two pallets upright to form an “L” shape, and use a third to create a roof. Use a fourth pallet as the floor to keep cats off the cold, damp earth. Secure everything with screws or zip ties for stability.
Fill the spaces between the pallet slats with straw bales or foam board insulation. Cover the roof with a tarp or corrugated plastic to keep rain and snow out. This build is heavy, so place it in a protected spot. It offers amazing protection from predators and the elements.
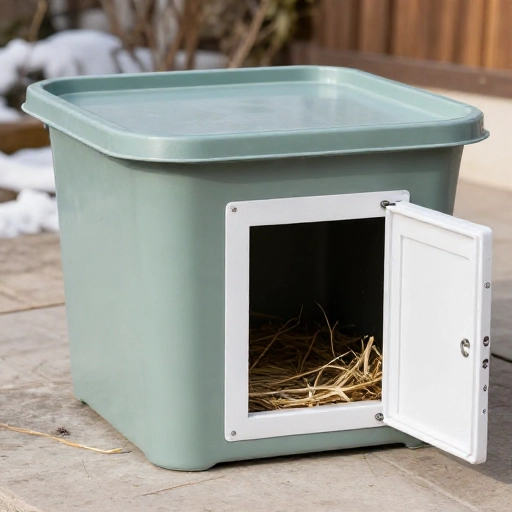
5. The Insulated Plastic Bin with a PVC Door
Take a standard large plastic storage bin and cut a hole that fits a 6-inch PVC pipe elbow. This elbow acts as a windbreak and a predator deterrent. Glue the PVC pipe into the hole with construction adhesive or silicone. The angle of the elbow prevents cold air from blasting directly into the sleeping area.
Line the inside of the bin with foam board insulation on all sides, including the lid. Use straw for bedding. This build is fantastic because the entrance is protected, keeping the interior significantly warmer. It’s a bit more work, but the results are worth it.
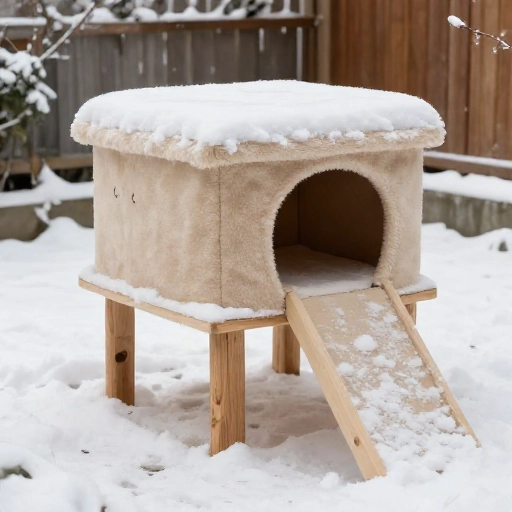
6. The Elevated Cat Condo
Raising the shelter off the frozen ground is crucial. Build a simple wooden box frame and attach four legs, making it about 1-2 feet off the ground. The open bottom of the box is covered with a plywood floor. This air gap prevents cold from seeping up from the soil.
Insulate the walls with foam board and cover the exterior with plywood or PVC panels. An overhanging roof made of corrugated metal adds extra protection from rain and snow. This build is perfect for areas with heavy snowfall, as it stays dry and accessible even when drifts pile up.
7. The Hay Bale Igloo
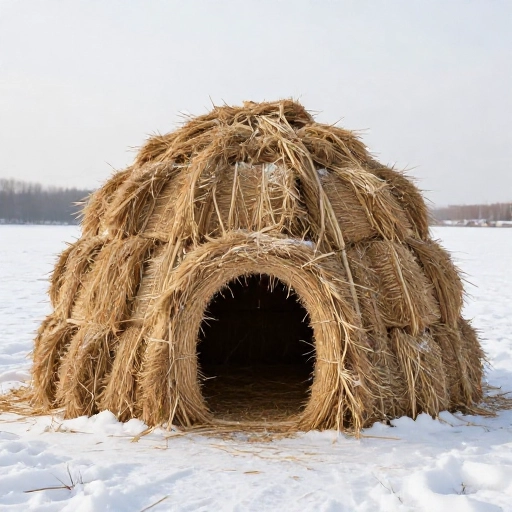
This is a rustic and incredibly effective design. Arrange large straw bales in a square or circle, leaving a gap for the entrance. Stack a second layer on top to create walls. Then, place a piece of plywood or more bales on top for the roof. The sheer mass of the hay bales provides incredible insulation.
You can place a smaller plastic tote or a wooden box inside the hay square to give the cats a defined sleeping space. The hay bales protect the inner shelter from wind and freezing temperatures. This is a great option if you live in a rural area where hay is easy to source.
8. The Under-Deck Hideaway
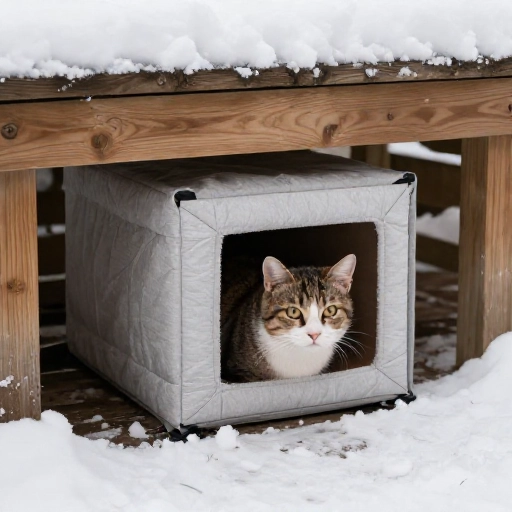
If you have a deck, you have a potential winter refuge. Create an enclosed box using foam board insulation and plywood to fit under the deck. The deck itself acts as the roof, protecting the shelter from rain and snow. Use hardware cloth or lattice to enclose the sides, leaving a small entrance.
Inside this enclosed space, place a smaller cat house or a pile of straw. The space under the deck is already somewhat protected from the elements, and adding the insulated box makes it a five-star suite. It’s a great way to repurpose unused space.
9. The Simple Cardboard Box Upgrade
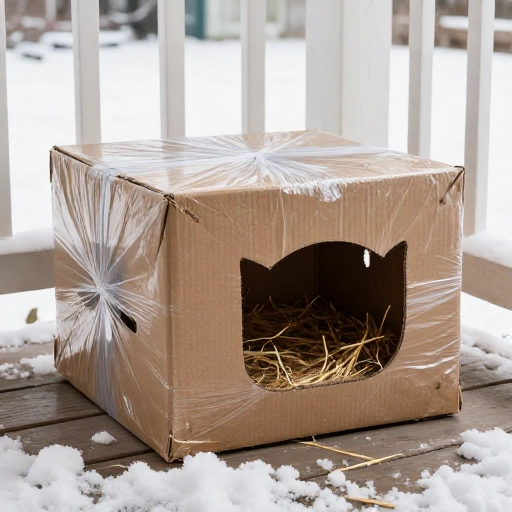
In an absolute emergency, you can make a cardboard box work. Find the largest box you can and line the bottom with a thick layer of straw. Then, place a smaller box inside, creating an air gap. Fill that gap with crumpled newspaper or packing peanuts for extra insulation.
Cut a small entrance hole and cover the entire structure with a thick plastic tarp or multiple trash bags. Secure the tarp with duct tape. This won’t last all winter, but it can provide a critical overnight refuge during a sudden cold snap. It’s better than nothing.
10. The Heated Cat Pad House
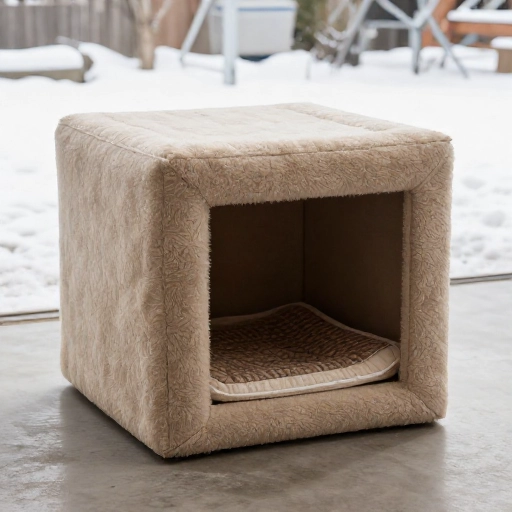
For senior cats or those in extreme climates, a heat source is essential. Build a standard insulated wooden box but make it slightly larger. Inside, place a microwavable heating pad (designed for pets) wrapped in a towel. These pads stay warm for hours and are safe to use.
Never use electric heating pads or electric blankets outdoors, as they are a fire hazard and can be chewed. The combination of a well-insulated house and a self-warming pad creates a toasty environment. You can also buy self-warming pads that reflect the cat’s own body heat.
11. The Tire Tower
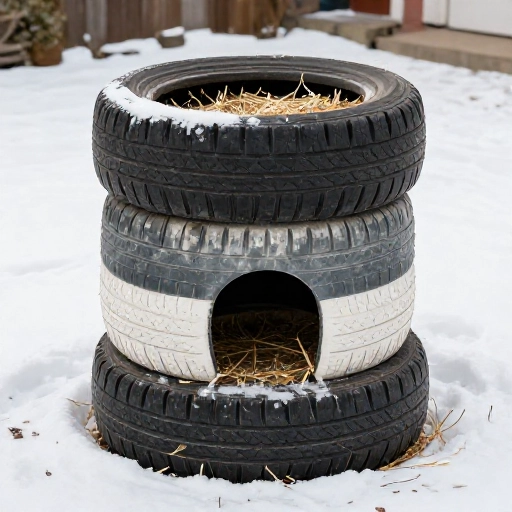
Old tires are heavy, durable, and surprisingly insulating. Stack two or three tires on top of each other, ensuring they align. Fill the bottom tire with straw. The thick rubber blocks the wind and holds heat. Place a piece of plywood on top of the stack to act as a roof.
You can paint the tires black to absorb sunlight during the day, which radiates warmth at night. This is a very heavy build, so it won’t blow away in a storm. It’s a unique and eco-friendly way to reuse waste materials.
12. The Cedar Shingle Cottage
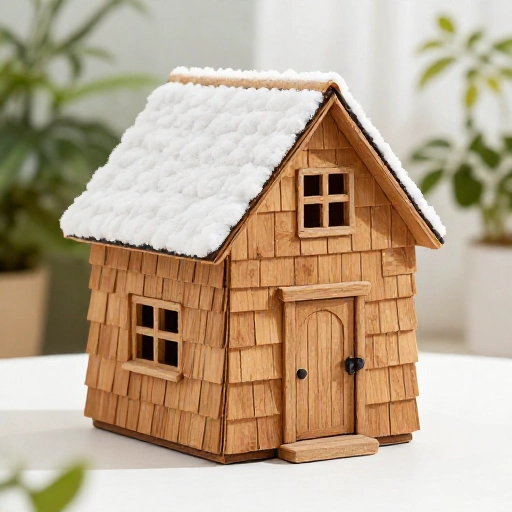
If you want something that looks good in your yard, this is the project for you. Build a simple wooden box frame with a slanted roof. Cover the exterior with cedar shingles or wood siding. Cedar is naturally rot-resistant and provides great insulation.
Use foam board inside the walls and add a thick straw bedding. The slanted roof allows snow and rain to slide right off. This is a more permanent structure that can last for years. It’s also heavy enough to stay put in strong winds.
13. The Converted Dog House
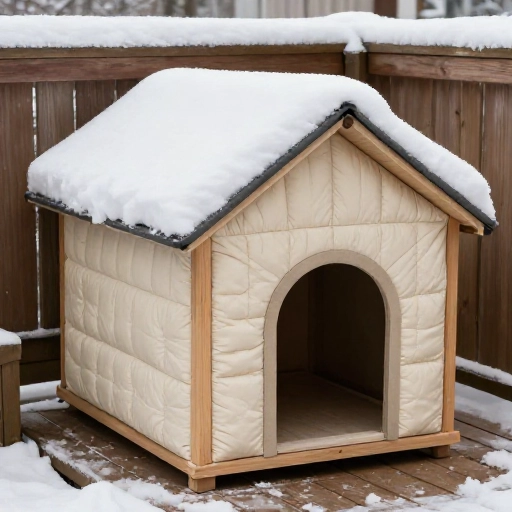
Do you have an old dog house lying around? Don’t toss it! It can be easily converted for cats. The opening is usually too large, so block off part of it with a piece of wood to create a smaller, cat-sized entry. This reduces heat loss significantly.
Add a false wall inside to create a stepping stone vestibule that blocks the wind. Then, fill the main chamber with straw. The existing structure is already durable, so a few modifications make it a fantastic winter shelter. It’s a great way to upcycle.
14. The Underground Burrow
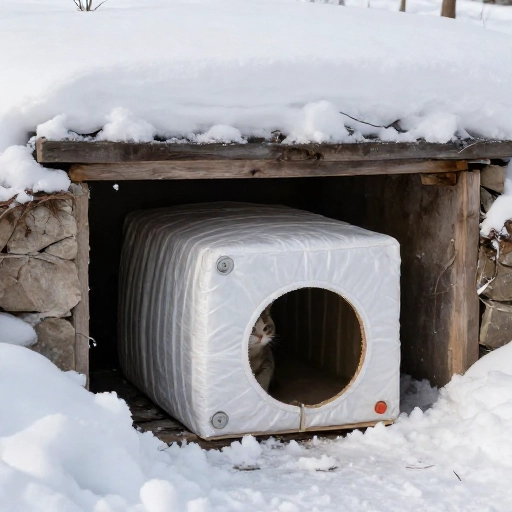
Ground temperature is warmer than air temperature in the winter. You can dig a hole and place a plastic tote inside. Line the bottom with straw and cover the tote with a lid. Then, bury it with a few inches of soil, leaving the entrance exposed. The earth acts as a natural thermal mass.
This is a more advanced project, but it provides incredible insulation. Ensure the hole drains well and the tote has a waterproof lid. This is the closest you can get to a natural den. It stays surprisingly warm even on the coldest nights.
15. The Community Cat Cabin
If you have a large colony, you need a bigger space. Build a large wooden crate or repurpose a small garden shed. Insulate it heavily with foam board and line the floor with straw. Create multiple entrances on different sides to prevent a dominant cat from blocking the only exit.
Place smaller boxes or crates inside to give cats choices and hiding spots. A larger space is harder to heat, so be generous with the straw. This is a significant build, but it ensures all the cats in your care have a place to go.
Conclusion
Building a winter shelter doesn’t have to be complicated or expensive. Starting with a simple styrofoam cooler can save a life tonight, while a more elaborate cedar cottage can be a weekend project that lasts for years. The most important thing is to provide a dry, draft-free space that holds body heat.
Remember to use straw, not hay or blankets, as bedding. Wet blankets freeze and become useless. Check the shelters regularly to ensure they are dry and clean. Your efforts make a world of difference to these silent, furry friends. Stay warm out there!
Frequently Asked Questions
Q: What is the best material for bedding?
A: Straw is the absolute best. It is dry, hollow, and repels moisture. Hay is food for animals and retains moisture, and blankets and towels freeze solid when wet.
Q: Should I use a heated bowl for water?
A: Yes! Keeping water unfrozen is just as important as shelter. A heated bowl placed near the shelter but outside of it is perfect. Don’t put water inside the sleeping area, as spills can make the bedding wet and cold.
Q: How big should the entrance hole be?
A: A 6-inch diameter hole is usually perfect for a cat. It’s big enough for them to pass through easily but small enough to keep out wind, rain, and larger predators. It also helps conserve body heat.
Q: Where should I place the cat house?
A: Place it in a quiet, sheltered spot away from strong winds. Near a wall, fence, or under a porch is ideal. Make sure the entrance is facing away from the prevailing wind direction.
Q: Can I use a heating pad in the shelter?
A: Only use pet-safe microwavable heating pads or self-warming pads. Never use electric heating pads or cords outdoors, as they are a serious fire hazard and can be chewed by the cats.