15 Scrumptious Homemade Dog Treats: Sweet Potato Chews Your Pup Will Go Crazy For
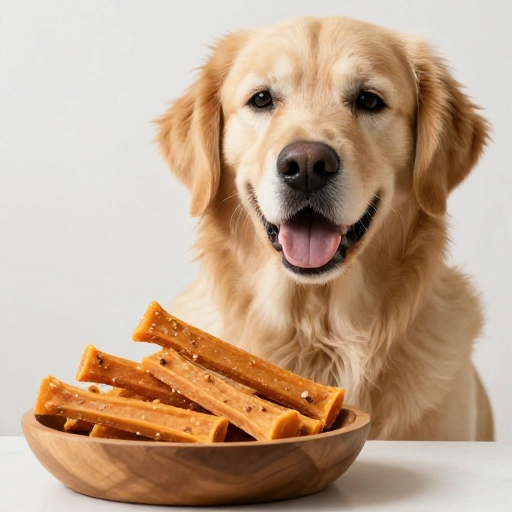
I’ve got a confession—my kitchen smells like a sweet potato bakery right now, and my dog, Charlie, hasn’t left my side for a second. Since I started making these homemade chews, I’ve realized just how much store-bought treats are missing: real ingredients, zero weird preservatives, and a whole lot of love. It all started with a single sweet potato and a desperate need to keep my pup busy during Zoom calls. Now, it’s our favorite weekend ritual.
These chews are incredibly simple to pull together, and your dog will absolutely lose it over the natural sweetness and chewy texture. Plus, you get to control everything that goes into them. No hidden junk, just pure, wholesome goodness. Whether you’re a seasoned treat maker or a total newbie, this is the perfect place to start. Let’s get baking (or rather, dehydrating)!
Why Make This Recipe (Health & Nutritional Benefits for Dogs)
Sweet potatoes are a powerhouse for your dog’s health. They’re loaded with dietary fiber, which helps with digestion and keeps that tail wagging. They also pack a punch of vitamin A, great for eyesight and a shiny coat, plus vitamin C and B6 to support their immune system.
When you dehydrate them into chews, you get a long-lasting, low-fat snack that’s perfect for training, teething puppies, or just treating your best friend. You’re skipping all the artificial flavors, added sugars, and fillers you find in bags at the pet store. Your dog gets the real deal, and you get peace of mind.
Kitchen Equipment & Tools You’ll Need
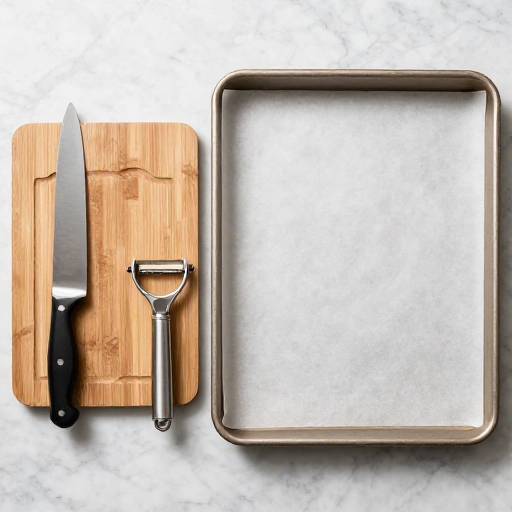
You probably already have most of this. The magic happens with a good knife and a steady hand. Here’s what I use every time:
- A sharp chef’s knife or a mandoline slicer (careful with fingers!)
- A cutting board
- A large bowl of cold water (to prevent browning)
- A baking sheet or two (for oven method) or a dehydrator tray
- Parchment paper (lifesaver for cleanup)
- A wire cooling rack (optional, but helps air flow)
That’s it. Nothing fancy, just basic kitchen gear. If you have a dehydrator, you’ll get the best texture, but the oven works like a charm too. I’ve done both, and honestly, the oven method is my go-to because it’s faster.
Ingredients List & Safe Substitutions
The ingredient list is short and sweet: just sweet potatoes. But let me share a few tips and swaps I’ve picked up:
- Sweet Potatoes: Go for firm, orange-fleshed ones (like Garnet or Jewel). They have the best natural sweetness and moisture content.
- Optional: A light sprinkle of cinnamon (just a pinch, no sugar). It’s totally safe for dogs and adds a cozy aroma. Never use nutmeg—it can be toxic.
- No Salt, No Sugar, No Butter: Your dog doesn’t need any of that. Trust me, the sweet potato is plenty flavorful on its own.
- Substitution: You can swap sweet potato for regular potato? Please don’t. Regular potatoes aren’t great for dogs raw or green. Stick to sweet potatoes or try carrots for a different texture.
One medium sweet potato makes about a week’s worth of treats for a small to medium dog. Scale up if you have a big pup or want to share with friends.

Step-by-Step Instructions / Preparation Guide
Alright, let’s roll up our sleeves. I’ll walk you through my foolproof method:
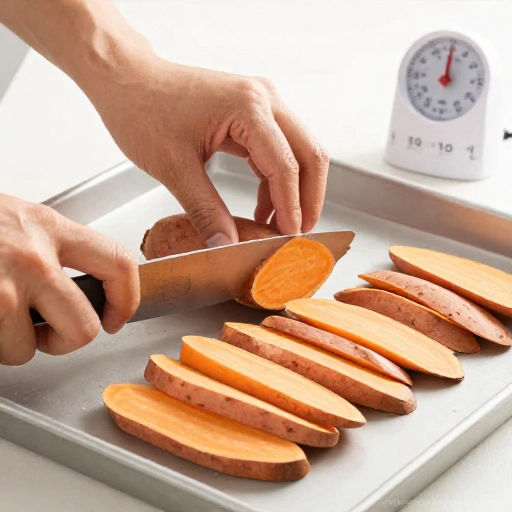
- Wash and peel. Scrub those sweet potatoes clean. I always peel them because the skin can be tough for some dogs. If your dog has a strong stomach and loves texture, leave the skin on.
- Slice evenly. Cut into ¼-inch thick rounds or long strips (like fries). Uniform thickness is key—thicker slices take longer, thinner ones can burn. A mandoline makes this super easy.
- Soak (optional but helpful). Drop slices into a bowl of cold water for 10 minutes. This removes some starch and helps them crisp up better. Drain and pat dry with a towel.
- Arrange on trays. Line your baking sheets with parchment paper. Lay the slices in a single layer, not touching. This lets air circulate.
- Bake low and slow. Preheat your oven to 250°F (120°C). Bake for 2.5 to 3 hours, flipping halfway through. For a dehydrator, set it to 135°F and let it run for 6–8 hours.
- Check doneness. They should be dry to the touch, slightly bendy but not brittle. They’ll harden a bit as they cool. If they’re still soft inside, give them more time.
Let them cool completely on the baking sheet before you even think about handing one over. Patience, friend!
Feeding Guidelines, Serving Size & Storage Tips
Treats are treats, not a meal. Here’s how I keep things balanced:
- Serving Size: For a small dog (under 20 lbs), one to two chews a day is plenty. For a medium dog (20–50 lbs), two to three. For big breeds, three to four is fine. Always start with less to see how their tummy handles it.
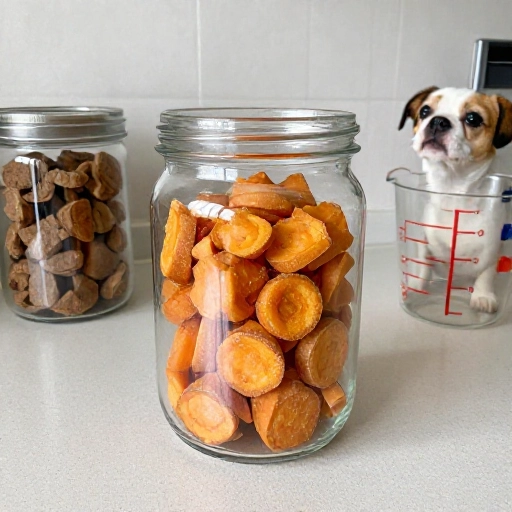
- Storage: Keep in an airtight container at room temperature for up to two weeks. In the fridge, they last a month. In the freezer? Up to six months. I freeze a batch and pull out a few as needed.
- Feeding Tip: These are great for training sessions because they’re not greasy. Break them into smaller bits for rewards. Also, they make excellent boredom busters—pop one in a treat-dispensing toy for a fun challenge.
Watch your dog’s weight and adjust their main meals accordingly. A happy dog is a healthy dog!
Final Verdict & Summary
Honestly, I don’t think I’ll ever buy commercial dog treats again. These sweet potato chews are so simple, cost-effective, and—most importantly—my dog absolutely adores them. He does a little happy dance every time I reach for a sweet potato. The process is almost meditative: washing, slicing, waiting for that warm, earthy smell to fill the house. It’s a small act of love that makes a big difference.
If you’re looking for a healthy, addictive, and easy homemade treat, this is it. No weird ingredients, no complicated steps, just pure sweet potato goodness. Your pup will thank you with licks and tail wags. Give it a try this weekend, and watch their eyes light up. You won’t regret it!
FAQ (Frequently Asked Questions)
Can I use a dehydrator instead of an oven?
Absolutely! A dehydrator is actually the traditional way to make these. Set it to 135°F and let it run for 6–8 hours, or until they reach your desired chewiness. It uses less energy and gives a very consistent result.
My chews turned out too hard. What went wrong?
You likely baked them too long or at too high a temperature. Next time, check them earlier. They should be slightly bendy when you take them out, as they will firm up while cooling. If they’re already rock-hard, don’t worry—your dog might still enjoy them as a crunchy treat. Just supervise to avoid any choking.
Are sweet potato chews safe for puppies?
Yes, they’re great for teething puppies! The chewy texture soothes sore gums. Just make sure the slices are thin enough for their little mouths, and always supervise. Start with small pieces to see how they handle them.
How long do these chews last once made?
Stored properly in an airtight container at room temperature, they’ll stay fresh for up to two weeks. In the fridge, they’ll last about a month. For long-term storage, pop them in the freezer for up to six months—just thaw a few as needed.
Can I add other flavors like peanut butter or pumpkin?
You can! For a twist, lightly brush the slices with a thin layer of unsweetened peanut butter (make sure it’s xylitol-free) or pumpkin puree before baking. Keep it minimal to avoid sogginess. I’ve tried a cinnamon sprinkle and it’s a hit, but stick to one or two additions so the sweet potato flavor shines.