15 Smart Cat Wall Furniture Projects Anyone Can Build
If your cat owns your house (let’s be honest, they do), you already know they crave vertical space. They want to be up high, watching everything, judging your life choices from the top of the bookshelf. But store-bought cat trees are ugly, bulky, and cost a fortune.
So, I started building my own cat wall furniture. It’s cheaper, it looks way better, and honestly, it’s a fun weekend project. You don’t need to be a master carpenter. You just need some wood, screws, and a stud finder. Here are 15 ideas that are actually doable for a regular person with basic tools.
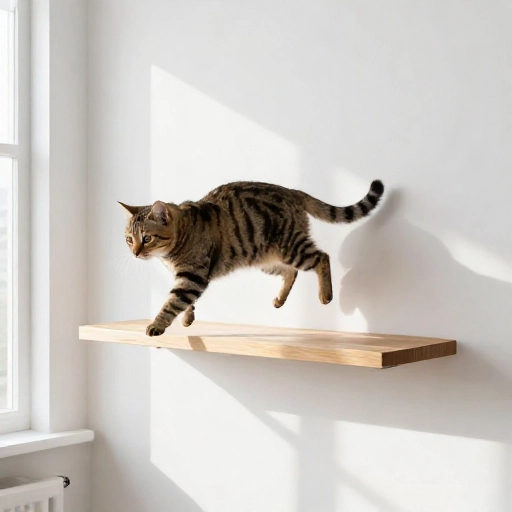
1. The Simple Floating Shelf Jump
This is the easiest way to start. It’s just a wooden shelf mounted securely to the wall. But the trick is to place them at different heights, like stairs, so your cat can hop up to the highest point in the room.
I used a cheap pine board, sanded it down, and covered it with a scrap piece of carpet. It took me about an hour. Make sure to anchor it into the wall studs. A cat landing on a loose shelf is a recipe for a scared kitty and a broken shelf.
Space them about 12 to 15 inches apart vertically. That’s the perfect jump height for most cats.
2. The Wall-Mounted Cat Bridge
Cats love walking on narrow ledges. A wall bridge is basically a long, flat plank that spans across a wall or connects two shelves. It gives your cat a fun walkway that looks super cool.
I bought a pre-cut shelf board from the hardware store and stained it to match my living room. It looks like a modern art installation, but my cat thinks it’s a highway. You can add a little rope wrapped around the edges if your cat likes to scratch.
Just make sure the brackets are heavy-duty. You don’t want this thing swaying when your cat runs across it.
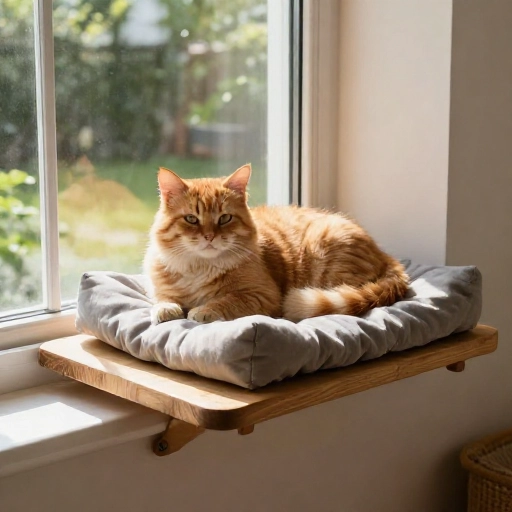
3. DIY Cat Perch Window Seat
Cats are basically solar-powered. They need that sunbeam. A window perch is a must-have. Instead of buying a suction cup one that always falls down, build a wooden frame that sits right under the window sill.
I built a simple wooden box that attaches to the wall on both sides, creating a deep shelf right at the window. Then, I added a cozy cushion on top. It’ssolid, it’s safe, and it doesn’t fall down every time my cat stretches.
Use a bracket that can handle at least 30 pounds, even if your cat is small. They like to jump on it hard.
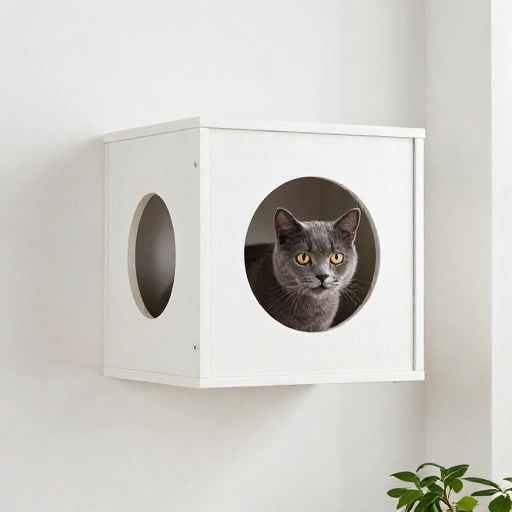
4. The Cube Hideout
Sometimes cats want to hide, not just be high up. You can build a simple cube box and mount it to the wall. It’s like a little cave in the sky.
I took a wooden crate, sanded it down, and screwed it into the wall with a heavy-duty bracket. I cut a circular hole in the front for a door. My cat loves to sleep in there because it feels safe and secure.
You can paint it or leave it raw. If you leave it raw, your cat will probably scratch it up, which actually looks kind of rustic.
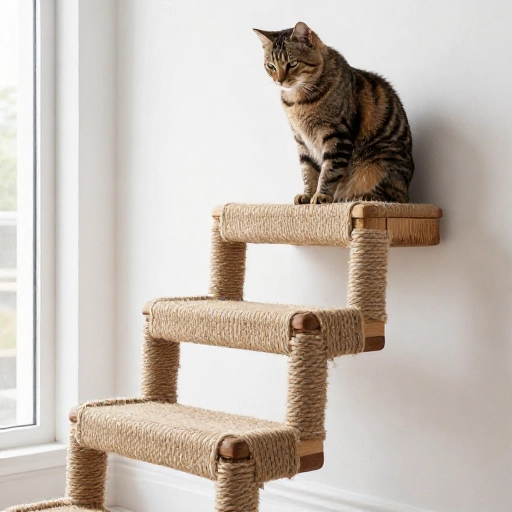
5. Rope-Wrapped Step Stools
If you want to combine climbing and scratching, wrap a few simple steps in sisal rope. This gives your cat a place to sharpen their claws while they climb.
I took three small square plywood boards, screwed them into the wall in a zigzag pattern, and wrapped each one tightly with sisal rope. Use a hot glue gun to keep the rope in place as you wrap. It takes a while, but it’s mindless work.
This saves your couch. Trust me. My cat uses these more than her actual scratching post.
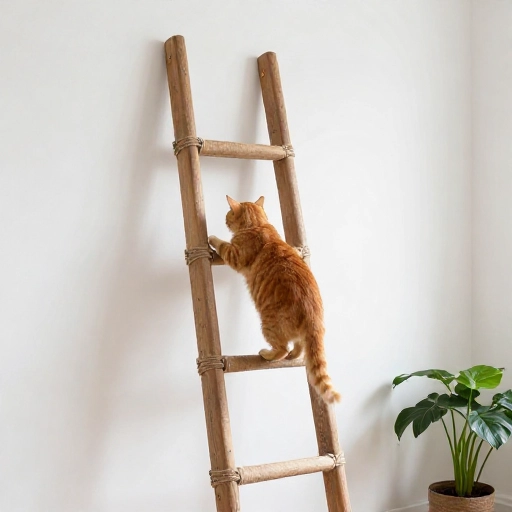
6. The Ladder Lean
This is a zero-drill option for renters. Take an old wooden ladder, lean it against the wall, and secure the top to the wall with a simple strap or bracket. The rungs become natural steps.
I found an old repurposed ladder at a flea market. I sanded it down and put a little grippy tape on the rungs so my cat doesn’t slip. It looks super farmhouse-chic, and it’s very sturdy.
Make sure the base is secure so it doesn’t slide out from under your cat when they jump on it.
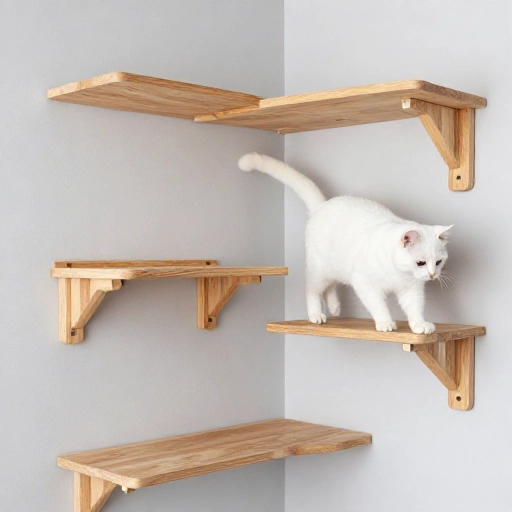
7. The Corner Shelf System
Don’t ignore the corners of your room. They are wasted space. You can build custom corner shelves that fit snugly into the 90-degree angle of the wall.
I cut a circular piece of wood and mounted it on a corner bracket. It creates a nice resting spot that doesn’t take up any floor space. It’s perfect for a small apartment.
You can also do a square one, but I find the round ones look softer and more organic. It’s a nice contrast to all the straight lines in a room.
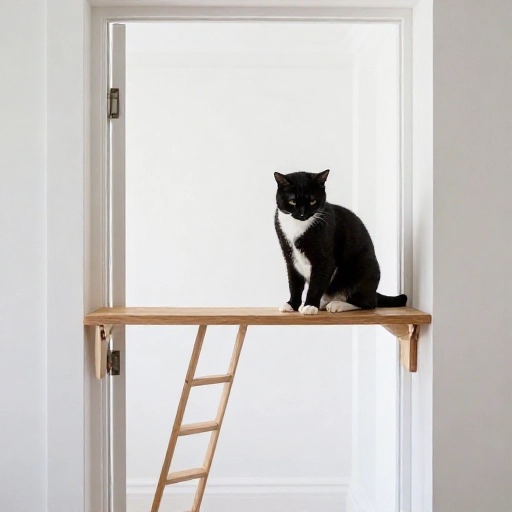
8. The Catwalk Above the Door
This is a fun one. Use the space above your door frame. It’s usually just empty wall, but cats love being up there. It makes them feel like they are in a secret spy movie.
I installed a long, narrow shelf right along the top of the door frame. My cat can jump from the top of the cat tree, walk across the door, and then jump down to the closet. It’s a full circuit.
It’s a great conversation starter when guests come over. They usually don’t notice it until the cat runs across the top of the door.
9. The Built-In Cozy Cave
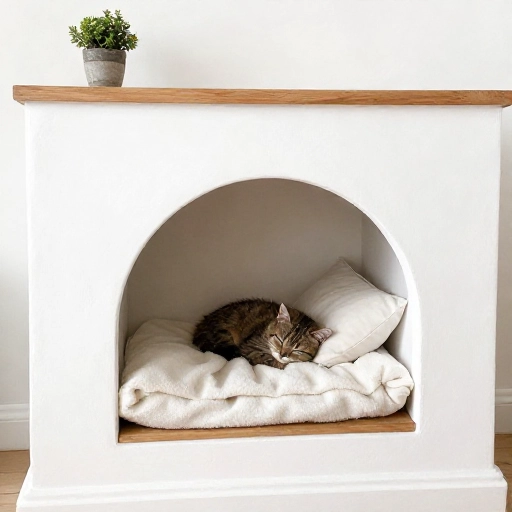
If you are a bit more advanced, you can build a box that looks like a floating cube with a hole in the side. It’s like the cube hideout, but bigger and with a padded floor.
I built a simple plywood box, painted it to match the wall, and mounted it with a heavy-duty French cleat system. Inside, I put a soft fleece blanket. It’s my cat’s absolute favorite place to nap.
The French cleat is key here. It distributes the weight better than a simple bracket, so it’s safer for a heavier box.
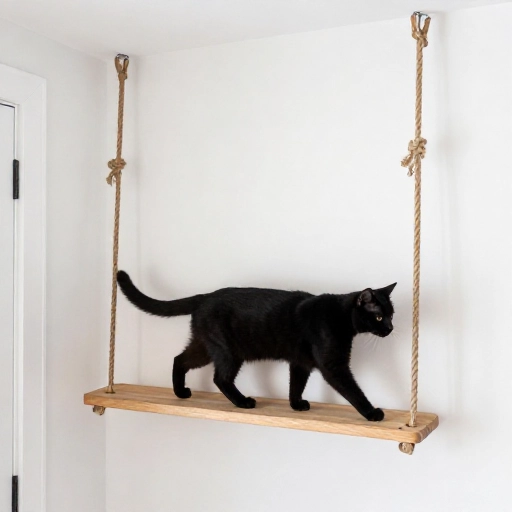
10. The Hanging Rope Perch
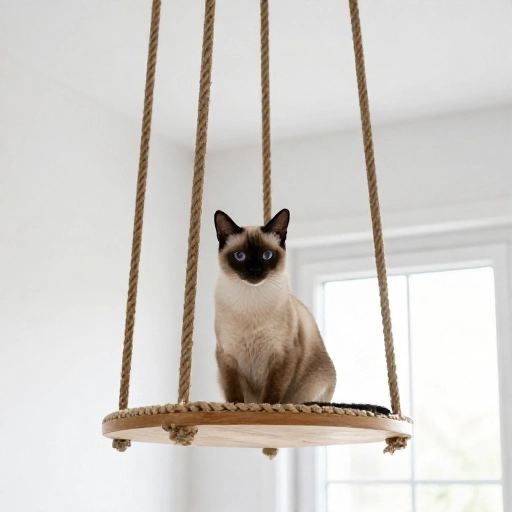
Instead of a solid shelf, you can make a hammock-style perch using a thick piece of wood and some heavy-duty rope. It swings slightly, which some cats love.
I drilled four holes in a wooden board, threaded a thick cotton rope through them, and tied knots underneath. Then, I hung the whole thing from a heavy-duty ceiling hook. It’s like a boat swing, but for your cat.
Make sure the knots are tight. I double-checked mine by hanging all my weight on it before letting my cat use it.
11. The Bookshelf Stepper
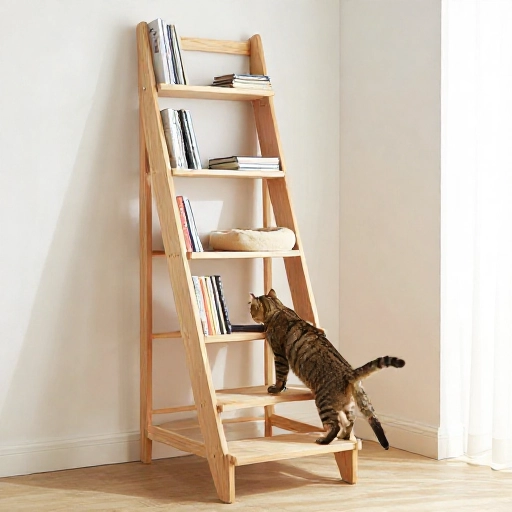
Take an old bookshelf or a set of cubbies and mount it horizontally on the wall. This gives you multiple levels and hiding spots in one go.
I found a cheap IKEA shelf on Facebook Marketplace and screwed it into the studs sideways. My cat can sit inside the cubbies or on top of them. It’s a multi-level playground.
Just make sure you secure the back of the shelf to the wall to prevent it from tipping. You don’t want it to fall.
12. The Scallop Edge Shelf
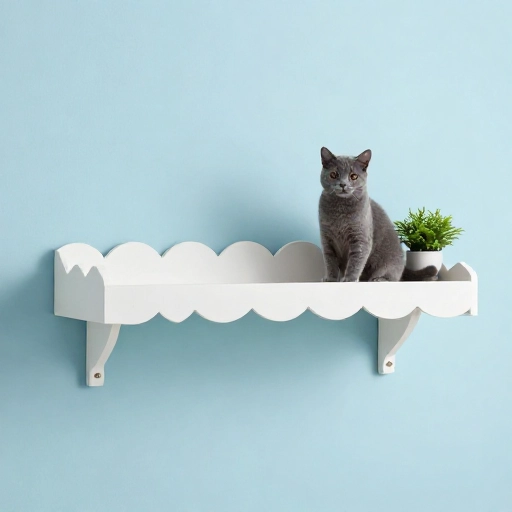
If you want to get a little fancy, cut a piece of wood into a scalloped or cloud shape. It’s a cute, whimsical look that adds a design element to your wall.
I drew a simple cloud shape on a piece of plywood and cut it out with a jigsaw. Then, I sanded the edges smooth and painted it white. It’s a cute little spot for my cat to sit and watch the birds.
It doesn’t have to be perfect. The wobblier the cut, the more handmade it looks.
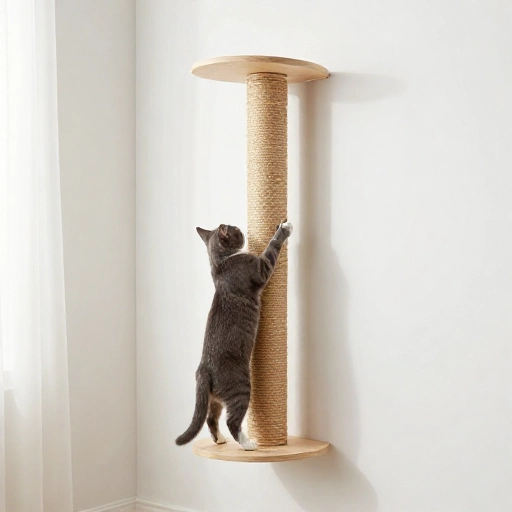
13. The Wall-Mounted Scratching Post
This is a vertical post that mounts directly to the wall. It saves floor space and gives your cat a full stretch for scratching.
I bought a thick wooden dowel and wrapped it tightly in sisal rope. Then, I mounted it vertically to the wall with a strong bracket at the top and bottom. It takes up almost no space.
This is perfect for hallways. My cat stops there every time she walks by to give it a good scratch. It’s saved my baseboards.
14. The “Basket” Hanging Shelf
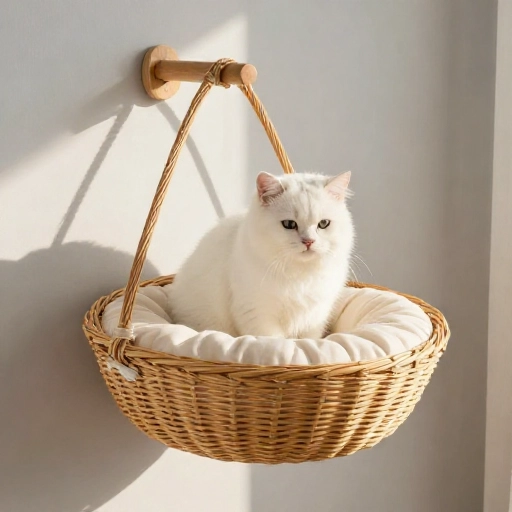
This is a simple one. Find a sturdy wire basket or a wooden crate and mount it directly to the wall. It’s a great place for your cat to curl up and hide.
I used a half-circle wooden basket I found at a craft store. I painted it a bright color and mounted it with a heavy-duty screw into the stud. It’s like a little papasan chair for my cat.
Line it with a soft cushion or a folded towel for extra comfort.
15. The Full Wall Climbing System
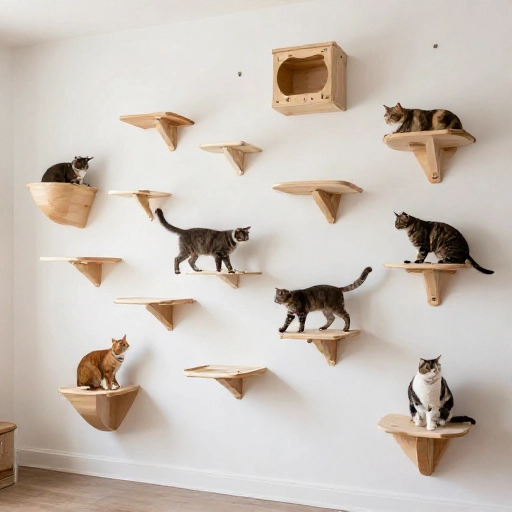
Okay, this is the grand finale. This is where you combine all the ideas. Create a full circuit of shelves, bridges, and boxes that go all the way around the room, high up near the ceiling.
I started with a plan on paper, mapping out where my studs were. Then, I installed a mix of the shelves and bridges mentioned above. It took me a whole weekend, but the result is incredible. My cat has a full highway system.
It looks like a modern art installation, and my cat gets tons of exercise running the full circuit. It’s the best thing I’ve built for her.
Conclusion
Building cat wall furniture is one of those projects where the payoff is immediate. You hang a shelf, and within minutes, your cat is on it, looking down at you like a tiny king. It’s practical, it’s fun, and it saves your furniture. Just take your time, secure everything into the studs, and watch your cat enjoy their new vertical kingdom.
Frequently Asked Questions
How much weight can a wall-mounted cat shelf hold?
If you screw into a wall stud with a good bracket, it can hold 50 pounds or more. If you are using drywall anchors, keep it to under 15 pounds just to be safe.
What is the best wood to use for cat shelves?
Pine is cheap and easy to work with, but it dents easily. Plywood is stronger and less likely to warp. It’s the better choice if you have a heavy cat.
Do I need to add carpet to the shelves?
No, but a lot of cats prefer a grippy surface. If you don’t want carpet, you can use a non-slip rug pad or apply a layer of grippy paint. A smooth stained wood shelf is slippery for them.
How do I know where the studs are in my wall?
Use a stud finder. They are cheap and easy to use. If you don’t have one, you can knock on the wall and listen for a solid sound, or look for outlets to guide you. Studs are usually 16 or 24 inches apart.
How do I get my cat to use the new furniture?
Start by placing them low and putting treats or catnip on the shelves. You can also play with a wand toy and lure them up. Be patient. Some cats take a few days to trust a new high spot.