16 Winter-Proof Cat Houses You Can Build Today
When the temperature drops, every stray cat deserves a warm place to curl up. I’ve spent years watching neighborhood cats shiver through cold snaps, and it always breaks my heart. That’s why I started building winter-proof shelters myself—simple, sturdy, and safe from rain, snow, and wind.
You don’t need to be a carpenter or spend a lot of money. I’ve gathered 16 designs that use everyday materials like storage bins, plywood, and even old coolers. Each one is built to keep cats cozy through freezing nights. Ready to help a furry friend survive winter? Let’s start building.
1. The Classic Storage Bin Shelter
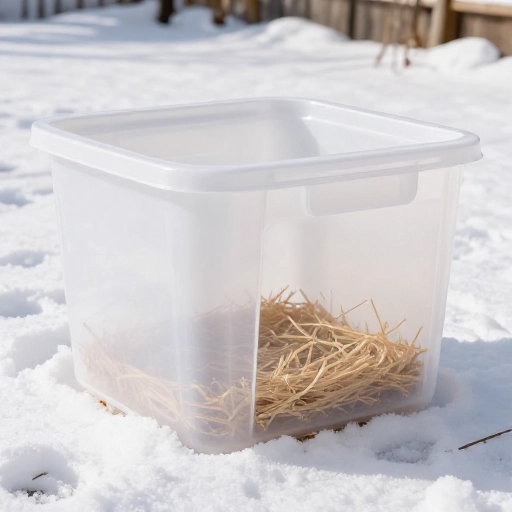
This is the easiest shelter you’ll ever make. Grab two large plastic storage bins—one slightly bigger than the other. Cut a 6-inch hole in the smaller bin, then fill the gap between bins with straw or foam board insulation. The double walls trap heat like a thermos.
Straw is key here. Blankets get wet and freeze, but straw stays dry and fluffy. I always add a flap of heavy plastic over the entrance to block wind. This shelter takes 20 minutes to build and lasts for years.
Place it under a porch or behind a shed for extra protection.
2. The Cooler Cat Cave
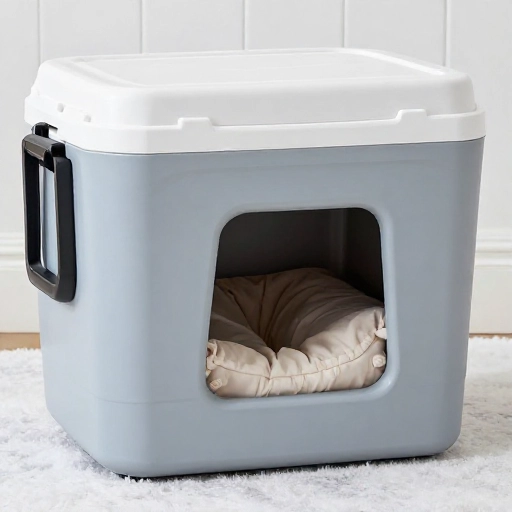
Old coolers are winter-proof wonders. The thick insulation keeps heat in and cold out. Cut a small entrance hole in one side, line the inside with straw, and add a layer of Reflectix (bubble wrap insulation) on the lid for extra warmth.
I love how coolers already have handles and lids that seal tight. Just make sure the entrance isn’t too big—cats prefer small, cozy openings. If you worry about rain, tilt the cooler slightly so water runs off.
3. The Plywood A-Frame
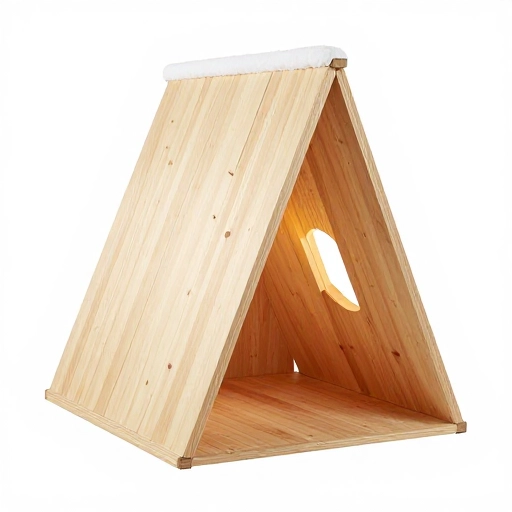
This one feels like a tiny cabin. Build an A-shaped frame from plywood, leaving a small triangular opening at one end. The slanted roof sheds snow and rain naturally. I seal all edges with caulk and paint the outside with weatherproof paint.
Inside, I staple insulation panels to the walls and cover them with scrap carpet for softness. A layer of straw on the floor finishes it. This shelter is sturdy enough for harsh winters and looks cute in a backyard corner.
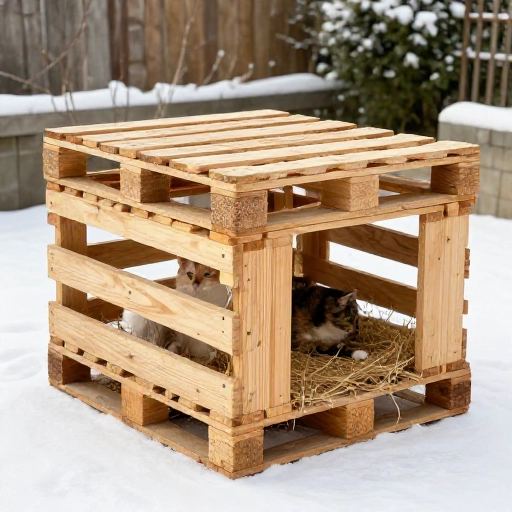
4. The Pallet House
Free pallets are everywhere, and they make great cat houses. Stack two pallets on top of each other for walls, then nail a third as a roof. Fill the gaps with straw or foam board. I cut a small door in the front pallet and add a removable lid for easy cleaning.
Pallets allow airflow while blocking wind, which prevents moisture buildup. I’ve found that cats love the rustic, hidden feel. Just sand any rough edges so no one gets splinters.
5. The Plastic Tote with Foam Lining
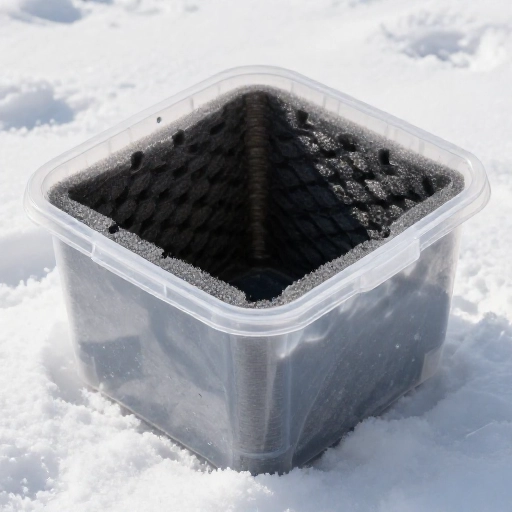
This is my go-to for quick winter emergencies. Use a 50-gallon plastic tote, cut a 5-inch hole near the bottom, and line the entire inside with 1-inch foam insulation board. I glue the foam in place and cover the floor with straw.
The lid seals tight, keeping drafts out. I also drill a few small ventilation holes near the top—cats need fresh air to prevent condensation. Add a heavy brick on top to keep the lid from blowing off.
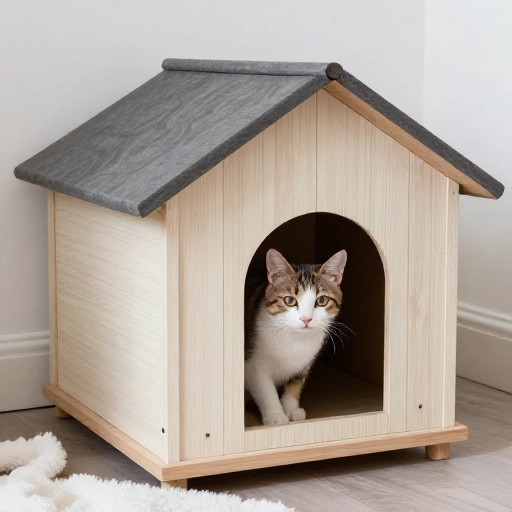
6. The Repurposed Dog House
Got an old dog house gathering dust? Turn it into a winter cat haven. First, block off the large door with plywood, leaving only a small cat-sized opening. Then insulate the walls with foam or straw—I use a staple gun to keep it in place.
Raise the floor off the ground using bricks or wooden blocks. This prevents cold from seeping up. I also add a flap of heavy vinyl over the entrance. Cats will appreciate the familiar shape and extra warmth.
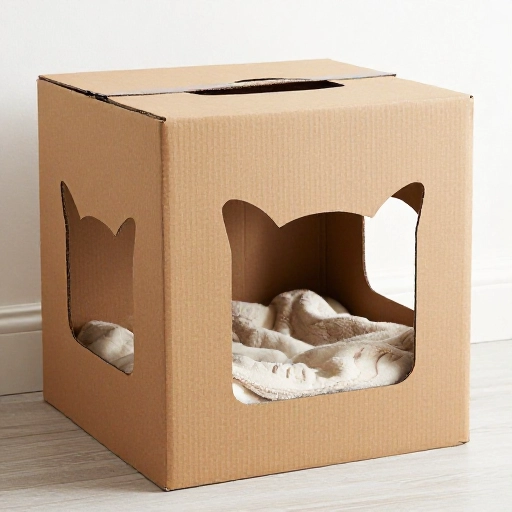
7. The Cardboard Box Fort
Yes, cardboard can work for a season. Use a large, sturdy moving box and wrap it completely in heavy-duty trash bags. Then tape the bags tight. Cut a small door and stuff the inside with straw and shredded newspaper.
Place the box inside a second, bigger box for double insulation. I put this under a deck or in a garage for extra protection. It’s not permanent, but it’s a lifesaver during unexpected snowstorms.
8. The Heated Cat House
For extreme cold, a heated shelter is best. Build a wooden box about 2 feet square. Line the walls with foam board, then install a heated pet pad (the kind with a chew-proof cord). Cover the pad with a thin layer of straw.
Make sure the cord is protected with a heavy-duty extension cord. I run the cord through a small hole in the back and seal it with silicone. Cats will feel the warmth instantly. Just check the pad regularly for wear.
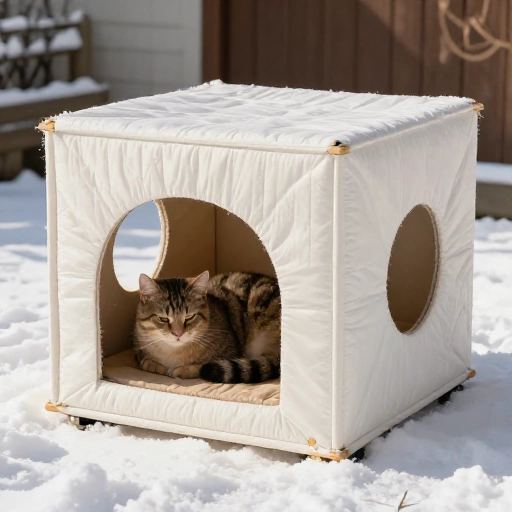
9. The Rubbermaid Shed Shelter
These big plastic sheds are surprisingly easy to convert. Cut a small cat door in the side, then fill the floor with a thick layer of straw. I add a few bales of straw inside for cats to burrow into—they love nesting in it.
The shed’s walls are already insulated against wind. I also hang a heavy curtain inside the entrance to trap heat. This shelter can house multiple cats and is easy to clean out in spring.
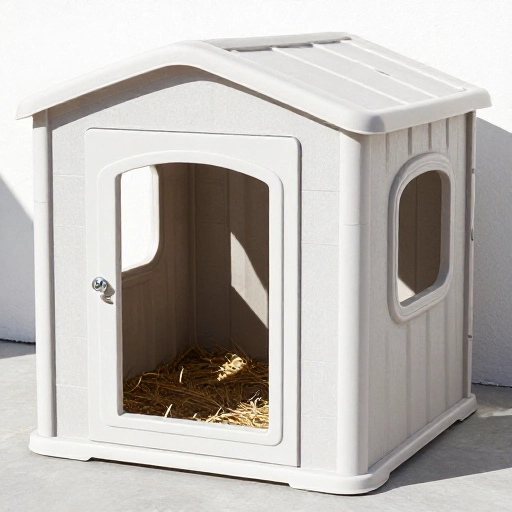
10. The Cinder Block Hideaway
Stack cinder blocks in a square, leaving a gap for an entrance. Place a large piece of plywood on top for a roof, then weigh it down with bricks. Fill the gaps between blocks with straw to block drafts.
Cinder blocks absorb heat during the day and release it at night, which keeps the inside warmer. I line the floor with foam and straw. This shelter is heavy and won’t blow away, making it perfect for open yards.
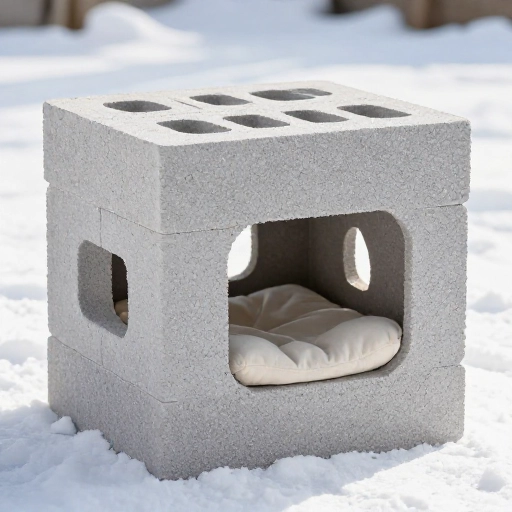
11. The Wine Crate Cabin
Wine crates are sturdy and just the right size for one cat. Nail two crates together with the open sides facing each other. Cut a small door in one end. Line the inside with foam and straw.
I paint the outside with leftover exterior paint to waterproof it. These little cabins look charming on a porch or patio. They’re also portable—you can move them to follow the sun during cold days.
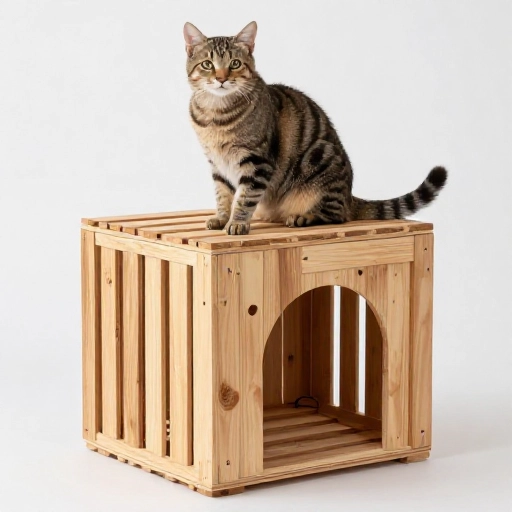
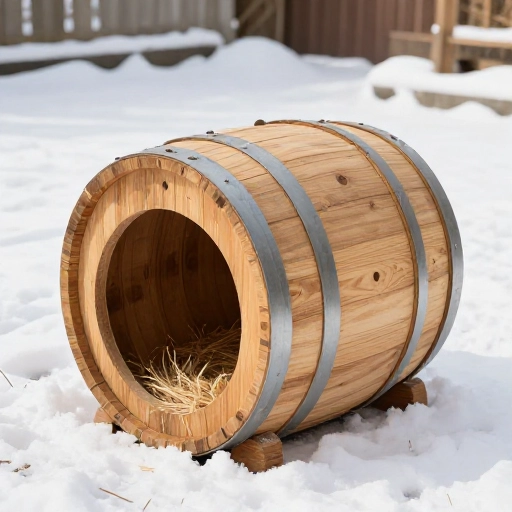
12. The Wooden Barrel Shelter
Half a wooden barrel makes a cozy winter den. Turn it on its side, cut a small entrance in the front, and seal any gaps with weatherstripping. Line the inside with straw and a layer of scrap carpet.
Barrels naturally hold heat because of their thick wood. I prop the barrel on bricks to keep it off damp ground. Add a small roof overhang to keep rain out of the entrance. Cats love the dark, enclosed feel.
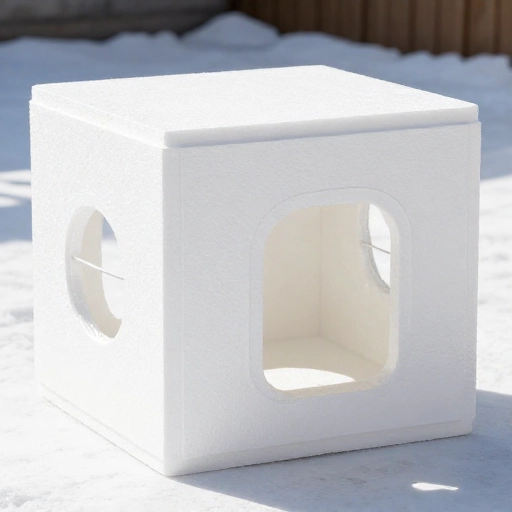
13. The Styrofoam Fish Box
Fishermen often throw away large Styrofoam boxes. These are excellent insulators. Cut a door hole, then reinforce the outside with duct tape or plywood. Fill the inside with straw.
I place the box inside a plastic trash bag for waterproofing. These boxes are lightweight, so I weigh them down with a brick. They’re perfect for temporary shelters during a cold snap.
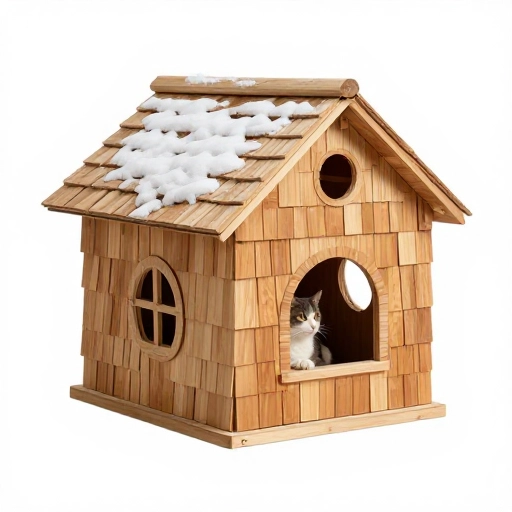
14. The Cedar Shingle House
Cedar resists rot and smells great. Build a simple box frame, then cover the outside with cedar shingles. The overlapping layers shed water naturally. I insulate the inside with foam and add a straw floor.
This shelter looks beautiful in a garden. Cedar also repels fleas and insects. I elevate it on wooden legs to keep it dry. It takes a bit more skill but lasts for many winters.
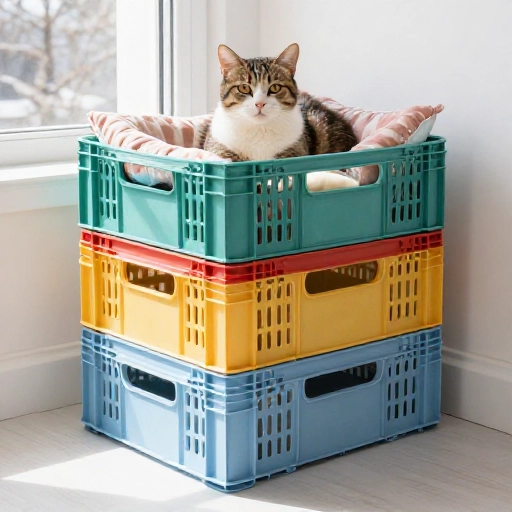
15. The Milk Crate Condo
Stack two milk crates on top of each other and zip-tie them together. Line each crate with foam board and straw. Cut a small door in the bottom crate, and leave the top crate as a sleeping loft.
Cats love climbing, so they’ll use both levels. I wrap the whole stack in a tarp for waterproofing. This shelter is lightweight and easy to move. It’s great for multiple cats who like to snuggle together.
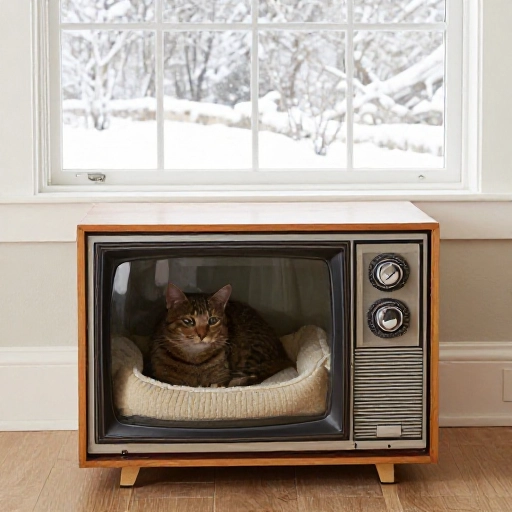
16. The Upcycled TV Console
Old wooden TV consoles make surprisingly good cat houses. Remove the doors and shelves, then cut a small entrance in one side. Line the inside with foam and straw. The console’s thick wood blocks wind well.
I add a slanted roof made from scrap plywood to prevent water pooling. These consoles have a vintage look that fits right into a rustic backyard. Plus, they’re usually free from curb alerts.
Conclusion
Building a winter-proof cat house doesn’t have to be complicated or expensive. I’ve used all these designs over the years, and each one has helped a cat survive a cold night. The key is always the same: keep it dry, block drafts, and use straw, not blankets.
Pick the design that fits your materials and skills. Even a simple bin shelter can make a huge difference. Your neighborhood cats will thank you with purrs and happy naps.
Frequently Asked Questions
What is the best insulation for outdoor cat houses?
Straw is best. It doesn’t absorb moisture like hay or blankets, and it traps air for warmth. Foam board insulation also works well for walls.
How big should the entrance hole be?
About 5 to 6 inches wide. Big enough for a cat to enter easily, but small enough to keep out larger animals and retain heat.
Can I use a heated bed in a cat house?
Yes, but use a heated pet pad designed for outdoor use. Always protect the cord with a heavy-duty extension cord and check for damage regularly.
Where should I place the shelter?
Put it in a quiet, sheltered spot like under a porch, behind a shed, or near a fence. Face the entrance away from prevailing winds.
How do I keep the shelter clean?
Remove old straw every few weeks and replace it with fresh straw. Wipe down walls with a mild bleach solution if needed. A removable roof or lid makes cleaning easier.