2-Ingredient Dog Treats in 10 Minutes: The Easiest Healthy Snack Your Pup Will Beg For
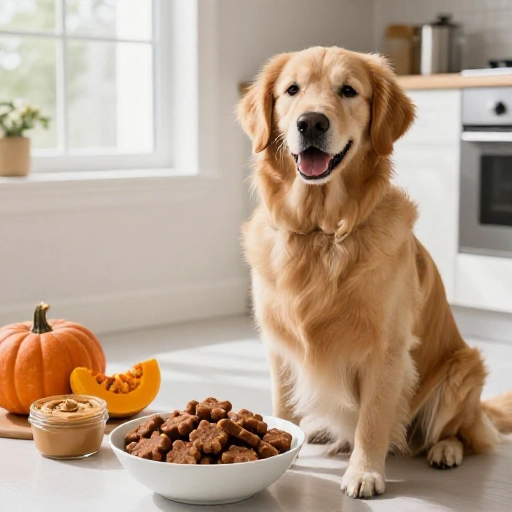
You know that feeling when your dog gives you those big, soulful eyes while you’re snacking? It breaks your heart a little, right? I used to buy expensive bags of treats, but honestly, I got tired of reading ingredient labels filled with things I couldn’t pronounce. That’s when I discovered the magic of DIY dog treats.
These aren’t just any treats—they are ridiculously simple, using pantry staples you probably already have. We are talking about a snack that takes less time to prep than your morning coffee brews. It’s a game-changer for busy pet parents who want to spoil their furry friends without the fuss or the preservatives. Let’s dive into the simplest recipe you’ll ever make for your four-legged bestie.
Why Make This Recipe? Health Benefits for Your Pup
Making your own dog treats isn’t just about convenience; it’s about control. When you make treats at home, you know exactly what goes into them. No hidden sugars, no artificial colors, and no mystery meat by-products. Just pure, simple goodness that your dog will love.
This specific two-ingredient combo is fantastic for dogs with sensitive stomachs. It’s gentle on digestion and provides a clean source of energy. Plus, the act of making these treats yourself is incredibly rewarding. Seeing your pup’s tail wag uncontrollably for something you made with your own two hands? That’s pure joy.
Whether you need a quick training reward or a special afternoon snack, these treats are perfect. They are low in fat, high in fiber, and completely irresistible to most dogs. You are basically becoming a gourmet chef in your dog’s eyes, and it only takes ten minutes of your time.
Kitchen Equipment & Tools You’ll Need
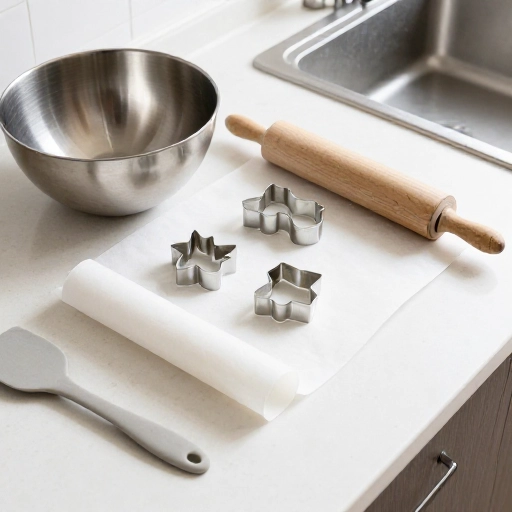
Don’t worry, you won’t need any fancy gadgets for this one. I am all about keeping things simple, especially when I’m in a rush. The beauty of this recipe is that it requires minimal cleanup, which is always a win in my book.
Here is the short and sweet list of what you’ll need to grab from your drawers and cabinets:
- A standard mixing bowl.
- A sturdy fork or spoon for mixing.
- A cookie cutter (any shape you like, or just use a knife).
- A baking sheet lined with parchment paper.
- An oven or a microwave (we’re using the oven for the best texture).
That’s it. Really. You don’t need a stand mixer or a food processor. Just good old-fashioned elbow grease. If you don’t have cookie cutters, you can simply roll the dough into small balls or flatten them into squares with a knife. It’s totally stress-free.
Ingredients List & Safe Substitutions
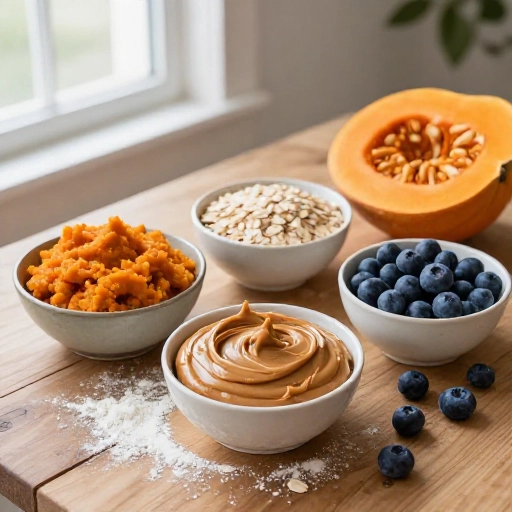
Here is the star of the show—the two magic ingredients. I love this combo because it’s not just tasty; it’s actually good for them. You are going to be shocked at how simple this is.
- 1 cup of 100% pure pumpkin puree (not pumpkin pie filling).
- 2 cups of whole wheat flour (or oat flour for a grain-free option).
Now, let’s talk substitutions. If your dog is allergic to wheat, you can absolutely swap the flour for oat flour or even coconut flour. Just note that coconut flour is much more absorbent, so you might need to add a splash of water to get the right consistency.
Also, ensure you are buying plain pumpkin puree, not the sweetened pie mix. The sweetened stuff contains xylitol and other sugars that are dangerous for dogs. It’s a crucial detail. Stick to the pure, 100% pumpkin for a happy, healthy pup.
How to Make Them in 10 Minutes: Step-by-Step Guide
Alright, let’s get to the fun part. This is a super forgiving recipe, so even if you are a total beginner in the kitchen, you will nail this on the first try. I promise it’s easier than baking a cake from a box.
Here is exactly how I do it when I am racing against the clock:
- Prep your oven: Preheat your oven to 350°F (175°C). Line your baking sheet with parchment paper so the treats don’t stick.
- Mix it up: In your mixing bowl, combine the pumpkin puree and the flour. Stir with your fork until it forms a stiff dough. If it feels too sticky, add a little more flour. If it’s too dry, add a teaspoon of water.
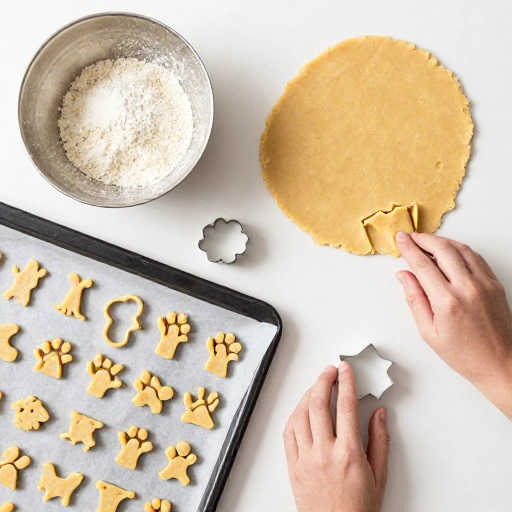
- Roll it out: Lightly flour your countertop. Place the dough on the surface and roll it out to about ¼ inch thickness.
- Cut them out: Use your cookie cutters to press out fun shapes. My dog loves bone shapes, but stars or circles work just as well.
- Bake: Place the shapes on your prepared baking sheet. Bake for 10-12 minutes, or until they are firm to the touch. They will harden more as they cool.
- Cool completely: This is the hardest part! Let them cool on a wire rack before serving. They need to be completely cooled to get that crunchy texture.
That’s it. In the time it takes to watch a short cartoon, you have a batch of healthy, homemade treats ready to go. The smell of pumpkin baking is actually pretty lovely, too.
Storage & Serving: Feeding Guidelines & Tips
Now that you have a gorgeous batch of treats, let’s talk about how to keep them fresh and how much to give your furry friend. Portion control is key, even with healthy treats.
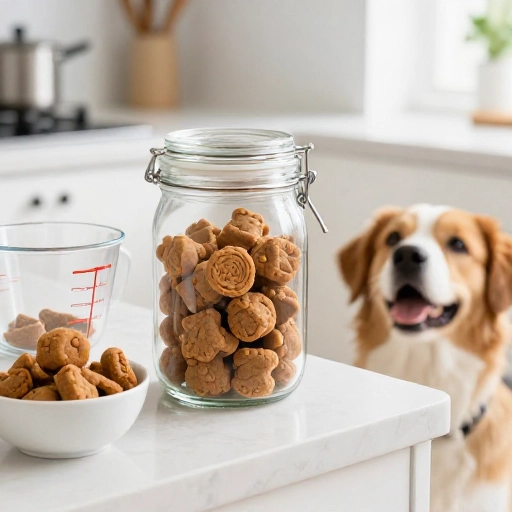
Because these treats are made without preservatives, they won’t last as long as store-bought ones. Store them in an airtight container in the refrigerator for up to one week. For longer storage, you can pop them in the freezer for up to three months. Just thaw a few at a time as needed.
Serving Size: For a small dog (under 20 lbs), give 1-2 treats per day. For a medium dog (20-50 lbs), give 2-3 treats. For large breeds (50+ lbs), 3-5 treats is a good limit. Treats should only make up about 10% of your dog’s daily caloric intake, so adjust their meals accordingly.
Always make sure your dog has access to fresh, clean water when they are enjoying their snacks. These treats are dense, so they might get a little thirstier than usual.
Final Verdict & Summary
I honestly can’t recommend this recipe enough. It has become a staple in my house, and my dog literally does a happy dance when he sees me pulling out the pumpkin can. It’s that simple, that fast, and that rewarding.
You are giving your dog a snack that is free from junk, and you are saving money in the long run. Plus, it’s a fun little activity that takes almost zero effort. If you have ten minutes, you have time to make your dog the happiest pup on the block.
Give this a try this weekend. I promise you won’t go back to buying those overpriced bags again. Your dog will thank you with lots of sloppy kisses and wagging tails. Happy baking to you and your furry best friend!
FAQ: Your Top Questions Answered
Q: Can I use sweet potatoes instead of pumpkin?
Absolutely! Cooked and mashed sweet potato works the exact same way. Just make sure it’s plain and not seasoned with anything. Your dog will love the switch-up.
Q: My dough is too sticky. What do I do?
This happens sometimes depending on the moisture content of the pumpkin. Just sprinkle in a little more flour, one tablespoon at a time, until the dough feels like soft play-doh. Easy fix.
Q: How do I know when they are done baking?
They should be firm to the touch and slightly golden on the bottom. Remember, they will harden as they cool, so don’t over-bake them, or they will become too hard for small dogs to chew.
Q: Can I make these treats grain-free?
Yes, you can swap the whole wheat flour for oat flour or a store-bought gluten-free flour blend. This makes them perfect for pups with grain sensitivities.
Q: Do I have to refrigerate these treats?
Yes, because they are all-natural with no preservatives, they need to be kept in the fridge. At room temperature, they might get moldy after a few days. In the fridge, they stay fresh for about a week.