3-Ingredient Dog Treats: The Easiest Recipe with Rolled Oats
I love making treats for my dog, but sometimes I just don’t have the time or energy for a long baking session. That’s why this recipe is my absolute go-to. It proves that simple is best.
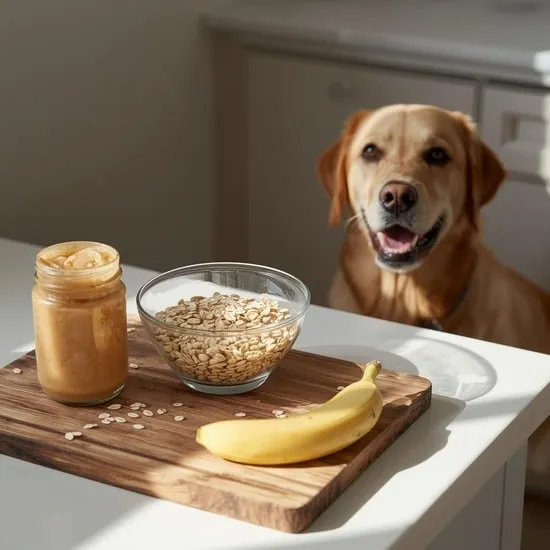
With just three pantry staples—rolled oats, a banana, and peanut butter—you can whip up a batch of wholesome, tail-wagging cookies. There’s no flour, no added sugar, and no mystery ingredients. You know exactly what your best friend is eating.
Why This 3-Ingredient Recipe Works
This combination isn’t just easy; it’s nutritionally smart for dogs. Rolled oats are a great source of fiber, which is gentle on tummies. The banana adds natural sweetness and binds everything together, while the peanut butter provides healthy fats and makes the treats irresistible.
It’s a foolproof formula. The moisture from the banana and peanut butter hydrates the oats perfectly to form a dough. If you’ve ever been intimidated by dog treat recipes, let this be your confident start. It’s literally mix, shape, and bake.
Gathering Your Super Simple Ingredients
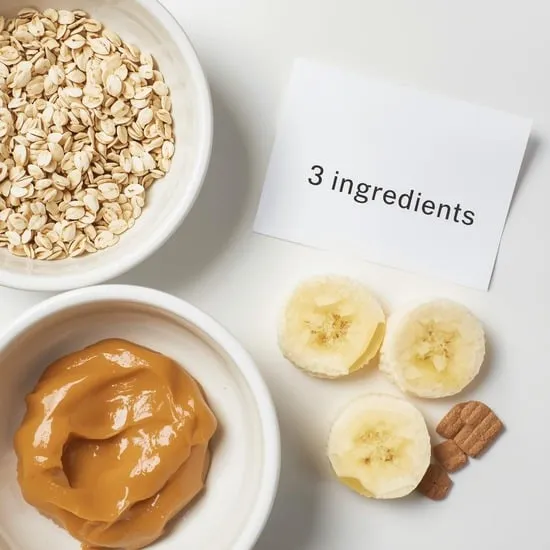
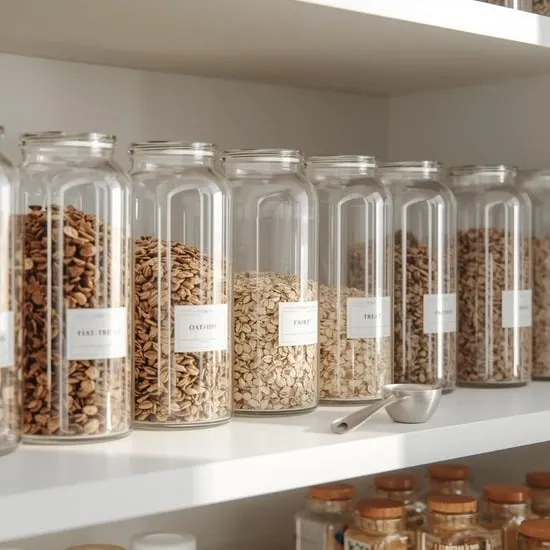
You’ll need one cup of old-fashioned rolled oats (not instant), one ripe medium banana, and two tablespoons of natural peanut butter. That’s it!
A quick note on the peanut butter: always check the label to ensure it’s xylitol-free, as this sweetener is toxic to dogs. A natural brand with just peanuts (and maybe salt) is the safest bet. The riper the banana, the easier it will be to mash and the sweeter the treats will smell to your pup.
The Secret to Mashing & Mixing
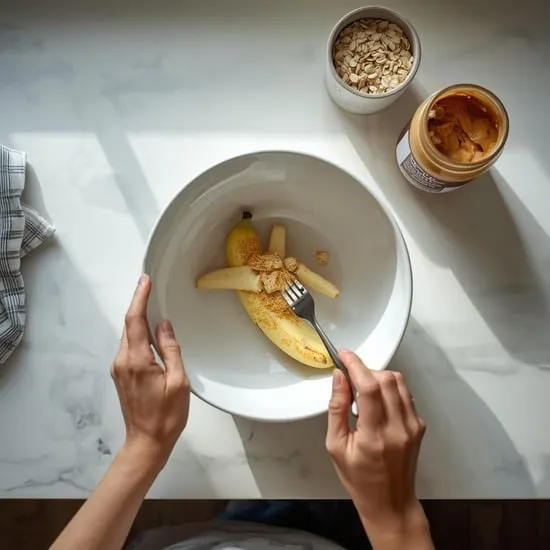
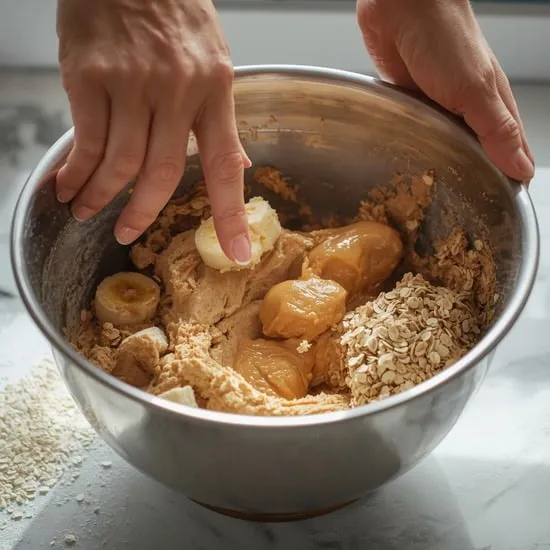
In a medium bowl, mash the banana until it’s completely smooth with no large chunks. This is key for an even dough. I use a fork, but the back of a spoon works great too.
Then, stir in the peanut butter until the mixture is a uniform, creamy paste. Finally, add the rolled oats and stir until every oat is coated and a thick, sticky dough forms. If it seems too wet, you can add an extra sprinkle of oats.
Shaping Your Treats Without Fuss
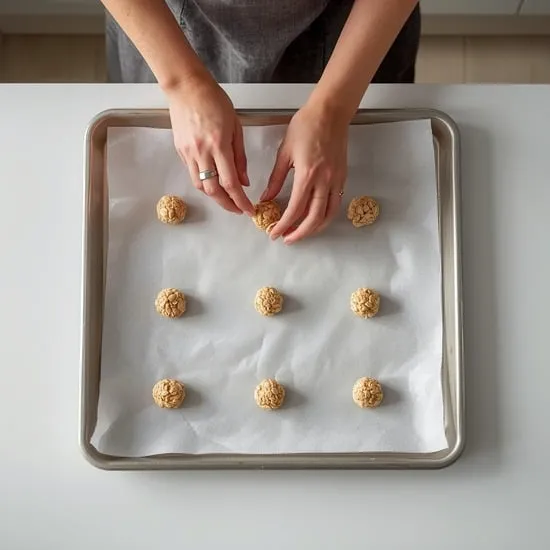
You don’t need cookie cutters here! I simply roll tablespoon-sized portions of dough into balls. Place them on a parchment-lined baking sheet.
Then, use a fork to gently press down on each ball to flatten it into a classic cookie shape. The fork marks help them bake evenly and give them a cute, homemade look. Keep them about half an inch thick.
Baking for the Perfect Texture
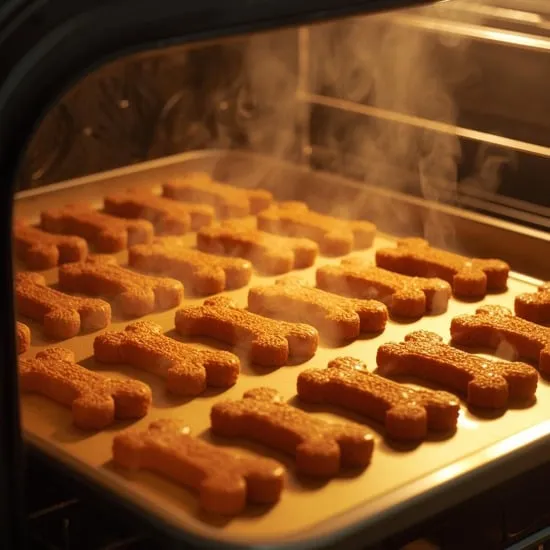
Preheat your oven to 350°F (175°C). Bake the treats for about 15-18 minutes. You’re looking for firm edges and a lightly golden bottom.
These treats won’t get super hard like some store-bought biscuits. They have a lovely, chewy texture that most dogs adore. For a crunchier treat, you can turn off the oven and let them sit inside as it cools down.
The All-Important Cooling Step
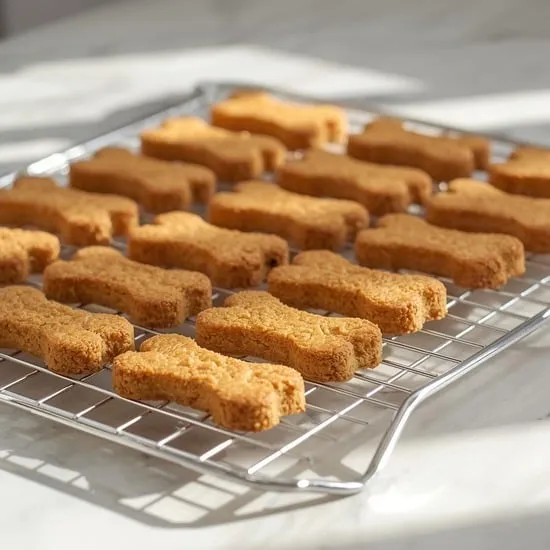
Let the treats cool completely on the baking sheet. This is when they finish setting up and achieve their final texture.
I know it’s tempting to hand one over while it’s still warm, but patience ensures they won’t fall apart in your dog’s eager mouth. The waiting is the hardest part for both of us!
Storing Your Homemade Goodies
Because these are all-natural with no preservatives, storage is important. Once completely cool, store them in an airtight container at room temperature for up to 5 days.
For longer storage, I keep them in the fridge for up to two weeks, or freeze them for up to three months. Just thaw at room temperature before serving. It’s so convenient to have a stash ready!
Customizing Your Batch
Once you master the base recipe, you can get creative! Try adding a spoonful of pure pumpkin puree (great for digestion) or a dash of cinnamon.
You could also use a different fruit, like unsweetened applesauce, in place of the banana. Always introduce new ingredients in tiny amounts to make sure your dog tolerates them well.
Why Your Dog Will Love These
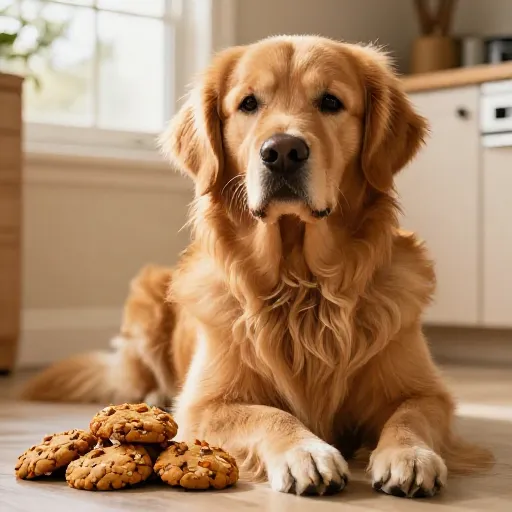
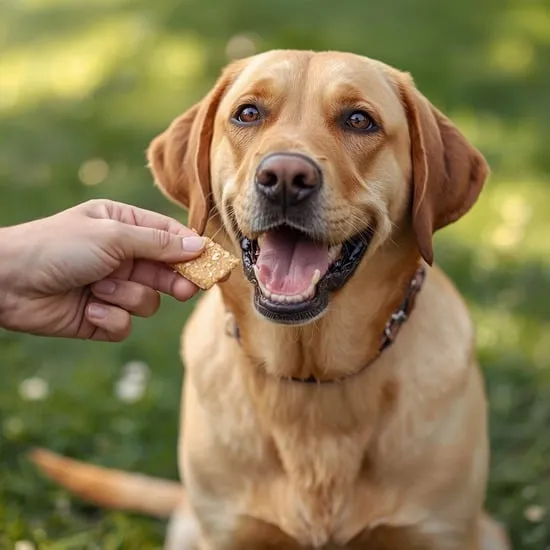
The smell of peanut butter and banana baking is pure doggy heaven. My dog comes running and parks himself in the kitchen the moment the oven door opens.
These treats are soft enough for senior dogs or puppies but substantial enough to feel like a real reward. They’re perfect for training, a bedtime snack, or just a little “I love you.”
A Treat You Can Feel Good About
Making these connects me to the care I put into my dog’s well-being. I get peace of mind knowing there are no artificial colors, flavors, or fillers.
It’s also incredibly budget-friendly. A single batch costs just pennies compared to premium store-bought treats. It’s a small act of love that makes a big difference.
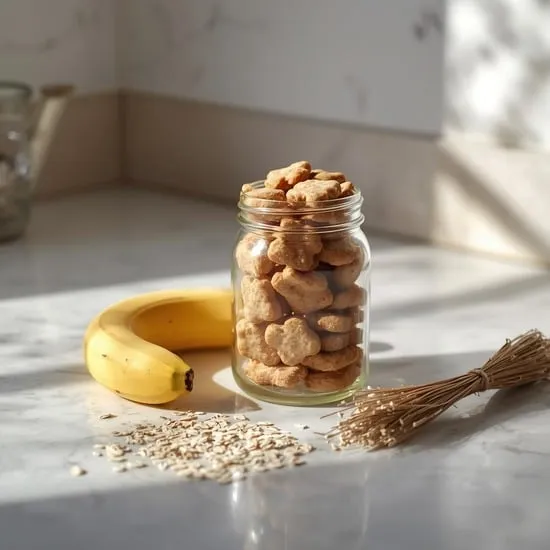
This 3-ingredient oat treat recipe has become a happy ritual in my home. It’s simplicity at its best—minimal effort for maximum wagging tails. I encourage every dog parent to try it. Seeing your dog enjoy something you made with your own hands is the sweetest reward of all.
FAQ
Q: Can I use quick oats instead of rolled oats?
A: I don’t recommend it. Quick oats are cut finer and absorb moisture differently, which can make the dough too gummy. Old-fashioned rolled oats give the perfect texture.
Q: My dough is too sticky to handle. What should I do?
A: No problem! Just add more rolled oats, a tablespoon at a time, until the dough is less sticky and easier to shape. Letting it sit for 5 minutes can also help the oats absorb moisture.
Q: How many treats does this recipe make?
A> It depends on the size you make them, but I typically get about 12-15 small, tablespoon-sized treats from one batch.
Q: Are these treats suitable for puppies?
A> Yes, they are generally great for puppies! Just ensure all ingredients are safe for their age, and break the treats into tiny, pea-sized pieces for training to avoid overfeeding.
Q: Can I make these without peanut butter?
A> Absolutely. You can substitute the peanut butter with an equal amount of pure pumpkin puree or unsweetened applesauce for a different flavor that’s still dog-friendly.