3-Ingredient Homemade Peanut Butter Dog Treats Your Pup Will Go Crazy For
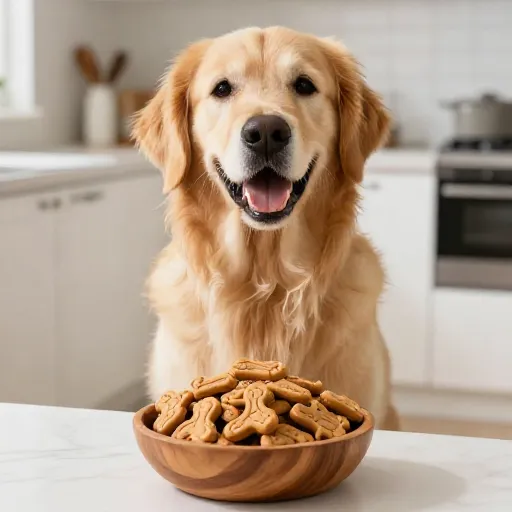
If you’ve ever watched your dog’s ears perk up the second you open a jar of peanut butter, you already know the magic. But store-bought treats? They’re often packed with preservatives, weird fillers, and way too much sugar. That’s exactly why I started making these homemade peanut butter dog treats. They’re ridiculously simple, totally safe, and made with love—literally three ingredients you probably already have in your kitchen.
The best part? The smell of these baking is like a warm hug for your whole house. Your furry best friend will be doing happy spins by the oven before they even cool down. Trust me, once you try this recipe, you’ll never go back to the bagged stuff again. It’s become a weekly ritual in my house, and my golden retriever, Biscuit, has officially appointed himself the quality control officer.
Why Make This Recipe: Health & Nutritional Benefits for Dogs
Why bother making treats at home when the pet store has a whole aisle dedicated to them? For starters, you have total control over what goes into your dog’s body. No mystery meat by-products, no artificial colors, no chemical preservatives. Just real, wholesome food.
Peanut butter is a fantastic source of protein and healthy fats for dogs. It gives them energy, keeps their coat shiny, and supports brain function. When paired with whole wheat flour and a simple egg, you’re creating a treat that’s packed with fiber and essential nutrients. Plus, these biscuits are naturally low in sugar, making them perfect for training rewards or just a daily “good boy” snack. You’re not just giving them a snack; you’re giving them a health boost wrapped in their favorite flavor.
Kitchen Equipment & Tools You’ll Need
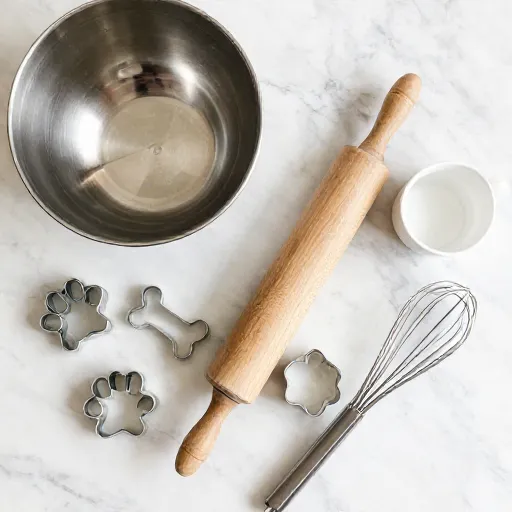
You don’t need a fancy bakery setup for this one. I love recipes that don’t require a bunch of gadgets, and this one is about as low-maintenance as it gets. Most of these items are probably already sitting in your kitchen drawers.
- A large mixing bowl (any size works, but bigger is easier for mixing)
- A wooden spoon or sturdy spatula for stirring
- Measuring cups and spoons
- A rolling pin (a wine bottle works in a pinch!)
- Cookie cutters in fun shapes—bones, paws, or hearts are my favorites
- A baking sheet lined with parchment paper
- Wax paper for rolling out the dough
If you have a food processor or stand mixer, you can use it, but honestly, mixing by hand takes less than five minutes and adds a little arm workout to your day. I prefer to do it by hand—it feels more rustic, and it’s easier to feel when the dough comes together perfectly.
Ingredients List & Safe Substitutions
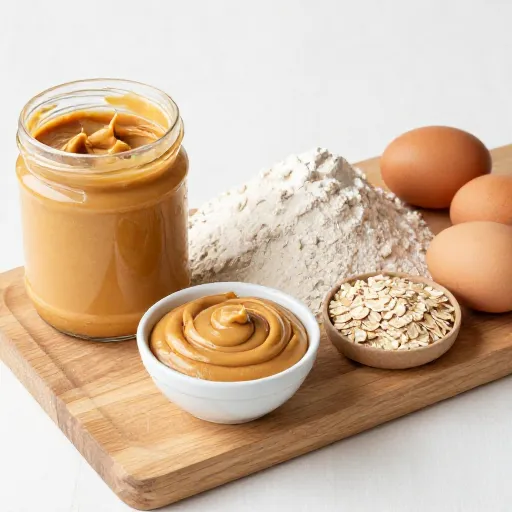
Here’s where the magic happens. The ingredient list is short, sweet, and probably already in your pantry. But it’s crucial to pay attention to the details, especially when it comes to peanut butter. Not all peanut butter is created equal for our furry friends.
- 1 cup natural, unsalted peanut butter (make sure the only ingredient is peanuts—no xylitol, no added sugar, no salt)
- 1 large egg (this acts as the binder and adds protein)
- 1 ½ cups whole wheat flour (or oat flour for a gluten-free alternative)
- ¼ cup water (add a little more if the dough feels too dry)
⚠️ Important Safety Note: Never, ever use peanut butter that contains xylitol. It’s a sugar substitute that is highly toxic to dogs, even in small amounts. Always read the label twice! For a grain-free option, swap the whole wheat flour for oat flour or even coconut flour (though you’ll need to adjust the water amount since coconut flour is super absorbent). If your dog has a sensitive stomach, you can also use a simple pumpkin puree in place of the egg—just reduce the water slightly.
Step-by-Step Instructions: How to Make Perfect Peanut Butter Dog Treats
Okay, let’s get to the fun part. This recipe is practically foolproof, but I’ll walk you through every step so your treats come out perfect every single time. Preheat your oven to 350°F (175°C) first so it’s ready to go when you are.
- Mix the wet ingredients: In your large bowl, combine the peanut butter and the egg. Stir them together until they’re fully incorporated and smooth. It’ll look a little like cookie dough base already.
- Add the dry ingredients: Pour in the whole wheat flour and mix with your spoon. As it starts to come together, use your hands to knead the dough. If it feels crumbly, add the water one tablespoon at a time until a soft, non-sticky ball forms.
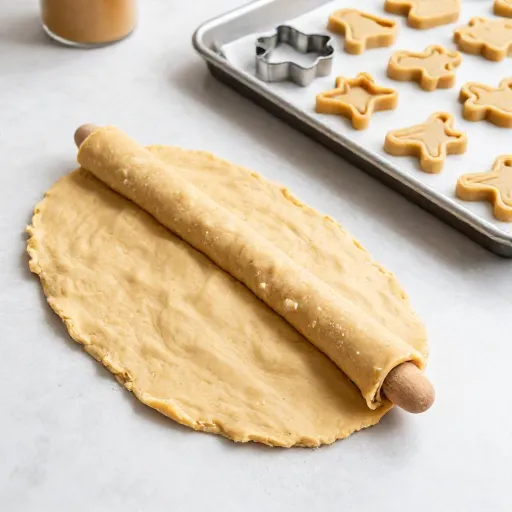
- Roll out the dough: Lightly dust your wax paper with a little flour. Place the dough ball on top and sprinkle a little more flour on the rolling pin. Roll the dough out to about ¼-inch thickness. Not too thin, or the treats will burn; not too thick, or they won’t get crispy.
- Cut your shapes: Press your cookie cutters into the dough and place the shapes onto your prepared baking sheet, leaving a little space between each one. I always re-roll the scraps and cut out as many as I can—waste not, want not!
- Bake: Pop the tray into the preheated oven and bake for 20–25 minutes, or until the edges are lightly golden brown. The center should feel firm to the touch. They will harden up as they cool.
- Cool completely: This step is essential! Transfer the treats to a wire rack and let them cool completely. If you feed them to your pup while they’re still warm, they might fall apart. Once cool, they’ll be crunchy and perfectly satisfying.
Feeding Guidelines, Serving Size & Storage Tips
Now that you have a batch of delicious homemade treats, you need to know how to serve and store them. While they’re healthy, they’re still treats, so moderation is key. Think of these as a special bonus, not a meal replacement.
Serving Size: For small dogs (under 20 lbs), give them one small biscuit per day. For medium to large dogs, two to three biscuits is perfect. Always supervise your dog when they’re eating a treat, and make sure they have plenty of fresh water nearby.
Storage: Because these treats don’t have preservatives, they won’t last as long as store-bought ones. Store them in an airtight container in the refrigerator for up to two weeks. For longer storage, pop them in a zip-top bag and freeze them for up to three months. You can give them straight from the freezer—dogs love a cold, crunchy snack, especially in the summer.
Pro tip: If the treats lose their crunch after a few days in the fridge, just pop them in a toaster oven or air fryer at 300°F for a few minutes to crisp them back up. Your dog won’t mind the extra crunch one bit!
Final Verdict & Summary
Honestly, this is the easiest recipe I make all week, and the payoff is huge. You get the joy of baking for someone you love, and your dog gets a snack made with pure, simple ingredients. The look on their face when they take that first crunchy bite? Worth every second of prep time.
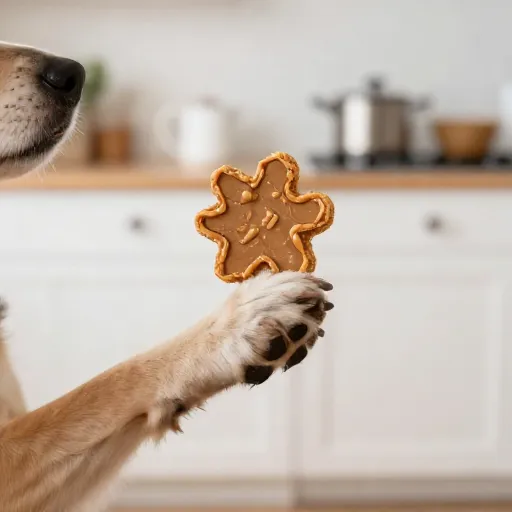
I love that I can customize these for any occasion—I use heart-shaped cutters for Valentine’s Day, bone shapes for a rainy day surprise, and little stars just because. It’s a beautiful way to bond, and you’ll feel amazing knowing exactly what’s in that jar. Skip the store-bought stuff and give this a try. Your dog will thank you with endless tail wags and sloppy kisses.
FAQ: Frequently Asked Questions About Peanut Butter Dog Treats
Can I use chunky peanut butter instead of smooth?
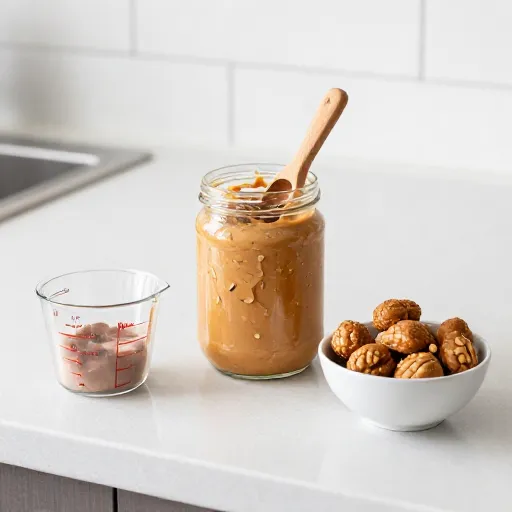
Absolutely! Chunky peanut butter adds a little extra texture that some dogs absolutely love. Just make sure it’s still natural and free of xylitol. The dough might be a little harder to roll, but the treats will still bake up perfectly.
How do I know if my dog is allergic to wheat flour?
If your dog has a known grain allergy, look for signs like itchy skin, excessive scratching, or ear infections. To be safe, you can swap the whole wheat flour for oat flour or a gluten-free all-purpose blend. The treats will have a slightly different texture but will be just as tasty.
My treats came out too hard. What did I do wrong?
That usually happens if you roll the dough too thin or bake them a little too long. Aim for a ¼-inch thickness and check on them at the 20-minute mark. Every oven is different, so you might need to adjust the time slightly. They should be firm but not rock-hard when they come out.
Can I make these treats without an egg?
Yes, you can! For an egg-free version, use ¼ cup of unsweetened applesauce or ½ cup of canned pumpkin puree instead. This will add moisture and help bind the ingredients together. Just note that the texture will be a little more cake-like than crunchy.
How many treats does this recipe make?
Depending on the size of your cookie cutters, this recipe will make roughly 24 to 36 treats. If you’re making tiny shapes for a small dog, you might get even more. They also make fantastic gifts for your pup’s doggy friends! Package them in a cute mason jar with a ribbon.