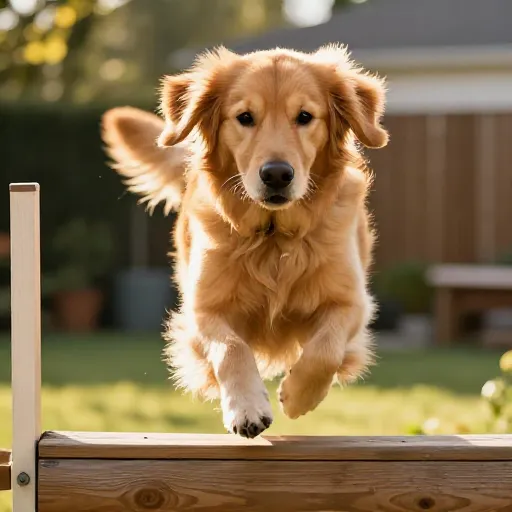
3-Step Puppy Drawing That’s Super Simple: Cute Beginner Sketch You’ll Want to Pin
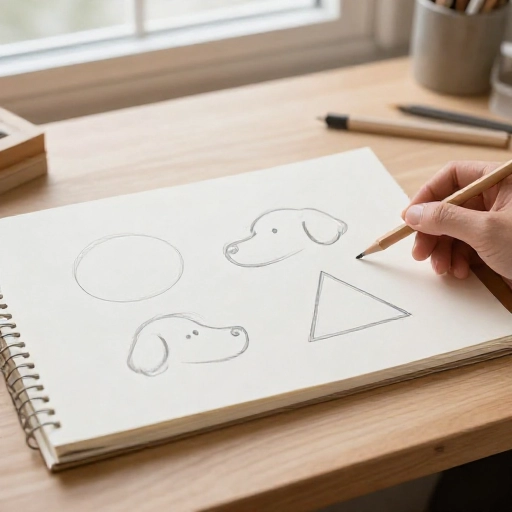
I used to think drawing a puppy meant perfect proportions, fancy shading, and way too much patience. Then I found a much easier way: three simple steps that make a cute puppy look recognizable in minutes.
This 3-step puppy drawing is perfect for beginners, kids, bullet journals, handmade cards, or a quick Pinterest-worthy sketch. You only need paper, a pencil, and maybe an eraser for happy little mistakes.
Below are 10 easy ideas that make the whole process feel simple and fun. Pick one, follow along, and let your puppy look a little imperfect. That’s honestly what makes it charming.
1. Start With Three Simple Shapes
The secret to an easy puppy drawing is not detail—it’s shapes. I begin with a circle for the head, a soft oval for the body, and a small curve for the tail.
Don’t worry if they overlap or look messy. These are just guides, like a map for your pencil.
Keep your lines light. You’ll erase or cover most of them later, so there’s zero pressure to get them perfect on the first try.
2. Step 1 — Draw the Puppy’s Head and Ears
Start with the head circle near the top of your paper. Leave a little room above it for ears, because puppies always look cuter with a bit of fluff.
Add two floppy ear shapes on the sides. They can be rounded triangles or soft banana shapes—whatever feels natural to you.
If your ears don’t match, that’s fine. Real puppies have ears that do their own thing anyway.
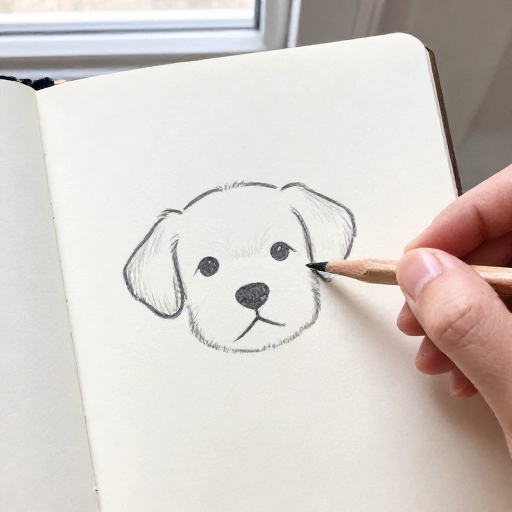
3. Step 2 — Add the Face and Cute Details
Inside the head circle, place two big oval eyes. Keep them wide and slightly low—this instantly gives that sweet puppy look.
Add a tiny rounded nose in the middle, then a small “W” or curved line underneath for the mouth.
A couple of tiny dots for whisker spots can make it extra cute. You don’t need many details; simple shapes read better.
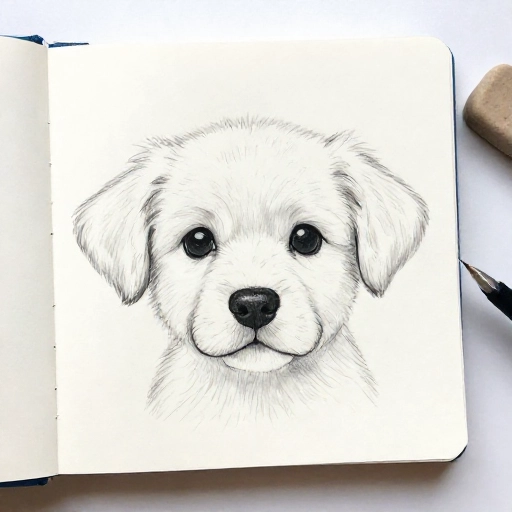
4. Step 3 — Sketch the Body, Paws, and Tail
Now connect the head to the body oval with two short curved lines for the neck. This helps the puppy look like one piece instead of a floating head.
Draw two small paw shapes at the bottom of the body. They can be little ovals or rounded rectangles.
Add a tail on one side—curved up if your puppy is happy, or tucked low if it’s shy. Both are adorable.
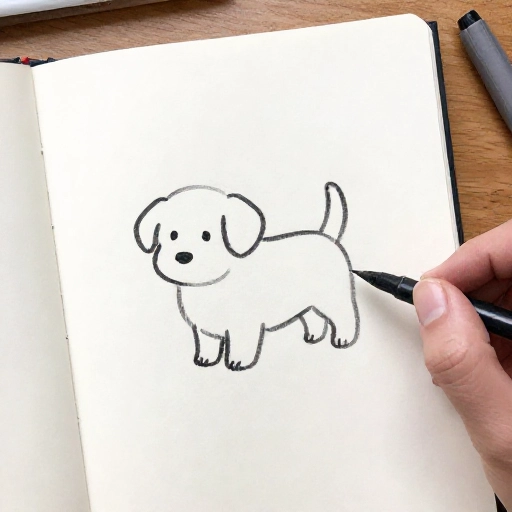
5. Make It Extra Cute With Big Eyes and a Tiny Nose
If you want your puppy drawing to get more saves on Pinterest, go for exaggerated cuteness. Big eyes, a small nose, and a slightly oversized head work every time.
Try adding a tiny highlight dot in each eye. It makes the puppy look alive and sparkly without any complex shading.
A small tongue sticking out? Instant charm. Just a little pink curve below the mouth is enough.
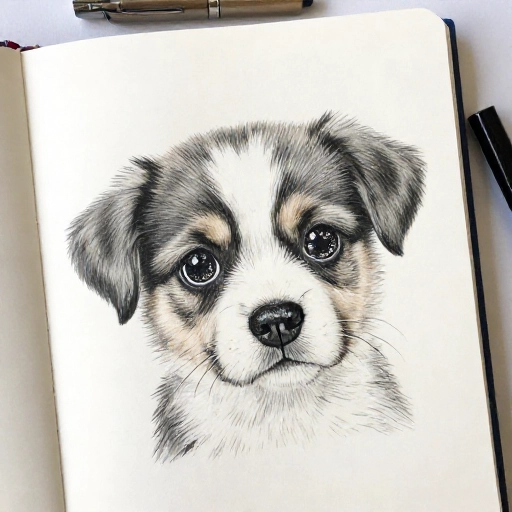
6. Add Easy Fur Details Without Overdoing It
Fur can feel intimidating, but it doesn’t have to be. I add tiny zigzag lines or short strokes around the ears, chest, and tail.
Only place fur where it would naturally be fluffy: cheeks, ear edges, and maybe the top of the head.
Less is more. A few well-placed strokes look cleaner than covering the whole puppy in fuzzy lines.
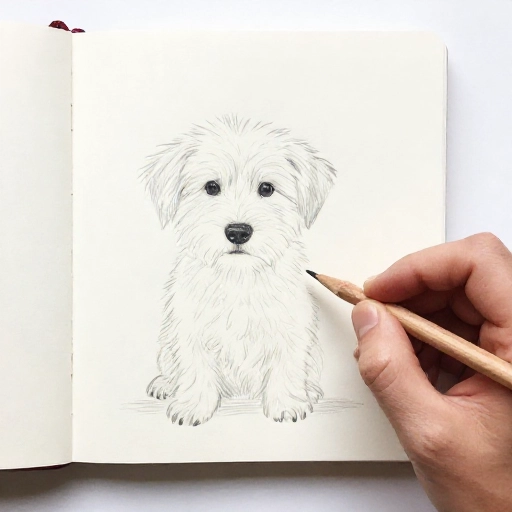
7. Use a Pencil First, Then Outline With a Marker
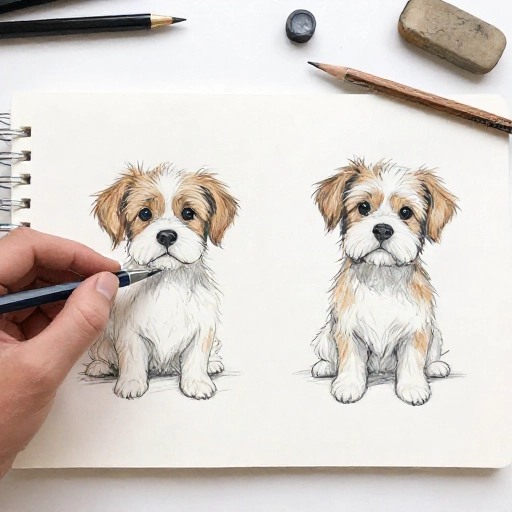
My favorite way to make a simple puppy sketch look polished is to draw lightly in pencil first. That way I can fix proportions before committing.
Once I’m happy, I trace the main lines with a black marker or fine-liner. I keep the marker lines smooth and skip the guide shapes.
Wait a few seconds for the ink to dry, then gently erase the pencil lines. Suddenly your sketch looks intentional and clean.
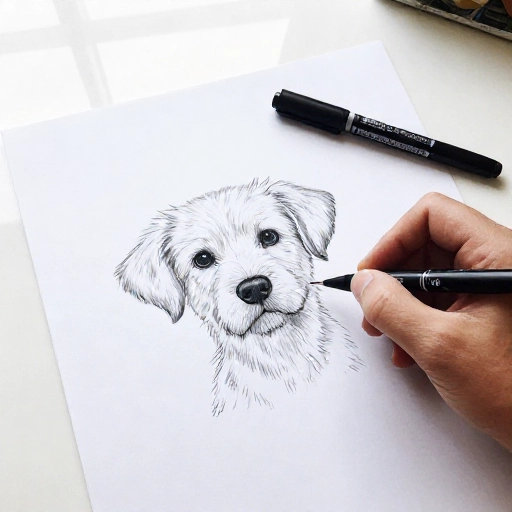
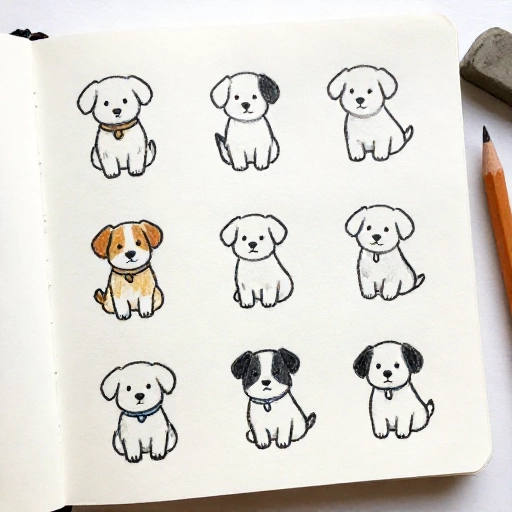
8. Try Different Puppy Poses in the Same 3 Steps
The same three-step puppy drawing can become many different poses. Change the head angle, move the ears, or flip the tail to create a new look.
Try a sitting puppy, a sleeping puppy with closed eyes, or a puppy holding a tiny heart. The basic shapes stay almost the same.
This is great for making sticker sheets, greeting cards, or a whole puppy family in your sketchbook.
9. Color Your Puppy With Simple Shading
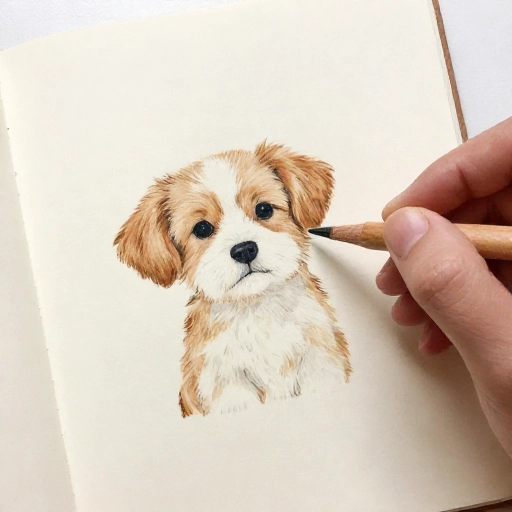
Coloring is where your puppy gets personality. I like to use light brown, cream, gray, or even pastel colors—whatever matches the mood.
For a quick shaded look, color the edges a little darker and leave the center lighter. A soft pencil or colored pencil works beautifully.
If you’re using markers, pick two shades of the same color. One for the main body, one for shadows under the ears and paws.
10. Common Mistakes to Avoid When Drawing a Puppy
The biggest mistake is trying to make it perfect on the first line. Puppy drawings are supposed to feel soft and playful, not stiff.
Another common issue is making the eyes too small. Big, wide-set eyes are what make a puppy look like a puppy.
Don’t press hard with your pencil at the beginning. Light lines are easier to erase, adjust, and build on.
Final Thoughts
Drawing a puppy doesn’t have to be complicated. With three simple steps—head and ears, face and details, body and tail—you can create a cute sketch that feels totally doable.
Practice the same 3-step puppy drawing a few times, then start changing the pose, colors, and tiny details. That’s how a simple sketch becomes your own style.
Pin this easy puppy drawing tutorial for later, grab your pencil, and make a little puppy on the page today.
FAQ: 3-Step Puppy Drawing
1. What supplies do I need for this simple puppy drawing?
You only need paper, a pencil, and an eraser. A black marker and colored pencils or crayons are optional for outlining and coloring.
2. Can kids draw this 3-step puppy too?
Yes! This puppy drawing is great for kids because it uses basic shapes and short, easy lines. You can help with the first guide shapes if needed.
3. How do I make my puppy drawing look cuter?
Make the eyes bigger, the nose smaller, and the head slightly rounder. Adding tiny highlights in the eyes or a little tongue can help too.
4. What if my puppy drawing looks messy?
Messy is normal at first. Keep your pencil lines light, erase the guide shapes, and outline only the lines you like best.
5. Can I use this for Pinterest pins or journal pages?
Absolutely. This easy puppy sketch works well for Pinterest tutorials, bullet journals, greeting cards, stickers, and handmade gifts.