6 Easy Homemade Dog Treat Recipes Your Pup Will Absolutely Love
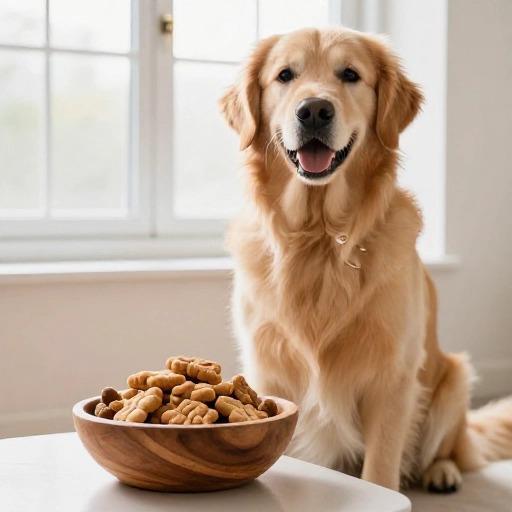
Let’s be honest—our dogs deserve the very best. But between the long ingredient lists and questionable preservatives in store-bought treats, I started wondering: can I just make them myself? The answer is a huge yes! Making dog treats at home is easier than you think, and it’s a wonderful way to show your furry best friend some love.
I’ve put together six super simple, totally delicious (for dogs, anyway!) recipes that use ingredients you probably already have in your pantry. No fancy equipment, no weird stuff—just pure, tail-wagging goodness. These treats are perfect for training, stuffing into a Kong, or just because it’s Tuesday.
Get ready to have a happy, drooly kitchen helper. Let’s dive into these easy, healthy, and absolutely irresistible homemade dog treats!
Why Make Your Own Dog Treats?
I started making my own treats for one simple reason: control. I wanted to know exactly what was going into my dog’s belly. Commercial treats can be full of fillers, artificial flavors, and too much salt or sugar. When I bake, I choose simple, whole ingredients like pumpkin, peanut butter, and oats.
It’s also a huge money-saver. A bag of sweet potato chews at the store can cost a small fortune, but one sweet potato from the grocery store makes a big batch. Plus, there’s something so rewarding about watching your dog go nuts for something you made with your own two hands.
And honestly? It’s just fun. The kitchen smells amazing, and your dog will be your shadow the entire time. It’s a win-win.
Equipment You’ll Need
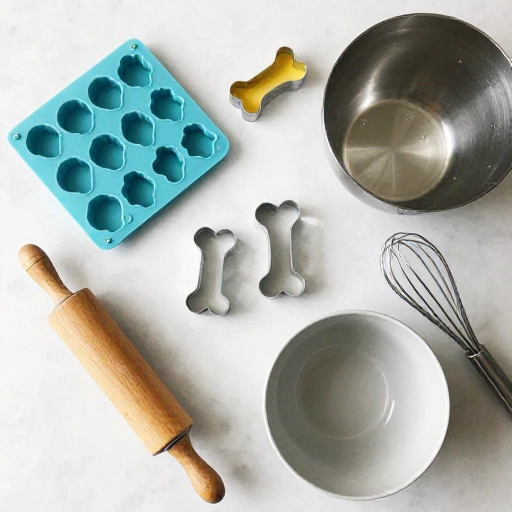
You don’t need a professional kitchen to whip up these treats. I use basic stuff I already have. Here’s the short list:
- A mixing bowl and a spoon (or a fork works fine).
- A baking sheet. I line mine with parchment paper for easy cleanup.
- Cookie cutters. Bones, paws, stars—whatever makes you smile. A pizza cutter or knife works too if you want simple squares.
- A rolling pin (or just use your hands to flatten the dough).
- A fork for poking holes and making designs.
That’s it! No stand mixer required. If you have these things, you are ready to bake.
Recipe 1: Peanut Butter & Banana Bites
This is the recipe I make most often. It’s basically a dog-safe cookie. The banana adds natural sweetness, and the peanut butter makes it irresistible. Make sure your peanut butter has no xylitol—that stuff is toxic to dogs!
Ingredients:
- 1 ripe banana, mashed.
- 1/2 cup natural peanut butter (xylitol-free).
- 1 cup whole wheat flour (or oat flour for a grain-free option).
Instructions:
- Preheat your oven to 350°F (175°C).
- Mix the mashed banana and peanut butter until smooth.
- Add the flour a little at a time, mixing until a dough forms. It should be soft but not sticky.
- Roll the dough out on a floured surface to about 1/4-inch thickness.
- Cut into shapes with your cookie cutters. Place on a parchment-lined baking sheet.
- Bake for 12-15 minutes, until firm and lightly golden. Let them cool completely before serving.
Recipe 2: Simple Sweet Potato Chews
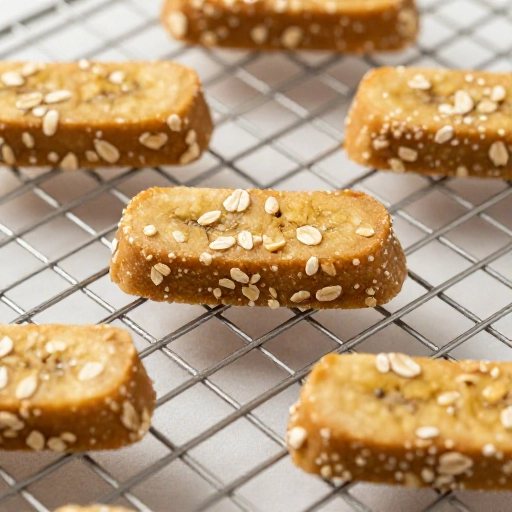
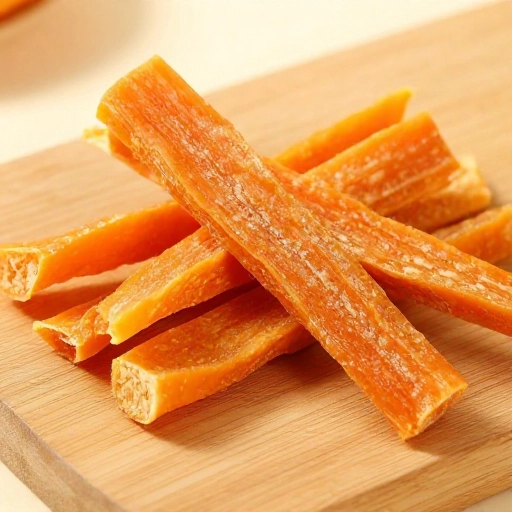
These are my dog’s absolute favorite. They are chewy, naturally sweet, and so simple. This is a “dehydrate” style recipe, but you can do it in the oven.
Ingredients:
- 1 large sweet potato.
Instructions:
- Preheat your oven to 250°F (120°C).
- Wash and peel the sweet potato. Slice it lengthwise into 1/4-inch thick strips. Think of them as doggy french fries.
- Place the strips in a single layer on a parchment-lined baking sheet.
- Bake for 2.5 to 3 hours, flipping halfway through. They are done when they are chewy and shriveled, not hard like a chip. Let them cool completely.
Store these in the fridge—they keep for about two weeks, but they never last that long in my house.
Recipe 3: Pumpkin & Oatmeal Cookies
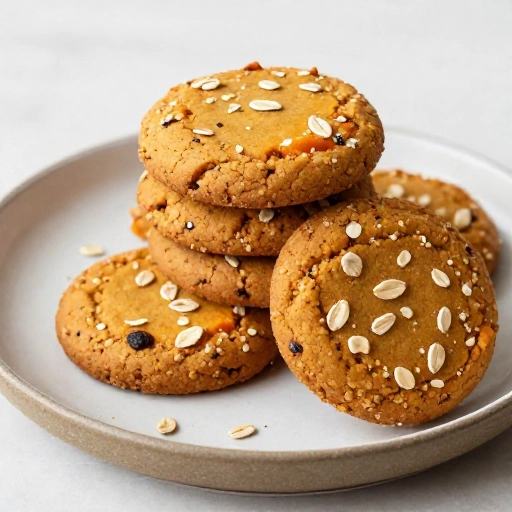
Pumpkin is amazing for dog digestion. These cookies are gentle on the tummy and taste like fall. I use canned pumpkin puree (not pumpkin pie filling, which has sugar and spices).
Ingredients:
- 1 cup pumpkin puree.
- 2 cups rolled oats.
- 1/4 cup coconut oil, melted.
Instructions:
- Preheat your oven to 350°F (175°C).
- Mix all ingredients in a bowl until combined. The dough will be a bit sticky.
- Scoop small spoonfuls onto your parchment-lined baking sheet. Flatten them slightly with a fork.
- Bake for 18-20 minutes, until golden and firm to the touch. Cool completely.
These come out a little crunchy on the outside and soft inside. My pup does a happy dance every time he sees the orange scoop.
Recipe 4: Cheesy Training Treats
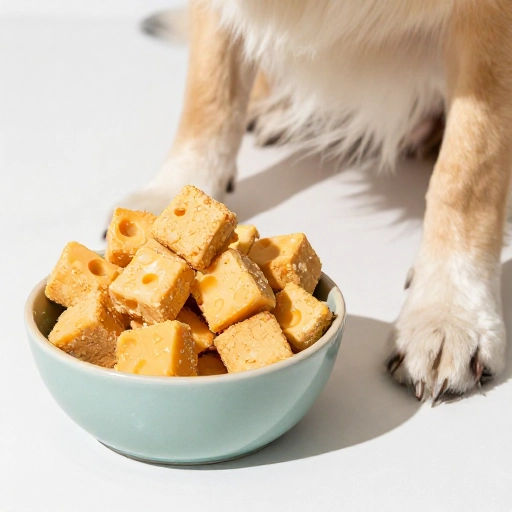
These are small, smelly, and perfect for stuffing in your pocket during training sessions. The cheese gives them a strong flavor that dogs go wild for.
Ingredients:
- 1 cup whole wheat flour.
- 1/2 cup shredded cheddar cheese.
- 1/4 cup plain yogurt (or water).
- 1 tablespoon olive oil.
Instructions:
- Preheat oven to 350°F (175°C).
- Mix flour and cheese together. Add yogurt and olive oil. Mix until a dough forms.
- Roll out the dough thinly (about 1/8 inch). Cut into tiny squares—these are training treats, after all.
- Place on a baking sheet and bake for 12-15 minutes, until crisp and lightly browned.
- Cool completely. These stay fresh in the fridge for about a week.
Recipe 5: Apple & Mint Breath Fresheners
Let’s be real: dog breath can be rough. These crunchy little biscuits help freshen things up naturally. The apple adds sweetness, and the mint does the heavy lifting.
Ingredients:
- 1 apple, cored and finely grated (no seeds!).
- 1/4 cup fresh mint leaves, finely chopped.
- 1 1/2 cups oat flour.
- 1 egg.
Instructions:
- Preheat oven to 350°F (175°C).
- Squeeze a little juice out of the grated apple (so the dough isn’t too wet).
- Mix apple, mint, oat flour, and egg until it forms a stiff dough.
- Roll out and cut into small shapes. Place on a lined baking sheet.
- Bake for 15-18 minutes, until golden and crunchy. Cool completely.
These are great for a little after-dinner treat.
[[IMG:IMG07]]
Recipe 6: Frozen Yogurt & Blueberry Pupsicles
When summer hits, these are a lifesaver. They are so easy you don’t even need an oven. Great for cooling down after a walk or just for fun.
Ingredients:
- 1 cup plain yogurt (low-fat or full-fat is fine).
- 1/4 cup fresh or frozen blueberries.
- Silicone mold or ice cube tray.
Instructions:
- Drop a few blueberries into each section of your silicone mold.
- Spoon yogurt over the berries until the molds are full.
- Pop them in the freezer for 3-4 hours, until solid.
- Pop them out and serve one at a time. They can get messy, so I serve these outside or on a towel.
You can swap the blueberries for mashed banana or a little pumpkin. These keep in the freezer for up to a month.
[[IMG:IMG08]]
Tips for Success
Here are a few things I’ve learned from my own baking adventures. First, always let treats cool completely before serving. They firm up as they cool, and your dog will appreciate not burning their tongue.
Second, store treats properly. Most baked treats last about a week in an airtight container at room temp, but I keep mine in the fridge to be safe. The sweet potato chews and frozen pupsicles definitely need refrigeration or freezing.
Finally, remember that treats are treats. Even healthy homemade ones should only make up about 10% of your dog’s daily calories. But honestly, the joy on their face is worth every crumb.
[[IMG:IMG09]]
Conclusion
Baking for your dog is one of those small things that makes a big difference. It’s simple, it’s healthy, and it brings so much joy. I love knowing that every treat I give my dog is made with love and real ingredients. These six recipes are my go-tos, and I hope they become yours too. So grab your mixing bowl, pick a recipe, and get ready for some serious tail wags. Your pup will thank you!
[[IMG:IMG10]]
Frequently Asked Questions
Can I use oat flour instead of wheat flour?
Yes! Oat flour is a great alternative, especially if your dog has a grain sensitivity. You can make it yourself by blending rolled oats in a food processor until they become a fine powder. It works perfectly in most recipes, just be aware the texture might be a little more delicate.
How long do homemade dog treats last?
Most baked treats last about one week in an airtight container at room temperature. I usually store mine in the refrigerator to extend their life to about two weeks. Frozen treats like the pupsicles will last for up to a month. Just let them thaw for a minute before serving so they aren’t rock hard.
Can I use any peanut butter?
Please be careful here. Many peanut butters contain xylitol, which is extremely toxic to dogs. Always check the label. The safest bet is to use natural peanut butter with only one ingredient: peanuts. Unsalted is best. Your dog will love it just as much.
My dough is too sticky. What should I do?
Don’t worry, this happens all the time. Just sprinkle a little extra flour (or oat flour) onto your work surface and onto the dough. Knead it in gently until the dough becomes manageable. A sticky dough is usually a happy dough, just add flour a tablespoon at a time until it feels right.
Can I double these recipes?
Absolutely! I double recipes all the time so I have a big batch ready to go. Just make sure your baking sheet isn’t overcrowded. Give each treat a little space to bake evenly. You might need to bake in two batches, but it’s totally worth it to have a full jar of homemade goodness.
[[IMG:IMG11]]