6 Healthy DIY Recipes for Cats (Your Kitty Will Love These!)
I’ve always believed that the best way to show our cats we love them is through their bowls. After years of trial and error in my own kitchen, I’m finally sharing six simple, vet-approved DIY recipes that have turned my picky eaters into happy, healthy purring machines.
These aren’t just any treats—they’re packed with real ingredients you probably already have in your fridge. No weird additives, no mystery meat, just pure, wholesome goodness. Whether you’re a seasoned home cook or a total beginner, these recipes are forgiving, fun, and your cat will thank you with head bumps.
Let’s get started on making mealtime a little more special, one batch at a time.
Essential Equipment for Your DIY Cat Kitchen
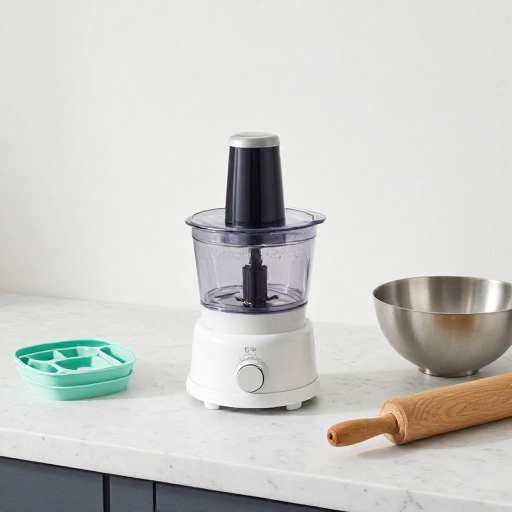
Before we dive in, let’s talk gear. You don’t need fancy gadgets, just a few basics to make these recipes a breeze. I use a small food processor for most of the blending—it saves time and keeps chunks small for sensitive tummies.
You’ll also want a silicone muffin tin (perfect for freezing portions), a sharp knife, a cutting board, and some airtight containers. A kitchen scale is helpful for consistency, but measuring cups work just fine. I always keep a dedicated set of utensils just for pet food to avoid cross-contamination.
Cleanliness is key. Wash everything in hot, soapy water between batches. Your cat’s health is worth the extra rinse.
Ingredient Basics: What to Keep on Hand
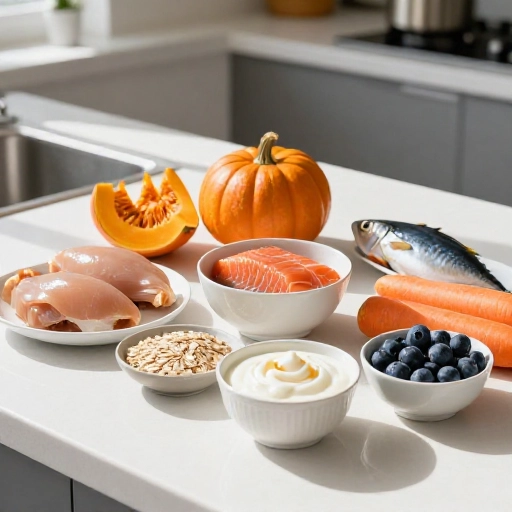
Most of these recipes rely on a few superstar ingredients. I always stock cooked chicken thighs (skinless, boneless), canned pumpkin (not pie filling), plain unsweetened yogurt, and fresh salmon or sardines in water. Eggs, oats, and a little bit of coconut oil round out my staple list.
A quick tip: always use human-grade meat and fish. Avoid onions, garlic, grapes, raisins, and anything with xylitol. When in doubt, Google it before you mix it in. Your cat’s safety is the priority.
Freshness matters. I make small batches that last three to four days in the fridge, or freeze portions for up to a month. Label everything with dates—trust me, you’ll forget.
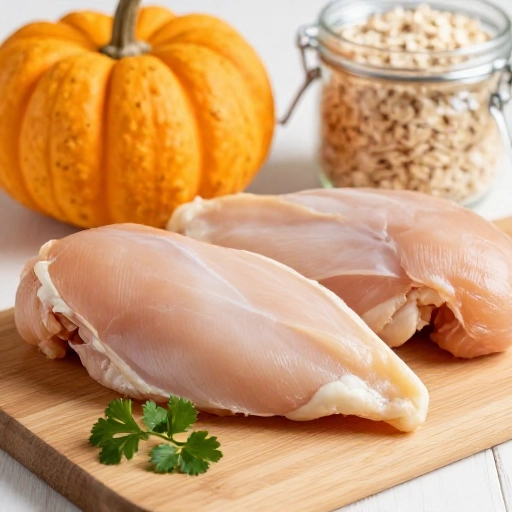
Recipe 1: Simple Chicken & Pumpkin Bites
This is my go-to for finicky eaters. It’s gentle on digestion and smells like comfort food. Start with one cup of cooked, shredded chicken. Mix in two tablespoons of plain canned pumpkin and one tablespoon of water. Pulse in a food processor until it forms a soft paste.
Scoop teaspoon-sized balls onto a parchment-lined tray. Freeze for two hours, then transfer to a bag. These keep for a month in the freezer. I give my cats two bites as a daily treat or a topping for their regular meals.
The pumpkin adds fiber, while the chicken provides lean protein. It’s basically a healthy, no-guilt snack that feels like a reward.
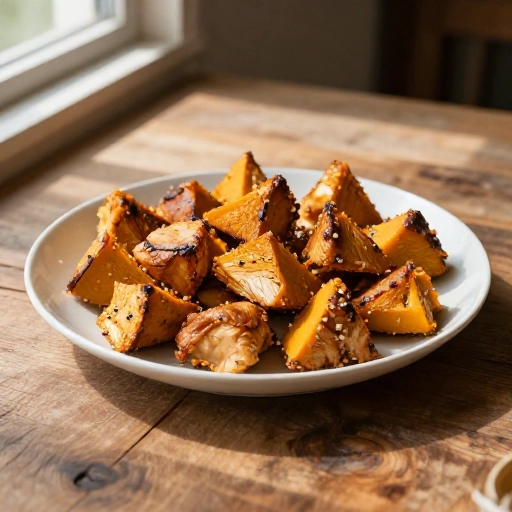
Recipe 2: Salmon & Oat Dream Cookies
These smell incredible (yes, even to humans). Bake one can of drained salmon (packed in water) at 350°F for ten minutes to dry it out. Let it cool, then flake it into a bowl. Mix in one beaten egg and a quarter cup of oat flour. Stir until a dough forms.
Roll into small balls and flatten slightly on a baking sheet. Bake at 350°F for 12 minutes until golden. Cool completely before serving. These are crunchy on the outside, soft inside, and packed with omega-3s for a shiny coat.
Store in an airtight container in the fridge for up to a week. They’re also great for training—just break into smaller pieces.
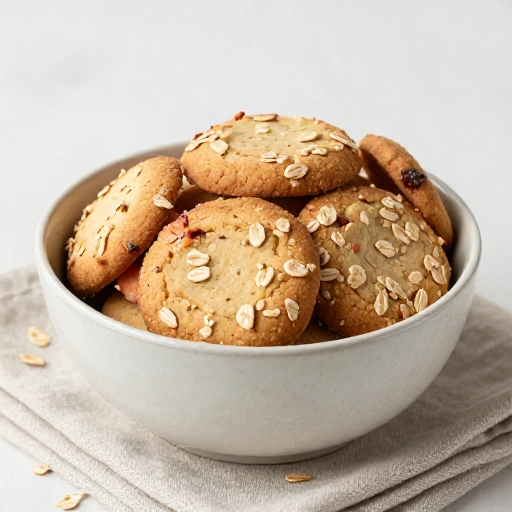
Recipe 3: Tuna & Carrot Pâté
Perfect for older cats or those with dental issues. Blend one can of tuna in water (drained) with two tablespoons of steamed, mashed carrot and a splash of fish broth. Process until silky smooth. Spoon into small silicone molds or an ice cube tray.
Freeze until solid, then pop out and store in a bag. To serve, thaw one cube in the fridge overnight. I sometimes warm it slightly in the microwave (just five seconds) to release the aroma—drives my cats wild.
The carrots add vitamin A, and the tuna provides that irresistible fishy flavor. It’s a hydrating, lickable treat they’ll beg for.
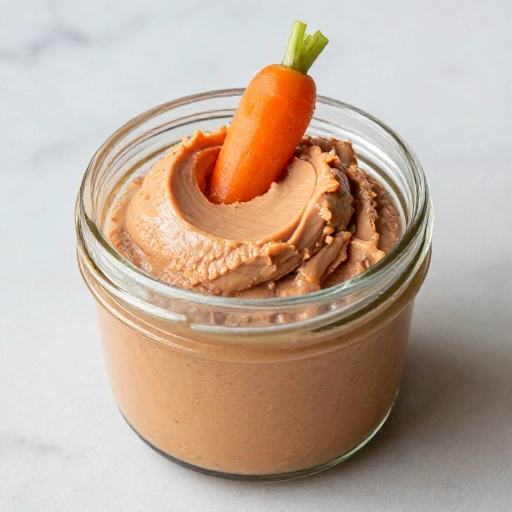
Recipe 4: Yogurt & Blueberry Frozen Drops
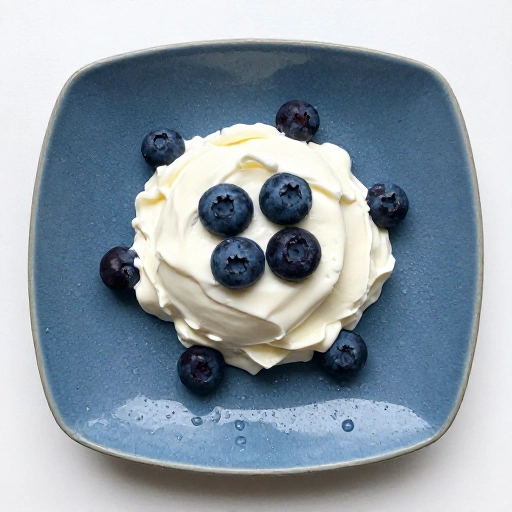
In summer, these are a lifesaver. Mix half a cup of plain full-fat yogurt with a tablespoon of mashed blueberries. Drop tiny spoonfuls onto a parchment-lined tray. Freeze for three hours. These are like cat ice cream—cold, creamy, and fun.
Only give one or two at a time, especially if your cat isn’t used to dairy. The blueberries provide antioxidants, while the yogurt supports gut health. I use a silicone dropper for perfectly round, bite-sized drops.
These melt fast, so serve immediately after taking them out of the freezer. My cats chase them around the kitchen floor—it’s pure entertainment.
Recipe 5: Chicken Liver & Brown Rice Balls
Liver is a superfood for cats, but a little goes a long way. Cook two tablespoons of chopped chicken liver in a nonstick pan with no oil. Let it cool. Mix with a quarter cup of cooked brown rice and one tablespoon of plain yogurt. Form into small balls.
These can be served fresh or frozen. I give one ball as a weekly treat because liver is rich in vitamin A and iron. Too much can cause vitamin toxicity, so stick to moderation.
Your cat will smell these from across the house. The texture is soft, making them great for senior cats who struggle with crunchy treats.
[[IMG:IMG08]]
Recipe 6: Sardine & Sweet Potato Mash
This one is my secret weapon for hiding supplements. Bake one small sweet potato until soft. Mash two tablespoons of it with one canned sardine (in water, drained). Add a teaspoon of coconut oil. Mix well until it’s a thick, spreadable paste.
Spread a thin layer on a lick mat or stuff into a small puzzle toy. It’s mentally stimulating and physically satisfying. The omega-3s from sardines are amazing for joints and brain health.
Refrigerate any leftovers for up to three days. Don’t use sardines packed in oil or salt—your cat doesn’t need that extra sodium.
[[IMG:IMG09]]
Why Homemade Cat Treats Are Worth the Effort
I started making these for my senior cat, who developed food sensitivities. Store-bought treats just didn’t work anymore. Within a week of swapping to homemade, his energy improved, his coat got softer, and his litter box issues reduced significantly.
You control exactly what goes in. No fillers, no preservatives, no mystery ingredients. Plus, the bonding time in the kitchen is real. My cats now sit on the counter (supervised) and watch me prep. They know when I’m making something just for them.
It’s also cost-effective. A batch of chicken bites costs about the same as a small bag of premium treats, but lasts twice as long. And the look of pure joy on their faces? Priceless.
[[IMG:IMG10]]
Conclusion: Start Small, Stay Consistent
You don’t need to make all six recipes at once. Pick one that matches what you already have in your kitchen. Try the chicken bites first—they’re the easiest and most forgiving. See how your cat reacts. Adjust portion sizes based on their weight and activity level.
Homemade treats are a supplement, not a replacement for a balanced diet. Always check with your vet before introducing new foods, especially if your cat has health conditions. But once you get the go-ahead, have fun with it. Your cat will love the variety, and you’ll love knowing exactly what they’re eating.
Happy cooking, and give your kitty an extra scratch from me.
Frequently Asked Questions
Can I use raw meat in these recipes?
I always cook meat first to kill any bacteria. Raw diets are a personal choice, but for these simple recipes, cooked is safer and easier to digest. Stick to gentle cooking methods like boiling or baking without oil.
How many treats can I give my cat per day?
Treats should make up no more than 10% of your cat’s daily calories. For most cats, that’s two to three small treats. Adjust based on their size and activity level. If they’re gaining weight, cut back.
Can I substitute ingredients?
Absolutely, but keep it simple. Swap chicken for turkey, salmon for mackerel, or pumpkin for cooked zucchini. Avoid onions, garlic, and high-fat meats. Stick to lean proteins and safe veggies. When in doubt, leave it out.
How long do these treats last?
Fresh treats last three to four days in the fridge in an airtight container. Frozen treats last up to one month. Always thaw in the fridge, not on the counter. If it smells off, toss it. Your cat’s health isn’t worth the risk.
My cat is picky. What if they don’t eat these?
Start with the salmon or tuna recipes—they’re the most aromatic. Warm the treat slightly (five seconds in the microwave) to boost the smell. Be patient. Some cats need a few tries to accept new textures. Mix a tiny piece with their regular food to encourage tasting.