10 Stylish DIY Cat Furniture Projects Under $20
I love my cat more than almost anything, but I don’t love the price tag on most cat furniture. Have you seen what a decent cat tree costs these days? It’s wild. So, I started making my own. Not only does it save a ton of money, but I also get to pick the colors and style that actually match my home.
These projects are all under $20. Most of them use things you might already have lying around, like old t-shirts, cardboard boxes, or scrap wood. You don’t need to be a master carpenter or own a workshop. A hot glue gun and some basic patience will get you through most of these. Let’s make your cat (and your wallet) very happy.
1. The Cozy T-Shirt Tent
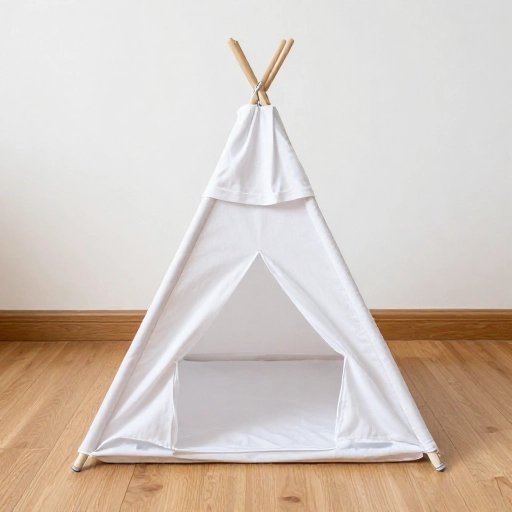
This is the easiest project on the list and your cat will probably love it instantly. You just need a wire hanger, an old t-shirt, and a piece of cardboard. It takes about five minutes.
Straighten the hanger, then bend it into a U-shape. Poke the two ends through the cardboard so it forms an arch. Slide the t-shirt over the arch, with the neck hole as the entrance. Tuck the sleeves and bottom under the cardboard and secure with tape. It’s a tiny, cozy cave.
My cat naps in hers every single afternoon. You can also use a sweatshirt for a thicker, warmer version in winter.
2. Rope-Wrapped Scratching Posts
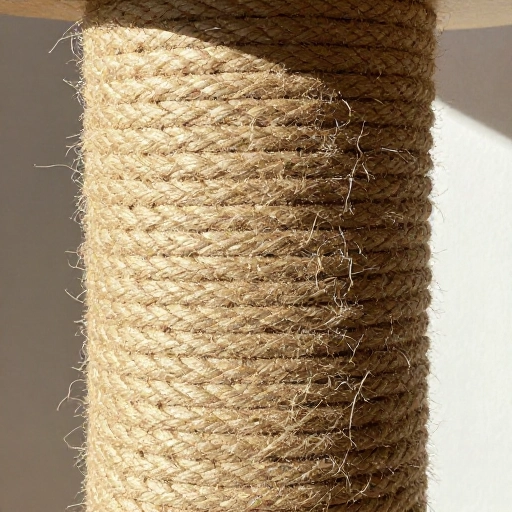
Scratching posts are essential, but the store-bought ones get shredded fast. This version is sturdy and cheap. Grab a 4×4 wooden post (a scrap piece works perfectly) and some sisal rope from the dollar store.
Apply a dab of hot glue at the top of the post and start wrapping the rope tightly around it. Keep the coils snug against each other. Every few inches, add another dot of glue to keep it from slipping. Wrap all the way to the bottom.
- Use a tall post for full-body stretching.
- Mount it to a piece of plywood for stability.
- You can paint the wood base to match your room.
3. Cardboard Castle Scratcher
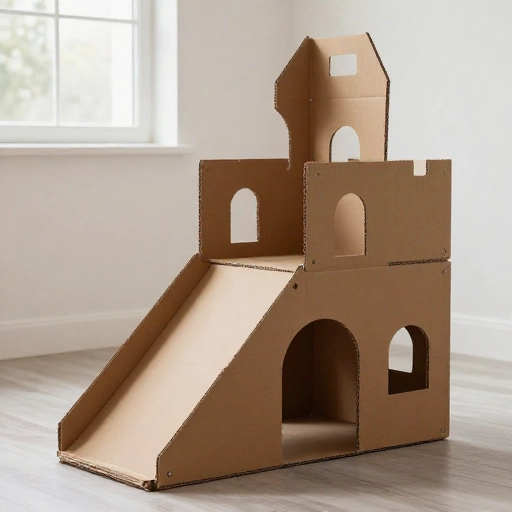
Cardboard is a cat’s best friend. Instead of buying those expensive cardboard loungers, make your own. Save up shipping boxes and cut them into strips about four inches wide.
Roll a few strips tightly to form the core. Then, start gluing the rest of the strips around that core, coiling them outward like a cinnamon roll. Keep going until you have a round, flat disc that’s about two inches thick. Your cat will scratch, sleep, and drool on it.
You can make them in any shape. A rectangle works just as well. When the top layer gets frayed, just flip it over.
4. Simple Shelf Perch
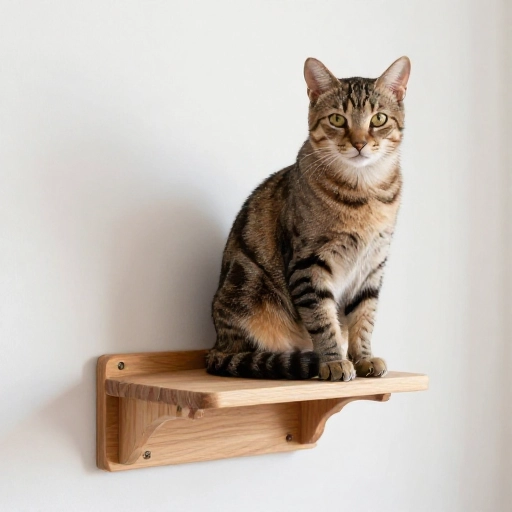
Cats love being up high. A simple floating shelf gives them a window seat without taking up floor space. Look for a basic wooden shelf at a thrift store for a dollar or two.
Sand it down so there are no splinters. Paint it or leave it natural. Attach a sturdy bracket to the wall, making sure it’s anchored into a stud. For extra comfort, glue a piece of carpet or a small cushion on top.
Put it near a window, and you’ll have the happiest cat on the block. They love watching birds from their private lookout.
5. The “Catio” Box
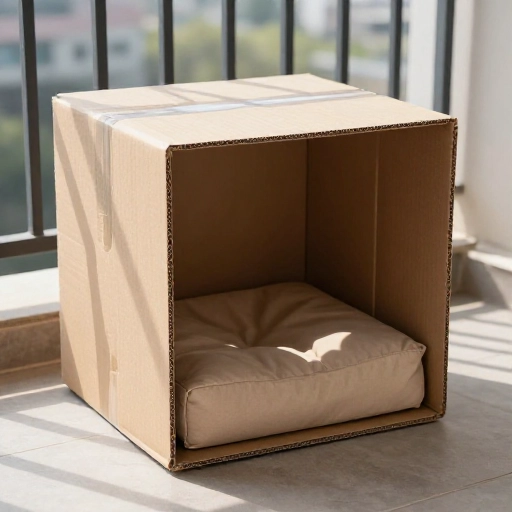
If your cat wants to go outside but you want them safe, this is perfect. Find a medium-sized cardboard box with a lid. Cut a large window on one side and cover it with a piece of old window screen or chicken wire.
Cut a small door on the side for your cat to enter. Decorate the outside with wrapping paper or contact paper to make it look like a little house. Place it on a balcony or just by an open window.
It gives them fresh air and sunshine without the risk of running off. I call it the “safe adventure box.”
6. Fabric Tube Tunnel
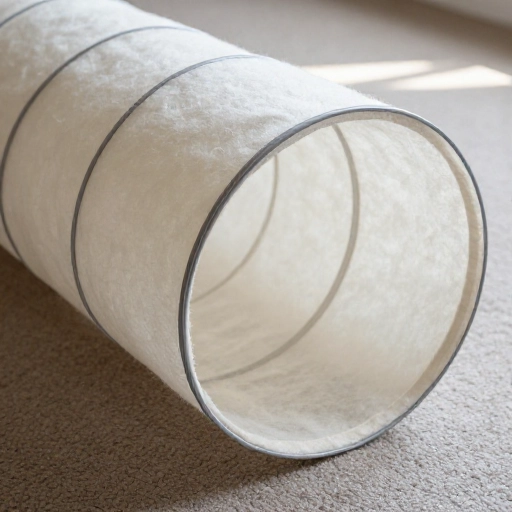
Store-bought tunnels are flimsy and expensive. You can make a sturdy, washable one from a large piece of fabric. Fleece or old cotton sheets work great.
Cut your fabric into a long rectangle. Fold it in half lengthwise with the right sides together. Sew along the long edge to make a tube. Then, insert a piece of flexible wire (like an old coat hanger) into the seam at one end to create a hoop.
- Make multiple hoops along the tube for support.
- Leave the ends open for chasing toys.
- Add a small jingle bell inside for extra fun.
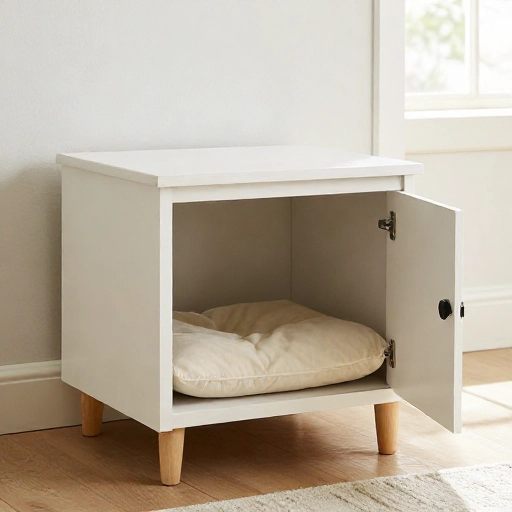
7. Upcycled Drawer Bed
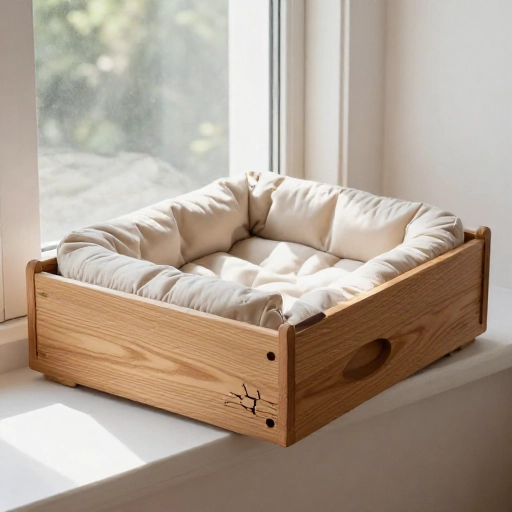
An old wooden drawer from a dresser makes a fantastic, rustic cat bed. You can find them at flea markets or on the curb for free. Sand down any rough edges and give it a quick coat of paint.
Line the bottom with a soft blanket or an old pillow. The high sides give your cat a sense of security. They can peek out over the edge, but feel completely hidden.
I put mine on a low shelf, and my cat treats it like a VIP lounge. It’s also super easy to clean. Just pull out the blanket and toss it in the wash.
8. Macrame Cat Swing
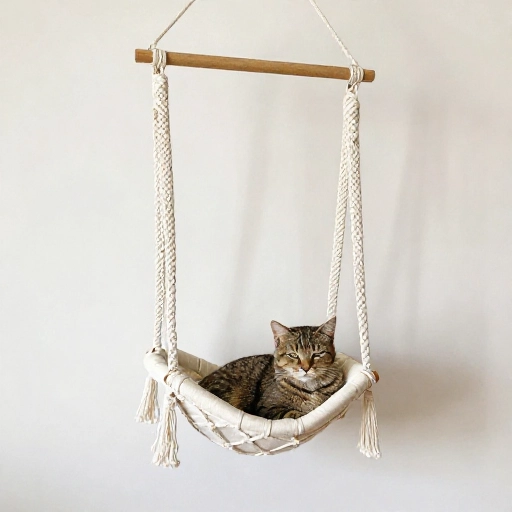
This one looks incredibly stylish, but it’s deceptively simple. You need a sturdy wooden dowel or a thick tree branch, some strong cotton rope, and a drill.
Drill two holes in the dowel, one near each end. Thread a long piece of rope through each hole and tie a knot underneath to secure it. Tie the two ropes together at the top to hang from a ceiling hook.
Drape a piece of soft fabric over the dowel to create the swing. Your cat will love the gentle rocking motion. Just make sure the ceiling hook is very secure.
9. Hanging Tennis Ball Toy
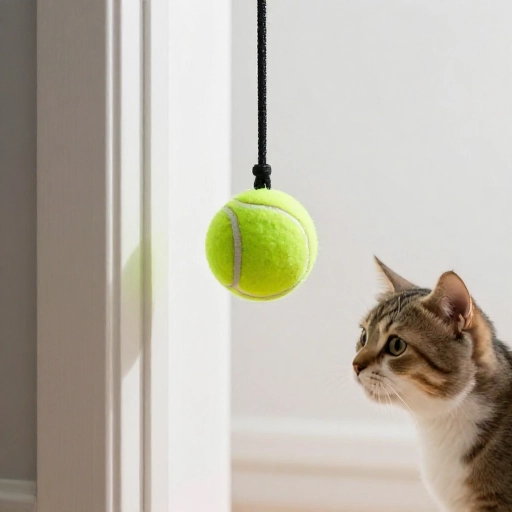
This is a five-minute project for high-energy cats. You just need a tennis ball, a sharp knife, and a piece of string. Cut a small slit in the tennis ball. Poke the string through the slit and tie a knot inside the ball so it can’t pull out.
Tie the other end of the string to a doorknob or a hook on the wall. The ball should hang at your cat’s eye level. They’ll bat at it, chase it, and try to catch it for hours.
You can stuff a little bit of catnip inside the slit for extra motivation. It’s simple enrichment that costs almost nothing.
10. The Laptop Box Cave
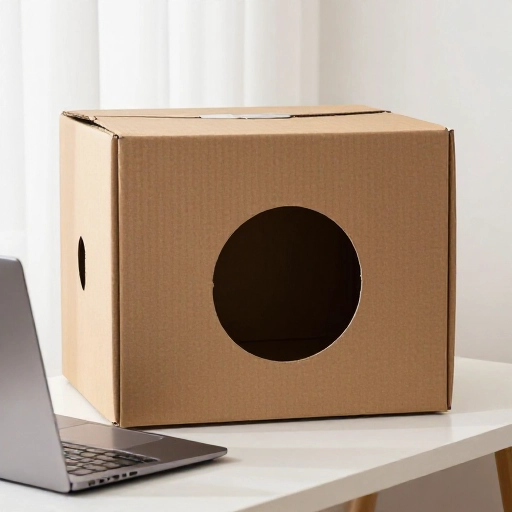
You know those long, narrow boxes that laptops or keyboards come in? Don’t throw them away. They make perfect cat caves. Take the box and cut a round hole in one of the narrow ends.
Cover the box with pretty wrapping paper or duct tape. I used a marble-patterned contact paper and it looks like a designer item. Place it on its side with the hole facing out.
My cat immediately crawled inside and stayed for two hours. The narrow shape makes them feel hugged and secure. It’s the perfect hideaway for shy cats.
Conclusion
Making your own cat furniture is one of the most rewarding parts of being a pet owner. You save money, reduce waste, and your cat gets something truly unique. Plus, there’s a special joy in watching them curl up on something you built with your own hands.
Start with the simplest project, like the t-shirt tent, and work your way up. You might discover that you love DIY as much as your cat loves the results. Happy building!
Frequently Asked Questions
Are these projects safe for my cat?
Yes, as long as you use non-toxic materials. Avoid strong glues and make sure there are no loose parts that could be swallowed. Always check for sharp edges on wood or wire.
What if my cat ignores the furniture I make?
Don’t take it personally! Try rubbing a little catnip on the new item. You can also place a few treats inside to encourage exploration. Sometimes cats just need time to adjust.
Can I use hot glue for all of these?
Hot glue is fine for most projects, but it can loosen in heat. For items that get a lot of rough play, like scratching posts, use a stronger craft glue or a staple gun.
How do I clean these DIY projects?
Most fabric items can be spot cleaned or thrown in the wash. Cardboard projects should be replaced when they get dirty. Wooden pieces can be wiped down with a damp cloth.
Where do I find cheap materials?
Check your recycling bin first. Thrift stores and dollar stores are goldmines for rope, fabric, and small wood pieces. Ask friends or neighbors for old boxes or t-shirts. You’d be surprised what people give away for free.