7 Easy DIY Cat Trees Perfect for Modern Homes
Let’s be honest—most cat trees are an eyesore. You spend time decorating your living room, and then a giant carpet-covered tower shows up. I love my cats, but I also love my space looking put together. That’s why I started building my own cat trees. They match my décor, save money, and my cats actually prefer them.
You don’t need to be a woodworking pro. These projects use simple tools and materials you can find at any hardware store. Whether you have a tiny apartment or a spacious home, there’s a design here that blends in seamlessly. Let’s make something your cat will love—and your guests will compliment.
1. The Minimalist Wall Shelf Climber
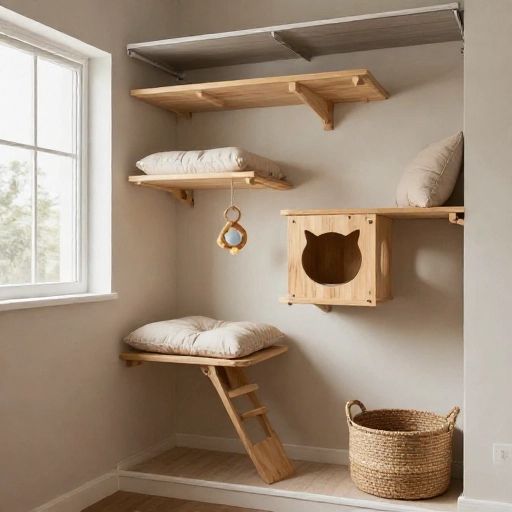
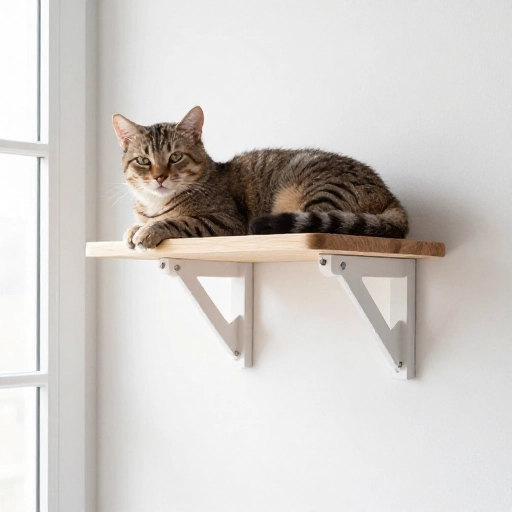
This is my favorite for small spaces. Instead of a bulky floor unit, mount floating shelves in a zigzag pattern up your wall. Use solid wood shelves (not particle board) and wrap them in sisal rope or stick-on carpet tiles. Space them about 12 inches apart so your cat can leap between them.
Pro tip: Add a small cushioned pad to the top shelf. That becomes the ultimate lookout spot. This design takes up zero floor space and looks like modern art. My cats use it more than their old store-bought tower.
2. The Birch Log Statement Piece
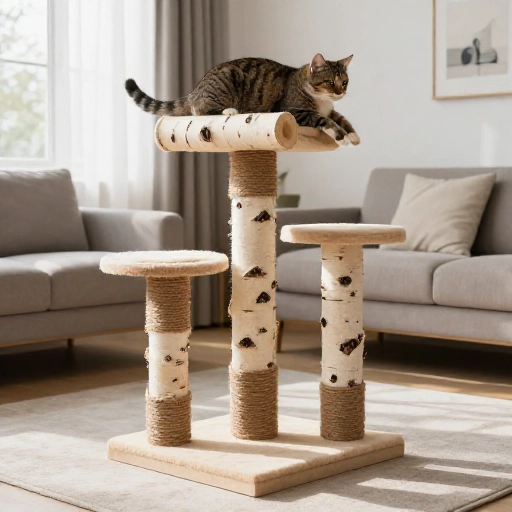
Grab a sturdy, dried birch log from a craft store or (safely) from outdoors. Make sure it’s at least 4 inches thick and tall enough to reach from floor to ceiling. Secure it with a ceiling tension mount kit—the kind used for climbing plants. Wrap the log entirely in natural sisal rope using hot glue.
This gives you a tall scratching post that looks like a sculpture. Add a small round wooden platform at the top for perching. It’s rustic, warm, and fits perfectly in a modern farmhouse or boho room. Plus, no carpet fuzz everywhere.
3. The Cube Storage Hack
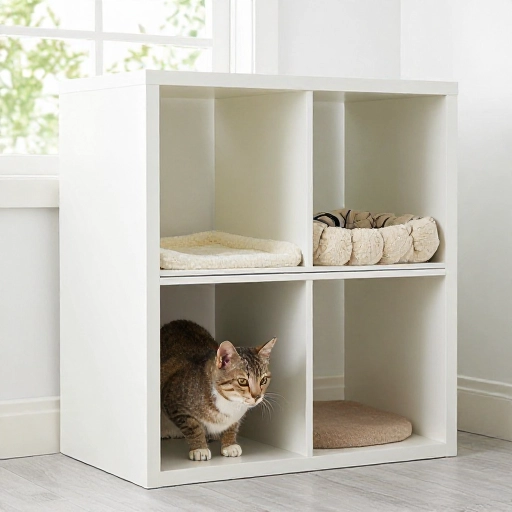
Pick up a simple cube storage unit (ikea’s Kallax works great). Remove one of the vertical dividers to create a larger opening. Add a cozy pet bed inside one cube. For the cube above it, attach a small wooden plank as a shelf. Cover the top of the unit with a plush cushion.
Paint or stain the unit to match your furniture. Your cat gets a hideaway on the bottom and a perch on top. It doubles as a bookshelf or storage. I keep my plant collection on the other cubes—it all looks intentional.
4. The Stepped Side Table
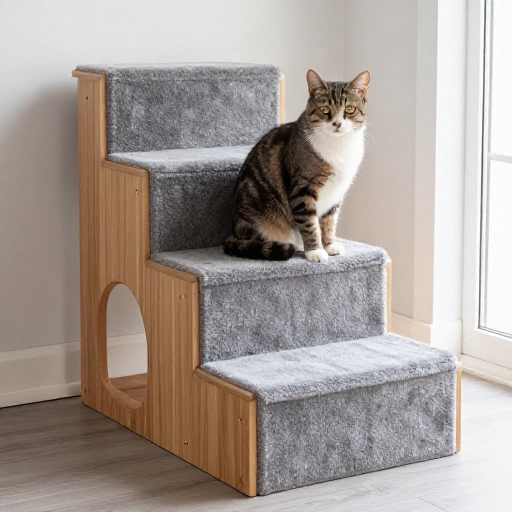
Build a simple two-tier or three-tier side table using pine boards and wooden legs. Make each tier about 10 inches higher than the one below. Cover the top tier with a soft fabric cushion. Wrap the supporting posts with sisal rope for scratching.
This piece sits beside your couch. It holds your coffee mug and remote, but your cat can hop from floor to first tier to top tier. It’s functional for you, playful for them. Use a dark stain to hide fur and scratches.
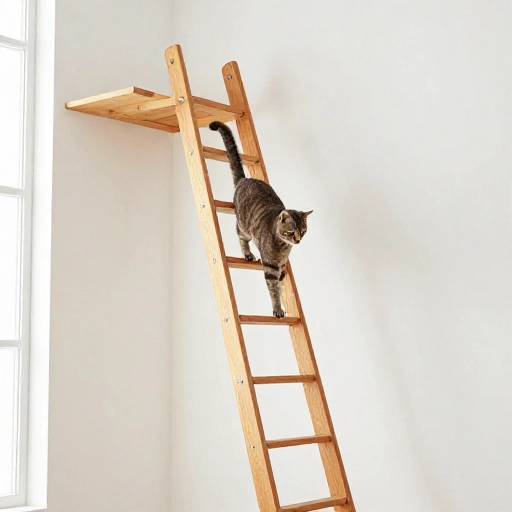
5. The Ladder Lean
Buy or build a simple wooden ladder. Lean it against a wall at a gentle angle—about 60 degrees. Secure it with L-brackets at the top so it doesn’t slide. Wrap each rung with sisal rope or attach flat carpet strips. Add a small cushion at the very top rung.
This is great for senior cats or kittens who can’t jump high. They climb rung by rung. It looks like a decorative blanket ladder when you’re not using it. Paint it a bold color like sage green or mustard yellow for a pop of personality.
6. The Corner Tower from Scrap Wood
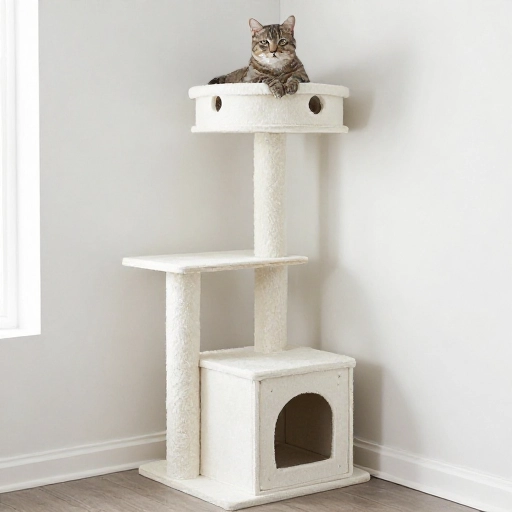
Use a corner of your room that’s usually wasted. Build a triangular base and stack square or hexagonal platforms as you go up. Each platform should be smaller than the one below. Use a central pole (PVC pipe wrapped in rope) for stability. Drill and screw everything securely.
Corner towers feel grounded and don’t interrupt the room’s flow. You can paint the platforms to match your wall color so they almost disappear. Add a hanging toy from the top platform. It becomes a private gym in an unused spot.
7. The Floating Window Perch
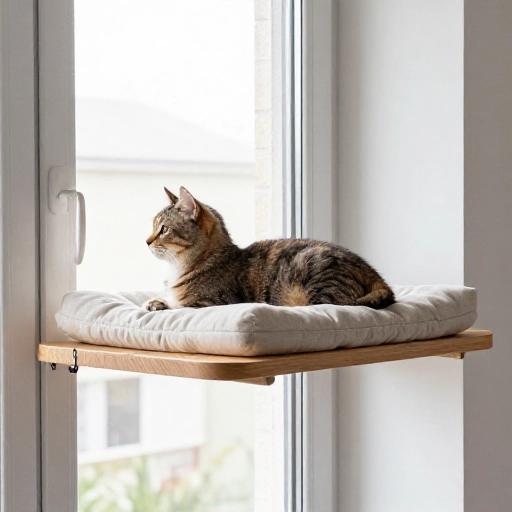
Measure your window sill depth. If it’s shallow, cut a piece of plywood to fit and attach it with sturdy shelf brackets. Pad the top with a washable cushion. If you have a deep sill, just add a cushion and a suction cup bird feeder outside the window.
This is the easiest project—no building required. Cats love watching birds and people. Install it near a sunny window and they’ll nap there for hours. Use a cushion with a zippered cover so you can toss it in the wash. It keeps cat fur off your actual furniture.
Make It Yours
Start with one project. See how your cat reacts. My own cat ignored the expensive store-bought tree but immediately claimed the wall shelf climber. These DIY trees cost a fraction of retail, and you can customize the height, color, and fabric. Your cat gets a playground, and you keep your style intact. That’s a win-win.
Frequently Asked Questions
What’s the best wood for DIY cat trees?
Pine is affordable and easy to work with. Birch and oak are harder and more durable. Avoid particle board—it can’t hold screws well and may sag.
How do I keep the tree stable?
Always anchor tall trees to the wall with a bracket or strap. Use a wide base for floor models. Cats jump hard, so stability is key for safety.
What fabric should I use for the cushions?
Look for upholstery fabric that’s tightly woven and easy to vacuum. Fleece and faux fur are soft but trap fur. Microsuede is a great middle ground.
Is sisal rope safe for cats?
Yes, natural sisal is safe. Avoid treated or dyed rope. Make sure it’s glued down well so no loose strands become a choking hazard.
How long does a DIY cat tree last?
With good materials, 2–5 years. Replace sisal rope when it frays. Tighten screws every few months. A well-built DIY tree often outlasts cheap store-bought ones.