7 Smart DIY Cat Shelves for Ultimate Climbing Fun
Let’s face it—cats love to climb. It’s in their DNA. But not all of us have the space or budget for a giant cat tree. I’ve been there. My living room was tiny, my cat was restless, and I needed a solution that looked good and kept her busy.
That’s when I discovered DIY cat shelves. They’re clever, affordable, and you can customize them to fit your home perfectly. Whether you’re a weekend warrior with a drill or a total beginner, these seven ideas will transform your walls into a feline playground. Plus, they’ll make your space feel like a chic cat café.
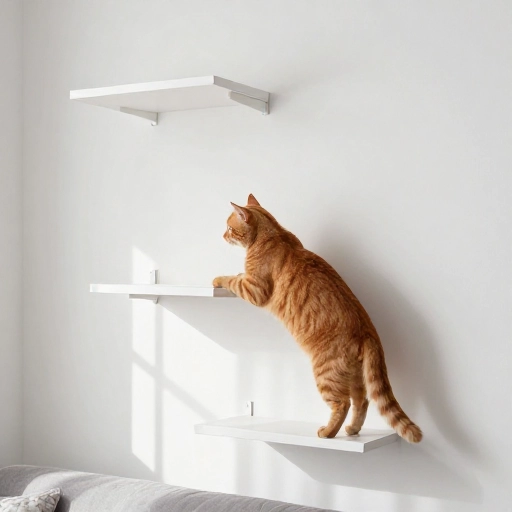
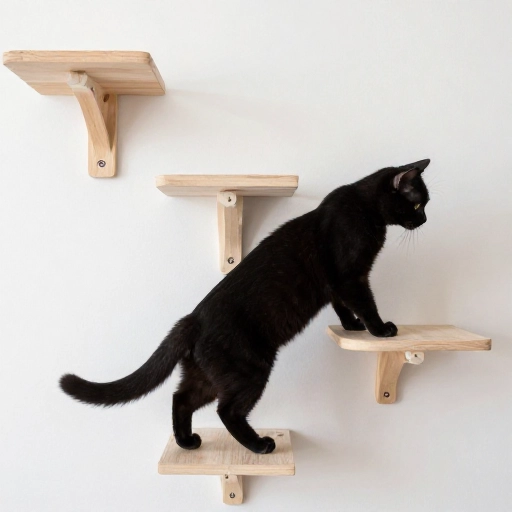
1. Floating Shelf Ladder
This is the simplest way to start. You install a series of floating shelves in a staggered pattern up the wall. Think of it like a staircase for your cat. They jump from one shelf to the next, getting higher and higher.
I used basic pine boards from the hardware store and painted them to match my wall color. The key is to anchor them into studs or use strong wall anchors. Space them about 12 to 16 inches apart vertically, and offset them left and right for a zigzag effect.
Pro tip: Add a soft landing pad like a small rug or felt pad on each shelf. Your cat will appreciate the grip, and it adds a cozy touch.
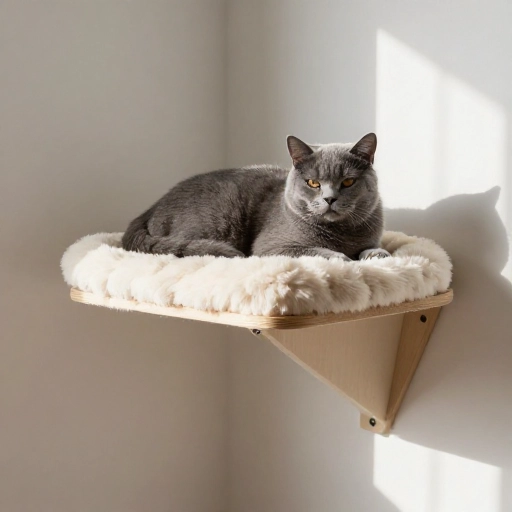
2. Corner Perch Platform
Corners are often wasted space, but they’re perfect for a cat perch. I built a triangular platform that fits snugly into a corner of my living room. It’s supported by two sturdy brackets underneath.
My cat loves curling up there to watch birds through the window. I added a plush cushion and a small blanket, and now it’s her favorite nap spot. The best part? It takes up zero floor space.
You can use plywood cut into a triangle, sand the edges smooth, and stain or paint it. Make sure the brackets are rated for at least 20 pounds to be safe.
3. Wall-Mounted Tunnel System
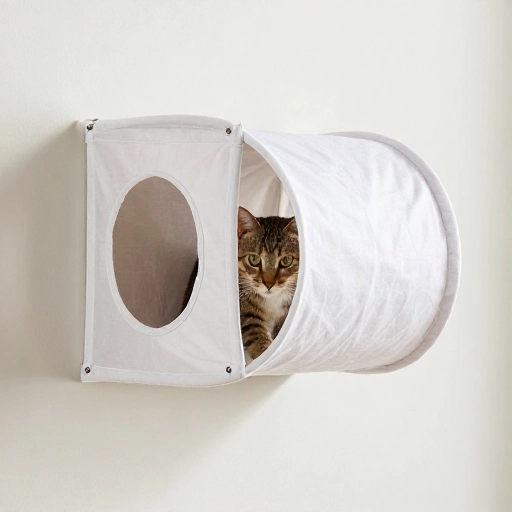
If your cat loves hiding and pouncing, try a series of wall-mounted tunnels. I used large PVC pipes cut in half lengthwise and attached them to the wall with brackets. They form a winding path around the room.
You can also use fabric tunnels from pet stores and mount them with zip ties to wooden frames. The tunnels can connect shelves or lead to a cozy box at the end. It’s like a secret highway for your cat.
Just make sure the tunnels are wide enough for your cat to turn around. I’d say at least 10 inches in diameter. And secure them well so they don’t wobble.
4. Step-and-Shelf Combo
This idea combines small steps with larger shelves. I installed a few small wooden blocks as steps, leading up to a wider shelf that acts as a resting spot. The steps are spaced so my cat can hop easily without straining.
I used leftover wood from other projects and cut them into rectangles. Each step is about 4 inches deep and 12 inches wide. The top shelf is larger, about 18 by 12 inches, with a soft mat.
This setup works great in hallways or narrow spaces. It gives your cat a clear path to climb and a reward at the top. Plus, it looks like modern wall art.
5. Hammock Shelf
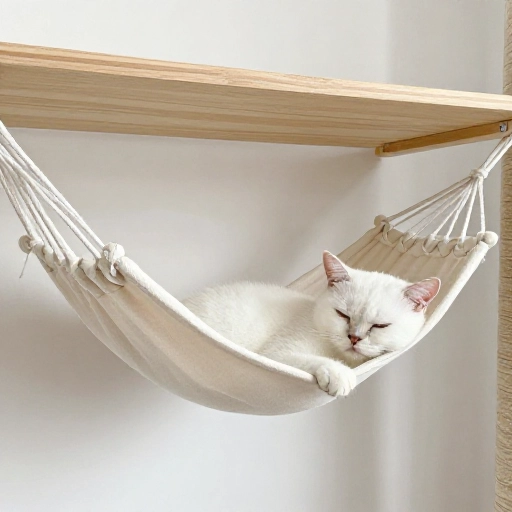
Who doesn’t love a hammock? I made a simple frame from a wooden board and attached a piece of sturdy fabric underneath. The board is mounted to the wall, and the fabric hangs loosely, creating a cozy cradle.
My cat was skeptical at first, but now she climbs right in. I used canvas fabric and sewed the edges to prevent fraying. The board is about 14 inches long and 8 inches deep, just enough for her to stretch out.
You can also buy ready-made cat hammocks and attach them to a shelf bracket. Just make sure the fabric is washable because fur and dirt will collect.
6. Bookshelf Bridge
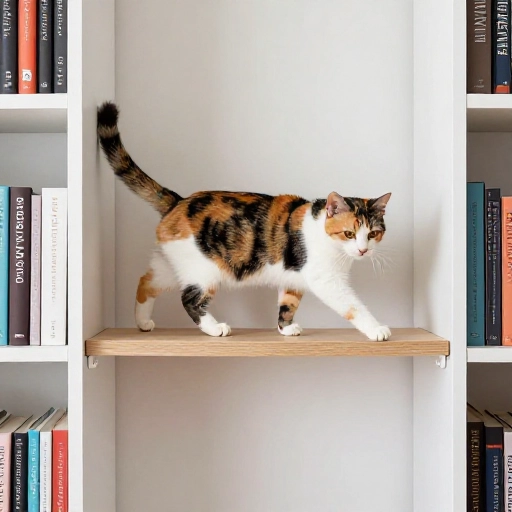
If you have a tall bookshelf, turn it into a climbing bridge. I attached a wooden plank between the top of my bookshelf and a nearby wall shelf. It creates a bridge for my cat to walk across.
I used a 2×4 board, sanded it smooth, and wrapped it in sisal rope for grip. The rope also doubles as a scratching surface. I secured it with L-brackets on both ends.
This is a great way to connect different pieces of furniture. My cat loves patrolling from the bookshelf to the window perch. It gives her a sense of ownership over the room.
7. Hidden Cubby Shelf
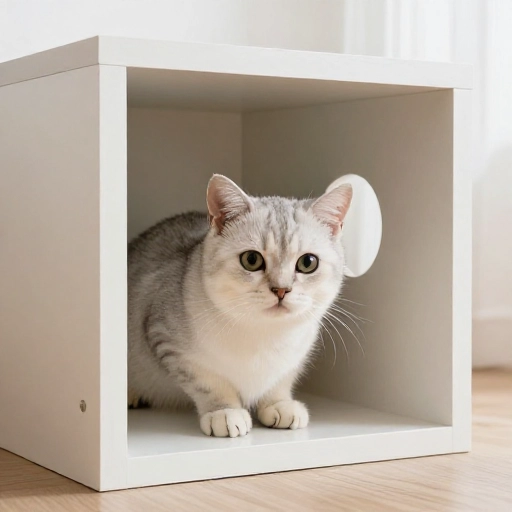
For cats that love privacy, build a cubby shelf with a small opening. I made a wooden box with a round hole cut into the front, then mounted it to the wall. Inside, I placed a soft bed and a toy.
The cubby is about 16 inches square and 10 inches deep. It’s mounted at a height where my cat can jump inside easily. I painted it the same color as the wall so it blends in.
It’s like a little cave in the sky. My cat uses it when she wants alone time, and it’s adorable to see her peek out of the hole. You can add a small shelf below it as a step.
Conclusion
DIY cat shelves are a game-changer. They save floor space, give your cat exercise, and let you be creative. I’ve seen my cat become more active and confident since I added these shelves. Plus, they’re a fun weekend project that doesn’t cost a fortune.
Start small with one or two shelves, then see how your cat responds. You can always add more. The best part is watching your furry friend explore their new vertical kingdom. Happy building!
Frequently Asked Questions
1. Are DIY cat shelves safe for heavy cats?
Yes, as long as you use proper anchors and mount them into studs. I’ve tested mine with a 15-pound cat, and they hold perfectly. Always check weight limits on hardware.
2. What tools do I need to start?
Basic tools like a drill, level, screwdriver, and saw. You might also need sandpaper and paint. Most projects require just a few hours.
3. Can I install cat shelves in a rental apartment?
Yes, but use removable adhesive strips or tension rods for lighter shelves. For heavier ones, you’ll need to fill holes before moving out. Check your lease first.
4. How do I get my cat to use the shelves?
Place treats or toys on the shelves to encourage exploration. You can also rub catnip on them. Most cats figure it out within a few days.
5. How high should I place the shelves?
Start low, about 2 to 3 feet off the ground. Then gradually add higher shelves. Always ensure there’s a safe landing spot below. Avoid placing them above hard surfaces like tile.