7 Money-Saving DIY Cat Tower Ideas That Look Expensive
If you have a cat, you already know the struggle. You drop $100 on a fancy cat tree, and your feline friend ignores it completely, choosing instead to nap in the cardboard box it came in. It’s a classic move. But here’s the thing—you don’t need to spend a fortune to give your cat the vertical playground they crave.
I’ve been down this rabbit hole (or should I say catnip hole?) more times than I care to admit. After building way too many projects in my living room, I’ve learned that the best cat towers come from a little creativity and a trip to your local hardware store—or even your recycling bin. These seven ideas are budget-friendly, cat-approved, and honestly, they look way cooler than anything you’d buy online.
So grab some wood glue, dig out that old step stool, and let’s get crafty. Your cat will think you’re a genius, and your wallet will thank you.
1. The Classic Carpet-Wrapped Cardboard Castle
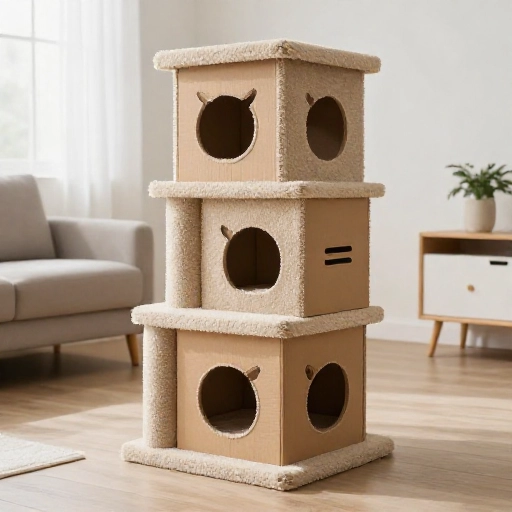
This is the ultimate starter project because it costs almost nothing. Start collecting sturdy cardboard boxes—the thick double-walled ones from appliance shipments are perfect. Stack them in a pyramid or an offset zigzag pattern, then secure them together with hot glue or heavy-duty packing tape.
Now for the magic part: wrap each box in leftover carpet scraps or sisal rope. You can often get carpet remnants for free from local flooring stores. Just cut the carpet to size and wrap it around the boxes like a present. This gives the tower stability and gives your cat the perfect scratching surface.
Cut circular holes in the sides of the boxes so your cat can climb through the middle. It’s like a secret passageway, and cats absolutely love that. Add a soft fleece blanket on the top box, and you have a cozy observation deck.
This thing is surprisingly sturdy. I built one for my two cats, and they use it more than the expensive store-bought tree they used to ignore.
2. The Repurposed Wooden Ladder Tower
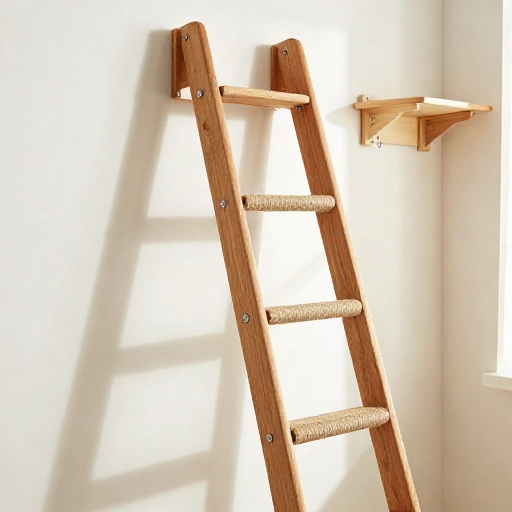
Look around your garage or hit up a yard sale. An old wooden ladder—even a slightly wobbly one—can become the chicest cat tower on the block. You want a ladder that can lean against a wall at a safe angle, around 70 degrees.
Sand down any rough edges first so your cat doesn’t get splinters. Then, simply place wooden planks or small shelves between the rungs to create “landing pads.” You can nail or screw these in place. Wrap the rungs themselves with sisal rope for scratching.
This works best if you lean it against a wall or a sturdy bookshelf. The verticality is perfect for cats that like to climb high. It also takes up very little floor space, which is a win for small apartments.
I like to add a cozy basket at the very top rung. It gives my cat a secure spot to survey the kingdom of the living room. Just make sure the whole thing is stable before you let your cat test it out.
3. The Bookshelf Cat Condo
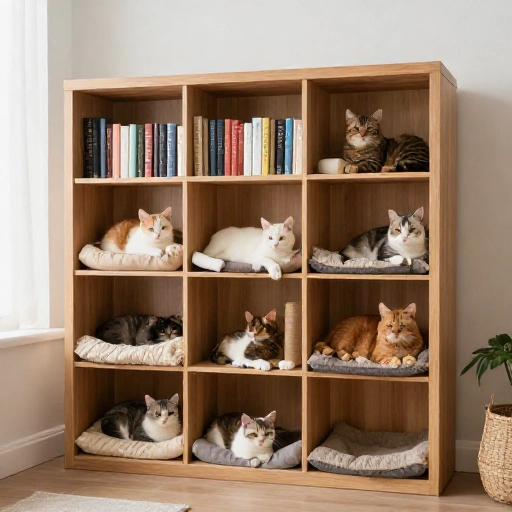
That old bookshelf that’s just collecting junk? It’s time to repurpose it. You don’t need to be a carpenter for this one. Find a sturdy bookshelf with solid shelves. Remove the doors (if it has any) and take out a few of the shelves to create tall vertical spaces.
Turn the bookshelf on its side if you want a longer, lower climber, or keep it upright for a tall tower. The key is to create a mix of open spaces and dark, cozy hidey-holes. You can use the remaining shelves as platforms.
Cover each shelf with a scrap of indoor-outdoor carpet or a yoga mat cut to size. This gives your cat traction. Then, place a cardboard box on one of the lower shelves to create a cave. On a higher shelf, put a soft pillow or a folded blanket.
This is a great way to hide clutter too. You can keep a few books on the lower shelves and let the top half be the cat’s domain. It’s functional furniture and a cat playground all in one.
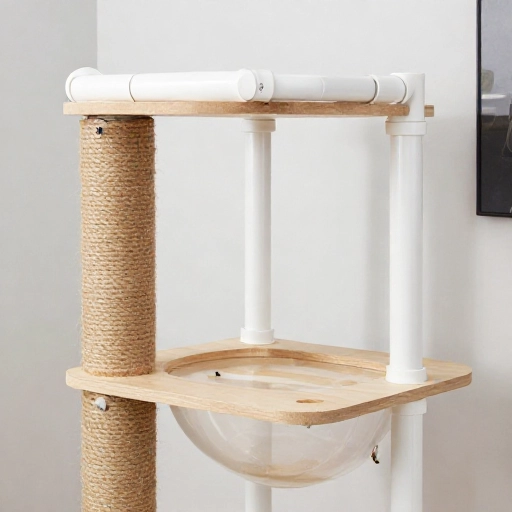
4. The PVC Pipe Climbing Gym
If you want something modern and sleek, PVC pipes are your best friend. This one requires a bit more assembly, but it looks super high-end. You’ll need several lengths of PVC pipe (the wider the better, for stability), some pipe connectors, and a baseboard.
Build a simple frame—think of a cube or a rectangle with legs. Then, attach wooden discs or plastic plant saucers to the top of each vertical pipe. These become your perches. Cover the saucers with non-slip shelf liner so your cat feels secure.
Wrap the vertical pipes with sisal rope. This is the scratching posts. The beauty of PVC is that it’s waterproof, so you can even wipe it down easily. It’s also super lightweight, so you can move it around the house.
Just make sure you glue the pipes together with PVC cement so it doesn’t collapse during a zoomie session. This style looks great in a modern, minimalist home. It’s a total conversation starter.
5. The Upcycled Pallet Wood Tower
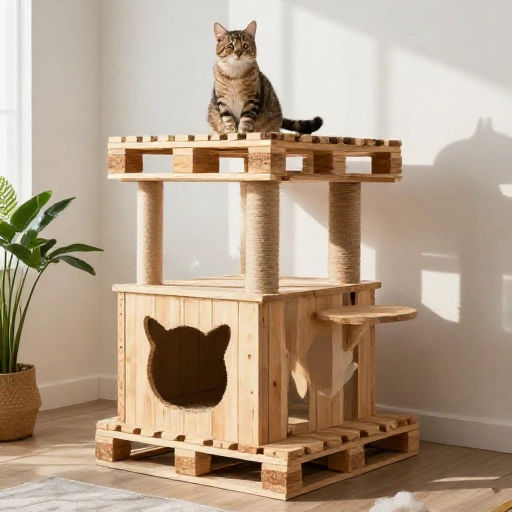
Got a friend with a fireplace? Ask them for their old pallets. Pallet wood is free, sturdy, and gives off that rustic farmhouse vibe that’s so popular on Pinterest right now. You’ll need to carefully pry the planks apart with a crowbar.
Once you have your boards, sand them all down until they are silky smooth. You don’t want any rough splinters. Then, you can build a simple box frame or a tiered platform structure. Nail or screw the boards together securely.
Leave some sections open and create a built-in box with the wood for a cozy cave. You can also create a ramp by attaching two planks at an angle. Cover the top platform with a piece of faux fur fabric for ultimate luxury.
This is a heavier project, but the result is a solid, farmhouse-style piece that looks like it costs $300 at a boutique pet store. It’s super durable and will last for years.
6. The Simple Ceiling-Mounted Rope Swing
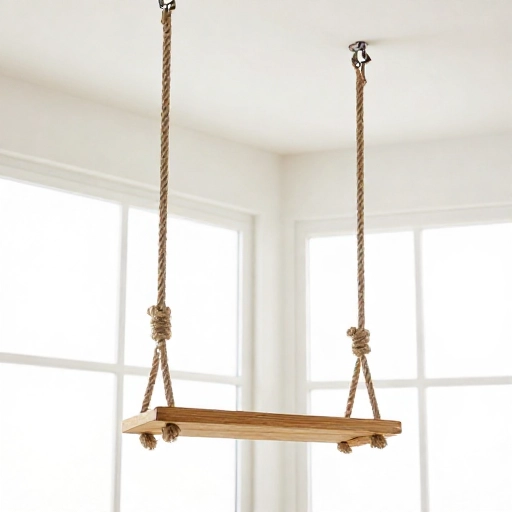
This isn’t a traditional tower, but it adds vertical play space without taking up any floor room. It’s a game-changer for small spaces. You’ll need a sturdy ceiling hook (rated for at least 50 pounds), a thick sisal rope, and a wooden board.
Drill a hole in the center of the wooden board and feed the rope through it. Tie a big, secure knot underneath so the board can’t slip off. Then, attach the other end of the rope to the ceiling hook. Make sure the board is low enough that your cat can easily jump onto it.
Sisal rope is naturally grippy, so your cat won’t slip. The gentle swaying motion mimics the feeling of being in a tree. Most cats love the movement, though some take a few days to get used to it.
This is a super simple build that takes about 15 minutes. It’s also a great way to keep your cat entertained if they love to be up high but you don’t have room for a big tower.
7. The Blanket Fort Cat Tower
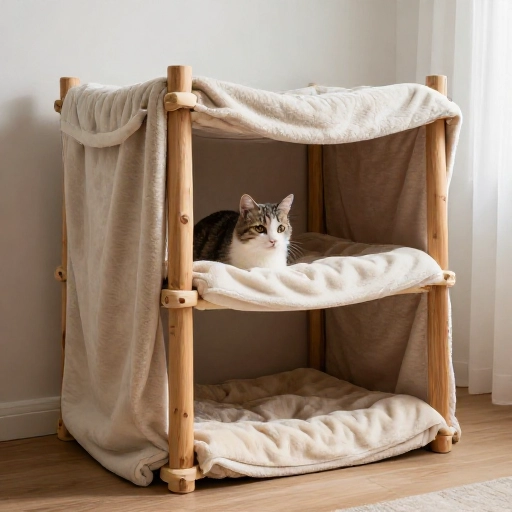
This is the laziest and easiest option, but it works like magic. You know those collapsible storage cubes? Grab three or four of them. Stack them in a staircase pattern—two on the bottom, one on top, and one on the side.
They are usually sturdy enough to hold a cat, but you can reinforce them by putting a piece of cardboard inside each cube. Then, drape a large, soft blanket or a fitted sheet over the whole structure. Tuck the corners in to create a cozy tent-like cave.
Cut a small opening in the blanket so your cat can crawl inside the middle cube. This creates a hidden nest. The top cube becomes a lookout post. You can even add a string with a toy hanging from the “ceiling” of the fort.
This is perfect for a temporary setup or for a cat that loves to hide. It’s also machine-washable—just throw the blanket in the wash. It’s the ultimate budget build because you probably already have these items at home.
Final Thoughts: Don’t Overthink It
Building your own cat tower is about more than saving money (though that’s a huge bonus). It’s about customizing the perfect piece for your cat’s personality. Some cats love to be high up, others want dark caves. You can adapt any of these ideas to fit your specific feline.
Remember to prioritize safety. Always test the stability of your creation before letting your cat go wild. A wobbly tower is a no-go. But if you build it sturdy, your cat will use it for years.
So, what are you waiting for? Pick your favorite idea, gather your supplies, and get ready to be your cat’s new favorite person. The purring is the best reward.
Frequently Asked Questions
1. How do I get my cat to use the DIY tower?
Start by placing treats or catnip on the lower platforms. You can also rub a bit of catnip on the scratching surfaces. Be patient—some cats take a week to warm up to new furniture. Never force them onto it; let them explore at their own pace.
2. What is the best material for covering the platforms?
For traction, carpet remnants and sisal rope are excellent. They also double as scratching surfaces. For cozy sleeping spots, use fleece or faux fur fabric. If you don’t want to spend money, old bath towels work perfectly and are washable.
3. Is it safe to use hot glue for a cat tower?
Hot glue is fine for lightweight items like wrapping rope on cardboard. However, for structural joints that bear weight, you should use screws, nails, or heavy-duty construction adhesive. You don’t want a platform to collapse when your cat lands on it.
4. How tall should a DIY cat tower be?
For most cats, aim for at least 3 to 4 feet tall. Kittens and senior cats may prefer something lower. The key is to have a safe way for them to get down. Make sure there are intermediate platforms so they don’t have to make a huge jump from the top.
5. How do I make my DIY tower more stable?
Wider bases are always better. If your tower is tall, consider attaching it to the wall with a simple L-bracket for extra safety. For cardboard towers, making the base extra wide with a heavy piece of wood or a cement brick hidden inside will prevent tipping.