Build an Outdoor DIY Dog House in a Weekend!
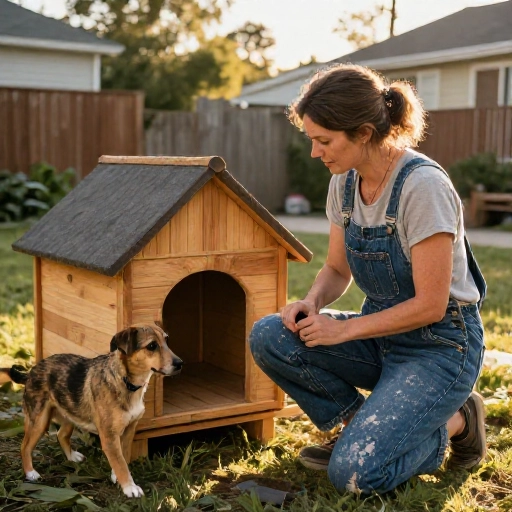
I used to think a dog house was one of those “someday” projects. Then my pup started giving me side-eye from under the porch every time it rained. So I gave myself one weekend, a basic tool kit, and a mission: build an outdoor DIY dog house that actually looks good and keeps him cozy.
It turns out you don’t need a woodshop or a giant budget. With a simple plan, a few solid materials, and some careful measuring, you can build a sturdy dog house in two days—maybe less if you have a helpful friend. I’ll walk you through the whole process, step by step, with little tips I wish I’d known before I started.
Grab your tape measure, pick a sunny Saturday, and let’s build a dog house your best friend will actually use. These 10 ideas will keep the project simple, affordable, and weekend-friendly.
1. Pick the Perfect Spot Before You Cut Any Wood
Location matters more than I expected. A dog house in the middle of a muddy path or under a gutter downspout becomes a soggy mess fast.
I looked for a level spot that gets morning shade and some winter sun. I also kept it close to the back door so my dog doesn’t have to cross the whole yard in bad weather.
Before I built, I watched where my dog naturally naps. That told me more than any fancy design trend. If your dog already loves a certain corner, that’s probably your spot.
2. Choose a Simple Plan That Matches Your Skills
You don’t need a complicated blueprint. A basic A-frame or flat-roof dog house with a raised floor is plenty for most pups.
I looked for plans with straight cuts and simple angles. Curves and fancy trim look cute, but they eat up weekend time. If you’re new to building, avoid anything with too many weird angles.
I printed my plan and kept it in a plastic sleeve so it didn’t get ruined by sawdust or rain. That little move saved me from guessing halfway through.

3. Gather Materials Without Blowing Your Budget
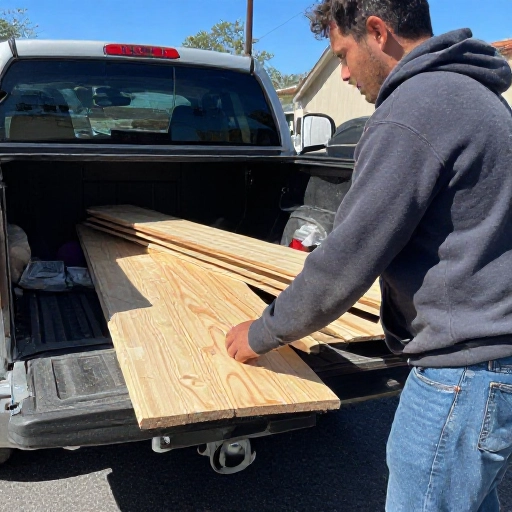
I used exterior-grade plywood, 2x4s, wood screws, and a roll of roofing felt. You can often find scrap lumber or discounted wood at local hardware stores.
Here’s what I put on my supply list:
- Exterior plywood for walls and floor
- Pressure-treated 2x4s for the frame
- Wood screws and galvanized nails
- Roofing felt or shingles
- Paint or stain that’s pet-safe
I asked the store to make a few cuts for me, which saved time and made the whole project feel less intimidating.
4. Measure Your Dog (Yes, Really!)
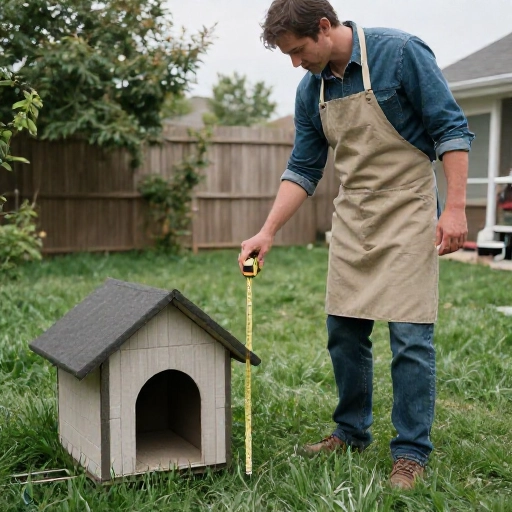
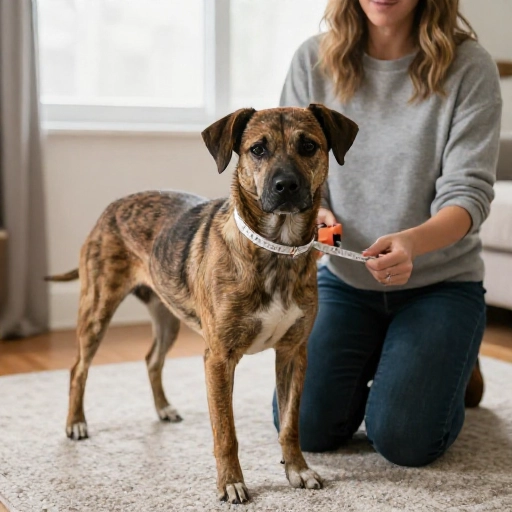
I almost skipped this step. Then I remembered my dog isn’t a generic size. A house that’s too big won’t hold heat, and one that’s too small feels cramped.
I measured his height from the floor to the top of his head, plus his length from chest to rear. Then I added a few inches for turning around and stretching out.
The doorway should be wide enough for him to walk through comfortably, but not so huge that wind and rain blow right in. A good rule is to make the door a little shorter than his shoulder height.
5. Build the Base and Floor First
A raised floor is a game-changer. It keeps the dog house off damp ground and lets air move underneath.
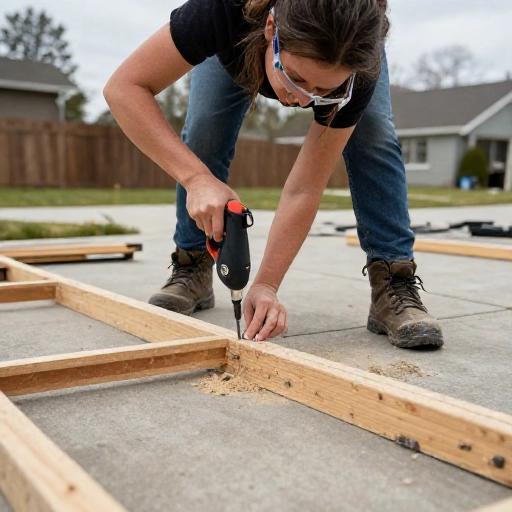
I built a simple frame with 2x4s, then attached a plywood floor on top. I made sure the whole base was square by measuring the diagonals—if they match, you’re golden.
I set the base on concrete pavers to keep it level. That also stopped the wood from sitting directly in mud or grass.
6. Frame the Walls Like a Pro (But Faster)
I framed each wall on the ground, then lifted them into place. It’s easier to work flat than to balance pieces in midair.
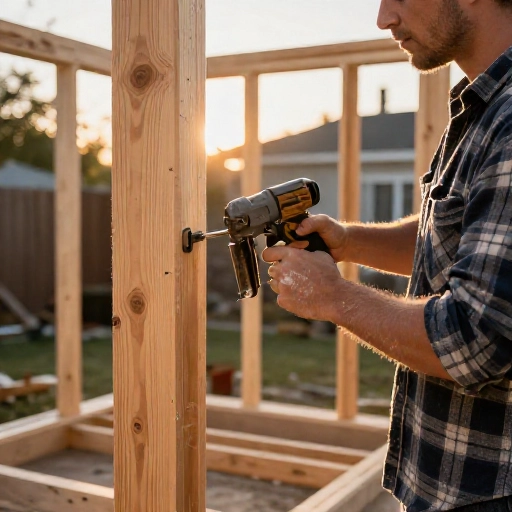
I used 2x4s for the corners and studs, then screwed the plywood to the outside. I left a space for the door on the front wall.
I pre-drilled holes to avoid splitting the wood. That tiny extra step kept my screws straight and my temper calm.
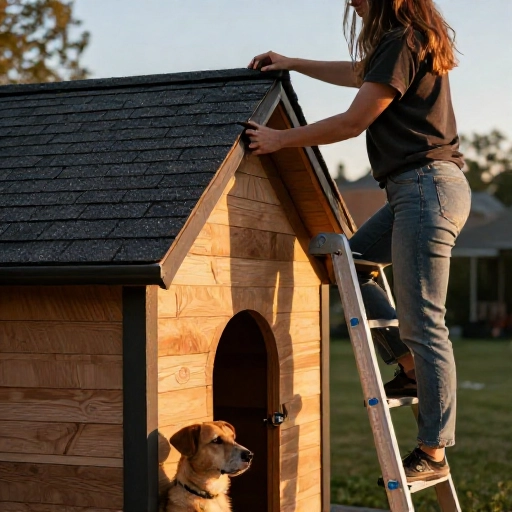
7. Add a Roof That Handles Rain and Sun
I wanted a roof that sheds water without looking like a spaceship. A simple sloped roof worked perfectly.
I covered it with roofing felt first, then added shingles for extra protection. If you’re short on time, a single sheet of metal roofing can work too.
I added a small overhang on all sides. That keeps rain away from the walls and gives shade on hot days.
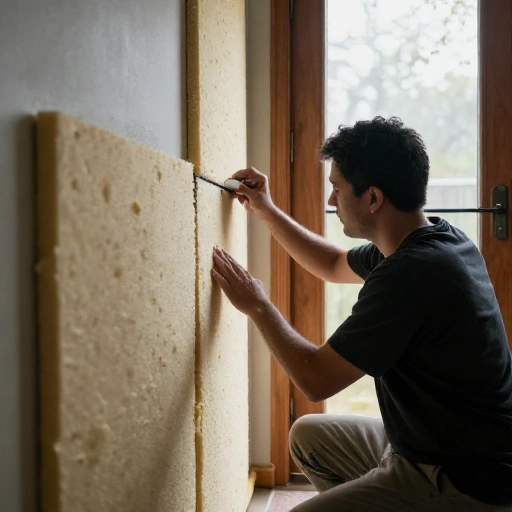
8. Insulate and Weatherproof the Cozy Zone
My dog loves warmth, so I added insulation between the wall studs. I used rigid foam board because it’s easy to cut and doesn’t irritate skin.
I sealed gaps with caulk and made sure the roof edges were tight. I also raised the house a few inches off the ground for airflow.
If you live in a very cold climate, you can add a removable flap over the door. Just make sure your dog can push through it easily.
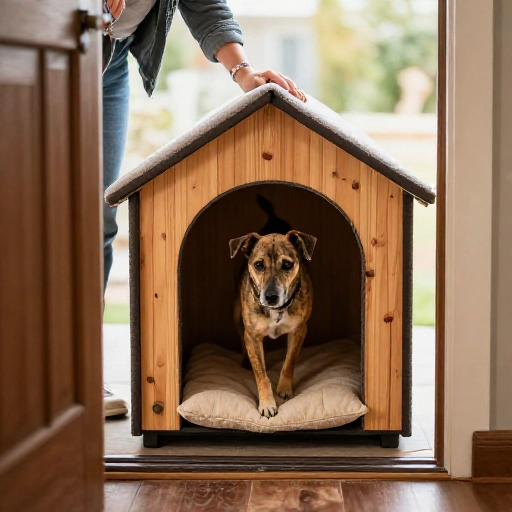
9. Make the Inside Comfortable
I kept the inside simple: a washable bed, a soft blanket, and a favorite toy. That made the new house feel familiar right away.
I avoided carpet because it traps dirt and moisture. A removable, machine-washable cushion is much easier to keep clean.
I also placed the house so the door faces away from strong wind. Small change, big difference for a cozy nap.
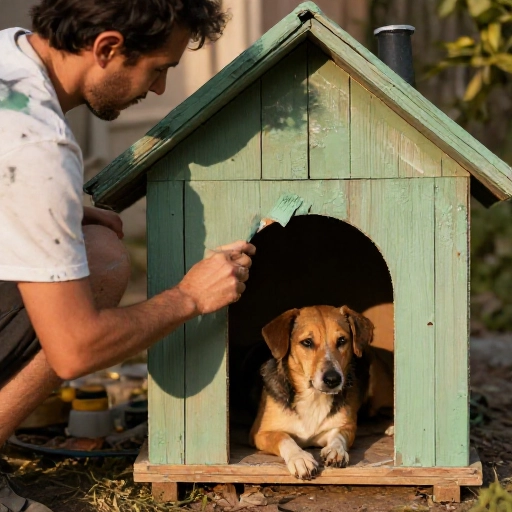
10. Finish with Paint, Safety Checks, and a Test Run
I painted the outside with a pet-safe exterior paint. It looked cute, but more importantly, it protected the wood from rain and sun.
Before letting my dog inside, I checked for sharp screw tips, splinters, and loose nails. I also made sure there was no strong paint smell left.
Then I left the door open and tossed a treat inside. It took him about ten minutes to claim the place as his own. Best feeling ever.
Final Thoughts: A Weekend Well Spent
Building an outdoor DIY dog house in a weekend is totally doable when you keep the design simple and focus on comfort. I made a few mistakes, but the final house is sturdy, dry, and clearly loved.
If you try this project, start early on Saturday, measure twice, and don’t rush the weatherproofing. Your dog won’t care about perfect paint lines. They’ll care that they have a safe spot to call their own.
FAQ: Quick Answers Before You Build
Q: How long does a DIY dog house take?
A: Most simple designs take one weekend. I spent about 10–12 hours total, including drying time for paint.
Q: What wood is safe for a dog house?
A: Exterior-grade plywood and pressure-treated lumber work well. Just use pet-safe paint or stain and let it cure fully.
Q: Should I raise the dog house off the ground?
A: Yes. A raised floor keeps moisture out and helps with airflow. Pavers or pressure-treated blocks work great.
Q: How big should the door be?
A: Make it wide enough for your dog to pass comfortably, but slightly shorter than their shoulder height to block wind.
Q: Can I build a dog house without power tools?
A: You can, but a drill and a circular saw make it much faster. Many hardware stores will cut wood for you if you ask.