DIY Dog Collar Tutorials for Beginners
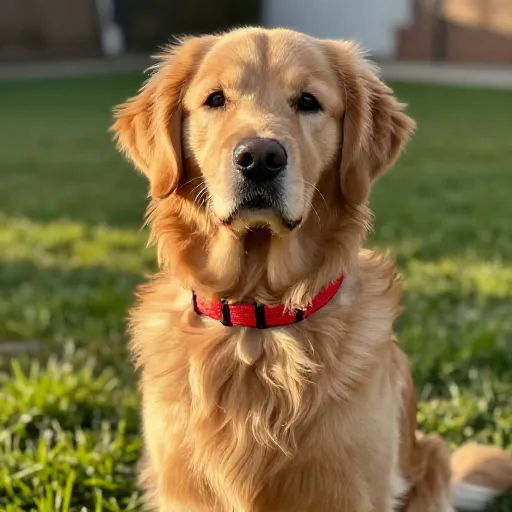
Making your own dog collar is one of those projects that feels both satisfying and a little bit fancy. I started because my pup kept chewing through store-bought ones, and I was tired of the cost. Turns out, it’s much easier than I thought, and you get to pick the exact colors and patterns.
You don’t need a sewing machine or special skills for most of these. A few basic tools, some sturdy fabric or nylon webbing, and about thirty minutes of your time are all it takes. Let’s walk through ten simple tutorials that even a total beginner can handle.
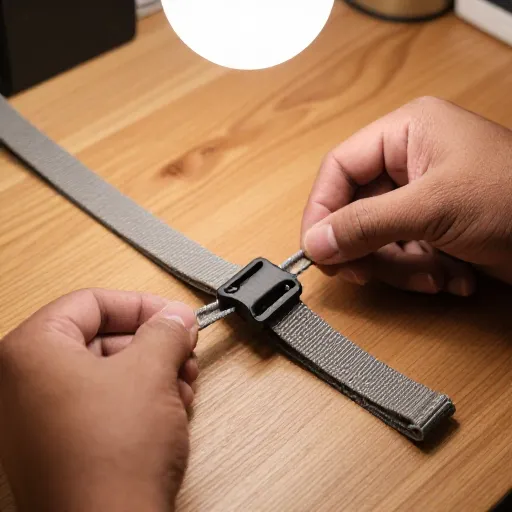
1. The Classic Nylon Web Collar
This is the most straightforward collar you can make. All you need is one inch wide nylon webbing, a plastic side release buckle, and a D-ring for the leash.
- Cut the webbing to your dog’s neck size plus five inches for folding.
- Thread one end through the buckle, fold it over, and sew a box stitch with heavy thread.
- Slide the D-ring on before sewing the other end to the other buckle half.
If you don’t have a sewing machine, use a strong needle and double thread. This collar is tough, washable, and perfect for everyday walks.
2. Braided Paracord Collar
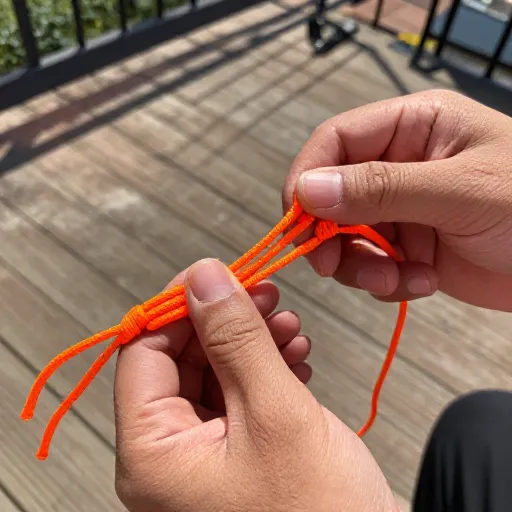
Paracord collars are super popular because they’re durable and come in endless color combos. They also have a built-in survival cord in case of emergencies.
- Cut two lengths of paracord, each about four times the neck size.
- Use a simple cobra stitch around a core of two shorter cords.
- Add a buckle at one end and a loop at the other for adjustment.
This one takes a little patience for the braiding, but it’s just repeating the same knot over and over. Once you get the rhythm, it’s almost meditative.
3. Upcycled Fabric Scrap Collar
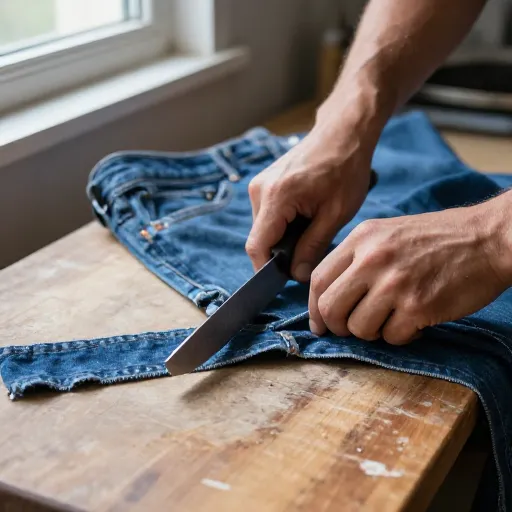
Have a favorite old shirt or leftover fabric from another project? Turn it into a soft, stylish collar for your pup.
- Cut a strip of fabric twice as wide as your desired collar width.
- Fold it in half lengthwise, sew along the edge, and turn it right side out.
- Insert a strip of fusible interfacing or light padding for structure.
Attach a small buckle or use a slip knot closure. This collar is great for smaller dogs who don’t pull hard. It’s also a wonderful way to keep a memory alive.
4. Simple Leather Strip Collar
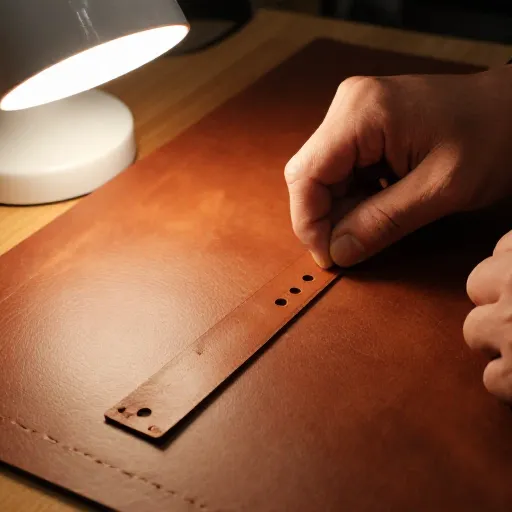
Leather looks so polished, and you don’t need fancy tools. Just a pre-cut leather strip, a rivet setter, and a buckle.
- Buy a leather strap already cut to width from a craft store.
- Punch holes for the buckle prong and for the adjustment holes.
- Attach the buckle with a rivet or strong glue, then add a D-ring.
Leather softens over time and molds to your dog’s neck. It’s a timeless look that ages beautifully.
5. Double Layer Contrast Collar
Want something that looks store-bought but costs half the price? Try a two-tone collar with contrasting webbing.
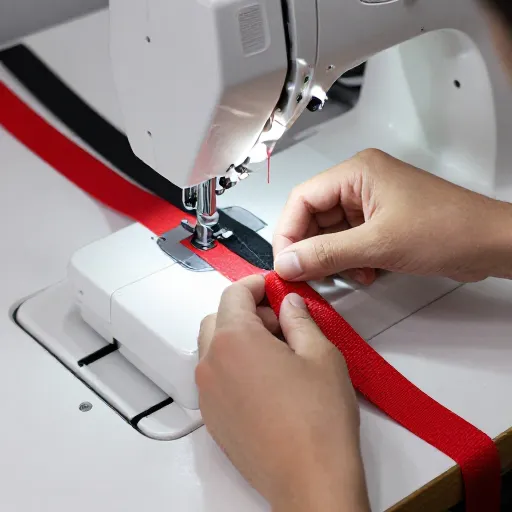
- Cut two pieces of different colored webbing, each the same length.
- Place them back to back and sew along both long edges.
- Attach hardware as you would a regular nylon collar.
The trick is to use a zipper foot on your machine to get close to the edge. The result is a collar that looks custom made.
6. No-Sew Slip Collar
This is the easiest collar ever, perfect for a last-minute project or for dogs who hate buckles.
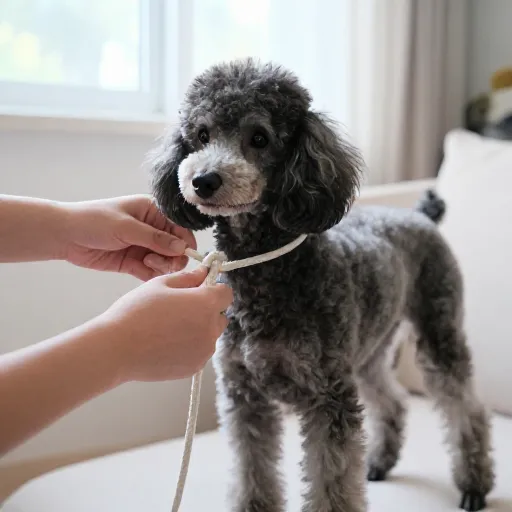
- Use a single length of rope or thick cord, about twice your dog’s neck size.
- Tie a large knot at one end, then thread the other end through a wooden bead.
- Slide the bead to adjust the fit, and it’s done.
Slip collars are great for training but should only be used during supervised walks. They tighten when pulled and loosen when slack.
7. Patterned Cotton Collar with Lining
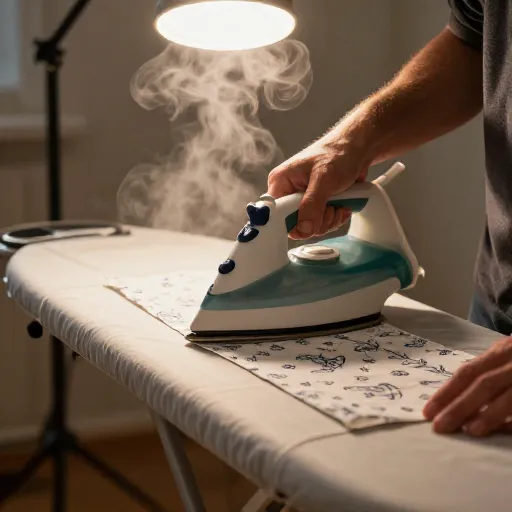
Cotton collars are soft and cute, but they need a lining so they don’t stretch out. This one uses two layers of fabric.
- Cut two rectangles of fabric, one for the outer and one for the lining.
- Sew them right sides together, leaving a gap for turning.
- Turn it right side out, insert a strip of stiff interfacing, and topstitch closed.
Add a D-ring and buckle before closing the gap. This collar is best for indoor wear or light walks.
8. Reflective Safety Collar
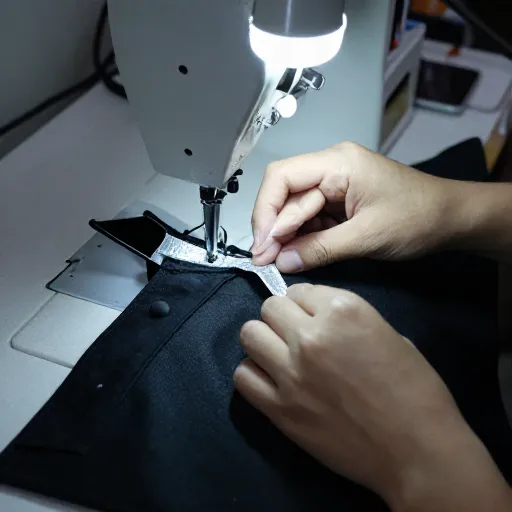
Evening walks are safer with a reflective collar. It’s easy to add reflective tape to a basic nylon collar.
- Make a plain nylon webbing collar first.
- Cut a strip of reflective tape the same length as the collar.
- Sew the tape down the center of the webbing using a straight stitch.
You can also use reflective thread for extra visibility. This simple upgrade makes a huge difference when cars are around.
9. Braided Rope Collar with Beads
This one is more decorative but still functional. It’s a great project if you want something unique.
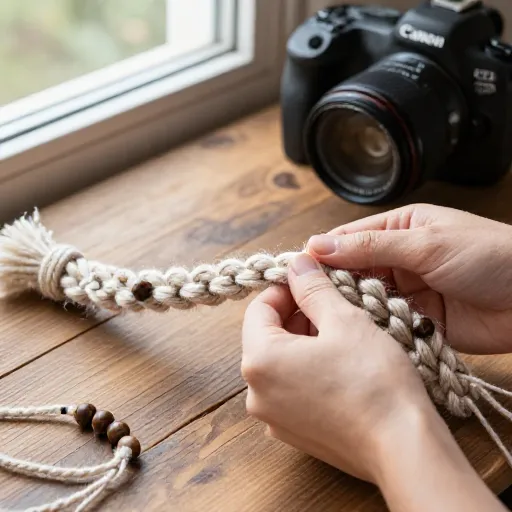
- Use three strands of thin rope or cord, each about five feet long.
- Braid them together, sliding a few wooden or plastic beads onto one strand as you go.
- Finish the ends with knots and attach a small clip or buckle.
The beads add a pop of color and a little weight. Just make sure they are securely tied so they don’t become a choking hazard.
10. Adjustable Breakaway Collar for Safety
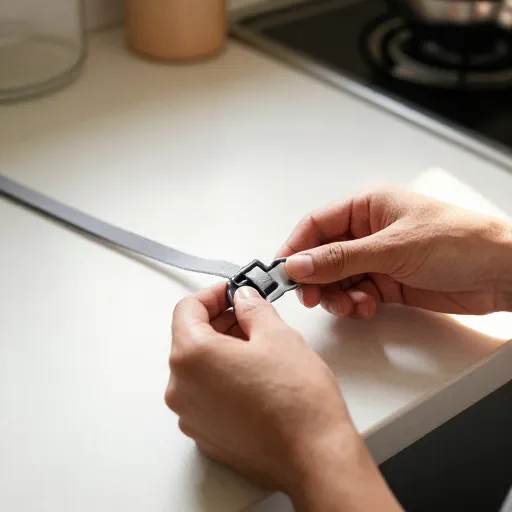
For cats or small dogs, a breakaway collar is a must. It unclips if it gets caught on something.
- Use a breakaway buckle instead of a regular one.
- Make the collar as you would a standard nylon one, but leave a small loop at the end.
- The breakaway buckle has a weak point that pops open under pressure.
This is a simple substitution that can prevent accidents. It’s especially good for dogs who love to explore in bushes or under fences.
Conclusion
Making a dog collar at home is one of those small projects that brings a big smile. You get to control the fit, the style, and the quality. Plus, every time you see your pup wearing something you made, it feels pretty great.
Start with the easiest one, like the no-sew slip collar, and build your confidence from there. Soon you’ll be making collars for all your friends’ dogs too.
Frequently Asked Questions
What length should a DIY dog collar be?
Measure your dog’s neck with a soft tape measure, then add two to three inches for adjustment. Most small dogs need 10-12 inches, medium dogs 14-16, and large dogs 18-20.
What type of hardware do I need?
You’ll need a buckle, a D-ring, and possibly a slide adjuster. Plastic buckles are lightweight and easy to use. Metal is stronger but heavier.
Can I make a collar without a sewing machine?
Yes. You can hand sew with a heavy needle and waxed thread. For no-sew options, use rivets, glue, or braiding techniques.
How do I make sure the collar is safe?
Always test the strength before using. Pull hard on the seams and buckle. Make sure there are no loose threads or small parts that could be chewed off.
Can I wash a homemade dog collar?
Most can be hand washed with mild soap and air dried. Avoid fabric softeners as they weaken fibers. Nylon and paracord collars can go in a lingerie bag in the washing machine.